Note
Access to this page requires authorization. You can try signing in or changing directories.
Access to this page requires authorization. You can try changing directories.
Without the proper tools and resources, managing hundreds or thousands of devices in a school environment can be a complex and time-consuming task. Microsoft Intune is a collection of services that simplifies the management of devices at scale.
The Microsoft Intune service can be managed in different ways.
Intune admin center is the primary Intune interface that supports the entire device lifecycle, from the enrollment phase through retirement. IT administrators can manage all settings across all Intune supported platforms.
Intune for Education is a curated view of Intune that supports the entire device lifecycle, from the enrollment phase through retirement. IT administrators can start managing classroom devices with bulk enrollment options and a streamlined deployment. At the end of the school year, IT admins can reset devices, ensuring they're ready for the next year.
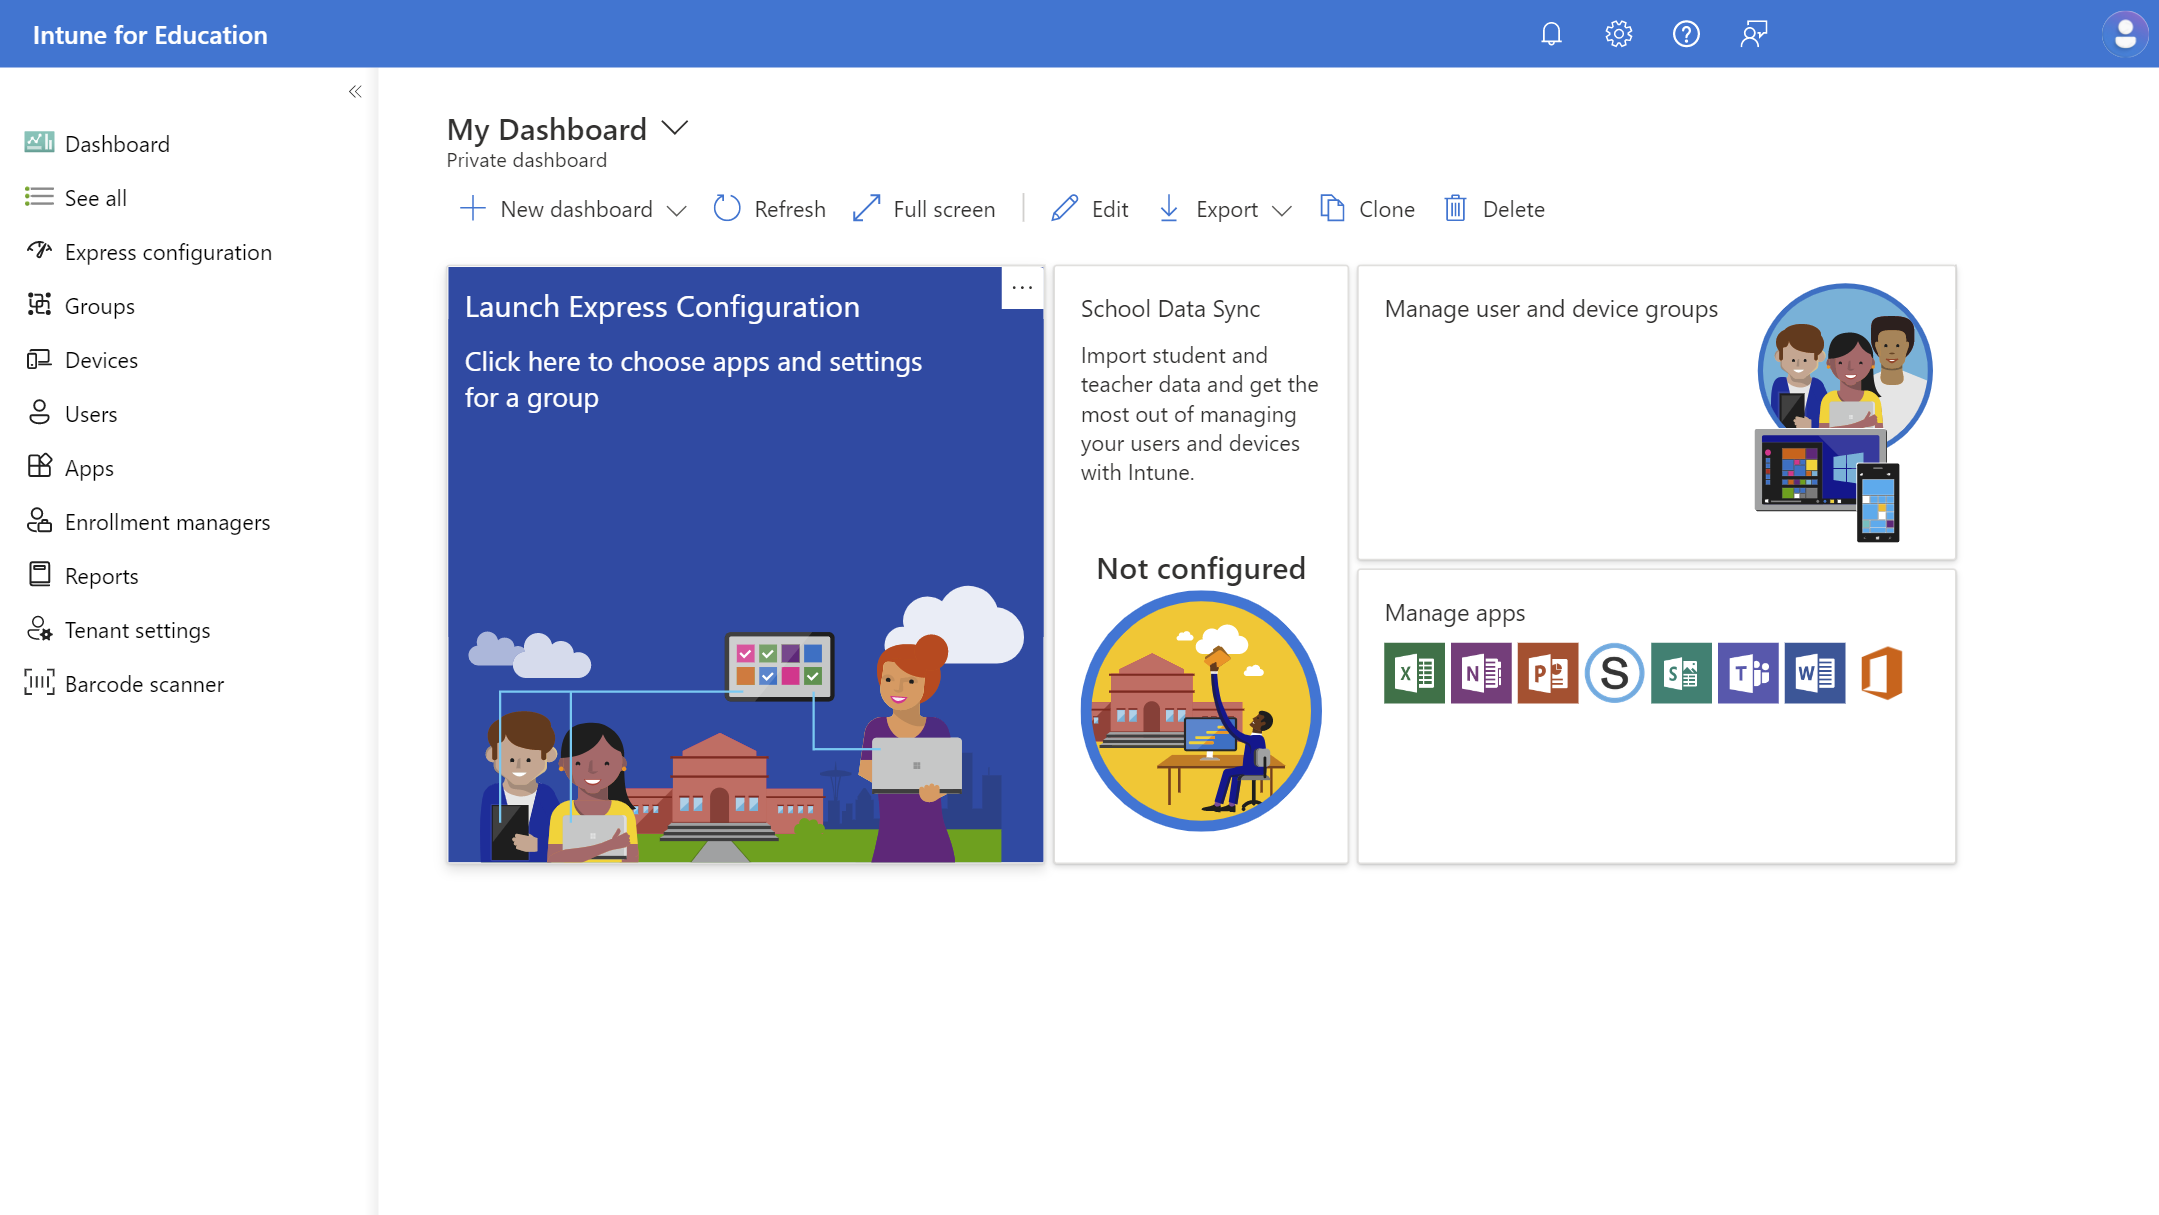
For more information, see Intune for Education documentation.

Tip
Intune and Intune for Education both configure the Intune service. Changes made in one console will be reflected in the other. However, Intune for Education only supports a subset of policies and apps curated to suit simple K-12 scenarios on Windows and iPadOS.
In this section you will:
- Review Intune's licensing prerequisites
- Configure the Intune service for education devices
Prerequisites
✅ Check out the requirements for device management
Before configuring settings with Intune, consider the following prerequisites:
- Intune subscription. Microsoft Intune is licensed in three ways:
- As a standalone service
- As part of Enterprise Mobility + Security
- As part of a Microsoft 365 Education subscription
- Intune for Education device platforms. Intune for Education can manage devices running a supported version of Windows 10, Windows 11, Windows 11 SE, and iPadOS
- Intune device platforms. Intune can manage devices running a supported version of Windows 10, Windows 11, Windows 11 SE, iOS, iPadOS, macOS, Android, and Linux
- Network requirements. Confirm all the required network endpoints can access without SSL inspection or any type of filtering. See Network endpoints for Microsoft Intune for a list of endpoints.
For more information, see Intune licensing and this comparison sheet, which includes a table detailing the Microsoft Modern Work Plan for Education.
Configure the Intune service for Education devices
The Intune service can be configured in different ways, depending on the needs of your school. In this section, you configure the Intune service using settings commonly implemented by K-12 school districts.
Configure enrollment restrictions
✅ Restrict which devices can be managed
With enrollment restrictions, you control which devices can enroll and be managed by Intune. For example, you can prevent the enrollment of personal devices.
To block personally owned devices from enrolling:
- Sign in to the Microsoft Intune admin center.
- Select Devices > Enroll devices > Device platform restrictions.
- Select the tab for the platform you want to restrict.
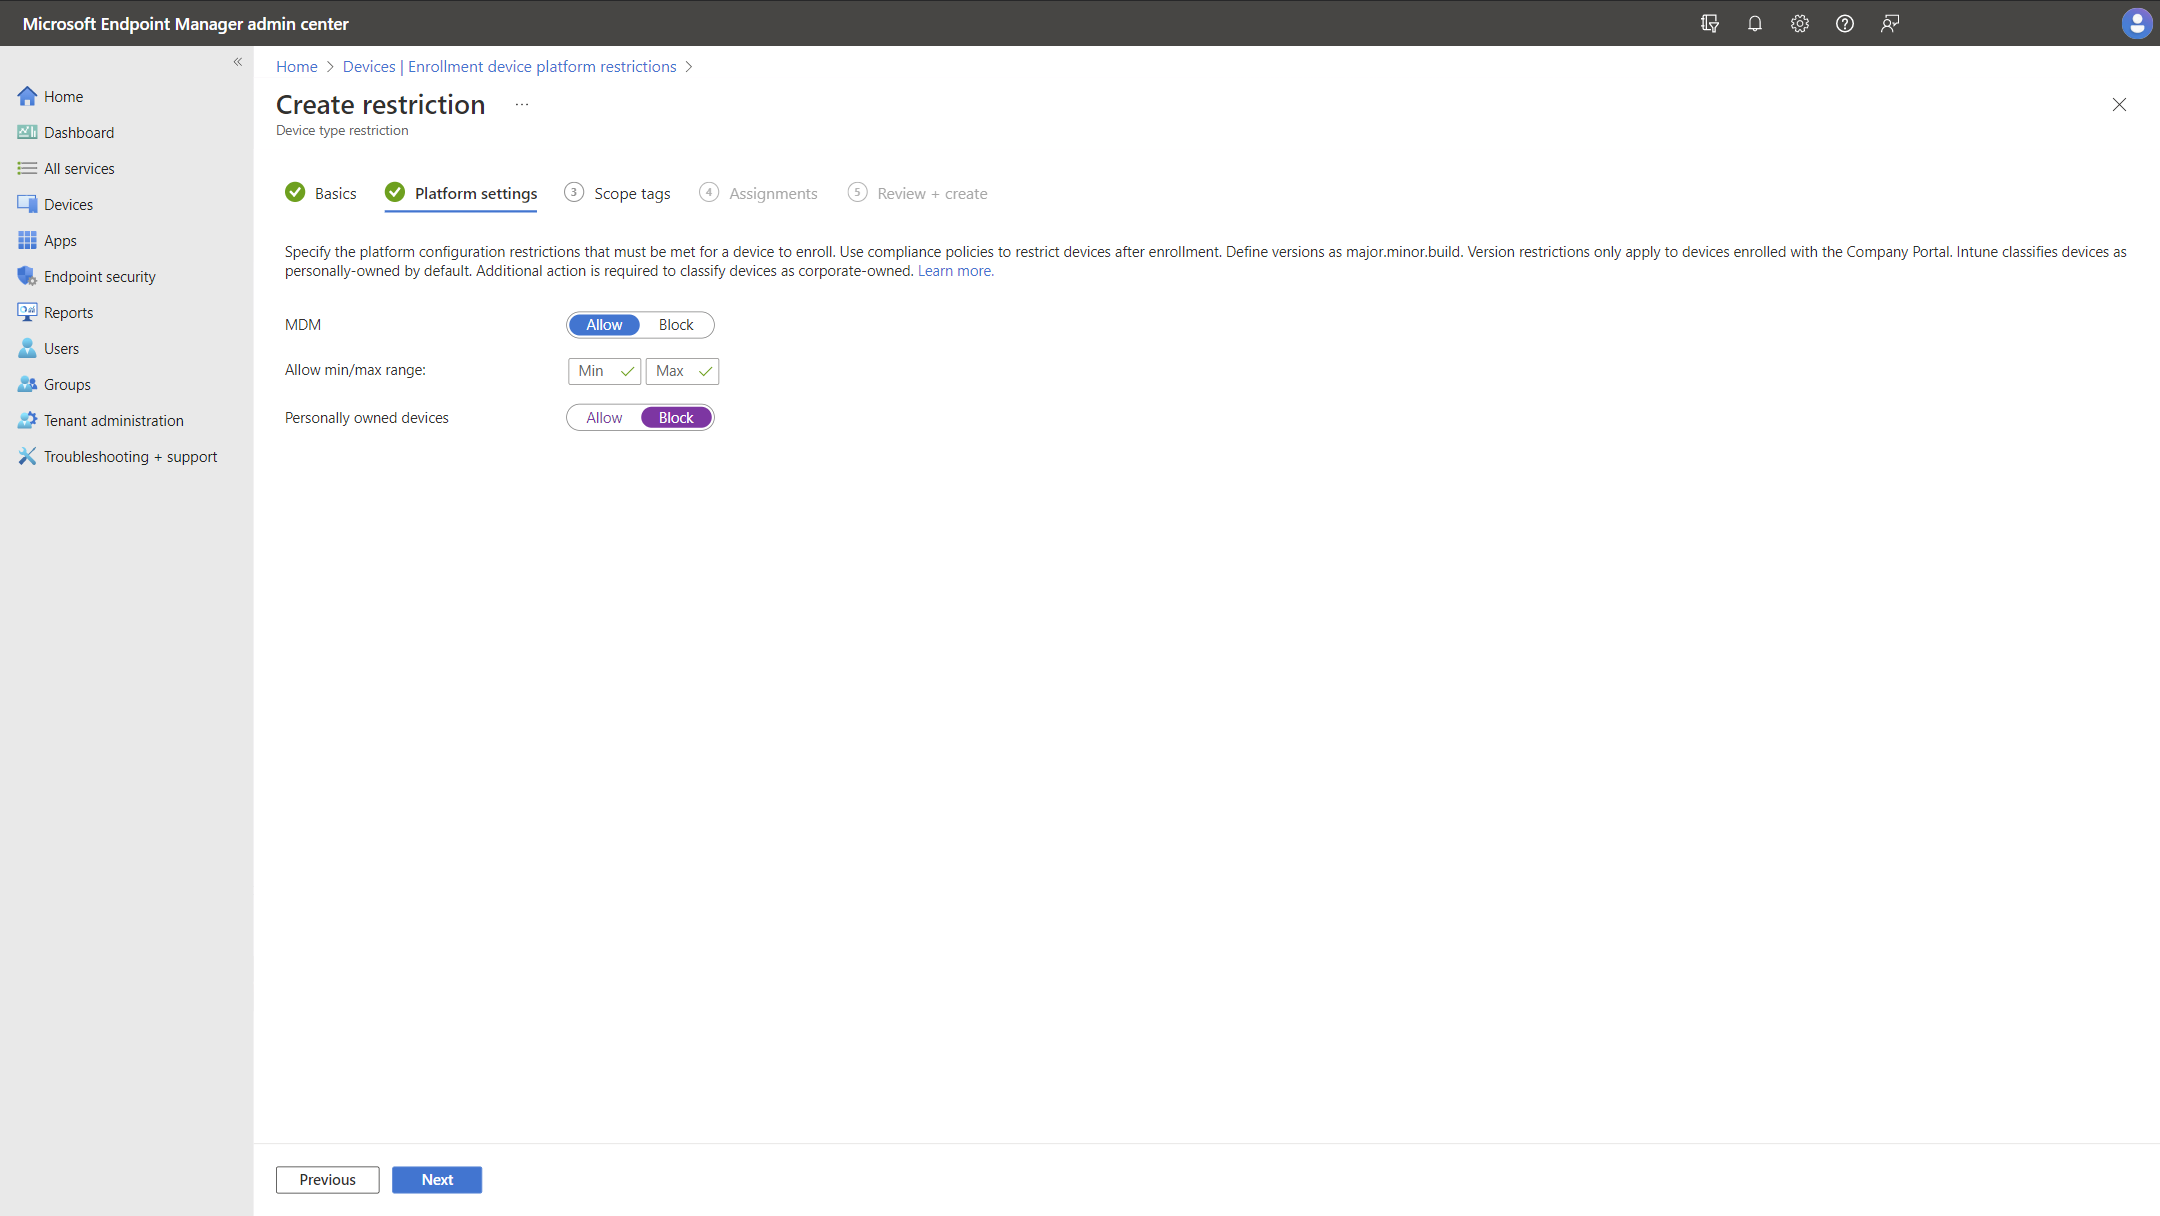
- Select Create restriction.
- On the Basics page, provide a name for the restriction and, optionally, a description > Next.
- On the Platform settings page, in the Personally owned devices field, select Block > Next.
- Optionally, on the Scope tags page, add scope tags > Next.
- On the Assignments page, select Add groups, and then use the search box to find and choose groups to which you want to apply the restriction > Next.
- On the Review + create page, select Create to save the restriction.

For more information, see Create a device platform restriction.
Optional configuration
✅ Configure optional tenant configuration
- Customize branding according to organization policies. For more information, see How to configure the Intune Company Portal apps, Company Portal website, and Intune app.
- Create Terms and conditions according to organization policies. For more information, see Terms and conditions for user access.
Configure Windows enrollment
✅ Configure which users can enroll Windows devices
- Sign in to the Microsoft Intune admin center.
- Select Devices > Enroll devices > Automatic Enrollment.
- Set the MDM user scope to All or Some and select a group if you want to restrict enrollment to certain users.
Important
The MDM user scope must be set to All if provisioning pacakges are used to enroll devices.
- Set MAM user scope to None.

- Select Save.

For more information, see Enable Windows automatic enrollment.
Disable Windows Hello for Business
✅ Disable functionality typically inaccessible to students
Windows Hello for Business is a biometric authentication feature that allows users to sign in to their devices using a PIN, password, or fingerprint. Windows Hello for Business is enabled by default on Windows devices, and to set it up, users must perform for multifactor authentication (MFA). As a result, this feature may not be ideal for students, who may not have MFA enabled.
Tip
Passwordless for Students
If you're interested in using Windows Hello for Business with students, you may be interested in checking out our guidance on how you can use Temporary Access Pass. For more information, see Passwordless for Students.
It's common for Windows Hello for Business to be disabled at the tenant level. Then, a policy can be targted at users or devices that need it. For example, staff and teachers.
To disable Windows Hello for Business at the tenant level:
- Sign in to the Microsoft Intune admin center.
- Select Devices > By platform > Windows > Device onboarding > Enrollment.
- Select Windows Hello for Business.
- Ensure that Configure Windows Hello for Business is set to disabled.
- Select Save.

For more information how to enable Windows Hello for Business on specific devices, see Create a Windows Hello for Business policy.
Configure Intune data collection policy
✅ Configure Endpoint analytics
Intune needs permission to collect data for Endpoint analytics on Windows devices.
To enable data collection:
- Sign in to the Microsoft Intune admin center.
- Select Reports > Endpoint analytics > Settings.
- Under Intune data collection policy, select Intune data collection policy.

- Select Properties.
- Under Configuration settings select Edit.
- Set Health Monitoring to Enable.
- Select Scope and tick Endpoint analytics.

- Select Review + Save.
- Select Save.


For more information on data collection, see Endpoint analytics data collection.
Configure Windows data
✅ Configure tenant Windows data settings
Intune needs permission to collect certain data for Windows update reports on Windows devices.
- Sign in to the Microsoft Intune admin center.
- Select Tenant administration > Connectors and tokens > Windows data
- Under Windows data select On.
- Review the Windows license verification section and configure as per your licensing.

- Click Save.

For more information, see Enable use of Windows diagnostic data by Intune.
Configure Windows device diagnostics
✅ Allow remote retrieval of diagnostic information
- Sign in to the Microsoft Intune admin center.
- Select Tenant administration > Device diagnostics.
- Configure settings as per your requirements.
This table provides the settings most commonly set by customers, but can be customized to suit your schools needs.
| Setting | Common configuration |
|---|---|
| Device diagnostics are available for corporate-managed devices running Windows 10, version 1909 and later, or Windows 11. Diagnostics may include user identifiable information such as user or device name. | Enabled |
| Automatically capture diagnostics when devices experience a failure during the Windows Autopilot process on Windows 10 version 1909 or later and Windows 11. Diagnostics may include user identifiable information such as user or device name. | Enabled |
For more information, see Collect diagnostics from a Windows device.
(Optional) Configure the Enrollment Status Page
Consider enabling the Enrollment Status Page if planning to use Windows Autopilot to enroll Windows devices in Intune.
The enrollment status page (ESP) displays the provisioning status to people enrolling Windows devices and signing in for the first time. You can configure the ESP to block device use until all required policies and applications are installed. Device users can look at the ESP to track how far along their device is in the setup process.
Additional information:
This table provides the settings most commonly set by customers, but can be customized to suit your schools needs.
| Blade | Configuration group | Setting | Value |
|---|---|---|---|
| Windows enrollment | General\Enrollment Status Page | Default\Show app and profile configuration progress | Yes |
| Windows enrollment | General\Enrollment Status Page | Default\Show an error when installation takes longer than specified number of minutes | 120 |
| Windows enrollment | General\Enrollment Status Page | Default\Show custom message when time limit or error occurs | Yes |
| Windows enrollment | General\Enrollment Status Page | Default\Turn on log collection and diagnostics page for end users | Yes |
| Windows enrollment | General\Enrollment Status Page | Default\Only show page to devices provisioned by out-of-box experience (OOBE) | Yes |
| Windows enrollment | General\Enrollment Status Page | Enrollment Status Page\Default\Block device use until required apps are installed if they are assigned to the user/device | All or Selected with the minimum apps required. For example, Microsoft 365 apps or web content filtering softtware |
Set up Apple MDM Certificate
To set up an Apple MDM certificate, see Get an Apple MDM push certificate.
Important
The Apple MDM certificate needs to be renewed yearly. Make a note in your calendar to renew the certificate in just under a year from when you add the certificate. You can can view the expiry date in the console at any time.
Configure Volume Purchase Program (VPP)
To set up an Apple VPP, see How to manage iOS and macOS apps purchased through Apple Business Manager with Microsoft Intune.
Important
The Apple VPP token needs to be renewed yearly. Make a note in your calendar to renew the token in just under a year from when you add the token. You can can view the expiry date in the console at any time.
Configure Automated Device Enrollment (ADE)
If you plan to integrate Apple School Manager and use Automated Device Enrollment follow these steps.
To set up an Apple MDM certificate, see Set up automated device enrollment in Intune.
Important
The Apple ADE token needs to be renewed yearly. Make a note in your calendar to renew the token in just under a year from when you add the token. You can can view the expiry date in the console at any time.
Next steps
With the Intune service configured, you can configure policies and applications in preparation for the deployment of students' and teachers' devices.