Note
Access to this page requires authorization. You can try signing in or changing directories.
Access to this page requires authorization. You can try changing directories.
Applies to:  Workforce tenants
  External tenants (learn more)
The sponsor feature helps you manage B2B users in your directory. It allows tracking of who is responsible for each guest user. While entitlement management can track guests in certain domains, it doesn't include guests outside these areas. By using the sponsor feature, you can assign a person or group to each guest user. This helps track who invited them and supports accountability.
This article provides an overview of the sponsor feature and explains how to use it in B2B scenarios.
Sponsors field on the user object
The Sponsors field on the user object refers to the person or group who manages and monitors the lifecycle of the user, ensuring they have access to the right resources. Being a sponsor doesn't grant administrative powers for the sponsor user or the group, but it can be used for approval processes in entitlement management. You can also use it for custom solutions, but it doesn't offer any other built-in directory powers.
Who can be a sponsor?
If you invite a guest user, you automatically become their sponsor unless you specify someone else during the invitation process. Your name will be added to the Sponsors field on the user object automatically. You can also specify a different sponsor, a person, or a group when inviting a guest user. If a sponsor leaves the organization, the tenant administrator can change the Sponsors field to a different person or group during offboarding. This transition ensures the guest user's account remains properly tracked.
Other scenarios using the B2B sponsors feature
The Microsoft Entra B2B collaboration sponsor feature serves as a foundation for other scenarios that aim to provide a full governance lifecycle for external partners. These scenarios aren't part of the sponsor feature but rely on it for managing guest users:
- Administrators can transfer sponsorship to another user or group, if the guest user starts working on a different project.
- When requesting new access packages, sponsors can be added as approvers in entitlement management to help reduce reviewers' workload.
Add sponsors when inviting a new guest user
You can add up to five sponsors when inviting a new guest user. If you don’t specify a sponsor, the inviter will be added as a sponsor. To invite a guest user, you need to have at least the Guest Inviter or User Administrator role.
Sign in to the Microsoft Entra admin center as at least a User Administrator.
Browse to Entra ID > Users.
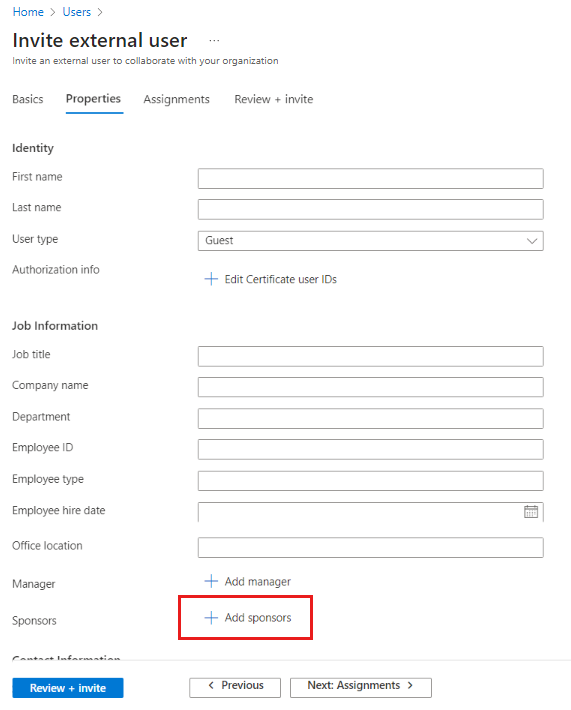
Select New user > Invite external user from the menu.
Entered the details on the Basics tab and select Next: Properties.
You can add sponsors under Job information on the Properties tab.
Select the Review and invite button to finalize the process.
You can also add sponsors with the Microsoft Graph API, using invitation manager for any new guest users, by including them in the payload. If there are no sponsors in the payload, the inviter will be marked as the sponsor. To learn more, see Assign sponsors.
Note
Currently, if an external user is invited through SharePoint (for example, when sharing a file with a non-existing external user), sponsors will not be added to that external user. This is a known issue. For now, you can manually add sponsors by following the steps above.
Edit the Sponsors field in the Microsoft Entra admin center
When you invite a guest user, you became their sponsor by default. If you need to manually change the guest user's sponsor, follow these steps:
Sign in to the Microsoft Entra admin center as at least a User Administrator.
Browse to Entra ID > Users.
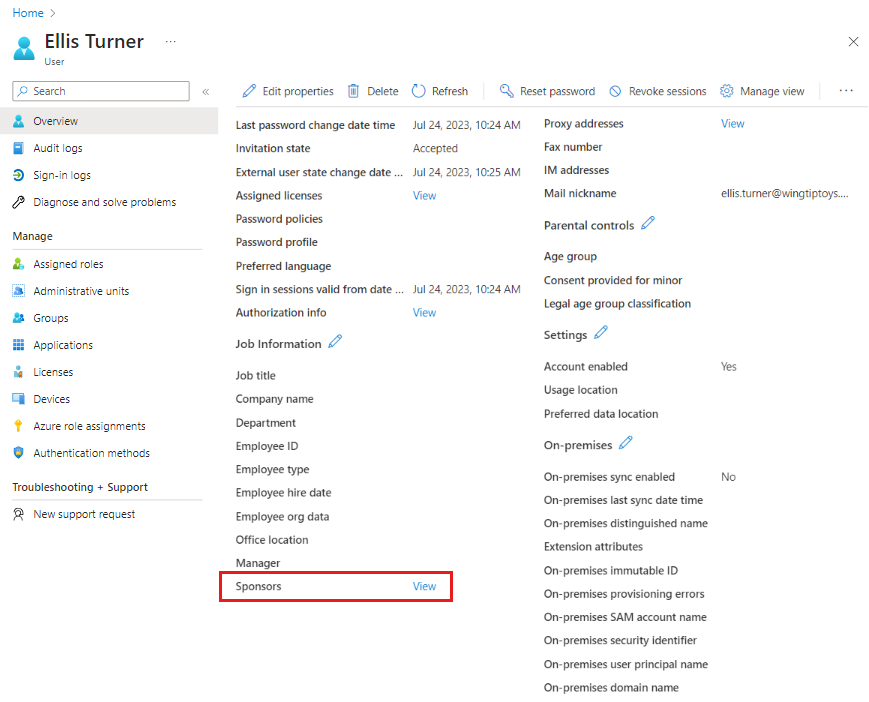
In the list, select the user's name to open their user profile
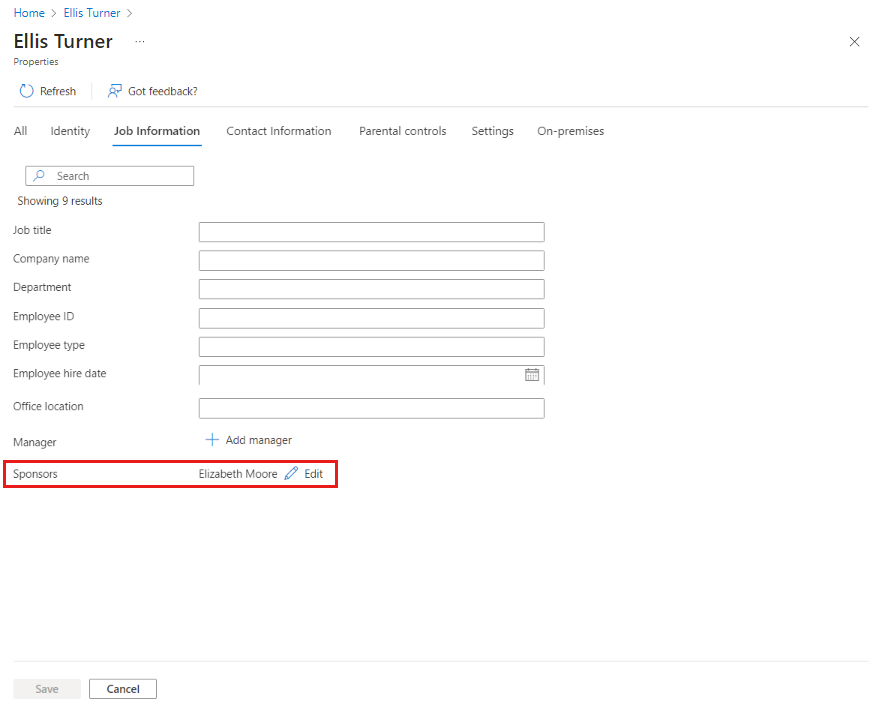
Under Properties > Job information check the Sponsors field. If the guest user already has a sponsor, you can select View to see the sponsor's name.
Close the window with the sponsor name list, if you want to edit the Sponsors field.
There are two ways to edit the Sponsors field. Either select the pencil icon next to the Job Information, or select Edit properties from the top of the page and go to the Job Information tab.
If the user has only one sponsor, you can see the sponsor's name. If the user has multiple sponsors, you can't see the individual names:
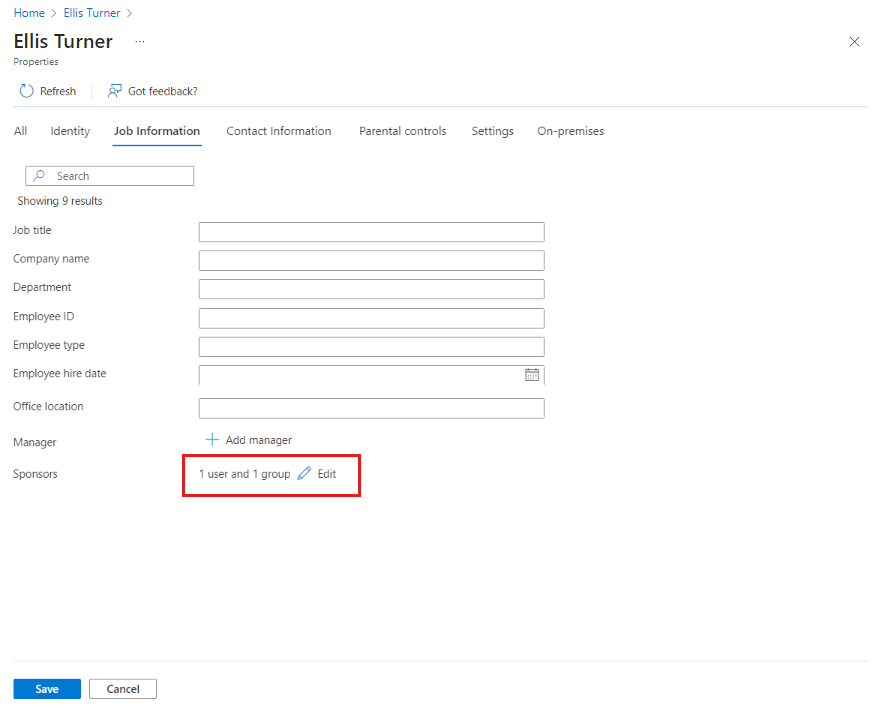
To add or remove sponsors, select Edit, select or remove the users or groups, and select Save on the Job Information tab.
If the guest user doesn't have a sponsor, select Add sponsors.
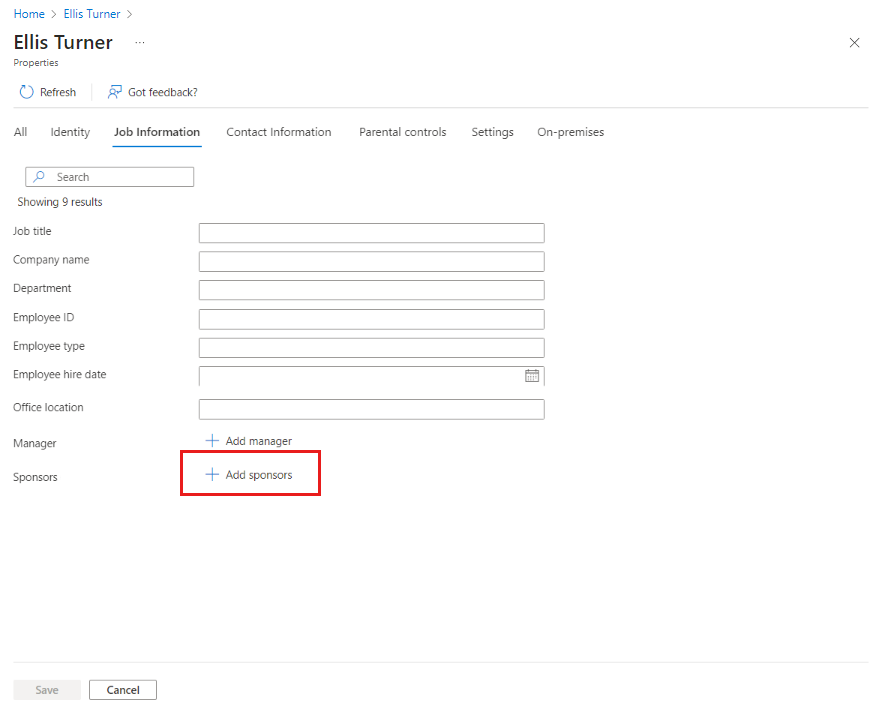
Once you selected sponsor users or groups, save the changes on the Job Information tab.
Edit the Sponsors field with PowerShell
You can manage the Sponsors field for all existing users using the Update-MsIdInvitedUserSponsorsFromInvitedBy PowerShell script in the Microsoft Identity Tools module. The script updates the sponsors attribute to include the user who initially invited them to the tenant using the InvitedBy property.