Note
Access to this page requires authorization. You can try signing in or changing directories.
Access to this page requires authorization. You can try changing directories.
Applies to:  External tenants (learn more)
In this quickstart, we'll guide you through customizing the look and feel of your apps in the external tenant. We'll also help you set up a user to test the sign-up flow and configure a sample app in just a few minutes. With these built-in external configuration features, Microsoft Entra External ID can serve as the identity provider and access management service for your customers.
Prerequisites
- An external tenant. If you don't already have one, sign up for a free trial or create a tenant with external configurations in the Microsoft Entra admin center.
Note
You can also use the Microsoft Entra External ID extension for Visual Studio Code to create your external tenant, customize your sign-in experience, and set up a sample app directly within Visual Studio Code (learn more).
Customize your sign-in experience
When you set up an external tenant free trial, the guide will start automatically as part of the configuration of your new external tenant. If you created your external tenant with an Azure subscription, you can start the guide manually by following the steps below.
Sign in to the Microsoft Entra admin center.
If you have access to multiple tenants, use the Settings icon
 in the top menu to switch to your external tenant from the Directories + subscriptions menu.
Browse to Entra ID > Overview.
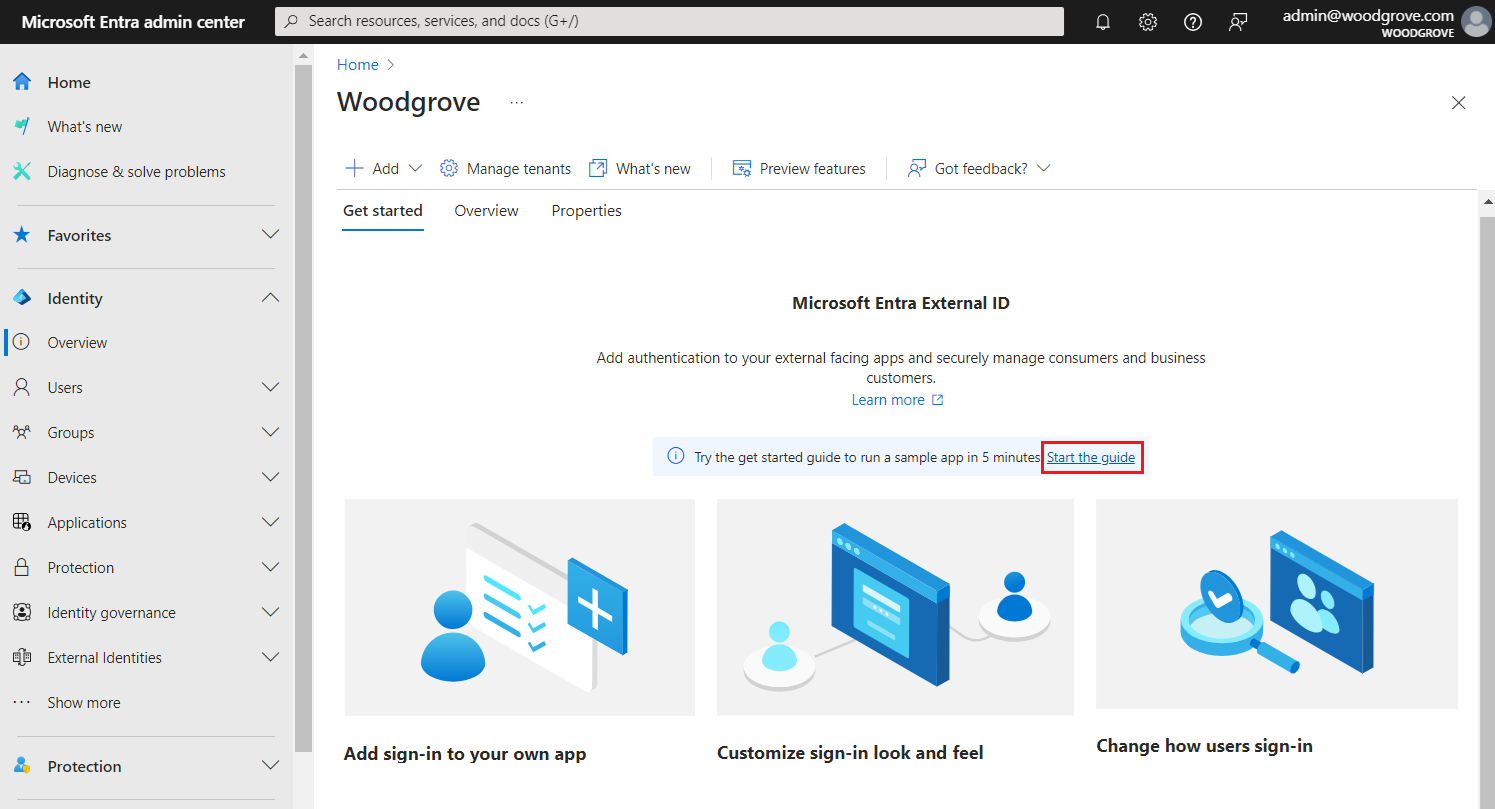
On the Get started tab, select Start the guide.
You can customize your customer's sign-in and sign-up experience in the external tenant. Follow the guide that will help you set up the tenant in three easy steps. First you must specify how would you like your customer to sign in. At this step you can choose between two options: Email and password or Email and one-time passcode. You can configure external accounts later, which would allow your customers to sign in using their Google, Facebook, Apple, Microsoft Entra ID, or custom OIDC account. You can also define custom attributes to collect from the user during sign-up.
If you prefer, you can add your company logo, change the background color or adjust the sign-in layout. These optional changes will apply to the look and feel of all your apps in this tenant with external configurations. After you have the created tenant, other branding options are available. You can customize the default branding and add languages. Once you're finished with the customization, select Continue.

Try out the sign-up experience and create your first user
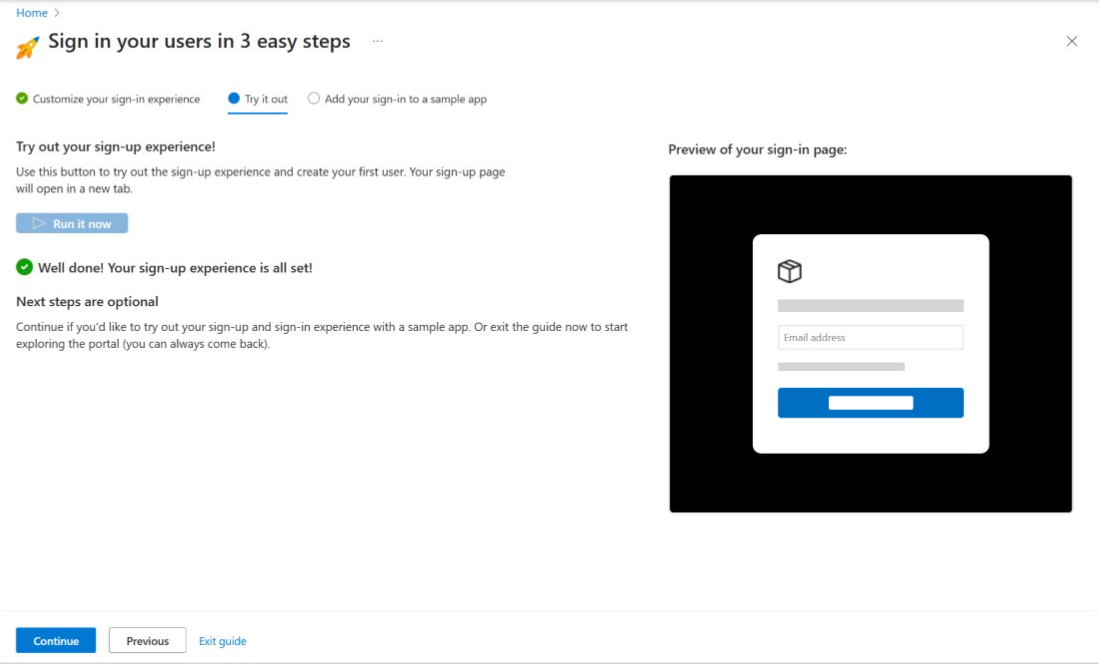
- The guide will configure your tenant with the options you have selected. Once the configuration is complete, the button will change its text from Setting up... to Run it now.
- Select the Run it now button. A new browser tab will open with the sign-in page for your tenant that can be used to create and sign in users.
- Select No account? Create one to create a new user in the tenant.
- Add your new user's email address and select Next.
Note
Use a different email address than the one used to create your trial. If you use your tenant admin email to create a customer account through self-service sign-up or by adding a new external user in the Microsoft Entra admin center, the system creates a second account with the same email address. This new account has customer-level privileges, which can cause conflicts.
Complete the sign-up steps on the screen. Typically, once the user has signed in, they're redirected back to your app. However, since you haven’t set up an app at this step, you'll be redirected to JWT.ms instead, where you can view the contents of the token issued during the sign-in process.
Go back to the guide tab. At this stage, you can either exit the guide and go to the admin center to explore the full range of configuration options for your tenant. Or you can Continue and set up a sample app. We recommend setting up the sample app, so that you can use it to test any further configuration changes you make
Set up a sample app
The get started guide will automatically configure sample apps for the following app types and languages:
- Single Page Application (SPA): JavaScript, React, Angular
- Web app: Node.js (Express), ASP.NET Core
- Desktop app: .NET (MAUI)
- Mobile app: .NET (MAUI)
Follow the next steps, to download and run the sample app.
Proceed to set up the sample app by selecting the app type.
Select your language and Download sample app on your machine.
Follow the instructions to install and run the app. Sign into the sample app.

You've completed the process of creating a trial tenant, configuring the sign-in experience, creating your first user, and setting up a sample app. Select Continue to go to the summary page, where you can either go to the admin center or you can restart the guide to choose different options.
Note
The next time you return to your tenant, you might be prompted to set up additional authentication factors for added security of your tenant admin account.
Explore Microsoft Entra External ID
Explore the features set up by the get started guide in the detailed article on the get started guide features. You can always come back to the admin center to customize your tenant and try the full range of configuration options for your tenant. For the latest developer content and resources, see the External ID developer center.