Note
Access to this page requires authorization. You can try signing in or changing directories.
Access to this page requires authorization. You can try changing directories.
The objective of this article is to demonstrate the steps to be performed in Airstack and Microsoft Entra ID to configure Microsoft Entra ID to automatically provision and de-provision users and/or groups to Airstack.
Note
This article describes a connector built on top of the Microsoft Entra user Provisioning Service. For important details on what this service does, how it works, and frequently asked questions, see Automate user provisioning and deprovisioning to SaaS applications with Microsoft Entra ID.
Prerequisites
The scenario outlined in this article assumes that you already have the following prerequisites:
- A Microsoft Entra user account with an active subscription. If you don't already have one, you can Create an account for free.
- One of the following roles:
- An Airstack tenant.
- A user account in Airstack with Admin permissions.
Assigning users to Airstack
Microsoft Entra ID uses a concept called assignments to determine which users should receive access to selected apps. In the context of automatic user provisioning, only the users and/or groups that have been assigned to an application in Microsoft Entra ID are synchronized.
Before configuring and enabling automatic user provisioning, you should decide which users and/or groups in Microsoft Entra ID need access to Airstack. Once decided, you can assign these users and/or groups to Airstack by following the instructions here:
Important tips for assigning users to Airstack
It's recommended that a single Microsoft Entra user is assigned to Airstack to test the automatic user provisioning configuration. Additional users and/or groups can be assigned later.
When assigning a user to Airstack, you must select any valid application-specific role (if available) in the assignment dialog. Users with the Default Access role are excluded from provisioning.
Setup Airstack for provisioning
Sign in to your Airstack Admin Console. Navigate to Settings.
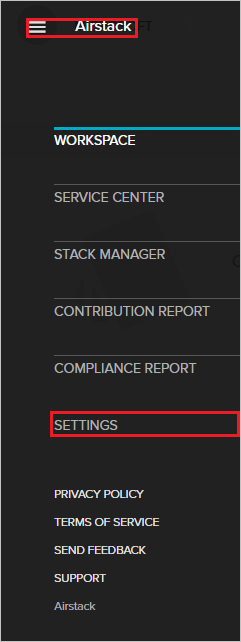
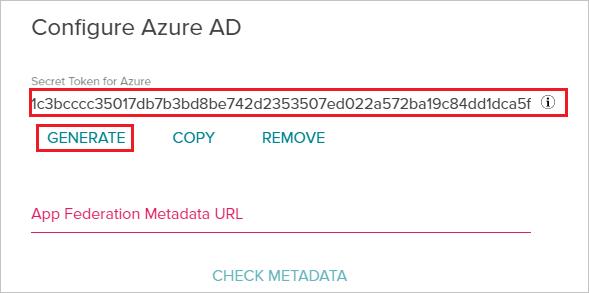
Navigate to Azure Config on the menu located to the left side of the screen.

Select Generate button. Copy the Secret Token for Azure. This value is entered in the Secret Token field in the Provisioning tab of your Airstack application.
Add Airstack from the gallery
Before configuring Airstack for automatic user provisioning with Microsoft Entra ID, you need to add Airstack from the Microsoft Entra application gallery to your list of managed SaaS applications.
To add Airstack from the Microsoft Entra application gallery, perform the following steps:
- Sign in to the Microsoft Entra admin center as at least a Cloud Application Administrator.
- Browse to Entra ID > Enterprise apps > New application.
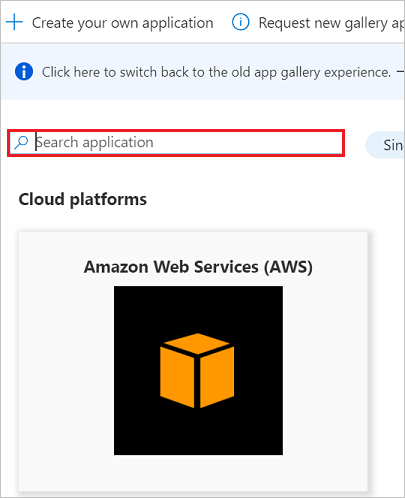
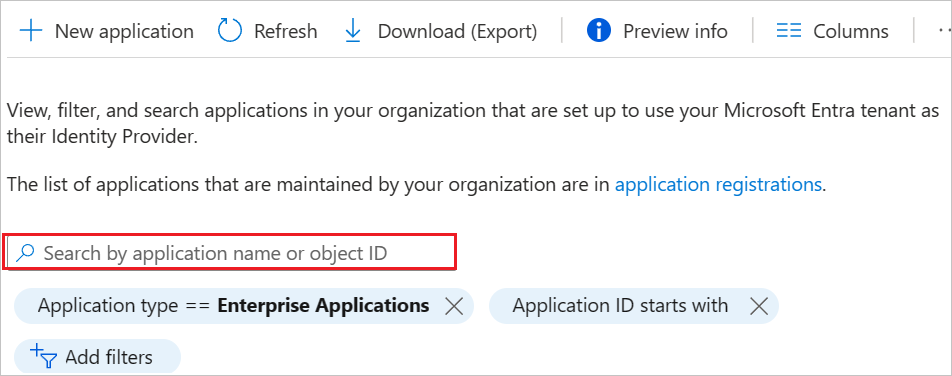
- In the Add from the gallery section, type Airstack, select Airstack in the search box.
- Select Airstack from results panel and then add the app. Wait a few seconds while the app is added to your tenant.
Configuring automatic user provisioning to Airstack
This section guides you through the steps to configure the Microsoft Entra provisioning service to create, update, and disable users and/or groups in Airstack based on user and/or group assignments in Microsoft Entra ID.
Tip
You can also choose to enable SAML-based single sign-on for Airstack, following the instructions provided in the Airstack Single sign-on article. Single sign-on can be configured independently of automatic user provisioning, though these two features complement each other
To configure automatic user provisioning for Airstack in Microsoft Entra ID:
Sign in to the Microsoft Entra admin center as at least a Cloud Application Administrator.
Browse to Entra ID > Enterprise apps
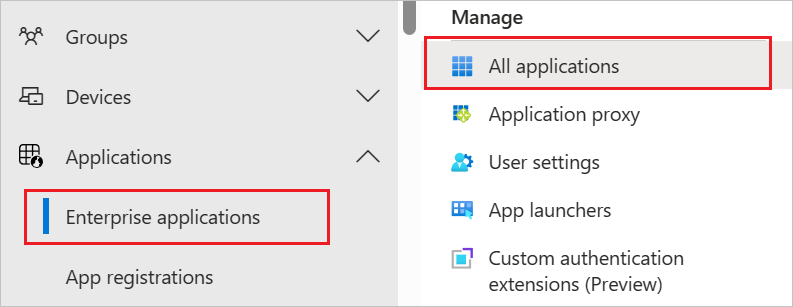
In the applications list, select Airstack.
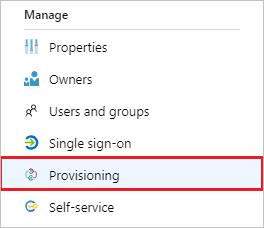
Select the Provisioning tab.
Set the Provisioning Mode to Automatic.

Under the Admin Credentials section, input
https://api-as.lenovosoftware.com/0/as/common/scimin Tenant URL. Input the SCIM Authentication Token value retrieved earlier in Secret Token. Select Test Connection to ensure Microsoft Entra ID can connect to Airstack. If the connection fails, ensure your Airstack account has Admin permissions and try again.
In the Notification Email field, enter the email address of a person or group who should receive the provisioning error notifications and check the checkbox - Send an email notification when a failure occurs.

Select Save.
Under the Mappings section, select Synchronize Microsoft Entra users to Airstack.
Review the user attributes that are synchronized from Microsoft Entra ID to Airstack in the Attribute Mapping section. The attributes selected as Matching properties are used to match the user accounts in Airstack for update operations. Select the Save button to commit any changes.

To configure scoping filters, refer to the following instructions provided in the Scoping filter article.
To enable the Microsoft Entra provisioning service for Airstack, change the Provisioning Status to On in the Settings section.

Define the users and/or groups that you would like to provision to Airstack by choosing the desired values in Scope in the Settings section.

When you're ready to provision, select Save.

This operation starts the initial synchronization of all users and/or groups defined in Scope in the Settings section. The initial sync takes longer to perform than subsequent syncs, which occur approximately every 40 minutes as long as the Microsoft Entra provisioning service is running. You can use the Synchronization Details section to monitor progress and follow links to provisioning activity report, which describes all actions performed by the Microsoft Entra provisioning service on Airstack.
For more information on how to read the Microsoft Entra provisioning logs, see Reporting on automatic user account provisioning.
Additional resources
- Managing user account provisioning for Enterprise Apps
- What is application access and single sign-on with Microsoft Entra ID?