Create and manage Microsoft Fabric notebooks in Visual Studio Code
The Visual Studio (VS) Code extension for Synapse fully supports the CRUD (create, read, update, and delete) notebook experience in Fabric. The extension also supports synchronization between local and remote workspaces; when you synchronize changes, you can address any conflicts or differences between your local and remote workspace.
With this extension, you can also run notebooks onto the remote Fabric Spark compute.
Open a notebook with the Synapse extension
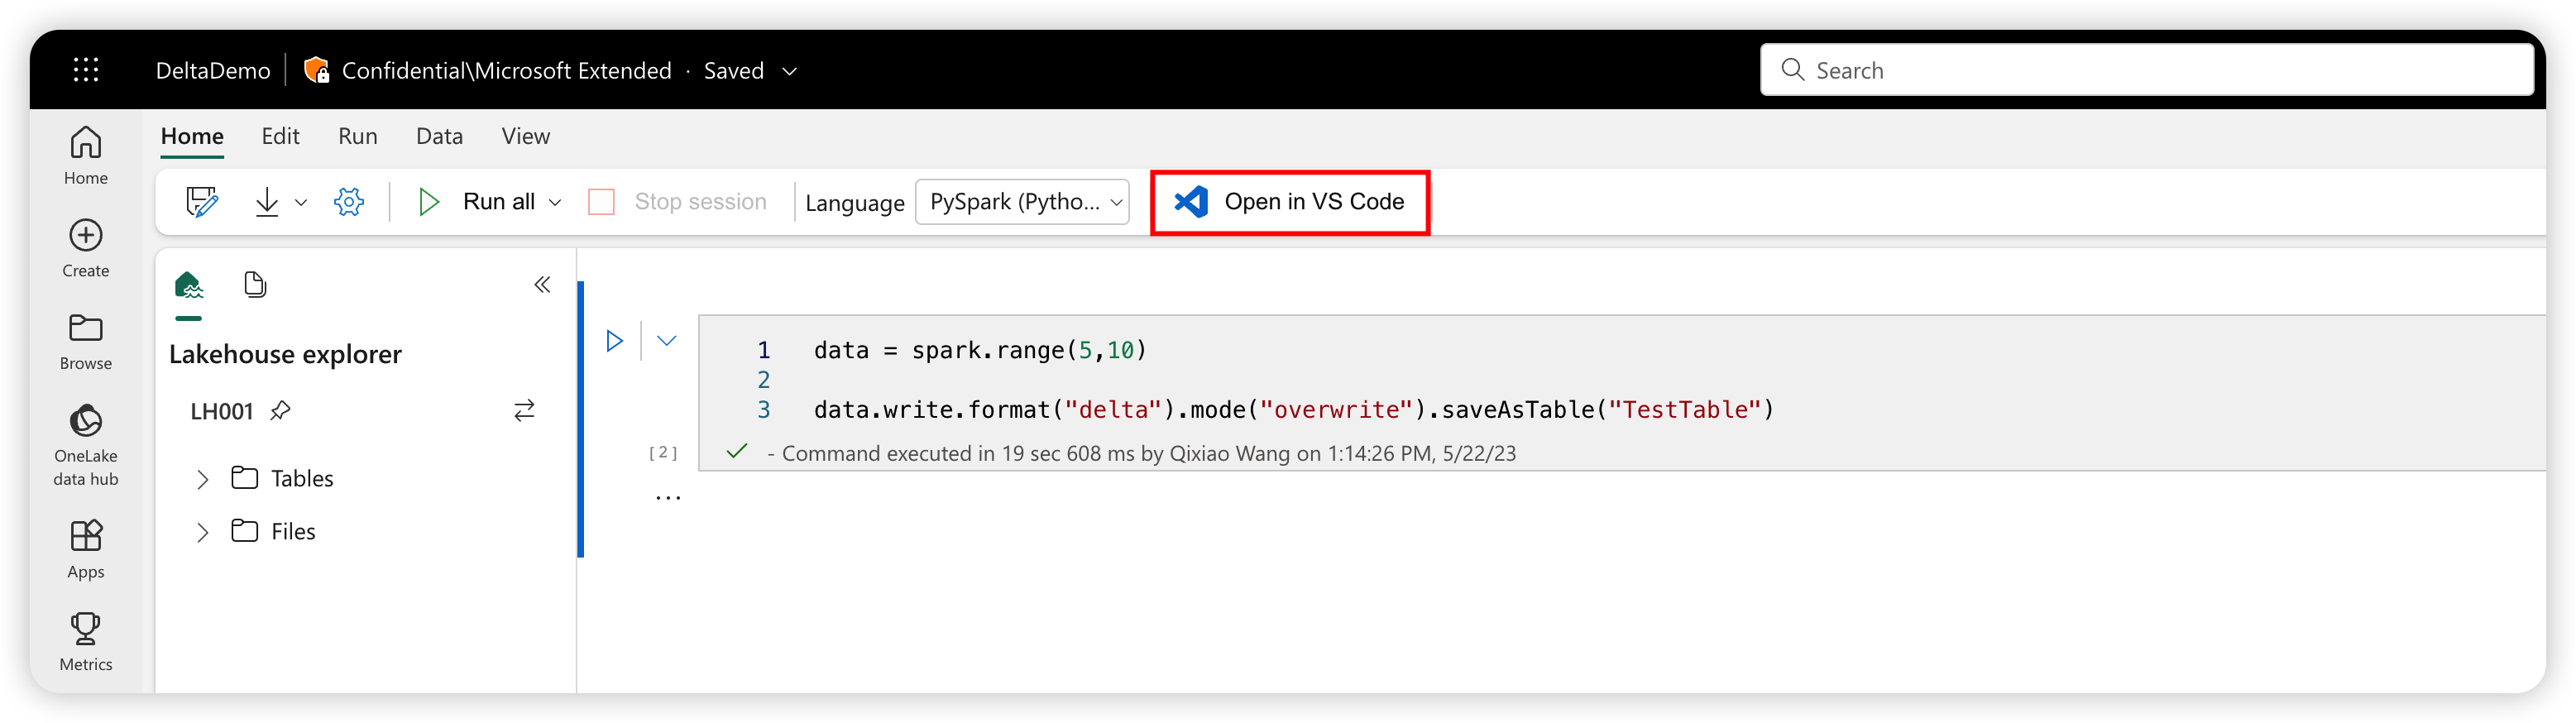
By clicking the Open in VS Code button in the notebook authoring page in the Fabric portal, you can directly open the same notebook with the Synapse VS Code extension for Fabric. After you activate the extension in VS Code and open the notebook once, your workspace should automatically connect to the notebook.
Tip
If you have not installed the Synapse extension for VS Code, you must install it first. For more information, see Install the Synapse extension. After the extension is publicly released, the installation is automated.
View the list of notebooks
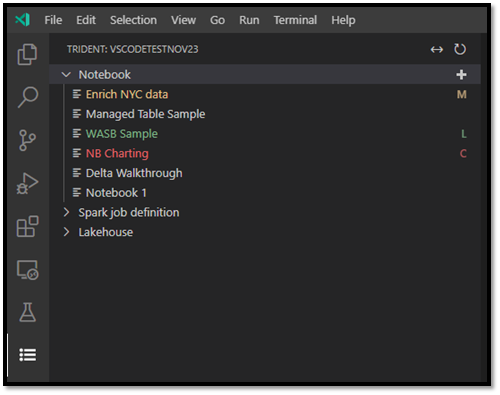
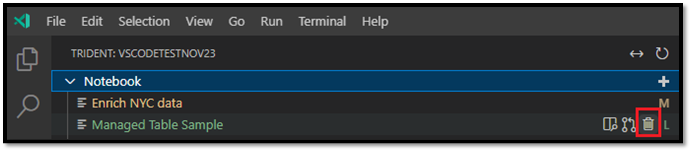
The notebook tree node lists all of the notebook items in the current workspace. Based on your changes in VS Code, the list displays different colors and characters to indicate the latest state, as shown in the following image.
- Default: White text and no character to the right of the notebook name indicates the default or initialized state. The notebook exists in the remote workspace and you haven't downloaded it locally.
- Modified: The M character to the right of the name and yellow text indicates you have downloaded and edited the notebook locally in VS Code, and haven't yet published those pending changes back to the remote workspace.
- Local: The L character and green text indicates the notebook is downloaded and the content is the same as the remote workspace.
- Conflict: The C character and red text indicates that conflicts exist between the local version and the remote workspace version.
Create a notebook
In VS Code Explorer, hover over the notebook toolbar. The Create Notebook option appears.
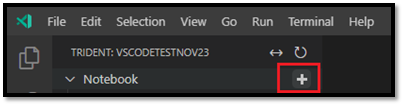
Select Create Notebook and enter a name and description. A new notebook is created in the remote workspace and appears in your notebook list in the default state.
Download a notebook
Before you can edit the content of a notebook, you must download the notebook to VS Code.
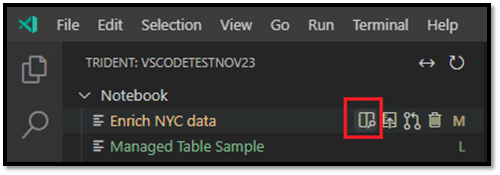
In the notebook list in VS Code, hover over the notebook name. The Download option appears beside the notebook name.

Select Download and save the notebook to your local working directory.
Open a notebook
In VS Code Explorer, hover over the name of a downloaded notebook. Several options appear next to the notebook, including the Open Notebook Folder option.
Select Open Notebook Folder and the notebook opens in the VS Code Editor screen.
Delete a notebook
Tip
To avoid failure, close the notebook folder in the Explorer view and close the notebook in the editor view before deleting the notebook.
To delete a notebook:
In VS Code Explorer, hover over the name of the notebook you want to delete; options appear to the right of the name, including the Delete Notebook option.
Select the Delete Notebook option. When prompted, choose to delete only the local copy or both the local and the remote workspace copies.
Publish local changes to the remote workspace
To push your local changes to the remote workspace:
In VS Code Explorer, hover over the name of the notebook you want to publish to the remote workspace; options appear to the right of the name, including the Publish option.
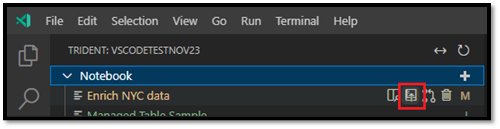
Select Publish. The remote workspace version is updated with your local VS Code changes.
- If your local update creates any merge conflicts, you're prompted to resolve them before the merge goes through.
If someone else has the same notebook open in the Fabric portal, they're notified to accept or reject your local VS Code changes, as shown in the following image.
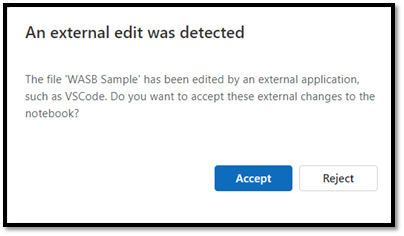
- Accept: your change from VS Code is successfully saved in the workspace.
- Reject: your change from VS Code is ignored.
Pull changes from the remote workspace
To update your local version with the latest workspace version, you pull the remote version:
In VS Code Explorer, hover over the name of the notebook you want to update; options appear to the right of the name, including the Update Notebook option.
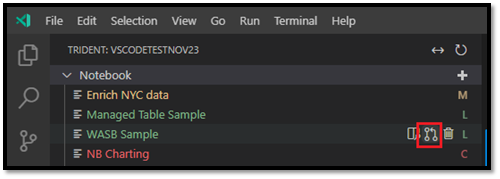
Select the Update Notebook option. VS Code pulls the latest version from the remote workspace, and opens the VS Code diff editor so you can compare the two notebook files. The left-side screen is from the workspace and the right-side screen is from the local version:

Update the code/markdown cell on the left side to address the issue.
When you have addressed all conflicts, select the Merge option at the top-right corner of the diff editor to confirm the merge is complete. (Until you select Merge, the notebook stays in Conflict mode.)
Important
After you have opened the diff editor once, the extension will NOT automatically refresh the left side of the diff view to fetch the latest update from the remote workspace.
Run or debug a notebook on remote Spark compute
By selecting the kernel synapse-spark-kernel shipped with this extension, you can run the code cell on top of the remote Fabric Spark compute. Once you have selected this kernel, during runtime, the extension intercepts all the PySpark API calls and translates them to the corresponding http call to the remote Spark compute. For pure Python code, it's still executed in the local environment.
Related content
Feedback
Coming soon: Throughout 2024 we will be phasing out GitHub Issues as the feedback mechanism for content and replacing it with a new feedback system. For more information see: https://aka.ms/ContentUserFeedback.
Submit and view feedback for