Note
Access to this page requires authorization. You can try signing in or changing directories.
Access to this page requires authorization. You can try changing directories.
Web Activity can be used to call a custom REST endpoint from an Azure Data Factory or Synapse pipeline. You can pass datasets and linked services to be consumed and accessed by the activity.
Note
The maximum supported output response payload size is 4 MB.
Prerequisites
To get started, you must complete the following prerequisites:
- A tenant account with an active subscription. Create an account for free.
- A workspace is created.
Add a Web activity to a pipeline with UI
To use a Web activity in a pipeline, complete the following steps:
Create the activity
Create a new pipeline in your workspace.
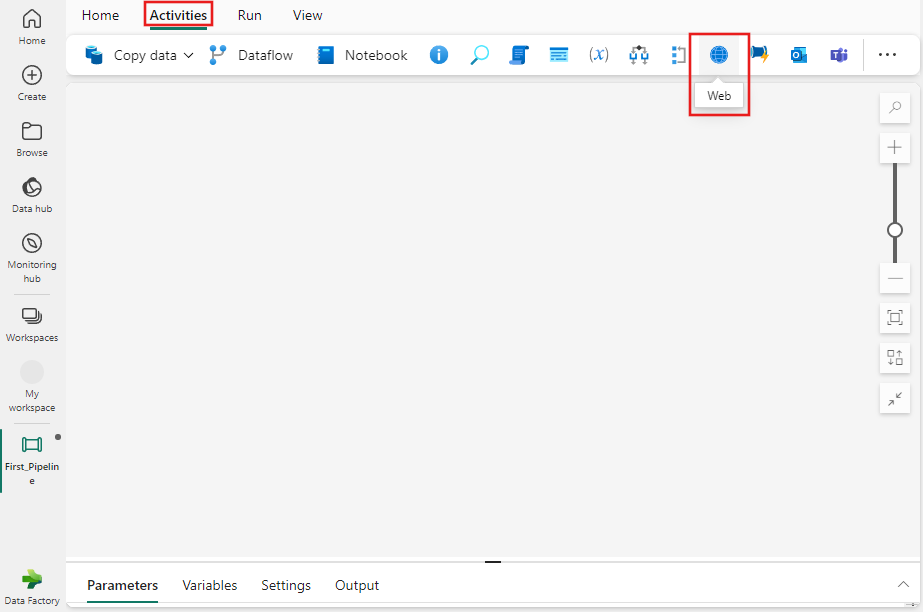
Search for Web in the pipeline Activities pane, and select it to add it to the pipeline canvas.

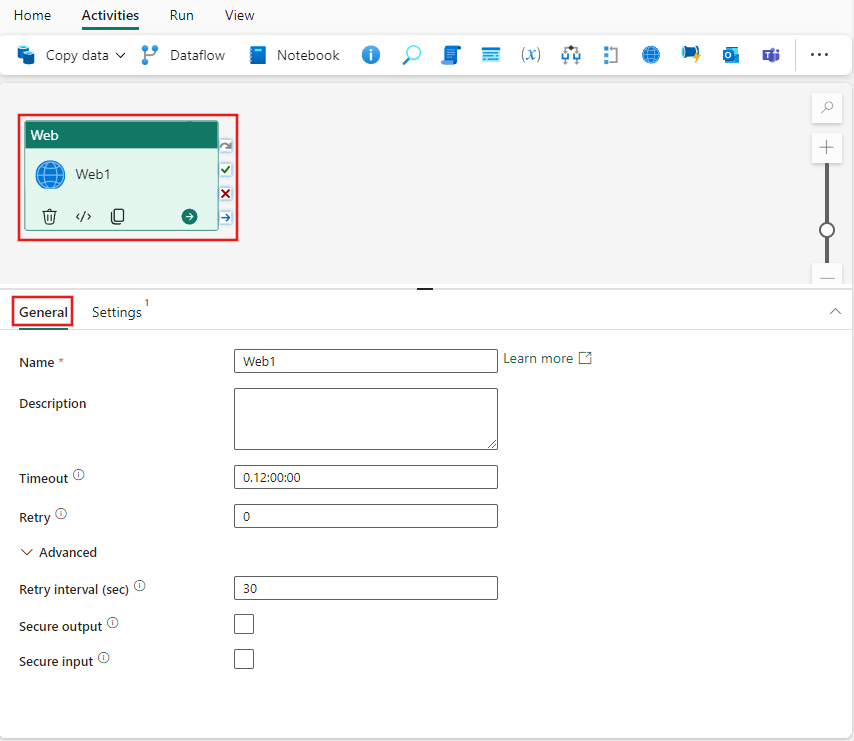
Select the new Web activity on the canvas if it isn't already selected.

Note
The web activity may simply appear as an icon on the toolbar as shown in the previous image, if the screen resolution doesn't allow its name to be fully spelled out.
Refer to the General settings guidance to configure the General settings tab.
Web activity settings
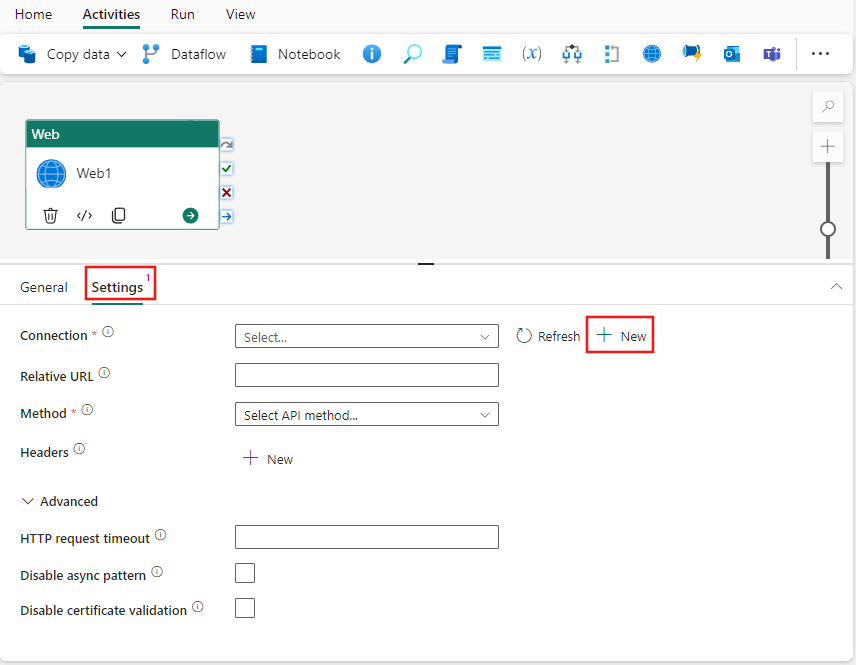
Select the Settings tab, select an existing connection from the Connection dropdown, or create a new connection, and specify its configuration details.

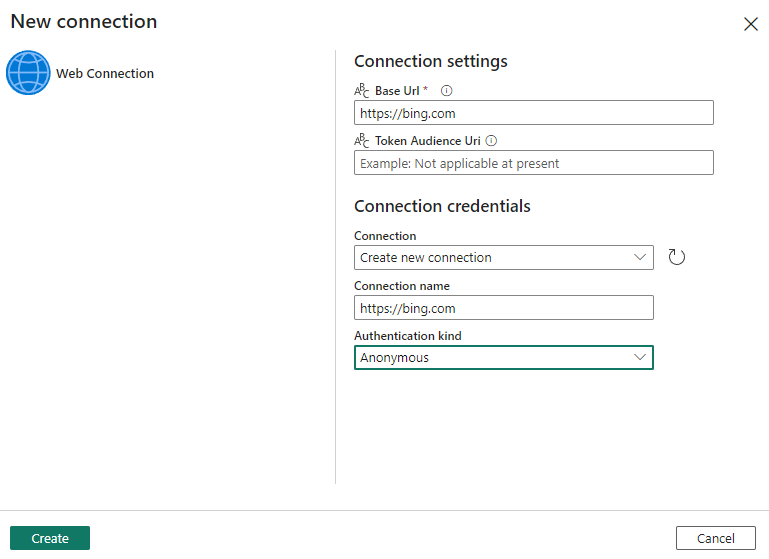
When you choose + New to create a new connection, you see the connection creation dialog where you can provide the base URL and credentials to connect.

Note
The Connection name can be max 80 characters long.
Using On-premises or VNET data gateway
When creating your connection, you can now choose to use either an on-premises data gateway (OPDG) or a VNET data gateway. For guidance on creating and configuring your OPDG, refer to how to create on-premises data gateway
If you would like to use a VNET gateway, refer to how to create a VNET data gateway.
Once you have successfully created and configured your gateway, it should appear under the Data Gateway dropdown in the connection dialog

After choosing or creating your connection and data gateway, complete the remaining required fields, add any required headers, or set any advanced settings. The Web activity supports GET, POST, PUT, DELETE, and PATCH methods.
After choosing or creating your connection, complete the remaining required fields, add any required headers, or set any advanced settings. The Web activity supports GET, POST, PUT, DELETE, and PATCH methods.
Save and run or schedule the pipeline
Typically, you use the output of the Web activity with other activities, but once configured, it can be run directly without other activities, too. If you're running it to invoke a REST API that performs some action and don't require any output from the activity, your pipeline might contain only the Web activity, too. To run the activity, switch to the Home tab at the top of the pipeline editor, and select the save button to save your pipeline. Select Run to run it directly, or Schedule to schedule it. You can also view the run history here or configure other settings.
