Note
Access to this page requires authorization. You can try signing in or changing directories.
Access to this page requires authorization. You can try changing directories.
A webhook activity can control the execution of pipelines through custom code. With the webhook activity, code can call an endpoint and pass it a callback URL. The pipeline run waits for the callback invocation before it proceeds to the next activity.
Prerequisites
To get started, you must complete the following prerequisites:
- You must have access to a Microsoft Fabric tenant with a provisioned capacity. You can try Fabric with a free trial.
- A Fabric workspace assigned to that capacity.
Add a WebHook activity to a pipeline with UI
To use a WebHook activity in a pipeline, complete the following steps:
Creating the activity
Create a new pipeline in your workspace.
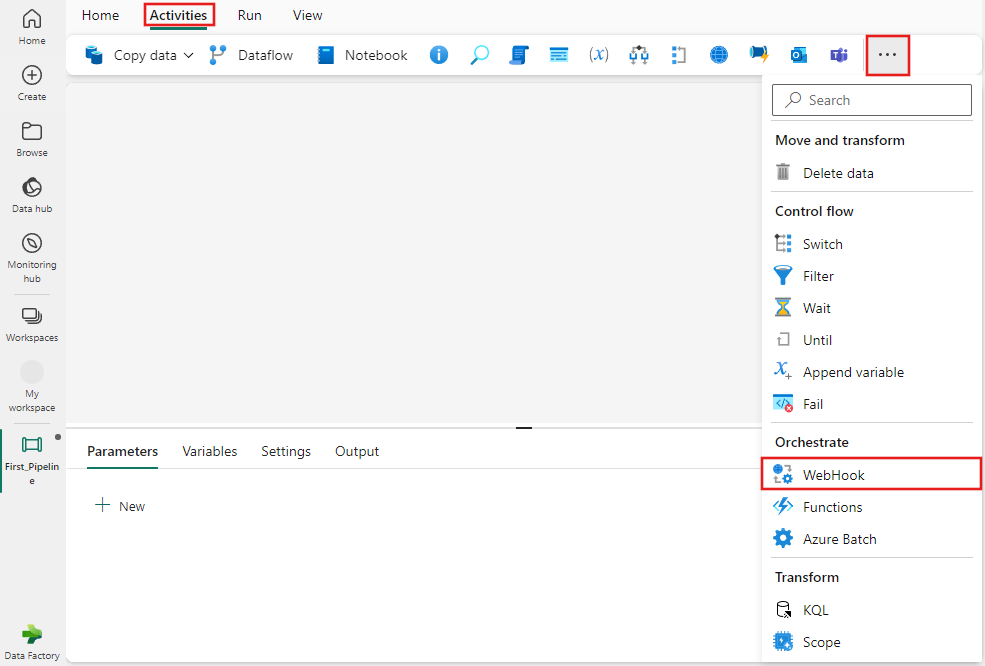
Search for WebHook in the pipeline Activities pane, and select it to add it to the pipeline canvas.
Note
Unless your screen has a very high resolution, you likely need to expand the list of activities from the toolbar using the ellipsis ... button to find the WebHook activity.
Select the new WebHook activity on the canvas if it isn't already selected.
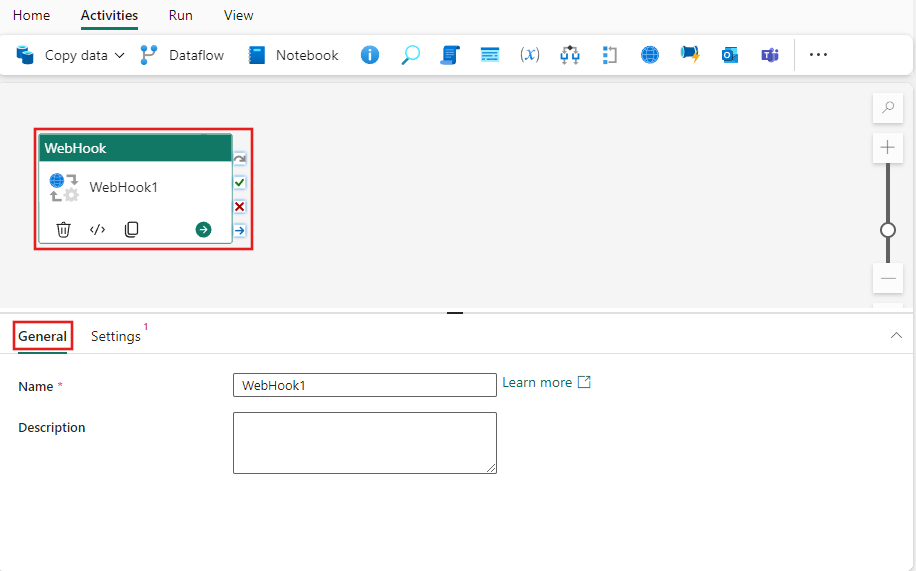
Refer to the General settings guidance to configure the General settings tab.
WebHook activity settings
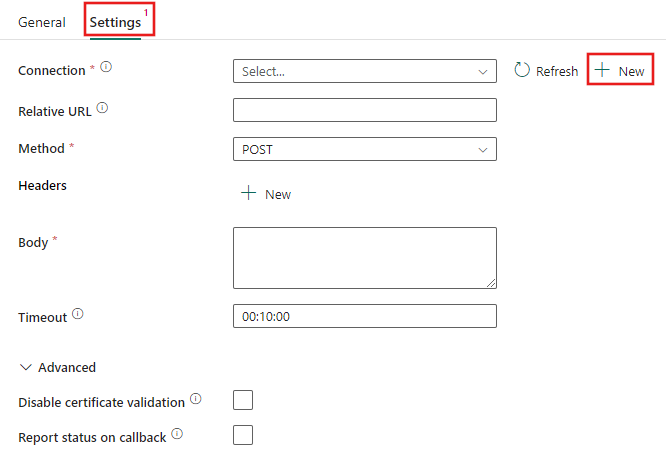
Select the Settings tab, select an existing connection from the Connection dropdown, or create a new connection, and specify its configuration details.
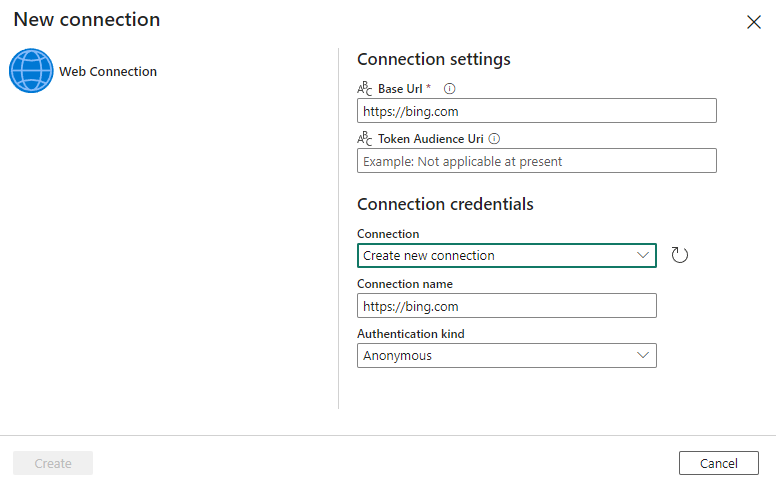
When you create a new connection, you see the connection creation dialog where you can provide the base URL and credentials to connect.
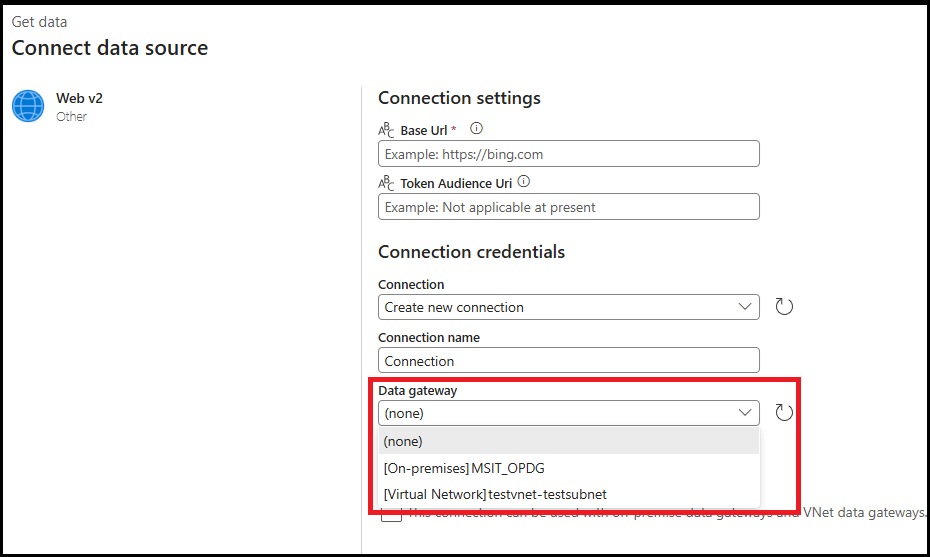
Using On-premises or virtual network data gateway
When creating your connection, you can now choose to use either an on-premises data gateway (OPDG) or a virtual network data gateway. For guidance on creating and configuring your OPDG, refer to how to create on-premises data gateway.
If you would like to use a virtual network gateway, refer to how to create a virtual network data gateway.
Once you have successfully created and configured your gateway, it should appear under the Data Gateway dropdown in the connection dialog.
After choosing or creating your connection, complete the remaining required fields, add any required headers, or set any advanced settings. The WebHook activity only supports the POST method.
Use the output from the activity as the input to any other activity, and reference the output anywhere dynamic content is supported in the destination activity.
Save and run or schedule the pipeline
Typically, you use the output of the WebHook activity with other activities, but once configured, it can be run directly without other activities, too. If you're running it to invoke a REST API that performs some action and you don't require any output from the activity, your pipeline might contain only the Web activity, too.
Switch to the Home tab at the top of the pipeline editor and select the save button to save your pipeline. Select Run to run it directly or Schedule to schedule runs at specific times or intervals. For more information on pipeline runs, see: schedule pipeline runs.

After running, you can monitor the pipeline execution and view run history from the Output tab below the canvas.