Note
Access to this page requires authorization. You can try signing in or changing directories.
Access to this page requires authorization. You can try changing directories.
The low-code AutoML interface in Fabric makes it easy for users to get started with machine learning by specifying their ML task and a few basic configurations. Based on these selections, the AutoML UI generates a pre-configured notebook tailored to the user's inputs. Once executed, all model metrics and iterations are automatically logged and tracked within existing ML experiments and model items, providing an organized and efficient way to manage and evaluate model performance.
Important
This feature is in preview.
Prerequisites
Get a Microsoft Fabric subscription. Or, sign up for a free Microsoft Fabric trial.
Sign in to Microsoft Fabric.
Switch to Fabric by using the experience switcher on the lower-left side of your home page.

Setup an Automated ML trial
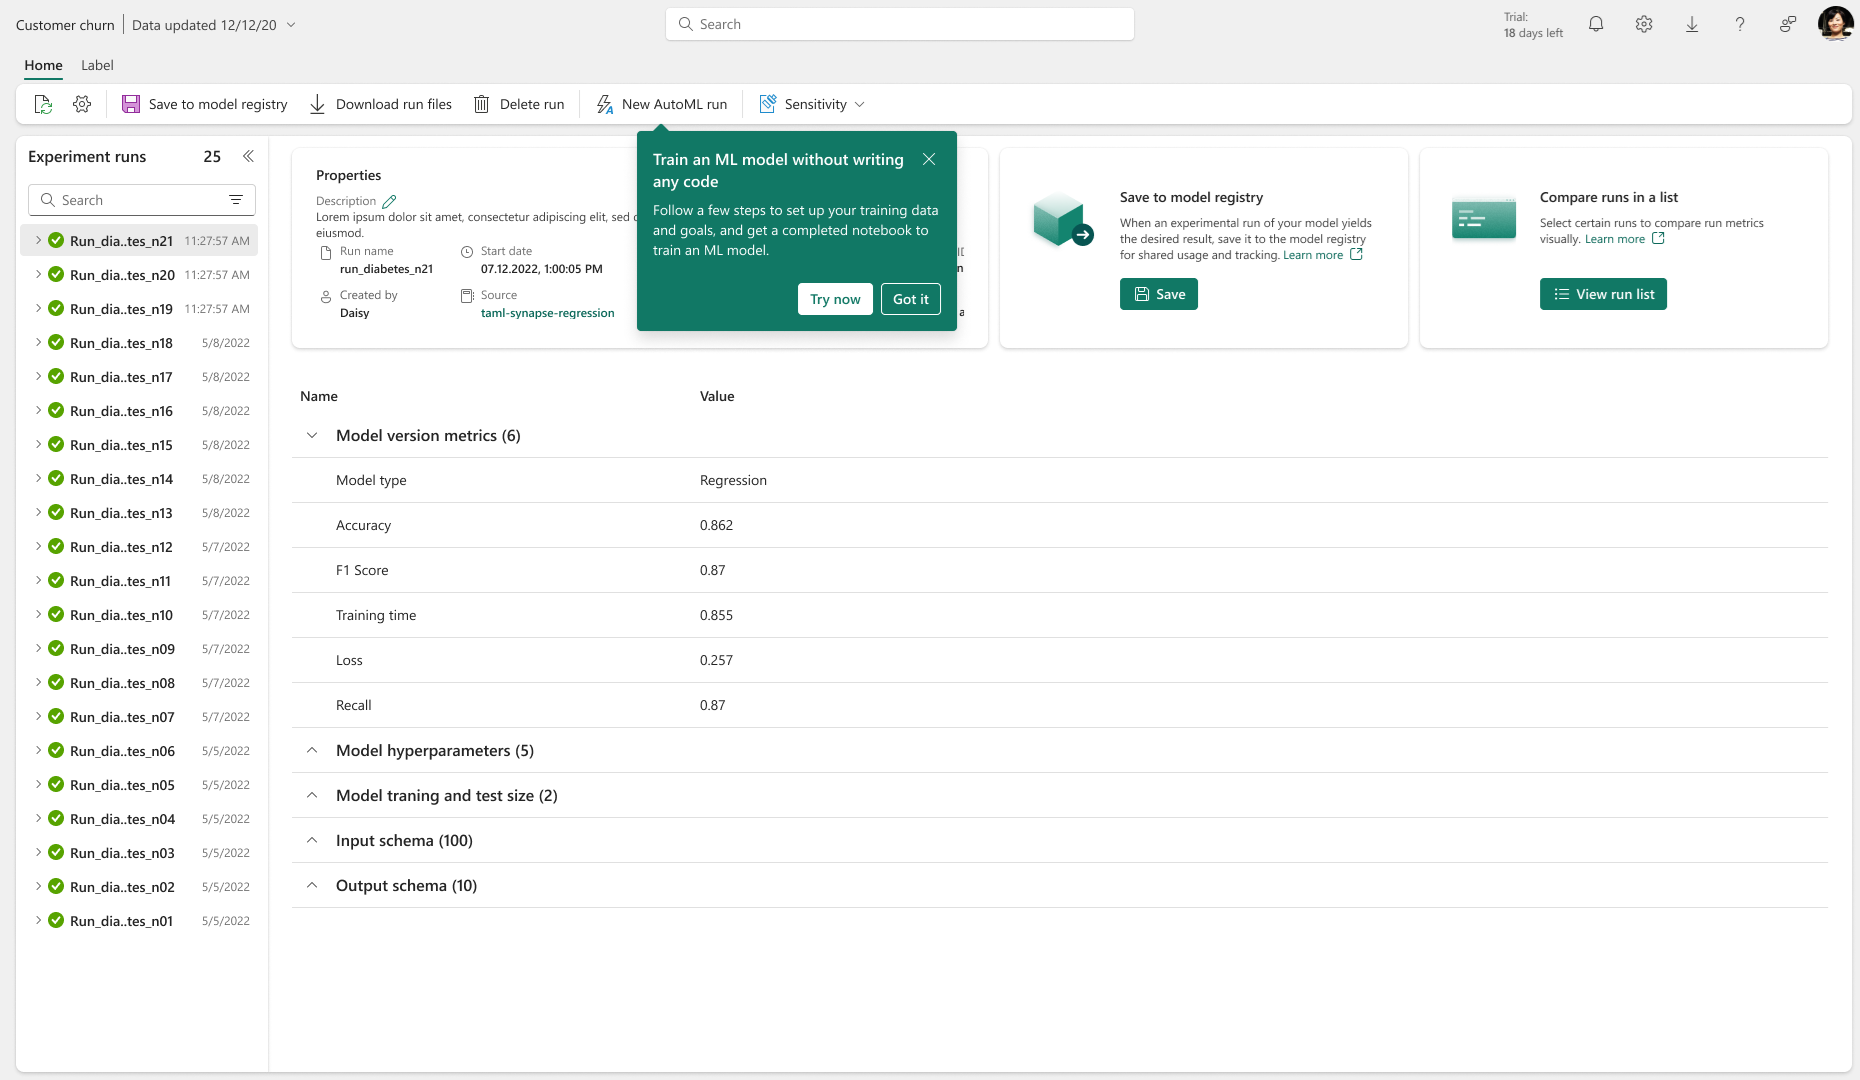
The AutoML wizard in Fabric can be conveniently launched directly from an existing experiment, model, or notebook item.
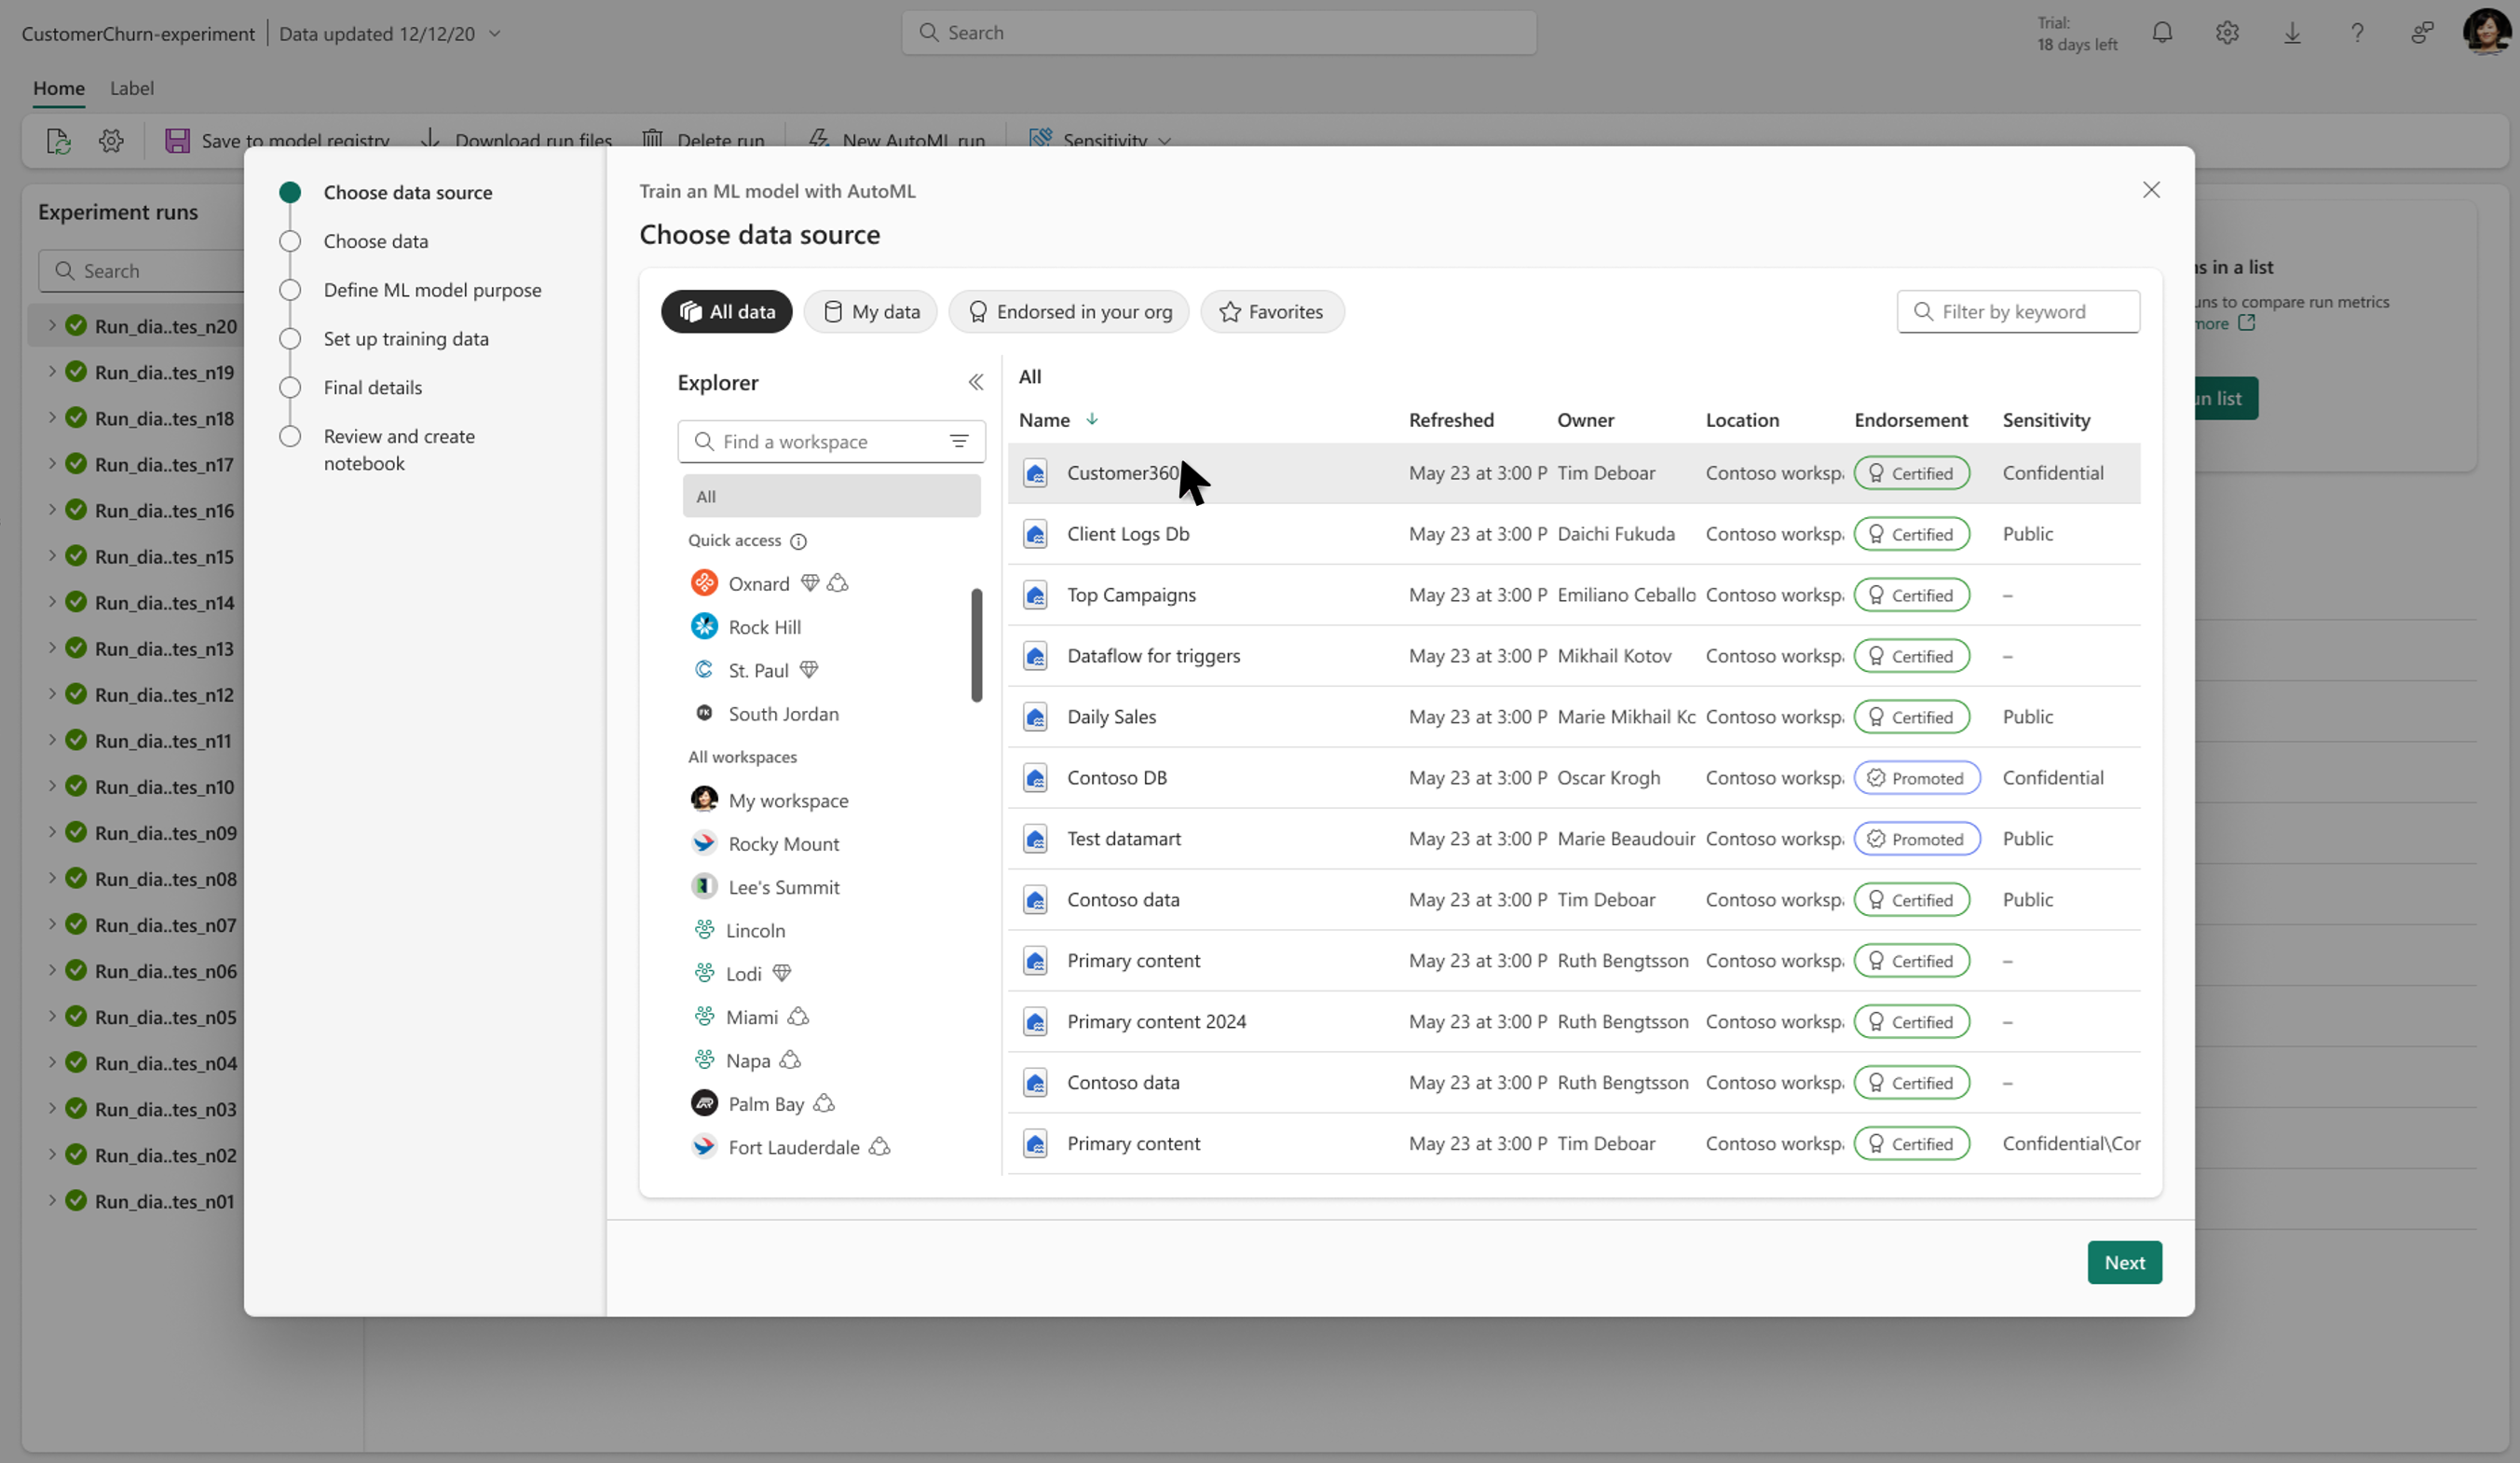
Choose data source
AutoML users in Fabric have the option to select from their available lakehouses, making it easy to access and analyze data stored within the platform. Once a lakehouse is selected, users can choose a specific table or file to use for their AutoML tasks.
Tip
When selecting a lakehouse, users can pick a table or a file to use with AutoML. Supported file types include CSV, XLS, XLSX, and JSON.
Define ML model purpose
In this step, users define the purpose of their model by selecting the ML task that best fits their data and goals.
Fabric’s AutoML wizard offers the following ML tasks:
- Regression: For predicting continuous numerical values.
- Binary Classification: For categorizing data into one of two classes.
- Multi-Class Classification: For categorizing data into one of multiple classes.
- Forecasting: For making predictions over time series data.
Once you’ve selected your ML task, you can then choose an AutoML Mode. Each mode sets default configurations for the AutoML trial, such as which models to explore and the time allocated to find the best model. The available modes are:
- Quick Prototype: Delivers rapid results, ideal for testing and iterating quickly.
- Interpretable Mode: Runs a bit longer and focuses on models that are inherently easier to interpret.
- Best Fit: Conducts a more comprehensive search with an extended runtime, aiming to find the best possible model.
- Custom: Allows you to manually adjust some settings in your AutoML trial for a tailored configuration.
Selecting the right ML task and AutoML mode ensures that the AutoML wizard aligns with your objectives, balancing speed, interpretability, and performance based on your chosen configuration.
Set up training data
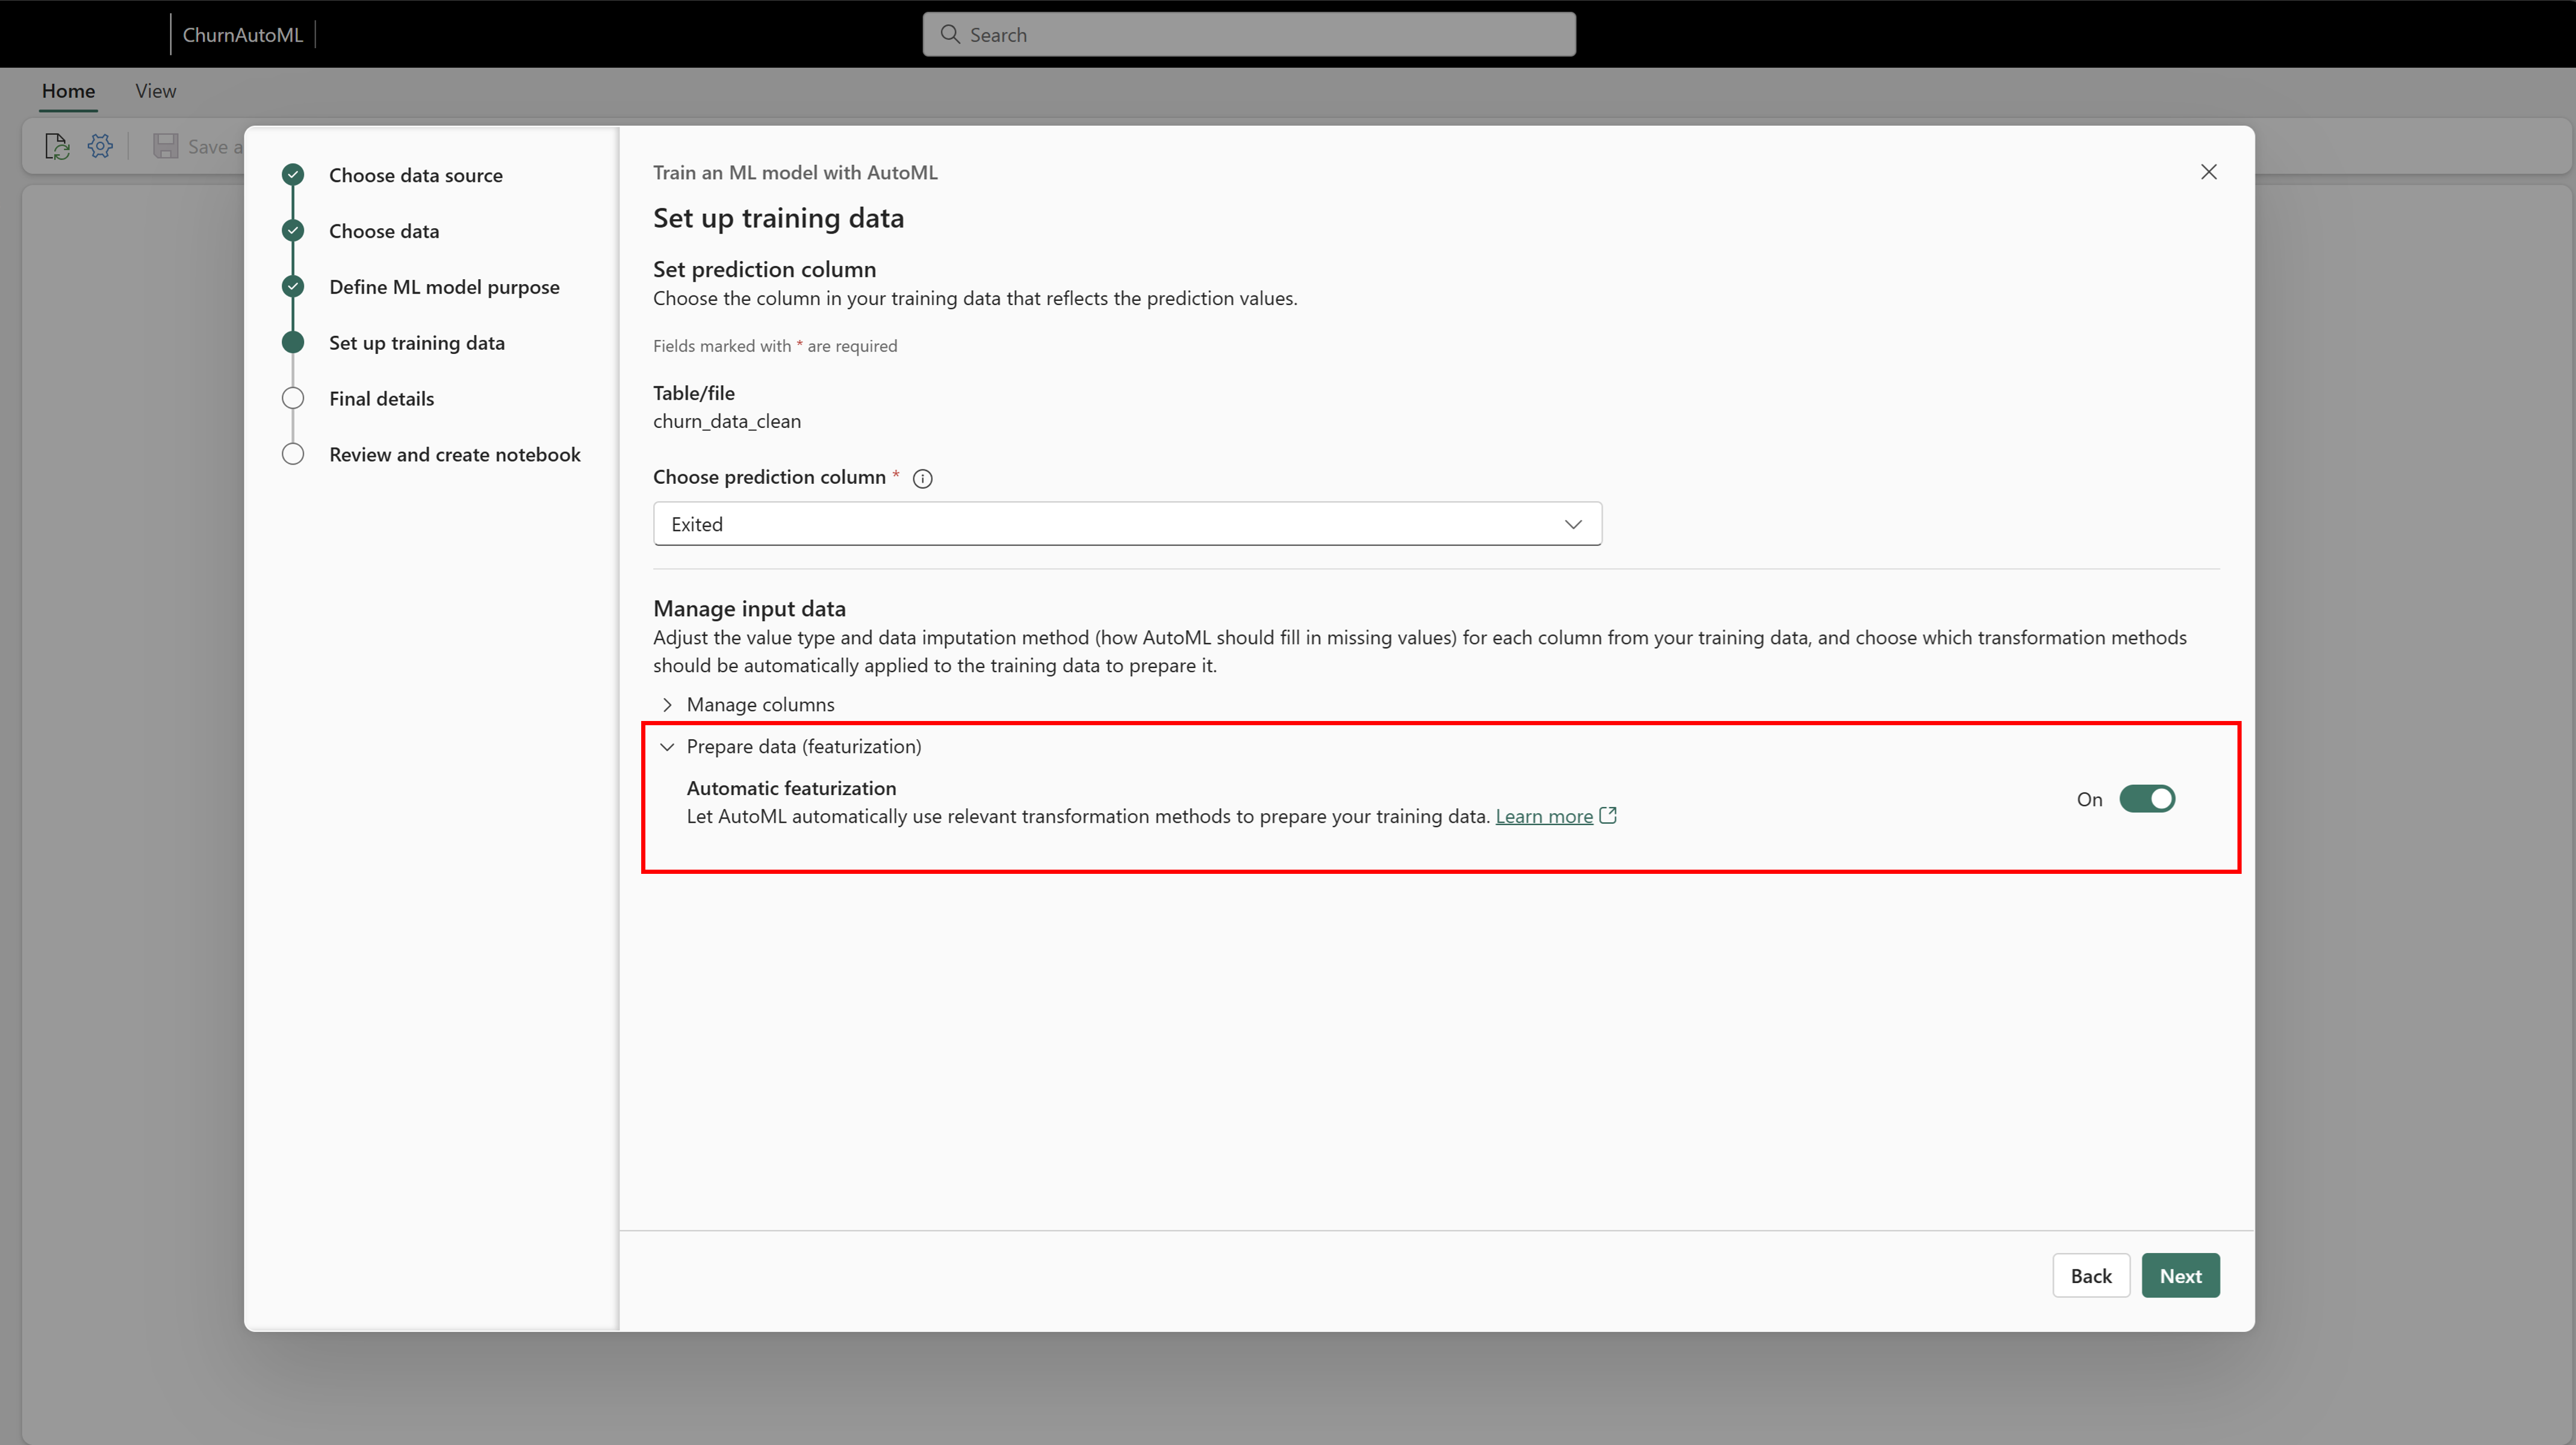
In this step, you’ll configure the training data that AutoML will use to build your model. Start by selecting the prediction column—this is the target column that your model will be trained to predict.
After selecting your prediction column, you can further customize how your input data is handled:
- Data Types: Review and adjust the data types for each input column to ensure compatibility and optimize the model’s performance.
- Imputation Method: Choose how to handle missing values in your dataset by selecting an imputation method, which will fill gaps in the data based on your preferences.
You can also enable or disable the auto featurize setting. When enabled, auto featurize generates additional features for training, potentially enhancing model performance by extracting extra insights from your data. Defining these data settings helps the AutoML wizard accurately interpret and process your dataset, improving the quality of your trial results.
Provide final details
Now, you’ll decide how you want your AutoML trial to be executed, along with naming conventions for your experiment and output. You have two options for executing your AutoML trial:
Train Multiple Models Simultaneously: This option is ideal if your data can be loaded into a pandas DataFrame, allowing you to leverage your Spark cluster to run multiple models in parallel. This approach accelerates the trial process by training several models at once.
Train Models Sequentially Using Spark: This option is suited for larger datasets or those that benefit from distributed training. It uses Spark and SynapseML to explore distributed models, training one model at a time with the scalability that Spark provides.
Note
Currently, the Spark mode does not support logging the input and output schema for Spark-based models. This schema is a required field for the SynapseML PREDICT function. As a workaround, you can load the model directly with MLFlow and perform inferencing within your notebook, bypassing the schema requirement for prediction.
After selecting your execution mode, finalize your setup by specifying names for your Notebook, Experiment, and Model. These naming conventions will help organize your AutoML assets within Fabric and make it easy to track and manage your trials. Once complete, a notebook will be generated based on your selections, ready to execute and customize as needed.
Review and create notebook
In the final step, you’ll have the chance to review all your AutoML settings and preview the generated code that aligns with your selections. This is your opportunity to ensure that the chosen ML task, mode, data setup, and other configurations meet your objectives.
Once you’re satisfied, you can finalize this step to generate a notebook that includes all the components of your AutoML trial. This notebook allows you to track each stage of the process, from data preparation to model evaluation, and serves as a comprehensive record of your work. You can also further customize this notebook as needed, adjusting code and settings to refine your AutoML trial results.
Track Your AutoML Runs
Once you execute your notebook, the AutoML code will utilize MLFlow logging to automatically track key metrics and parameters for each model tested during the trial. This seamless integration allows you to monitor and review each iteration of your AutoML run without needing additional setup.
To explore the results of your AutoML trial:
Navigate to your ML Experiment item: In a ML experiment, you can track all the different runs created by your AutoML process. Each run logs valuable details such as model performance metrics, parameters, and configurations, making it easy to analyze and compare results.
Review AutoML Configurations: For each AutoML trial, you’ll find the AutoML configurations used, providing insights into how each model was set up and which settings led to optimal results.
Locate the Best Model: Open your ML model to access the final, best-performing model from your AutoML trial.
This tracking workflow helps you organize, evaluate, and manage your models, ensuring you have full visibility into the performance and settings of each model tested in your AutoML trial. From here, you can leverage the SynapseML PREDICT interface or generate predictions directly from your notebooks.


