Note
Access to this page requires authorization. You can try signing in or changing directories.
Access to this page requires authorization. You can try changing directories.
Applies to: ✅ SQL database in Microsoft Fabric
You can input data into the SQL database in Fabric using Transact-SQL (T-SQL) statements, and you can also import data into your database using other Microsoft Fabric components, such as the Dataflow Gen2 feature or pipelines. For development, you can connect with any tool that supports the Tabular Data Stream (TDS) protocol, such as Visual Studio Code or SQL Server Management Studio.
To begin this section, you can use the SalesLT sample data provided as a starting point.
Prerequisites
- Complete all the previous steps in this tutorial.
Open the Query editor in the Fabric portal
Open the SQL database in Fabric database you created in the last tutorial step. You can find it in the navigation bar of the Fabric portal, or by finding it in your Workspace for this tutorial.
Select the Sample data button. This takes a few moments to populate your tutorial database with the SalesLT sample data.
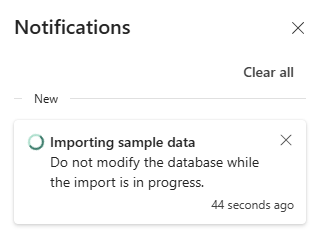
Check the Notifications area to ensure the import is complete before you proceed.

Notifications show you when the import of the sample data is complete. Your SQL database in Fabric now contains the
SalesLTschema and associated tables.
Use the SQL database in the SQL editor
The web-based SQL editor for SQL database in Fabric provides a foundational object explorer and query execution interface. A new SQL database in Fabric automatically opens into the SQL editor, and an existing database can be opened in the SQL editor by opening it in the Fabric portal.
There are several items in the toolbar of the Web editor, including refresh, settings, a query operation, and the ability to get performance information. You'll use these features throughout this tutorial.
In your database view, start by selecting New Query from the icon bar. This brings up a query editor, which has the Copilot AI feature to help you write your code. The Copilot for SQL database can assist you in finishing a query or creating one.
Type a T-SQL comment at the top of the query, such as
-- Create a query that shows the total number of customersand press Enter. You get a result similar to this one:Pressing the "Tab" key implements the suggested code:
Select Explain query in the icon bar of the Query editor to insert comments in your code to explain each major step:
Note
The Copilot tries its best to figure out your intent, but you should always check the code it creates before you run it, and always test in a separate environment from production.
In a production environment, you might have data that is already in a normalized format for day-to-day application operations, which you have simulated here with the SalesLT data. As you create a query, it's saved automatically in the Queries item in the Explorer pane. You should see your query as "SQL query 1". By default the system numbers the queries like "SQL query 1", but you can select the ellipses next to the query name to duplicate, rename or delete the query.
Insert data using Transact-SQL
You have been asked to create new objects to track the organization's supply chain, so you need to add a set of objects for your application. In this example, you'll create a single object in a new schema. You can add more tables to fully normalize the application. You can add more data such as multiple components per product, have more supplier information, and so on. Later in this tutorial, you'll see how the data is mirrored to the SQL analytics endpoint, and how you can query the data with a GraphQL API to automatically adjust as the objects are added or changed.
The following steps use a T-SQL script to create a schema, table, and data for the simulated data for supply chain analysis.
Select the New Query button in the toolbar of the SQL database to create a new query.
Paste the following script in the Query area and select Run to execute it. The following T-SQL script:
- Creates a schema named
SupplyChain. - Creates a table named
SupplyChain.Warehouse. - Populates the
SupplyChain.Warehousetable with some randomly created product data fromSalesLT.Product.
/* Create the Tutorial Schema called SupplyChain for all tutorial objects */
CREATE SCHEMA SupplyChain;
GO

/* Create a Warehouse table in the Tutorial Schema
NOTE: This table is just a set of INT's as Keys,
tertiary tables will be added later
*/

CREATE TABLE SupplyChain.Warehouse (
  ProductID INT PRIMARY KEY  -- ProductID to link to Products and Sales tables
, ComponentID INT -- Component Identifier, for this tutorial we assume one per product, would normalize into more tables
, SupplierID INT -- Supplier Identifier, would normalize into more tables
, SupplierLocationID INT -- Supplier Location Identifier, would normalize into more tables
, QuantityOnHand INT); -- Current amount of components in warehouse
GO

/* Insert data from the Products table into the Warehouse table. Generate other data for this tutorial */
INSERT INTO SupplyChain.Warehouse (ProductID, ComponentID, SupplierID, SupplierLocationID, QuantityOnHand)
SELECT p.ProductID,
    ABS(CHECKSUM(NEWID())) % 10 + 1 AS ComponentID,
    ABS(CHECKSUM(NEWID())) % 10 + 1 AS SupplierID,
    ABS(CHECKSUM(NEWID())) % 10 + 1 AS SupplierLocationID,
    ABS(CHECKSUM(NEWID())) % 100 + 1 AS QuantityOnHand
FROM [SalesLT].[Product] AS p;
GO
Your SQL database in Fabric database now includes Warehouse information. You'll use this data in a later step in this tutorial.
- Creates a schema named
You can select these tables in the Explorer pane, and the table data is displayed – no need to write a query to see it.
Insert data using a Microsoft Fabric Pipeline
Another way you can import data into and export data out of your SQL database in Fabric is to use a Microsoft Fabric Pipeline. Pipelines offer an alternative to using commands, instead using a graphical user interface. A pipeline is a logical grouping of activities that together perform a data ingestion task. Pipelines allow you to manage extract, transform, and load (ETL) activities instead of managing each one individually.
Microsoft Fabric Pipelines can contain a Dataflow. Dataflow Gen2 uses a Power Query interface that allows you to perform transformations and other operations on the data. You'll use this interface to bring in data from the Northwind Traders company, which Contoso partners with. They're currently using the same suppliers, so you'll import their data and show the names of these suppliers using a view that you'll create in another step in this tutorial.
To get started, open the SQL database view of the sample database in the Fabric portal, if it isn't already.
Select the Get Data button from the menu bar.
Select New Dataflow Gen2.
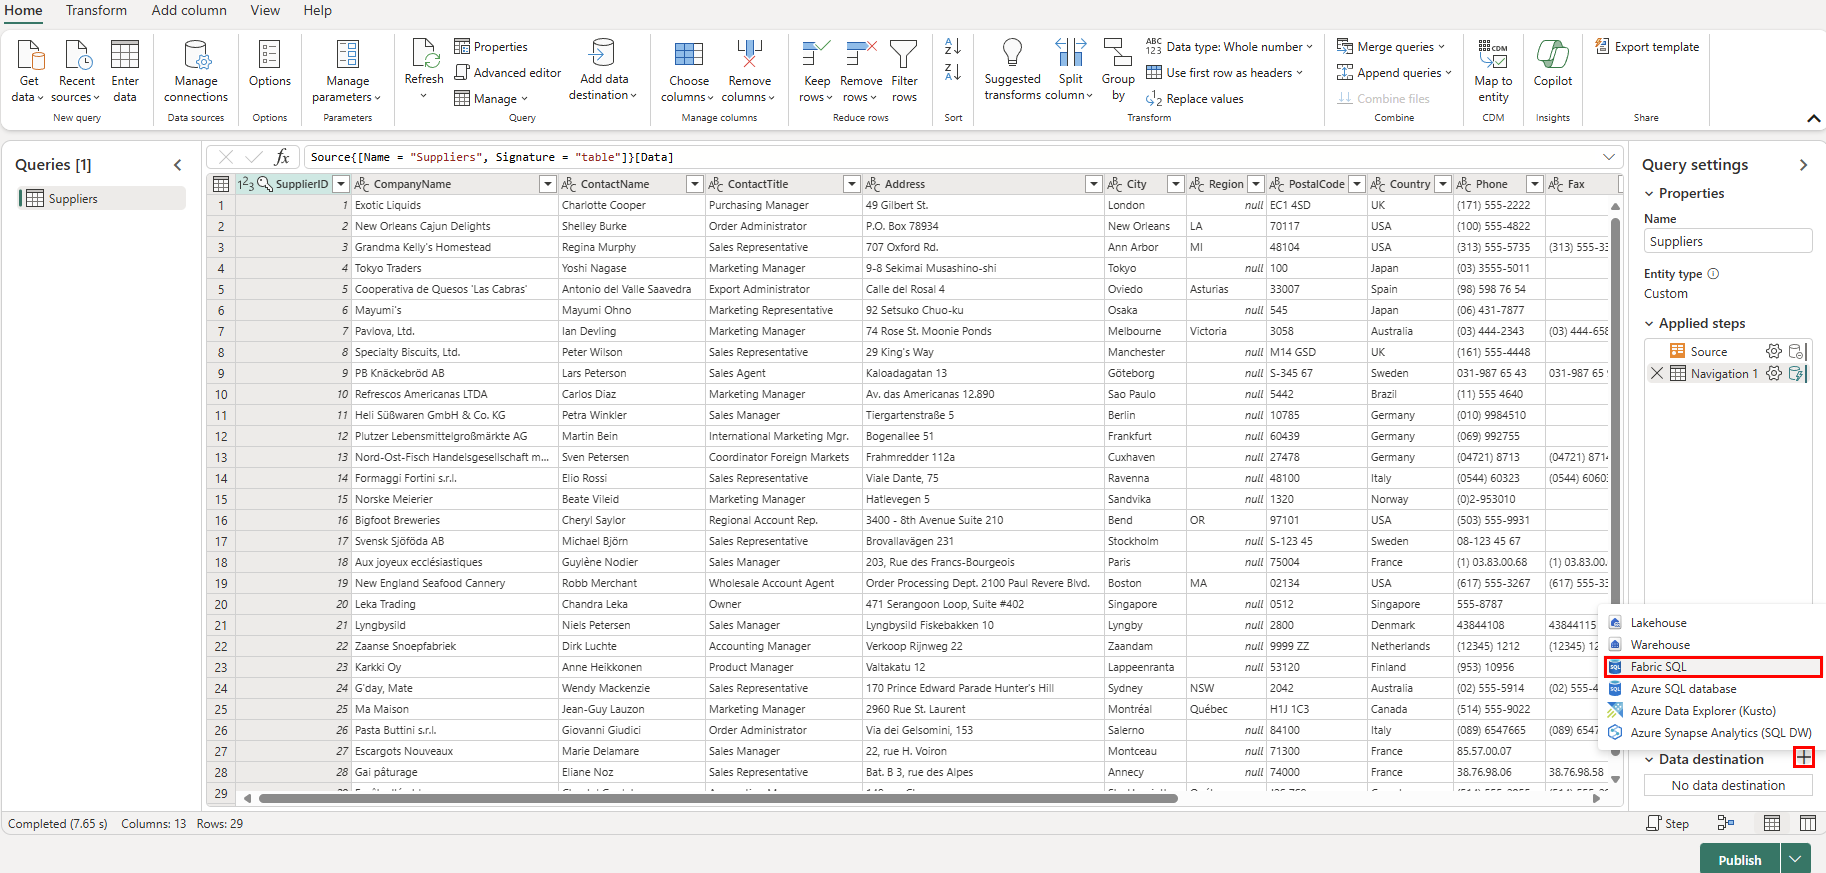
In the Power Query view, select the Get Data button. This starts a guided process rather than jumping to a particular data area.
In the search box of the Choose Data Source, view type odata.
Select OData from the New sources results.
In the URL text box of the Connect to data source view, type the text:
https://services.odata.org/v4/northwind/northwind.svc/for the Open Data feed of theNorthwindsample database. Select the Next button to continue.Scroll down to the Suppliers table from the OData feed and select the checkbox next to it. Then select the Create button.
Now select the + plus-symbol next to the Data Destination section of the Query Settings, and select SQL database from the list.
On the Connect to data destination page, ensure the Authentication kind is set to Organizational account. Select Sign in and enter your Microsoft Entra ID credentials to the database.
Once you're successfully connected, select the Next button.
Select the Workspace name you created in the first step of this tutorial in the Choose destination target section.
Select your database that shows underneath it. Ensure that the New table radio button is selected and leave the name of the table as Suppliers and select the Next button.
Leave the Use automatic settings slider set on the Choose destination settings view and select the Save settings button.
Select the Publish button to start the data transfer.
You're returned to your Workspace view, where you can find the new Dataflow item.
When the Refreshed column shows the current date and time, you can select your database name in the Explorer then expand the
dboschema to show the new table. (You might have to select the Refresh icon in the toolbar.)
The data is now ingested into your database. You can now create a query that combines the data from the Suppliers table using this tertiary table. You'll do this later in our tutorial.


