Note
Access to this page requires authorization. You can try signing in or changing directories.
Access to this page requires authorization. You can try changing directories.
Copilot Studio empowers business analysts, developers, and domain experts to create intelligent, enterprise-grade AI agents without extensive coding expertise. By combining natural language processing with your ontology, you can build custom copilots that understand your organization's unique data structure and business context.
Important
This feature is in preview.
In this article, you:
- Create a new agent in Copilot Studio.
- Configure your agent to use ontology (preview) as a data source by connecting to an existing ontology.
- Validate your agent's functionality using the built-in Test pane.
After completing the steps in this article, you have a fully functional agent capable of answering business questions by leveraging your ontology as a trusted, single source of truth.
Prerequisites
Before you begin, make sure you have:
- An active Copilot Studio Production environment with ontology MCP tools allowed.
- A Microsoft Fabric workspace that contains at least one (preview) item, accessible through the OneLake catalog. For more information, see Create ontology (preview) item.
- An Edge or Chrome browser, signed in with the same identity that has access to both the Copilot Studio environment and the Fabric workspace.
Step 1: Login into your Copilot Studio production environment
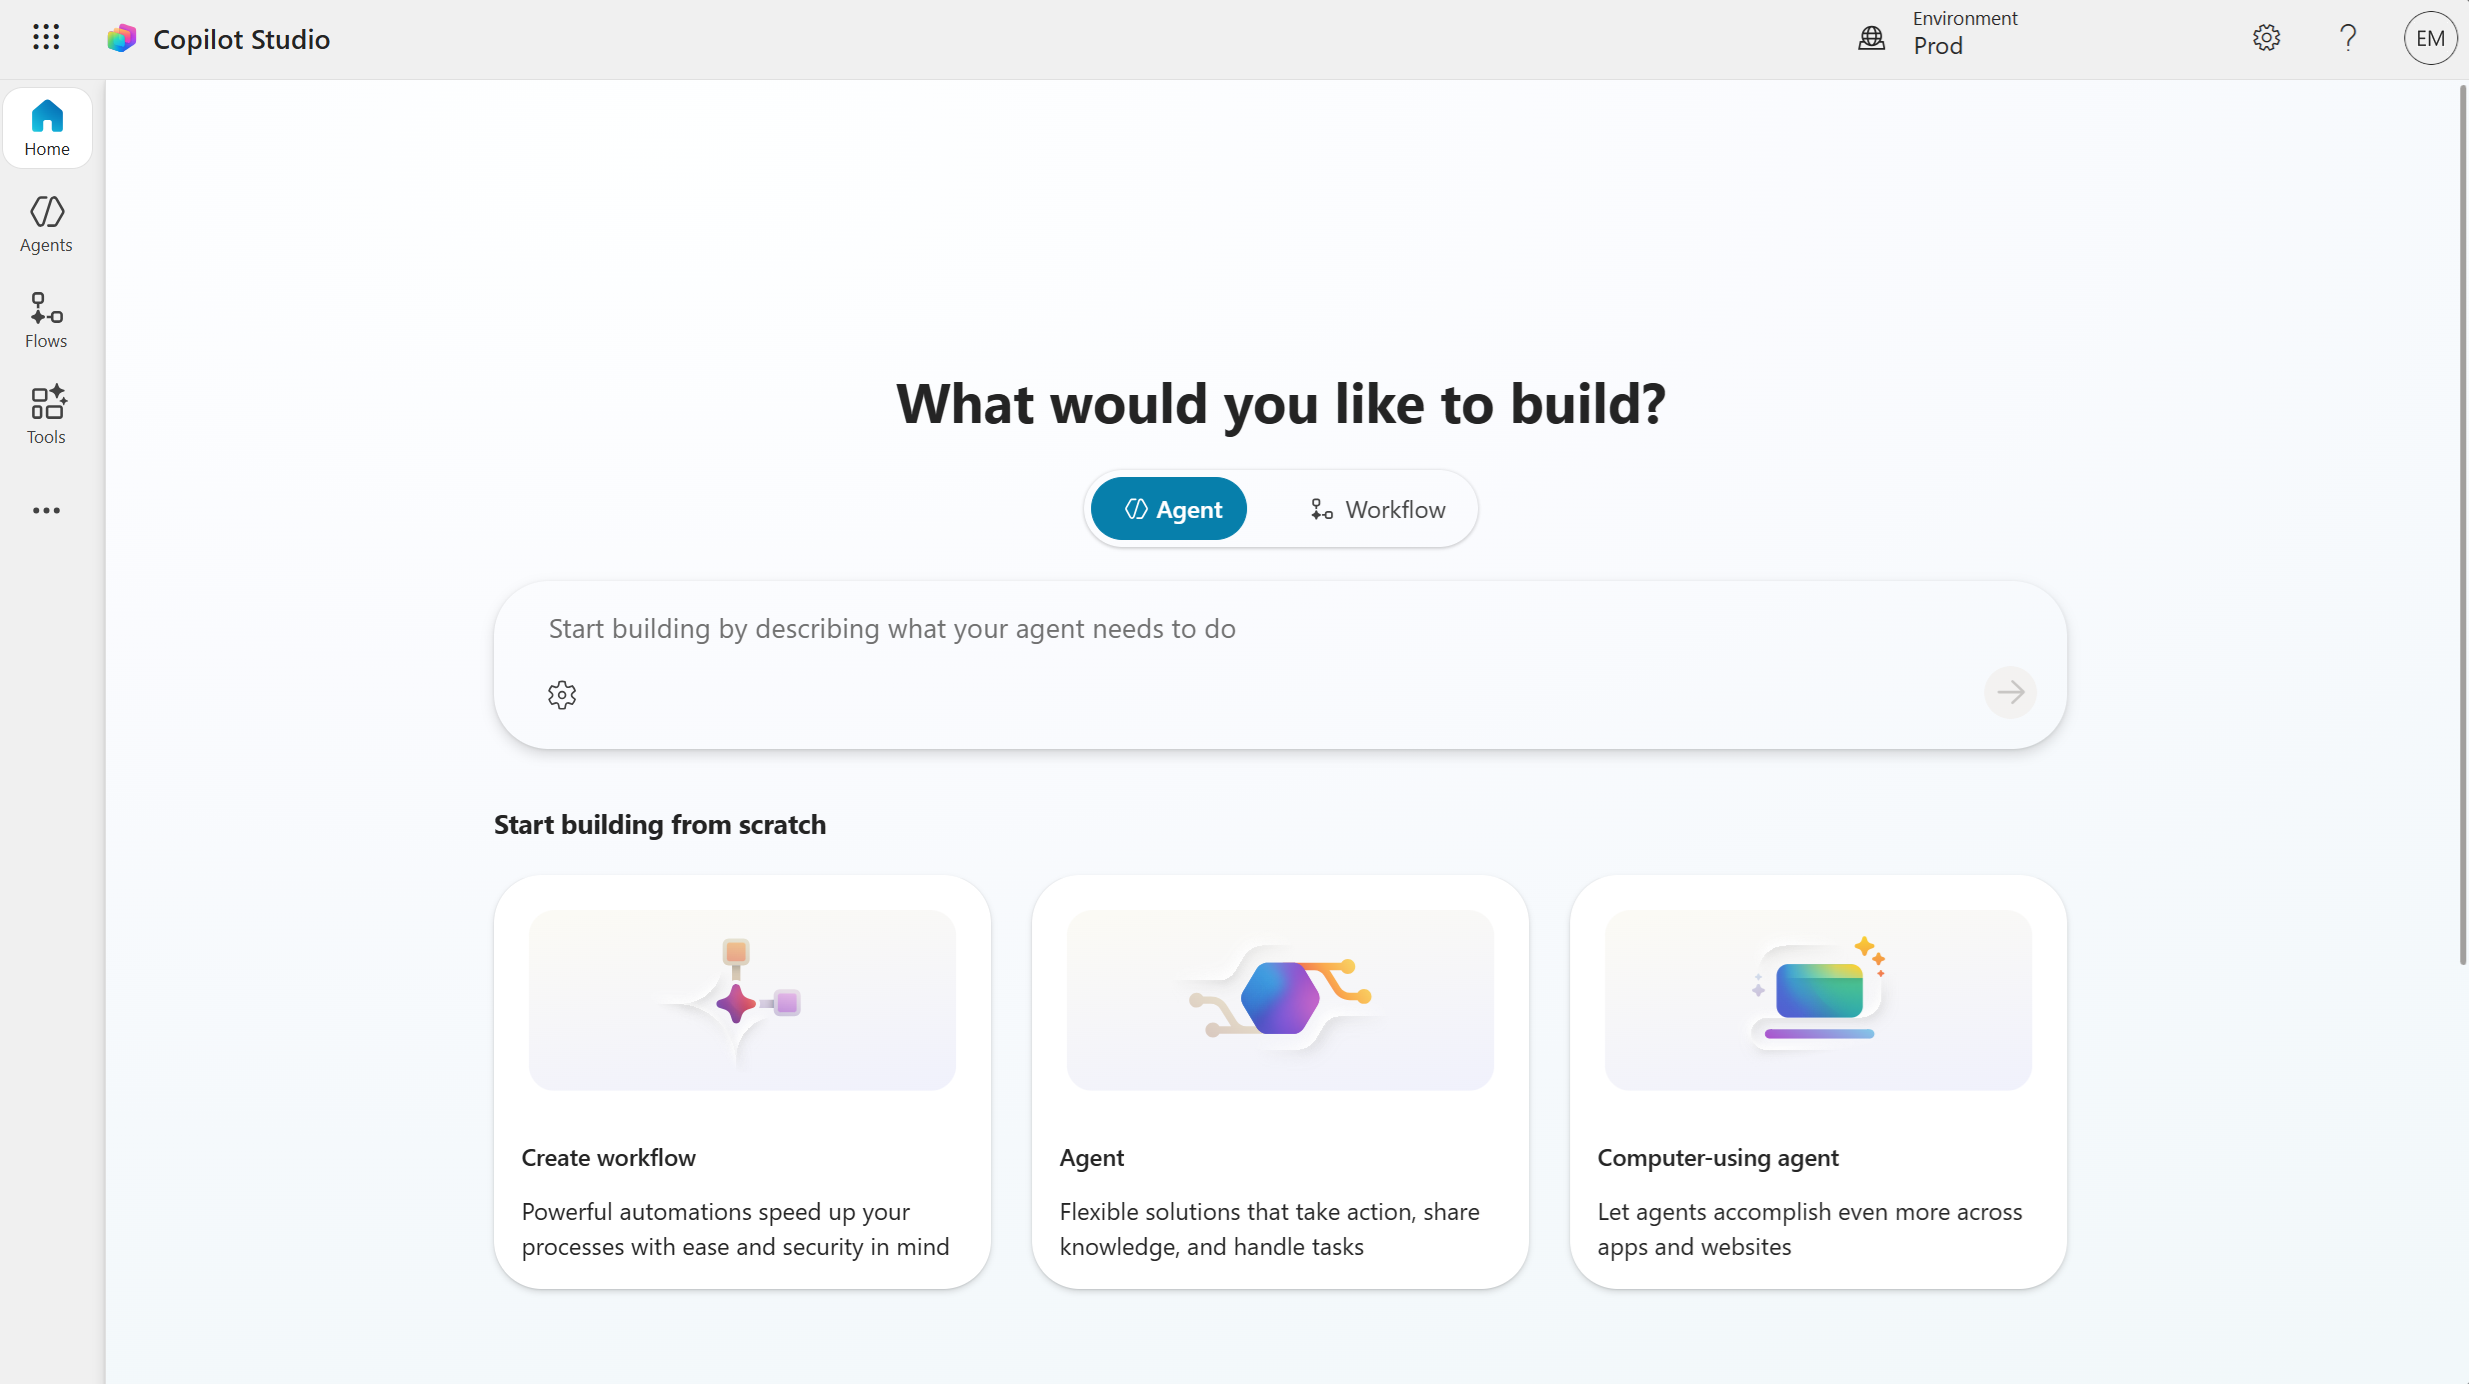
- Open Copilot Studio: https://copilotstudio.microsoft.com/.
Step 2: Create a new agent
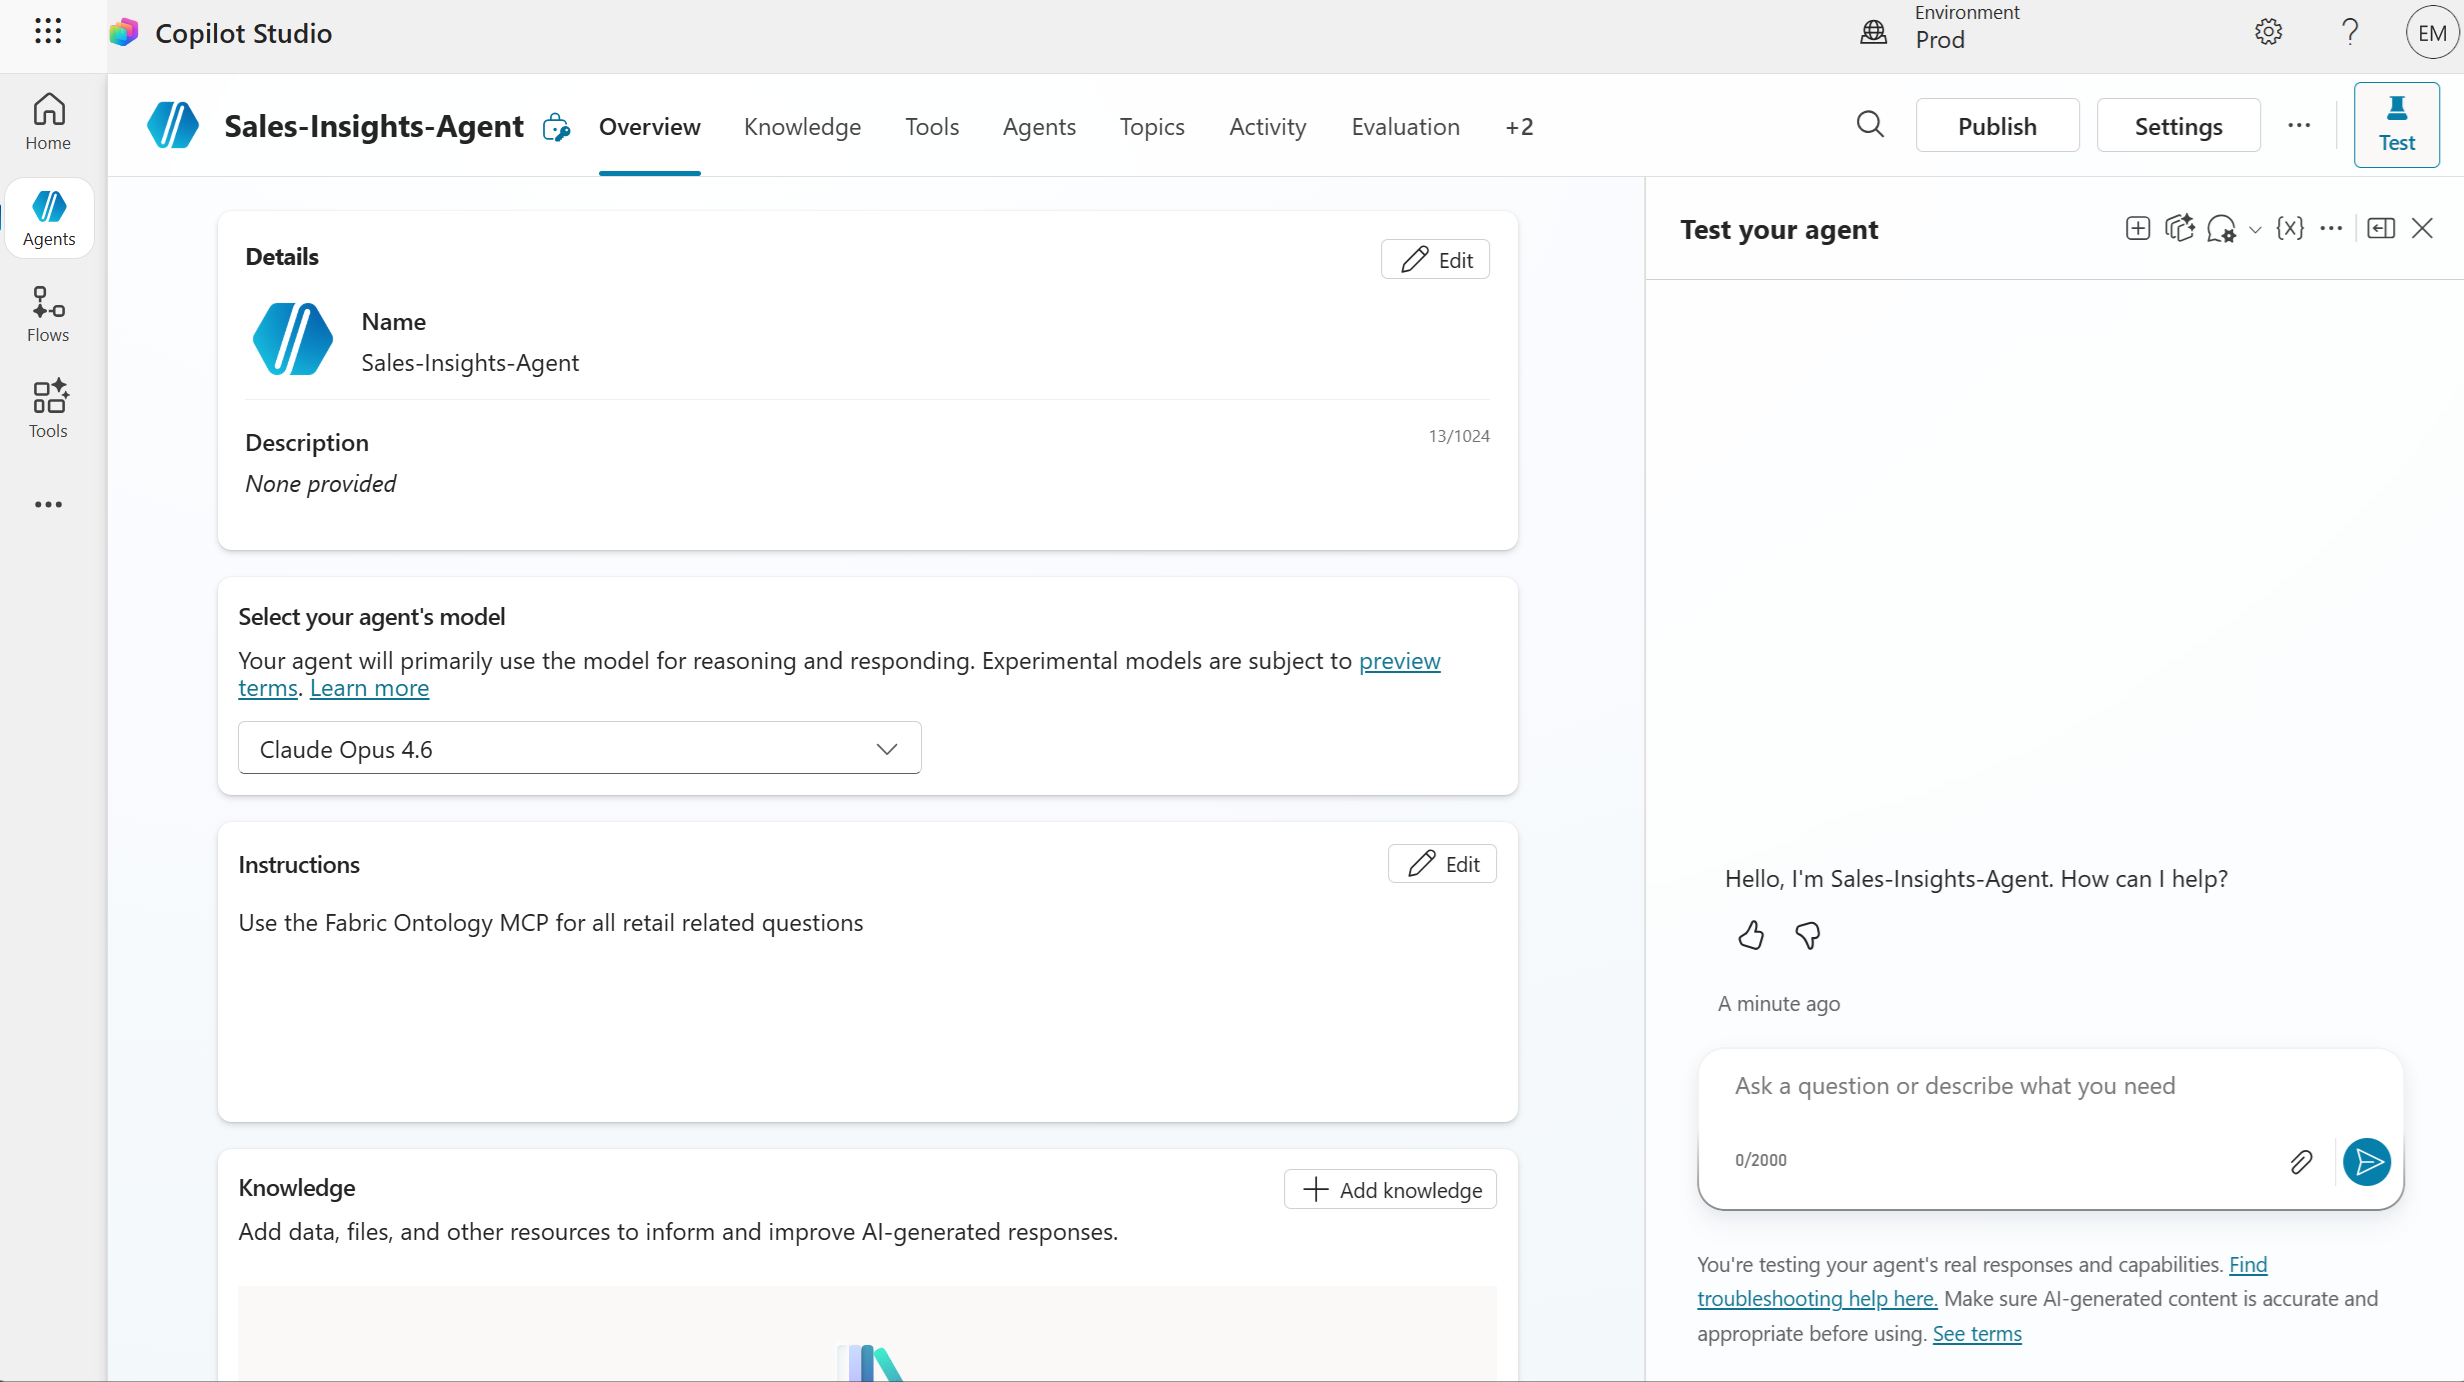
Select Agents from the left navigation bar and select + Create blank agent.
Provide a unique name for your agent. The agent opens when it's ready.
Step 3: Add Fabric IQ MCP tool
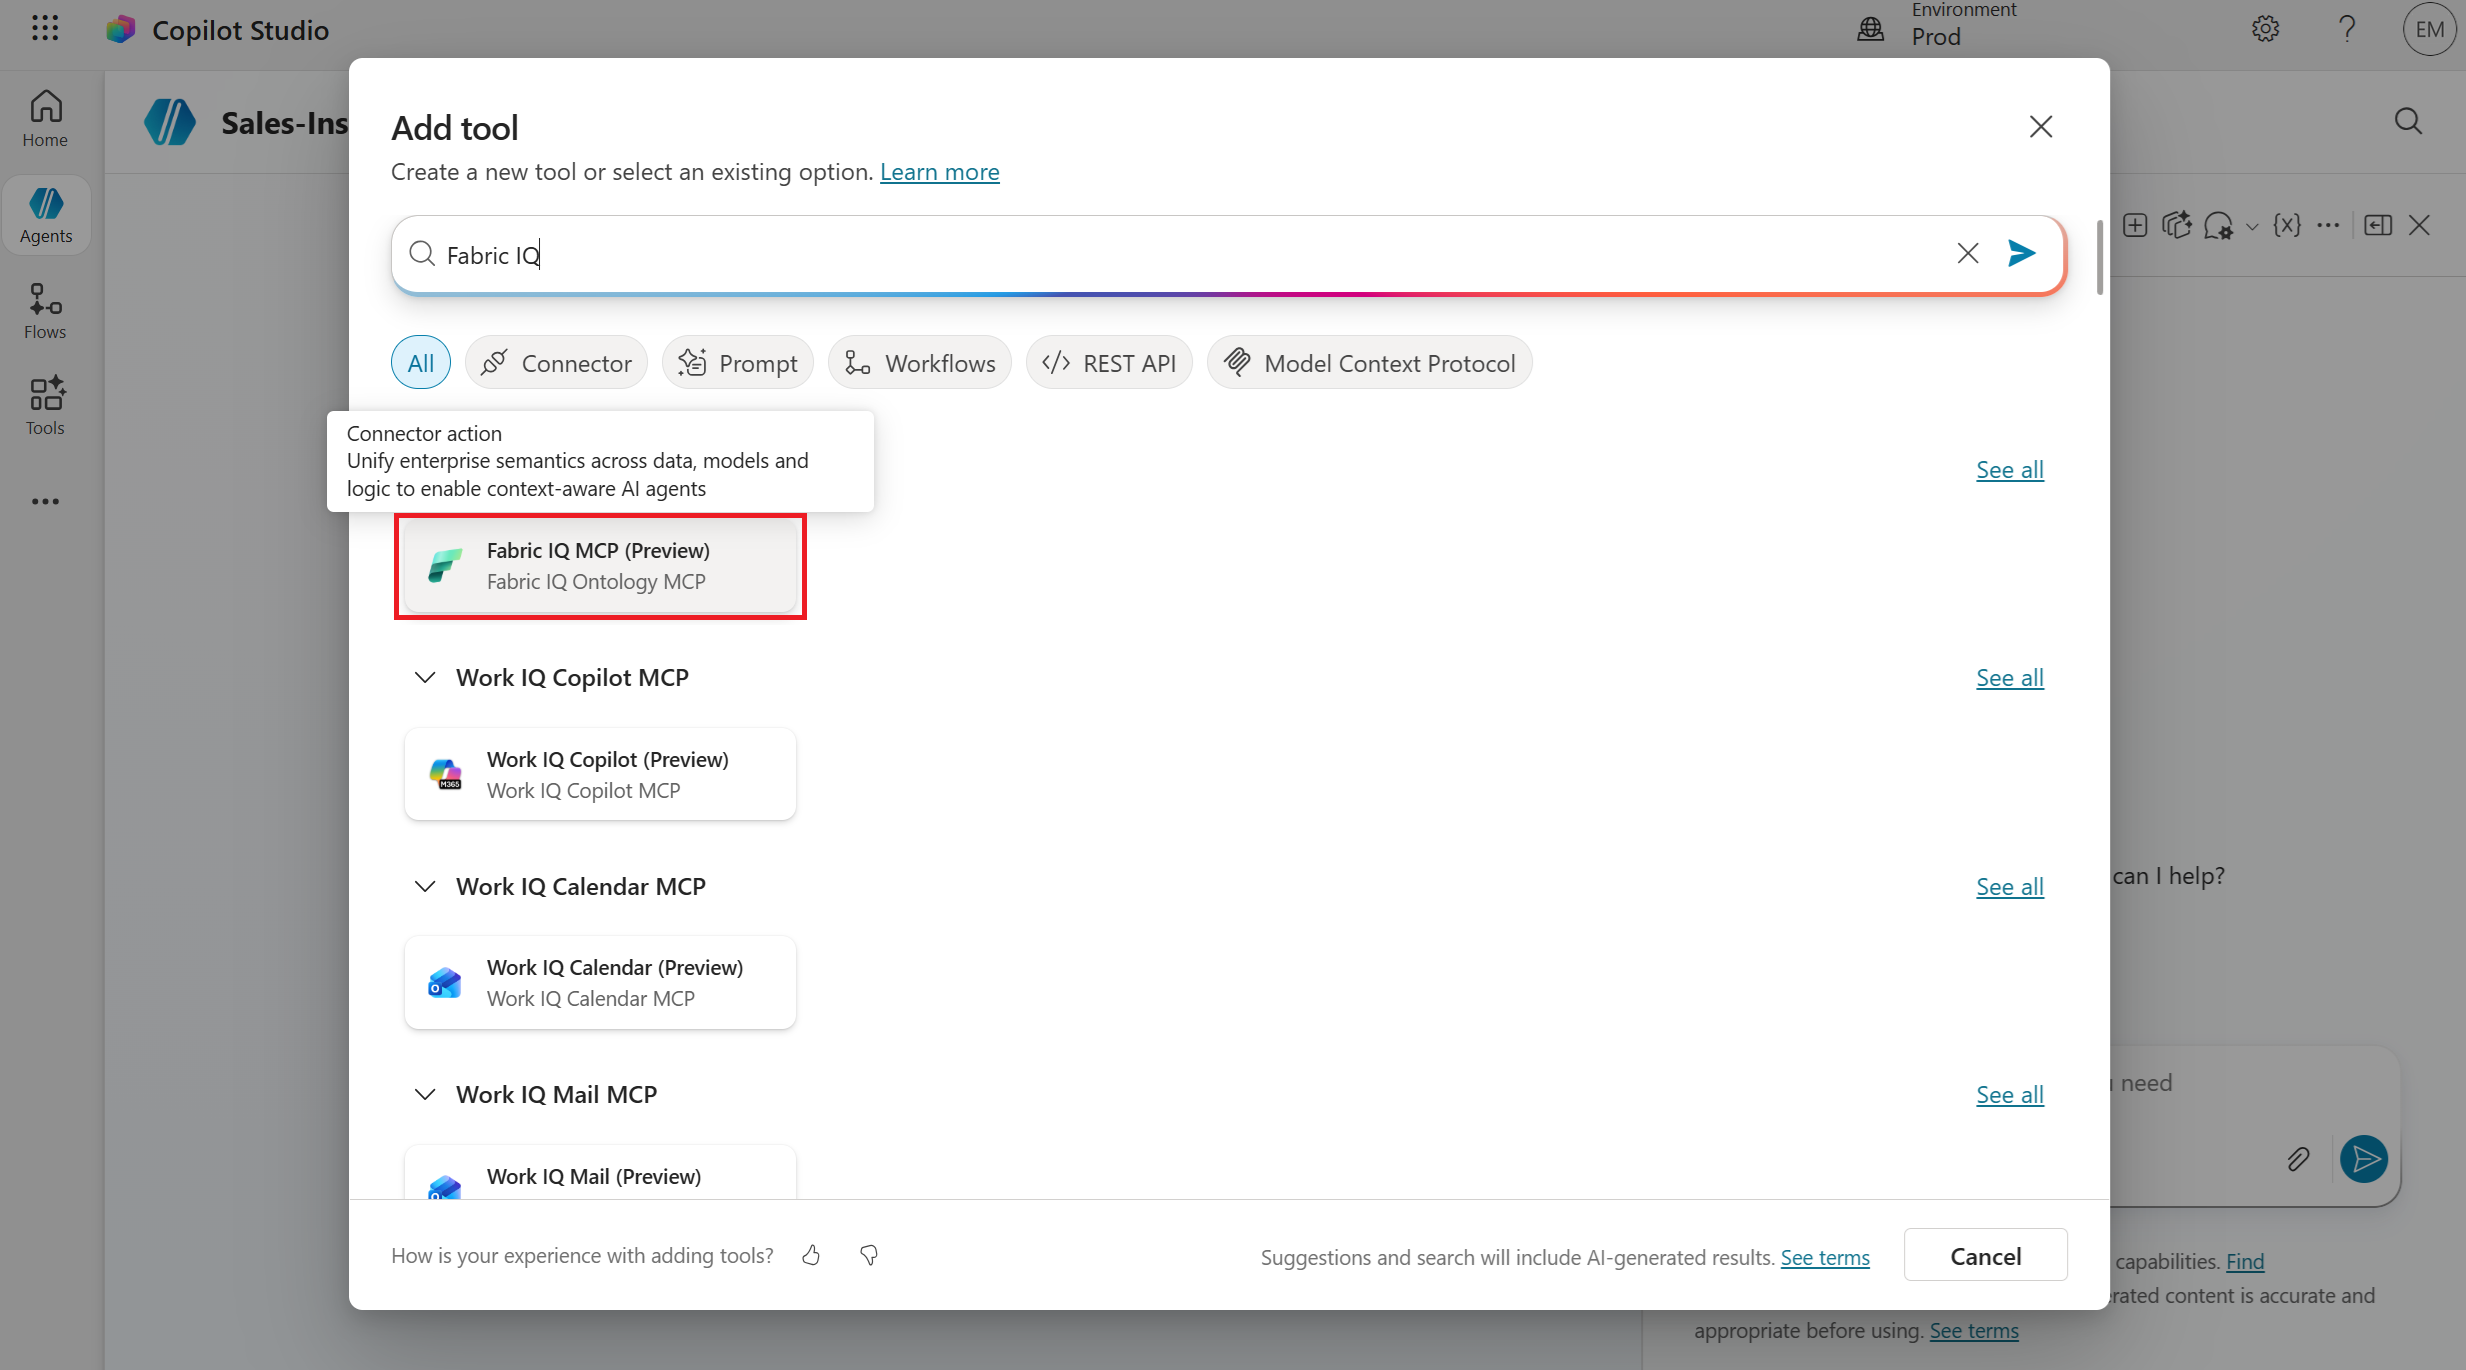
Select Tools from the tabs next to the agent name, and select + Add tool.
Search for Fabric IQ and select Fabric IQ MCP (Preview).
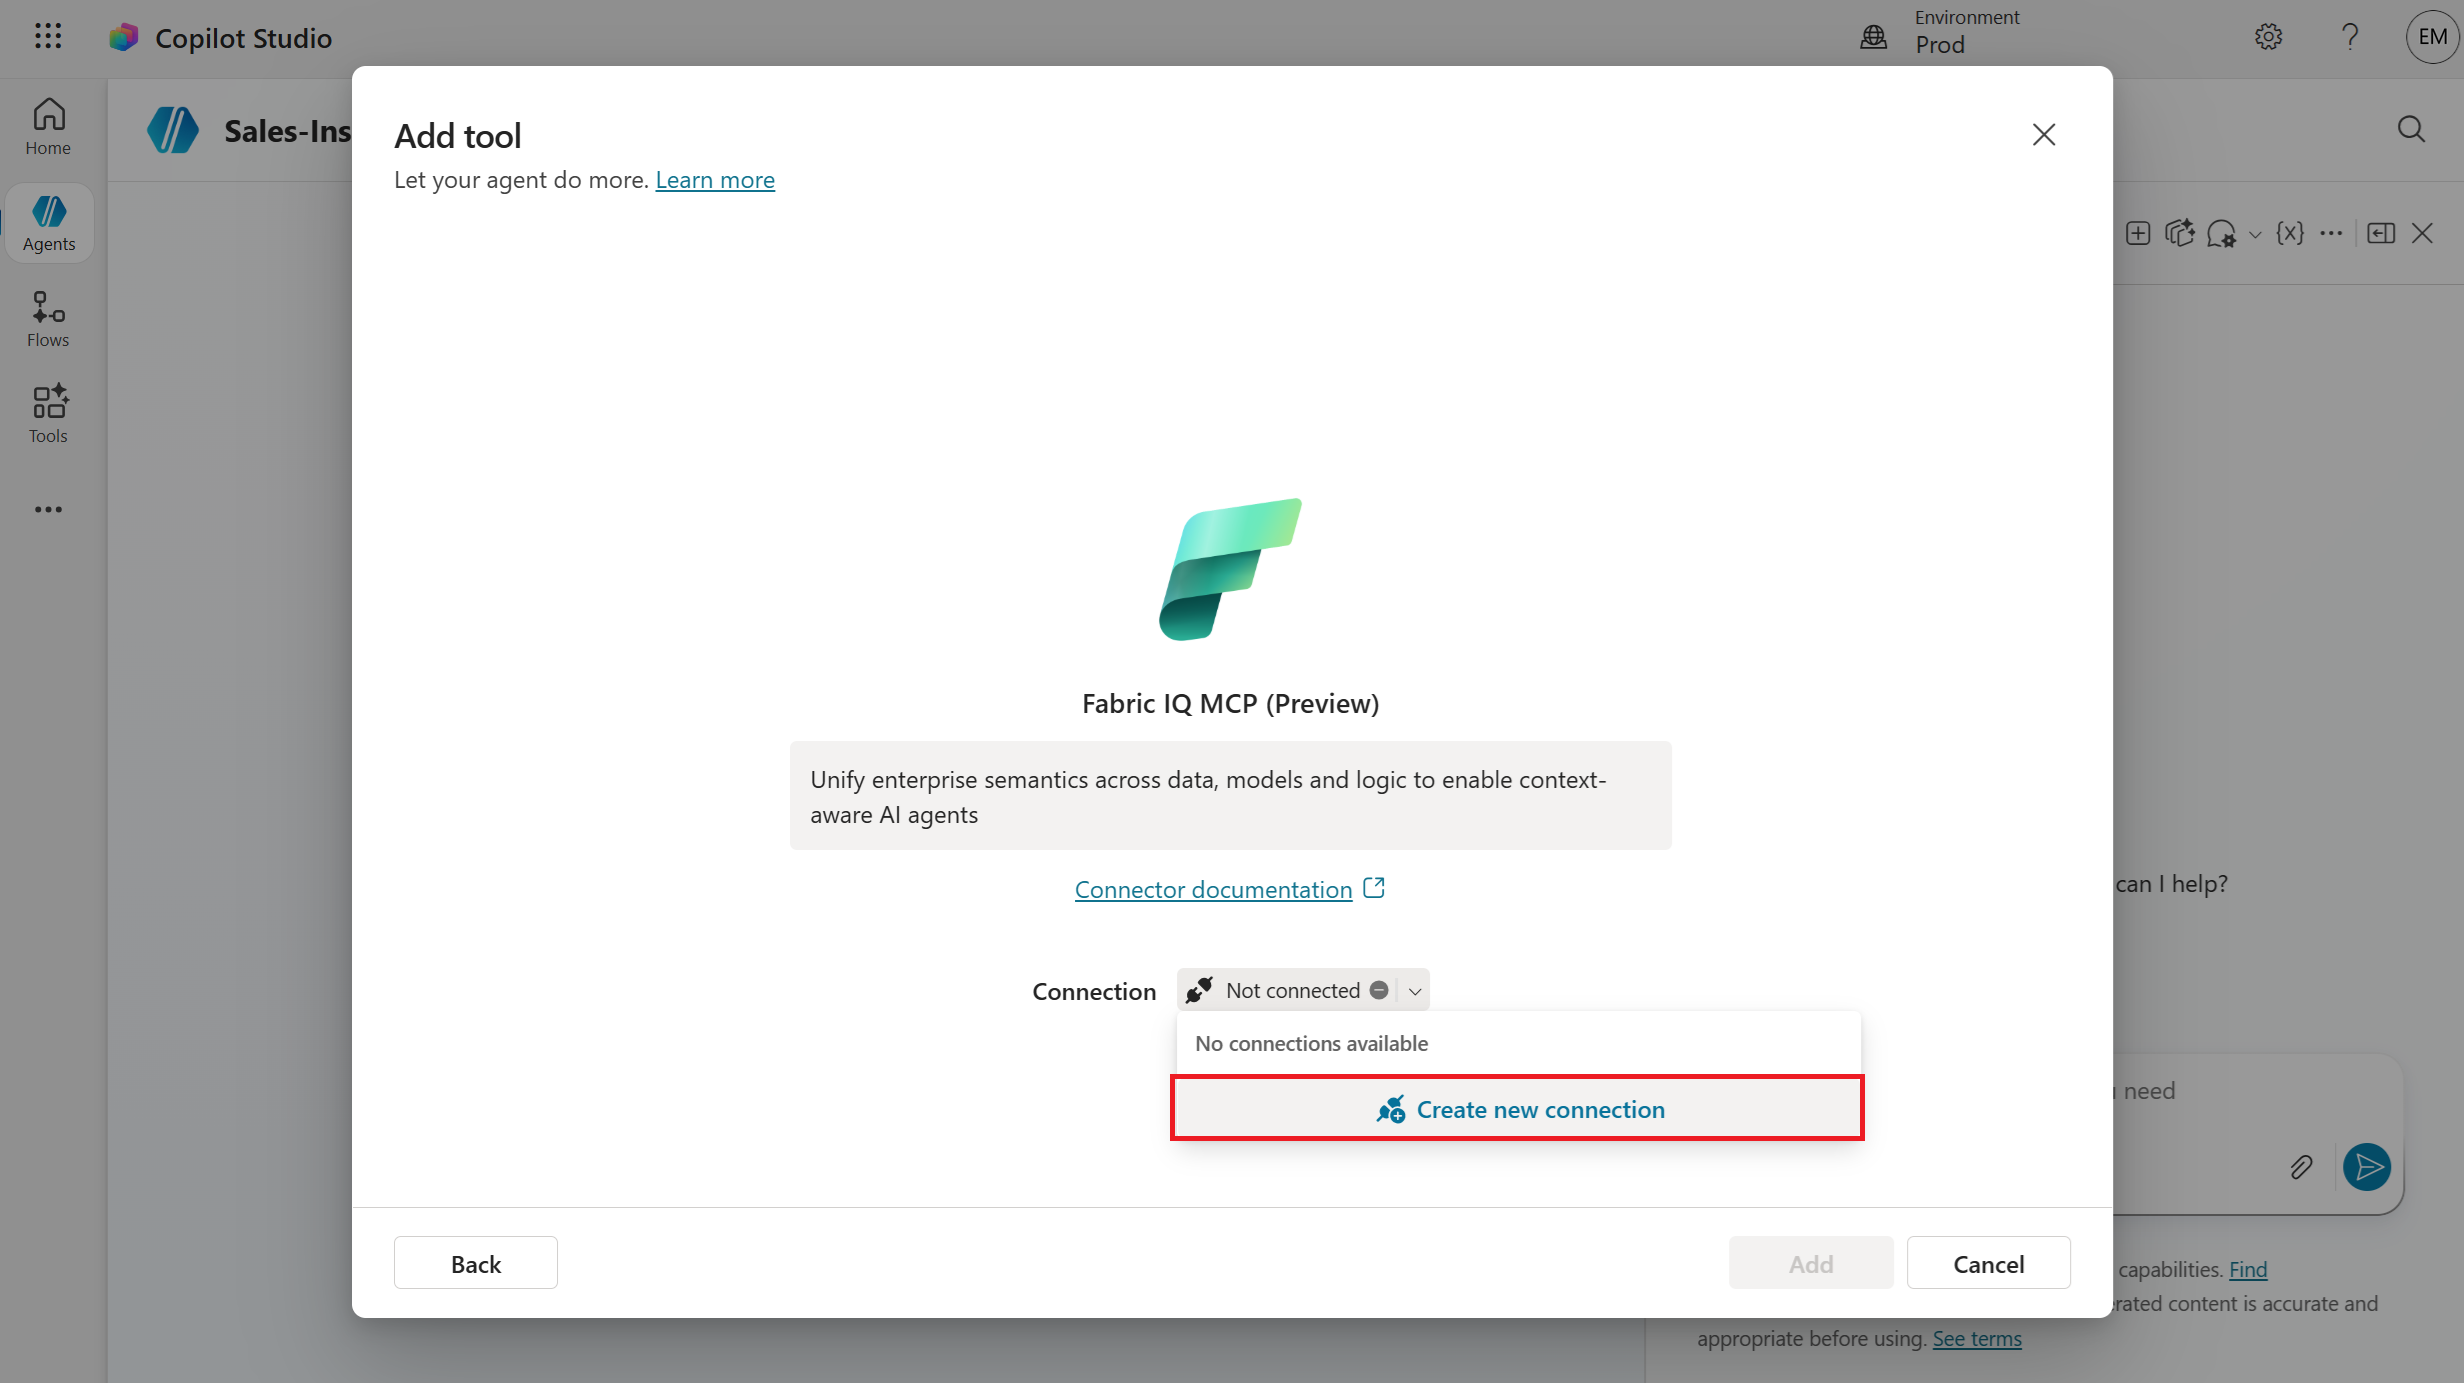
Expand the dropdown menu next to Connection and select Create new connection.
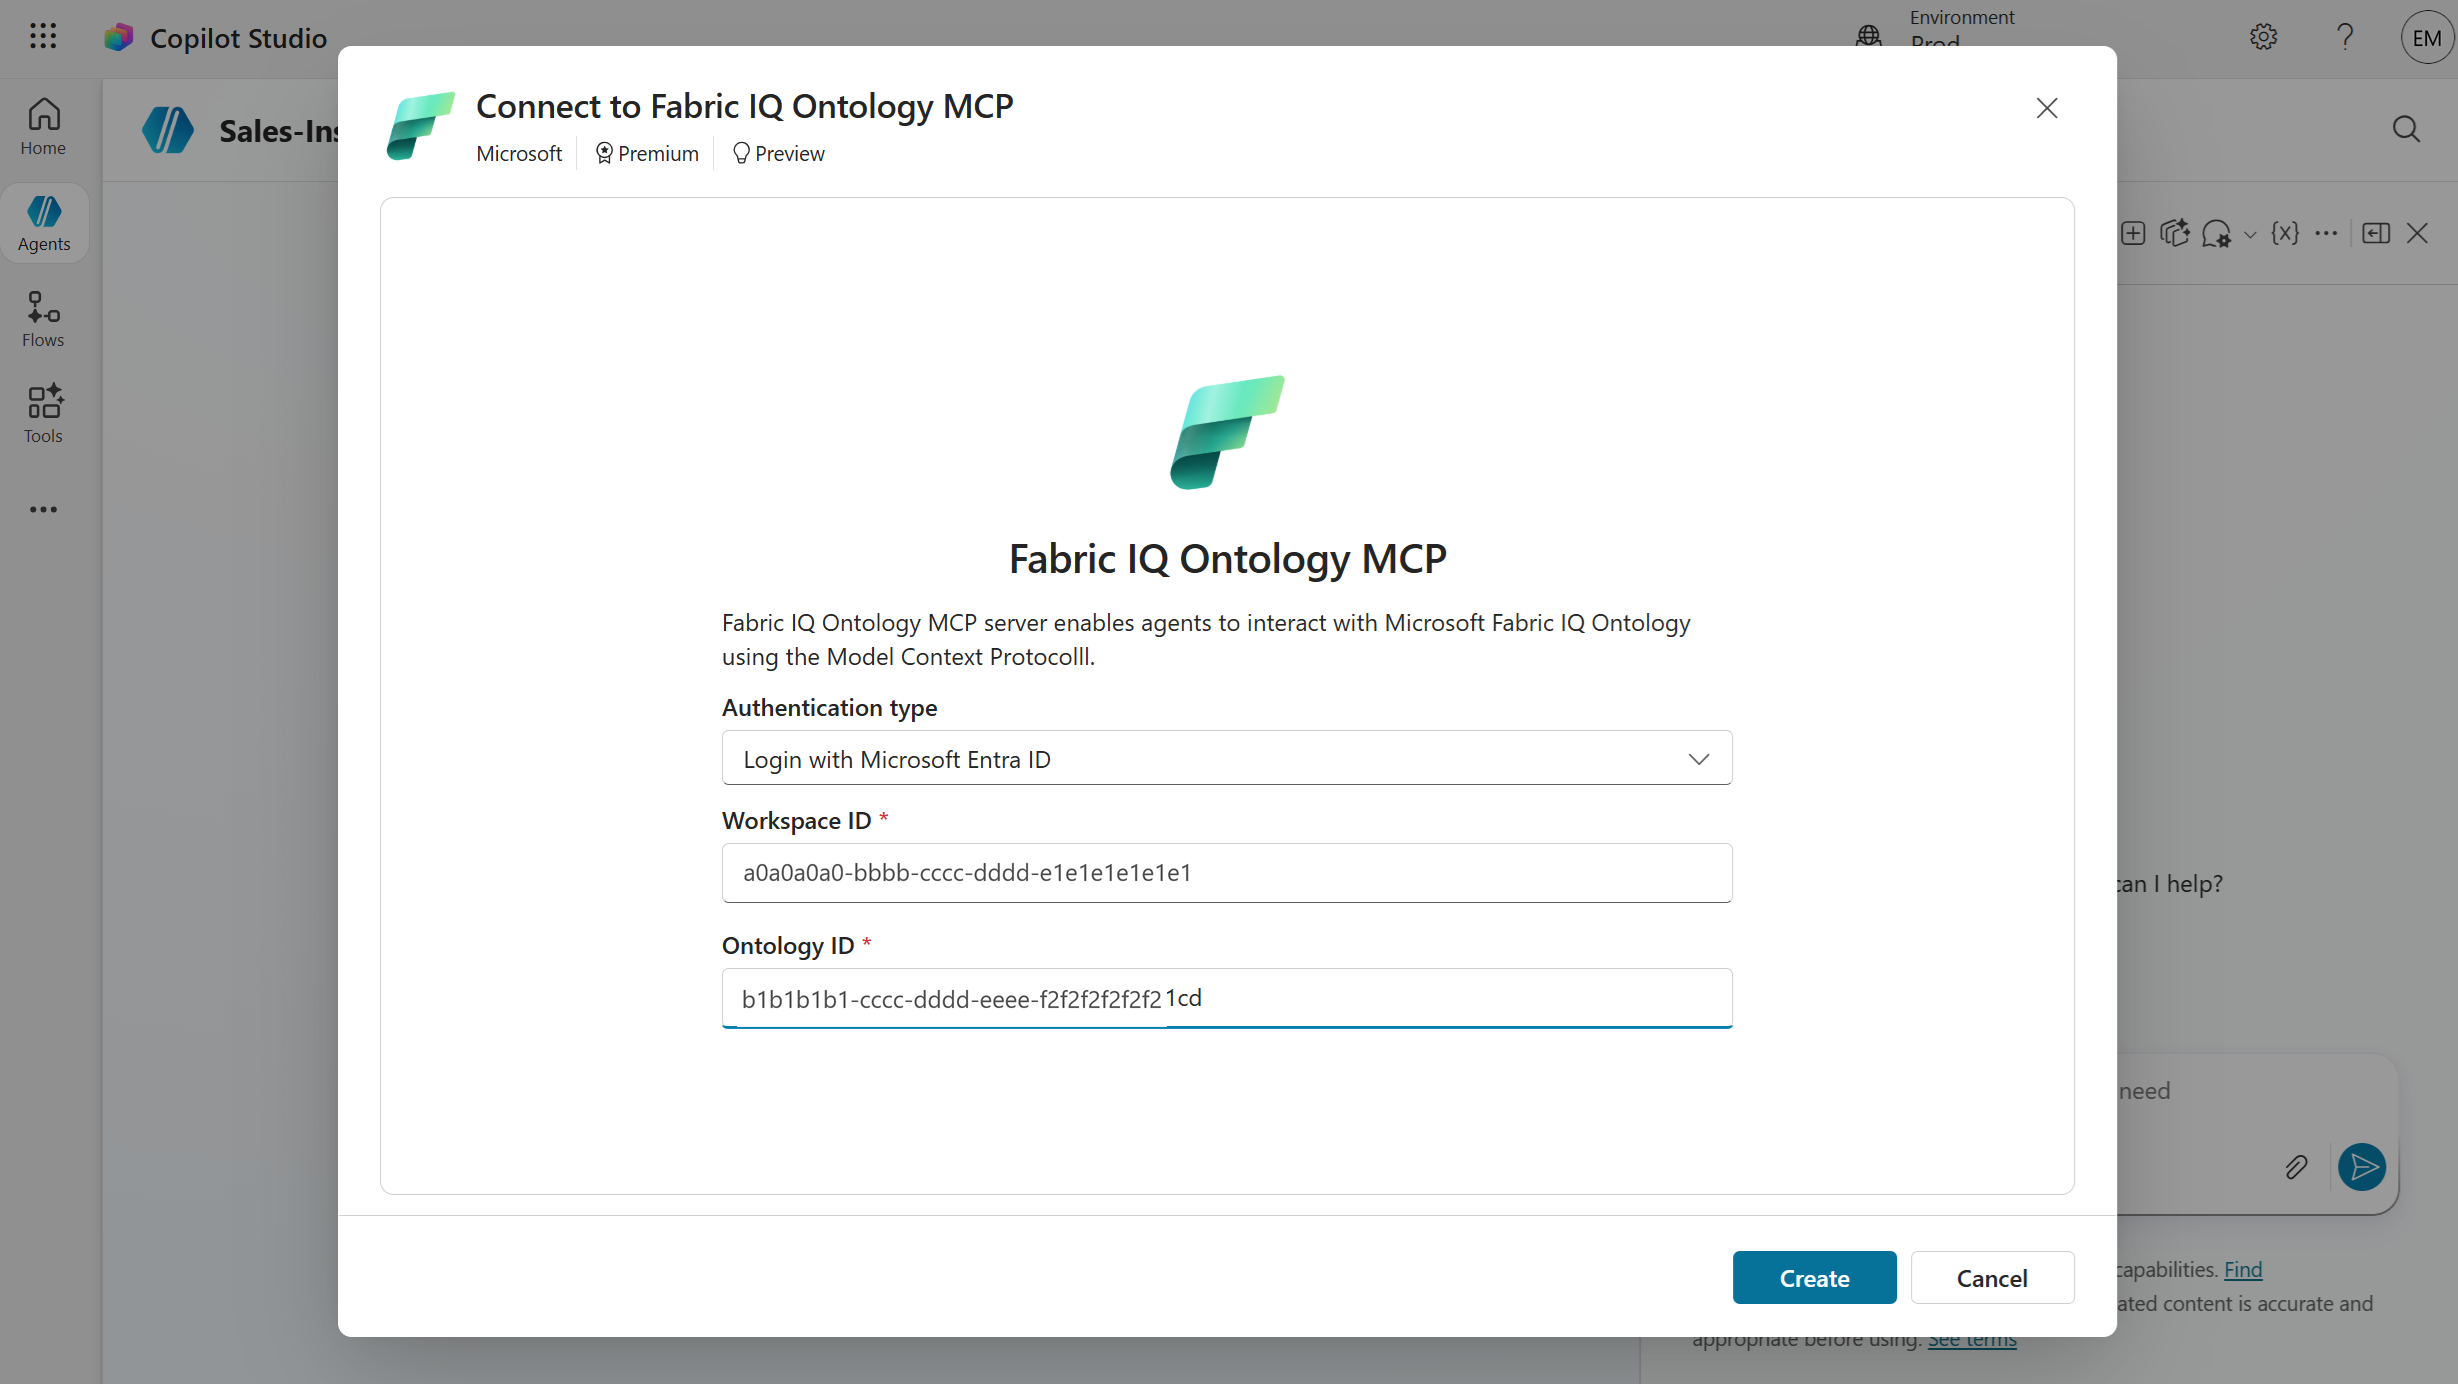
Keep the default Authentication type of Login with Microsoft Entra ID.
Enter the Workspace ID and Ontology ID of your existing ontology (preview) item. For more information on how to find these values, see Use ontology MCP server. Select Create.
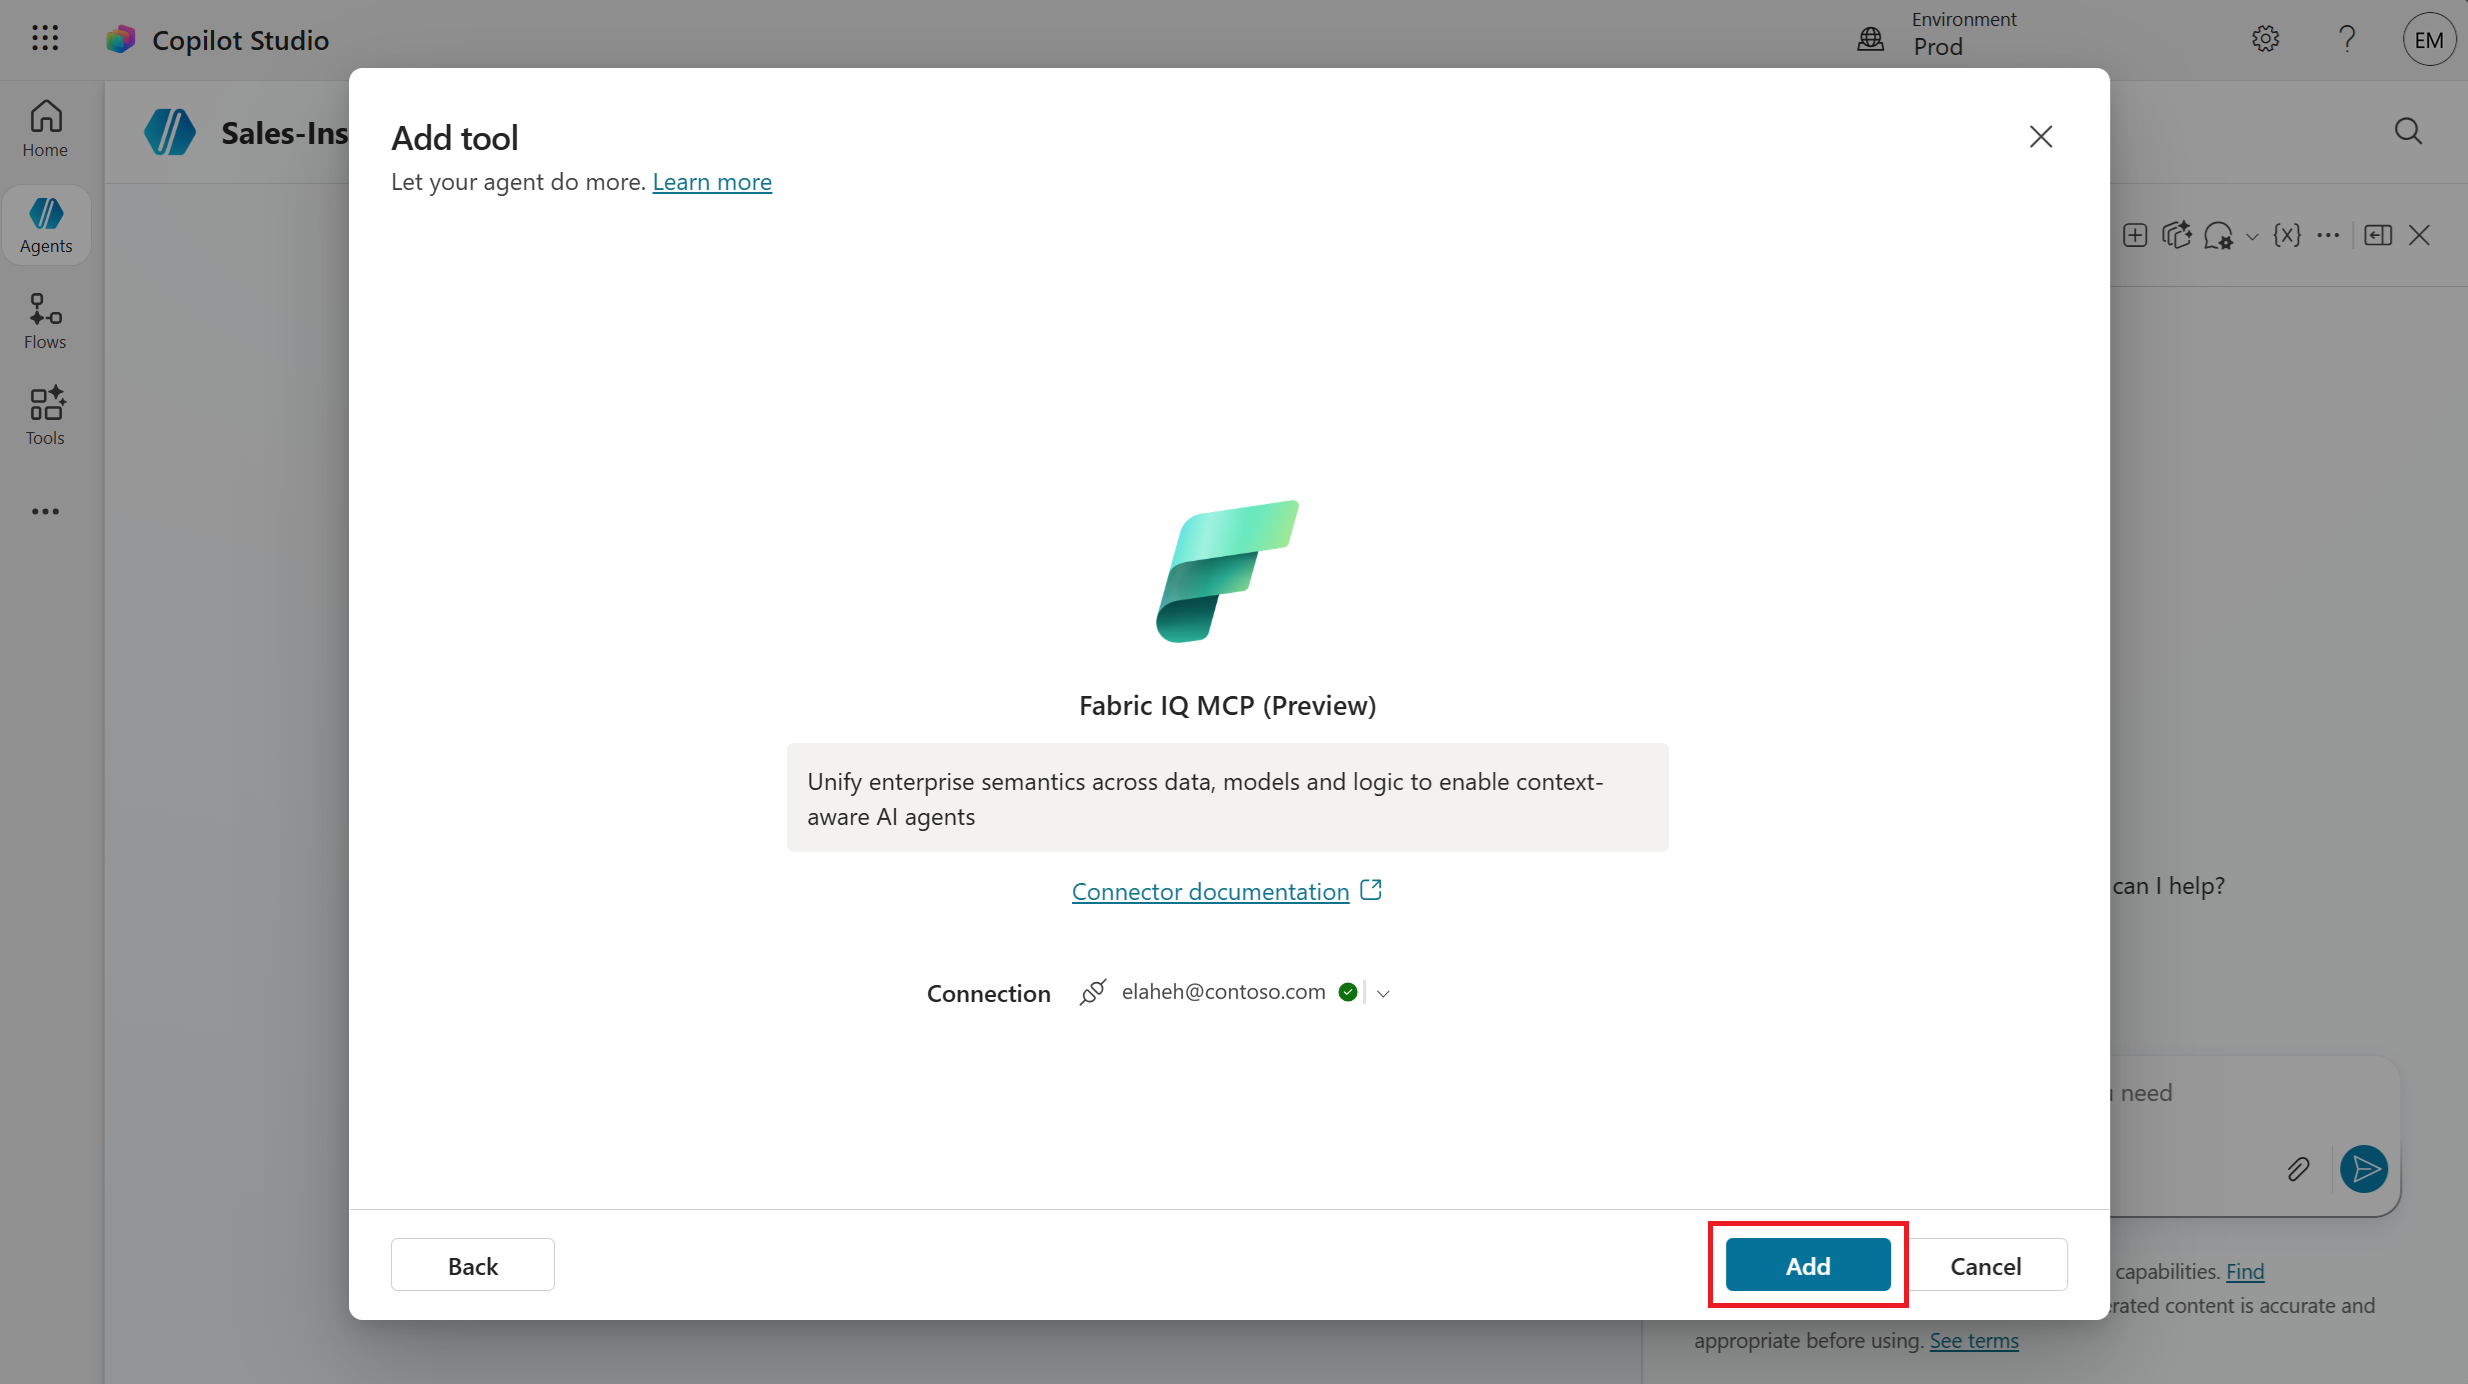
Select Add to finalize the connection.
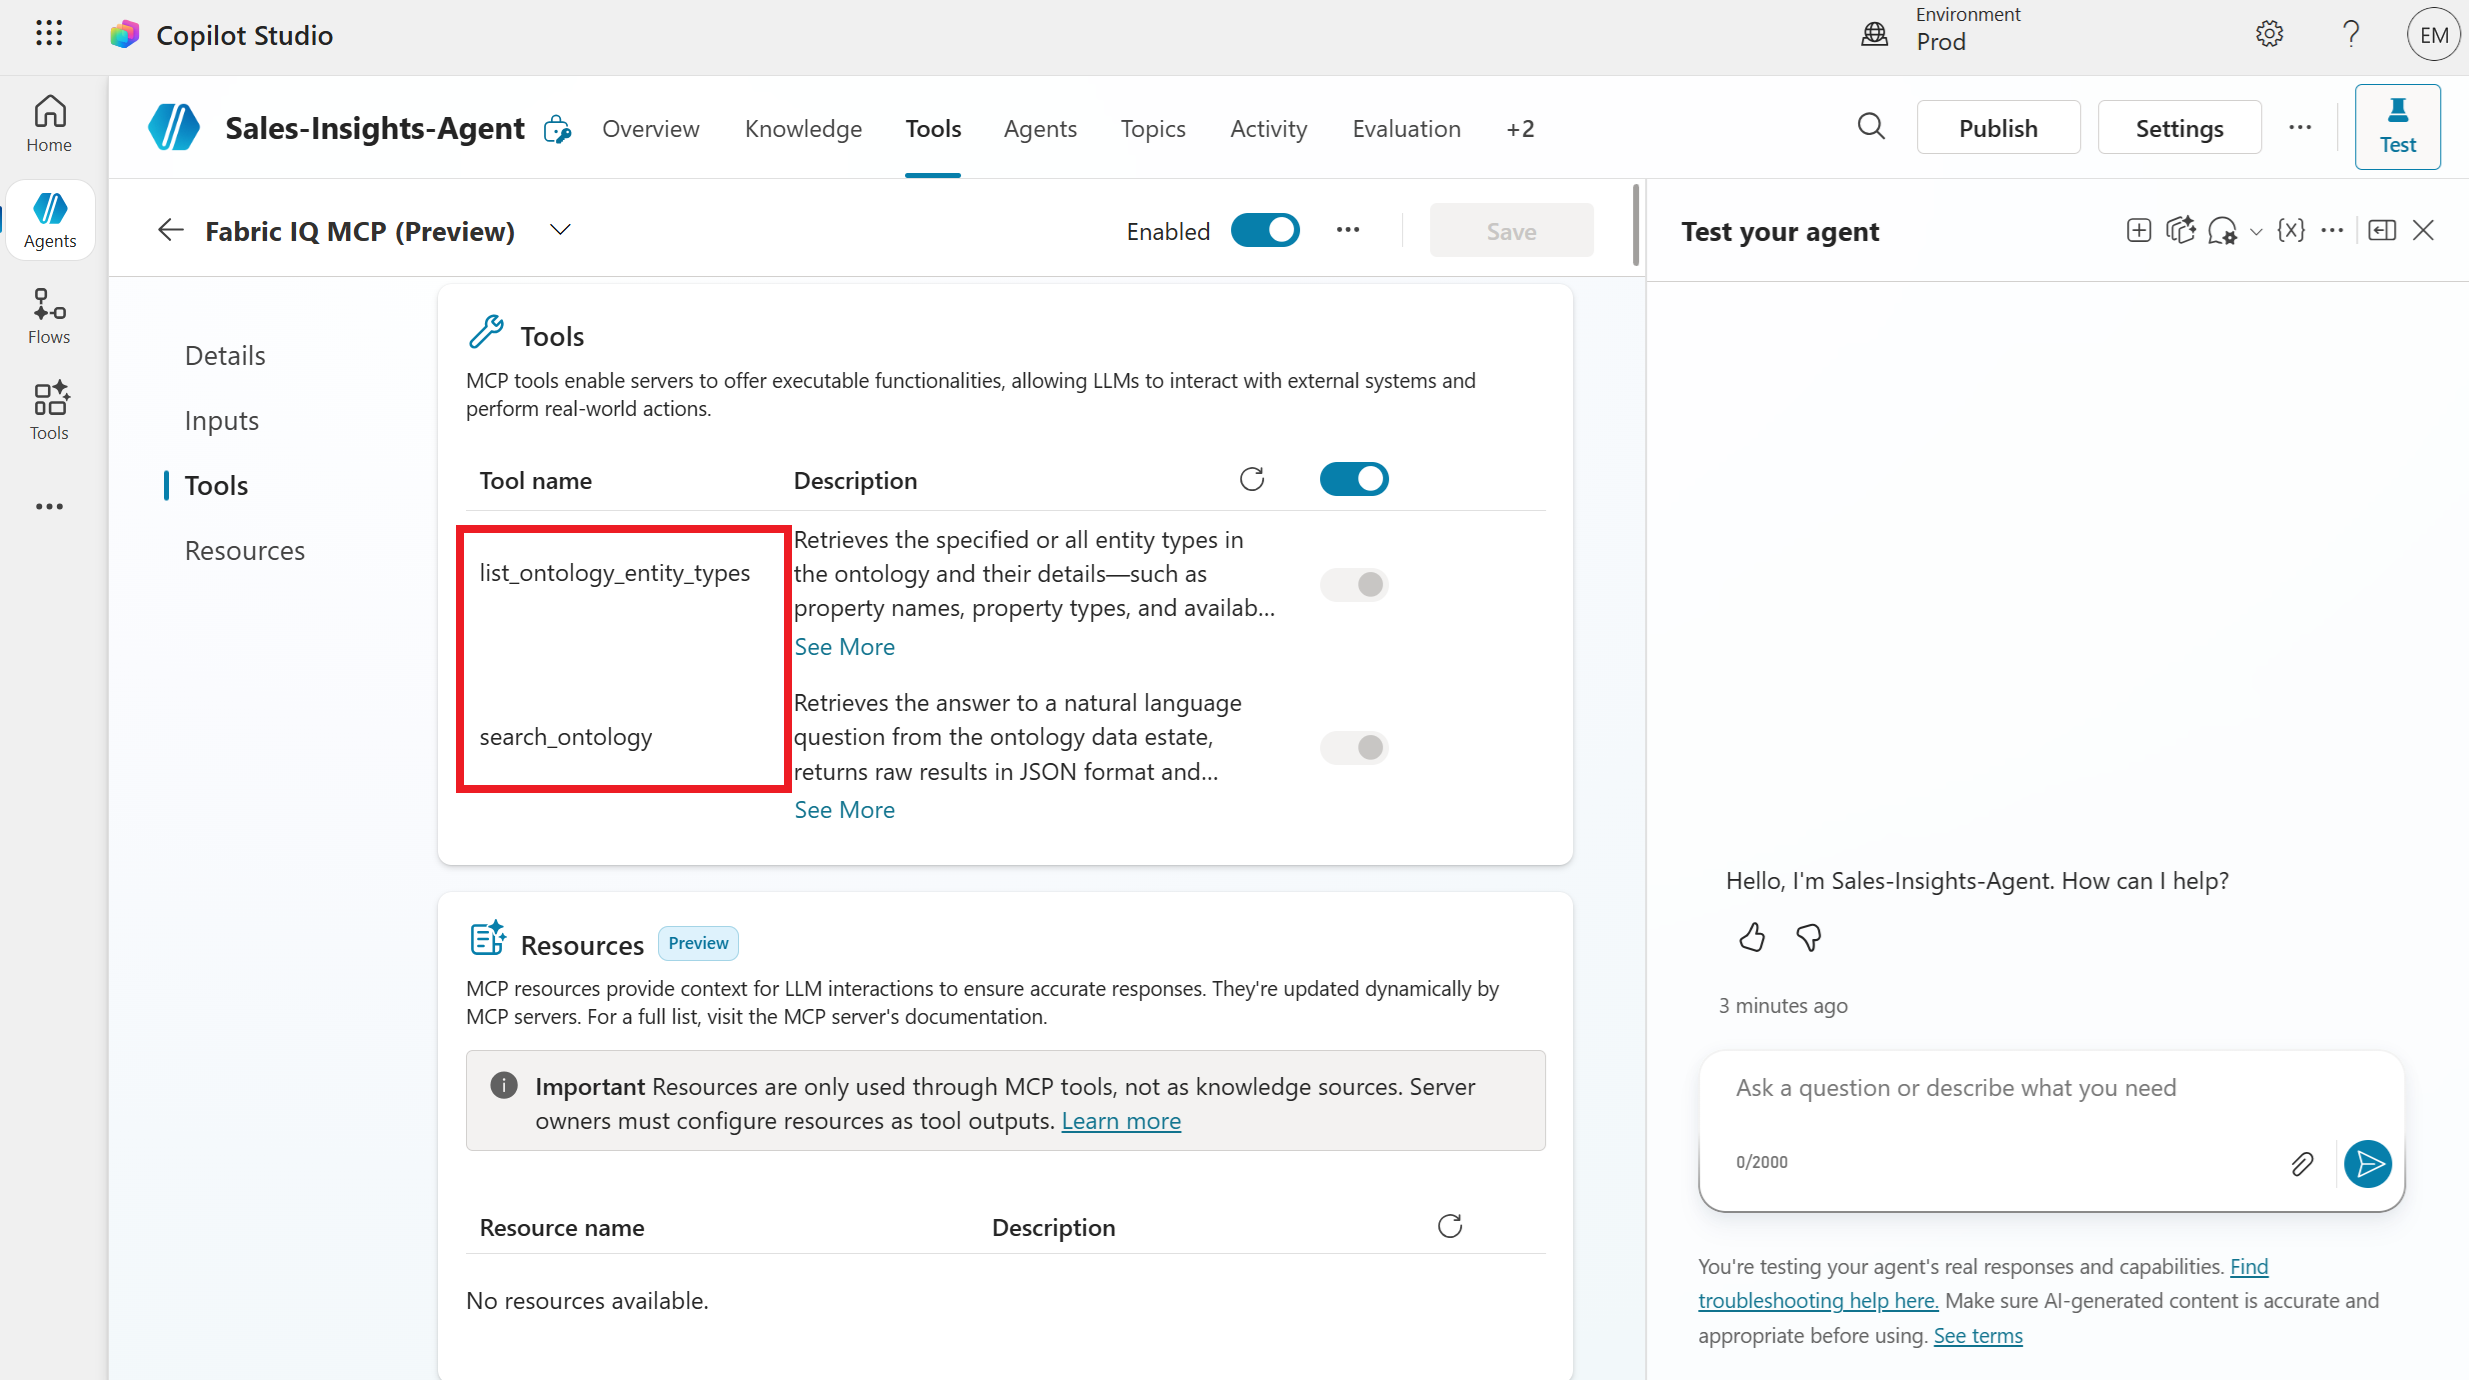
Select the name Fabric IQ MCP (Preview) from the list of tools to open its details.
Scroll down to verify that both list_ontology_entity_types and search_ontology are visible in the Tools section.
Step 3: Query and test the agent
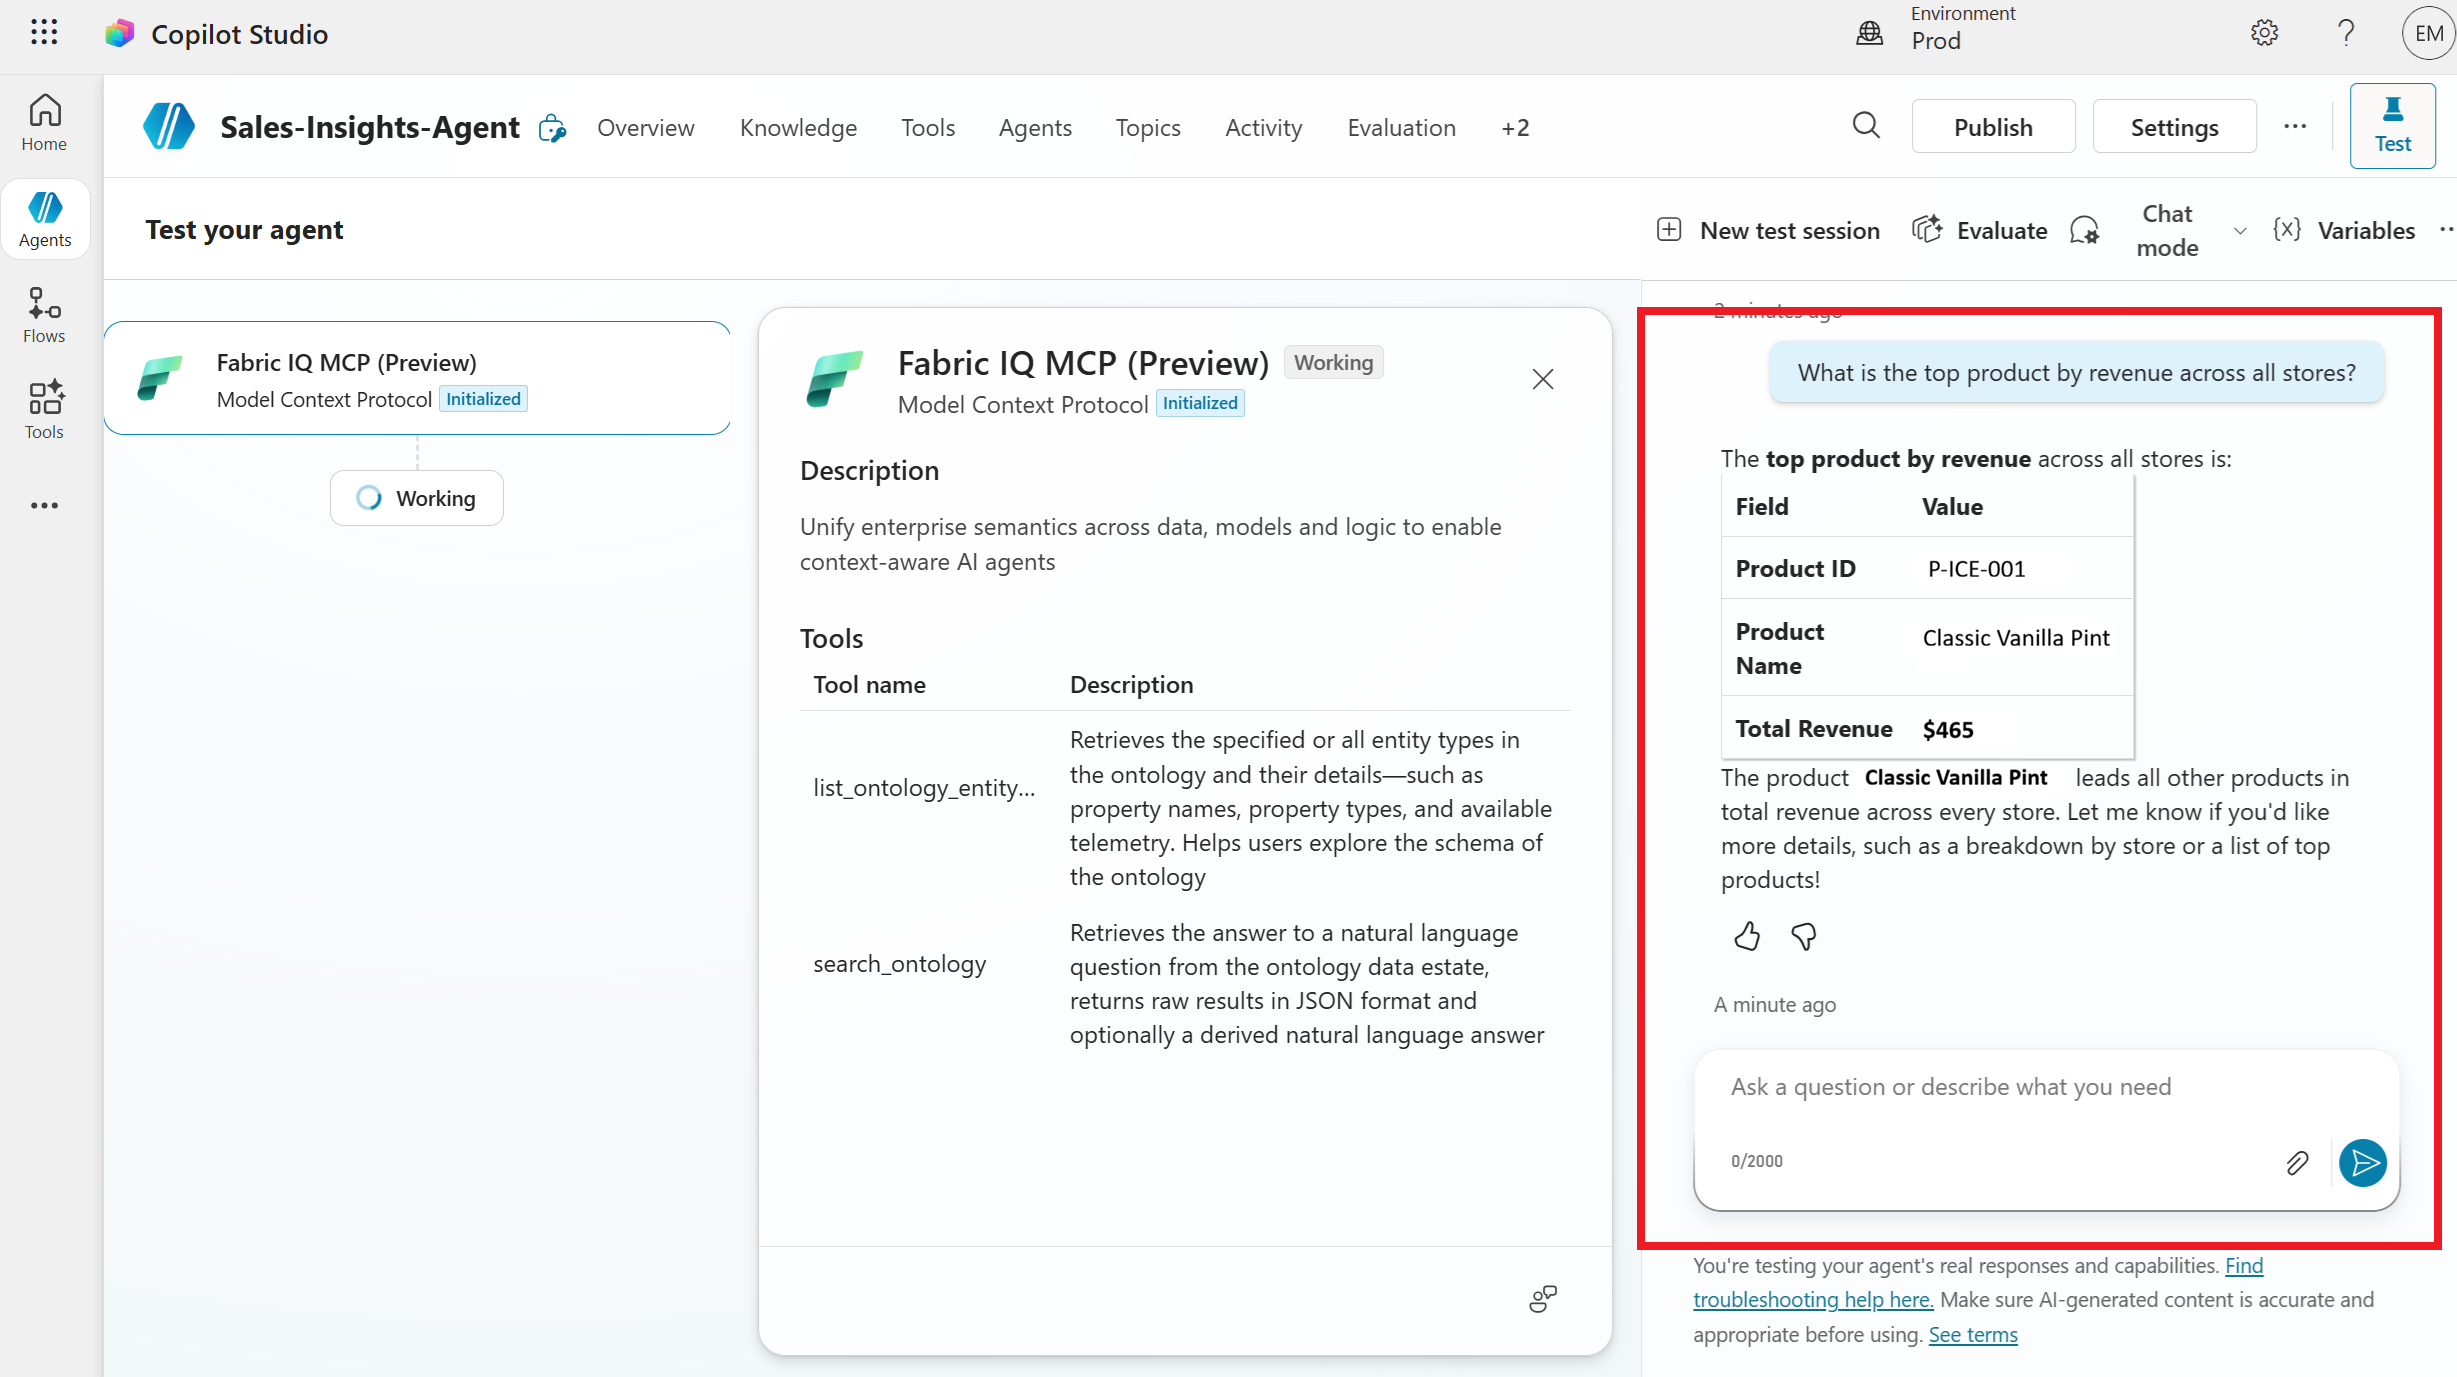
Open the Test pane using the Test button in the top right corner of the screen. Enter a natural language question.
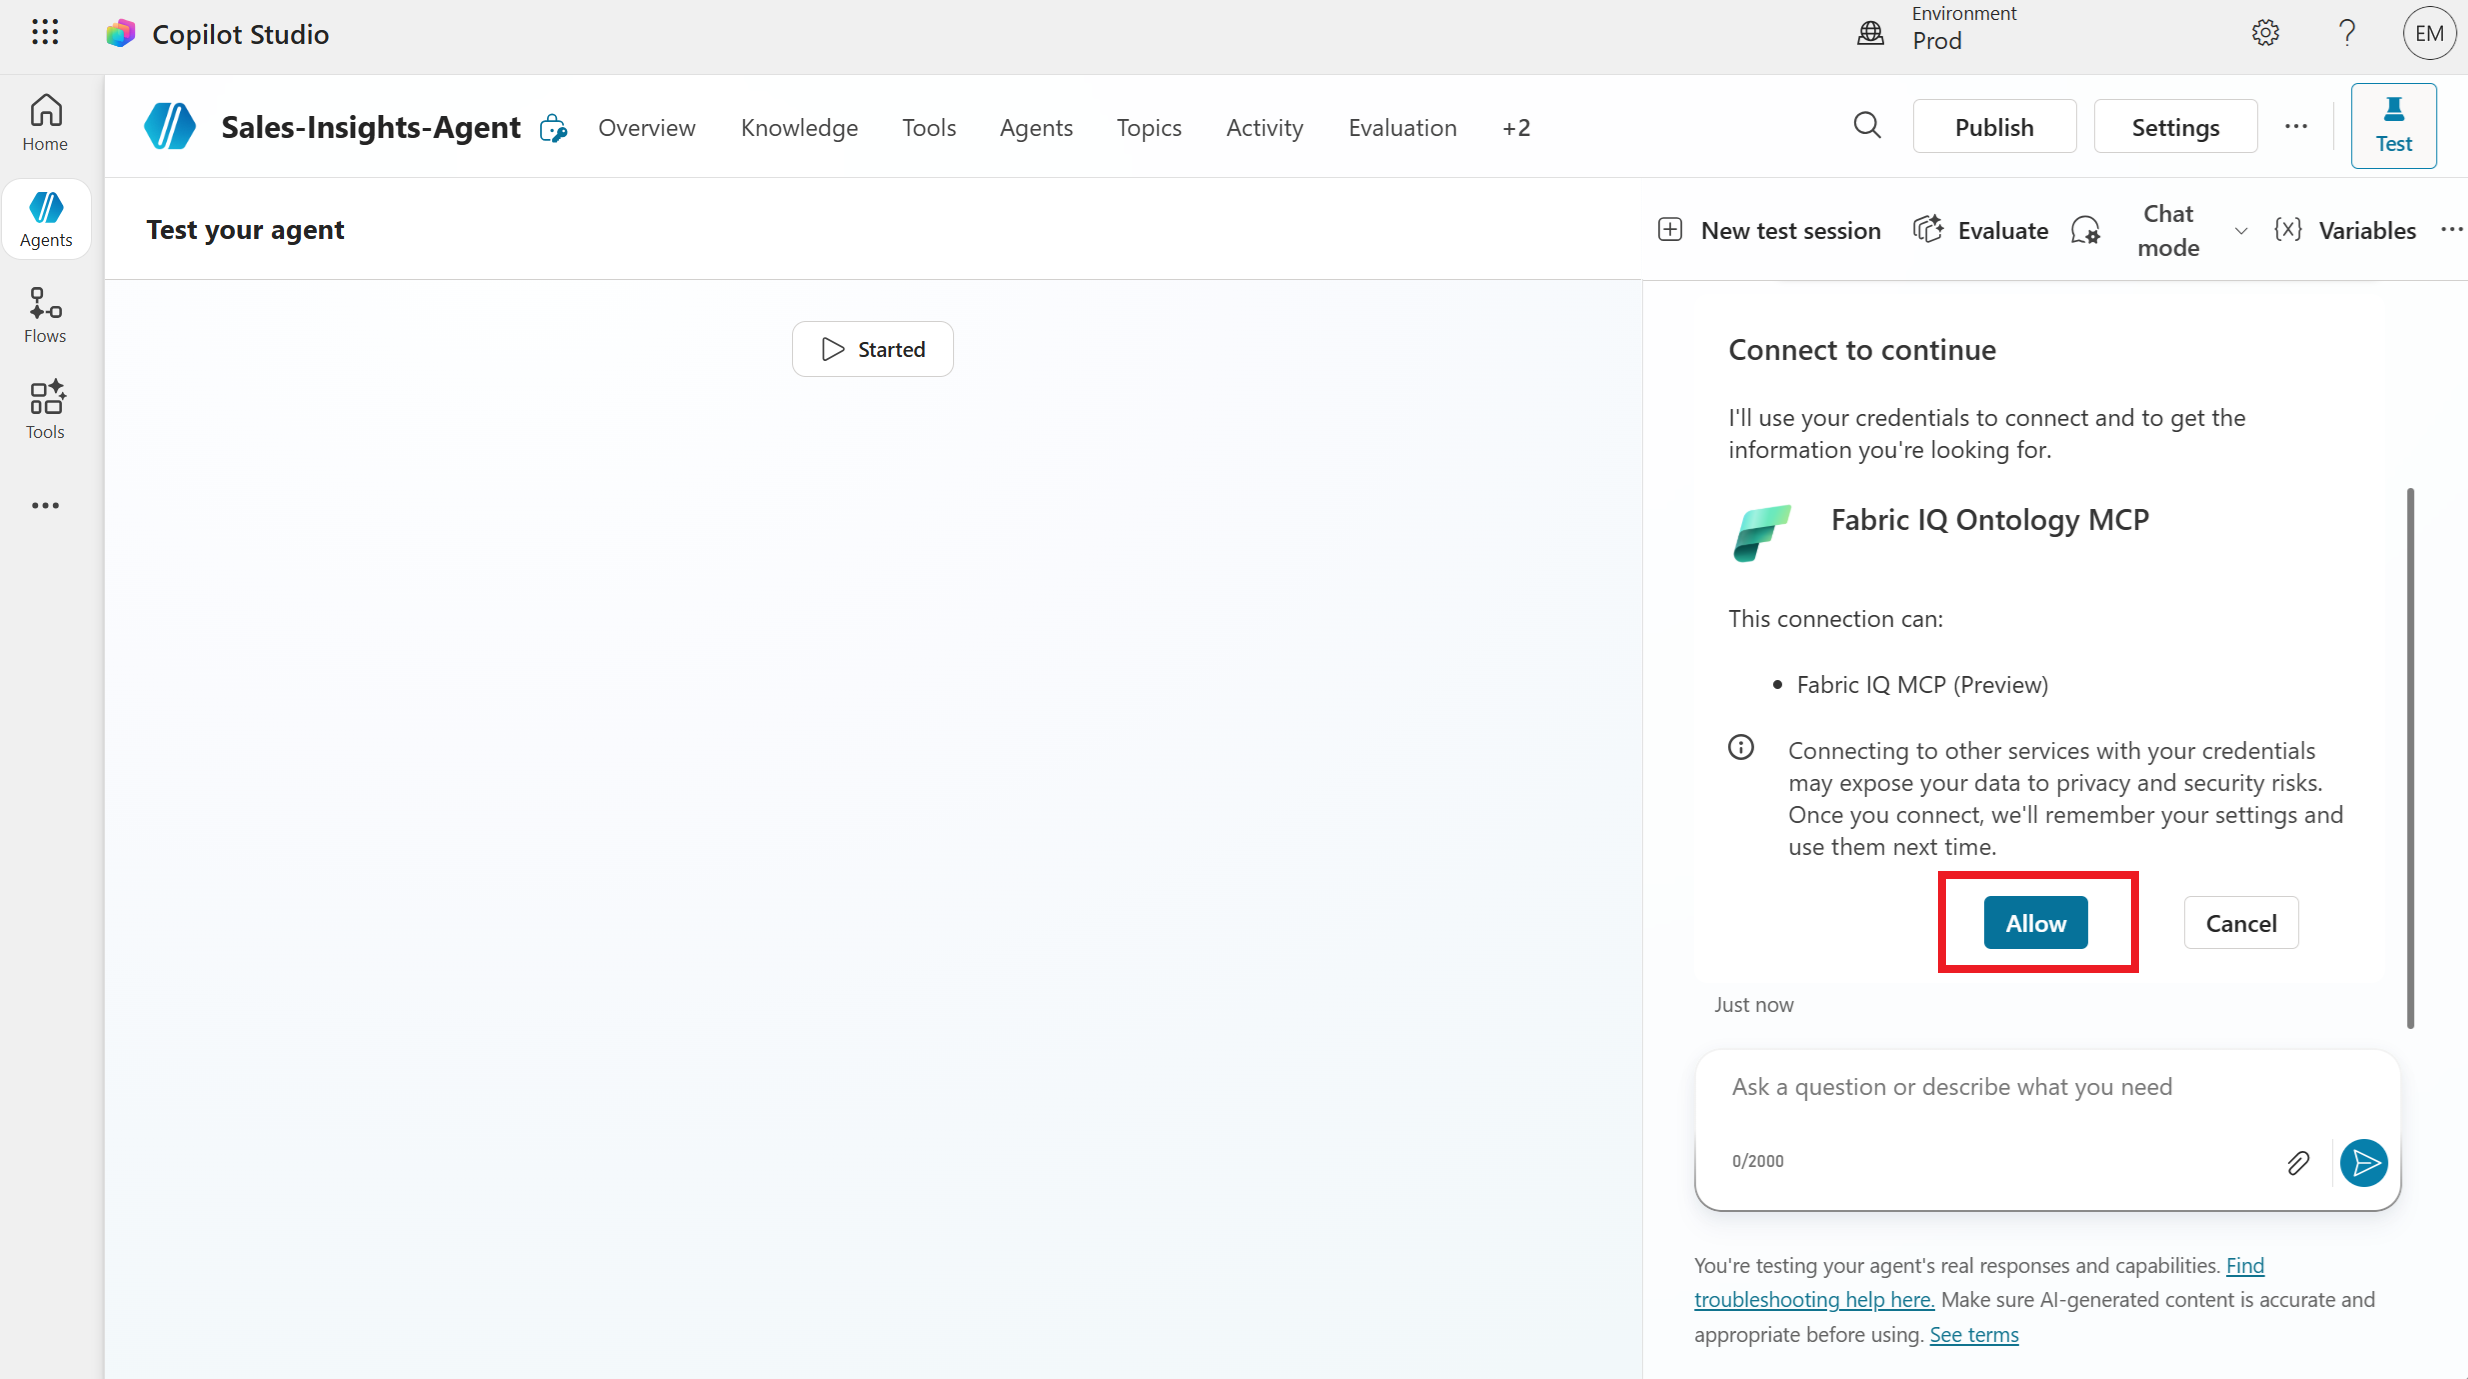
Allow the MCP tool when prompted.
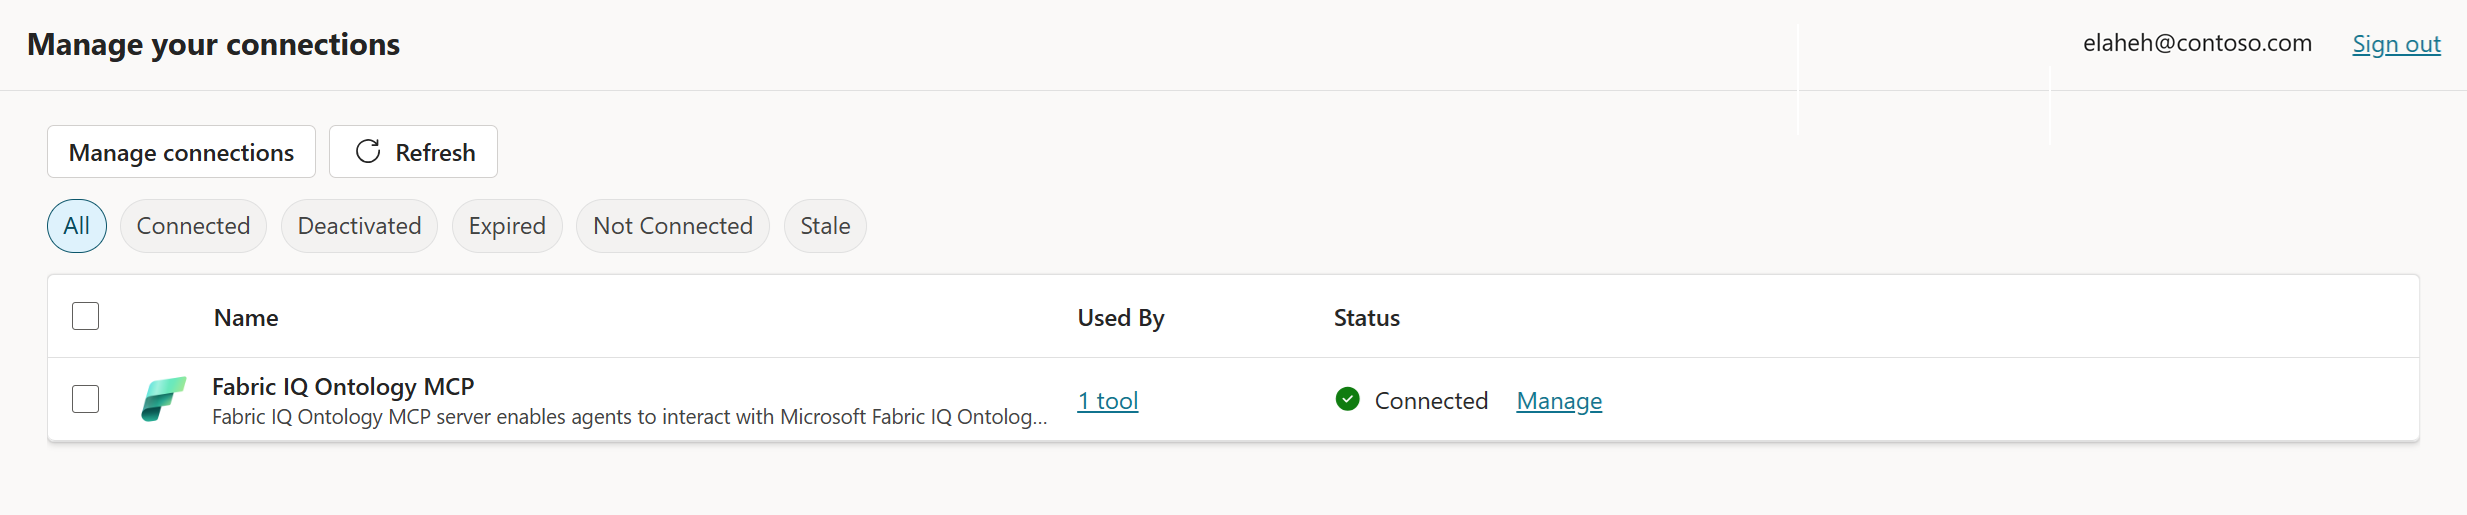
Select Open connection manager and Connect.
Back in the Chat pane, select Retry and verify the response.