Note
Access to this page requires authorization. You can try signing in or changing directories.
Access to this page requires authorization. You can try changing directories.
This article shows how to integrate OneLake with Azure Storage Explorer, enabling you to browse, upload, download, and manage OneLake data using a familiar storage management experience.
Connect and use Azure Storage Explorer
Install the latest version of Azure Storage Explorer from the product webpage.
Check to ensure the version installed is 1.29.0 or higher. (Check the version by selecting Help > About.)
Select the Open connect dialog icon.

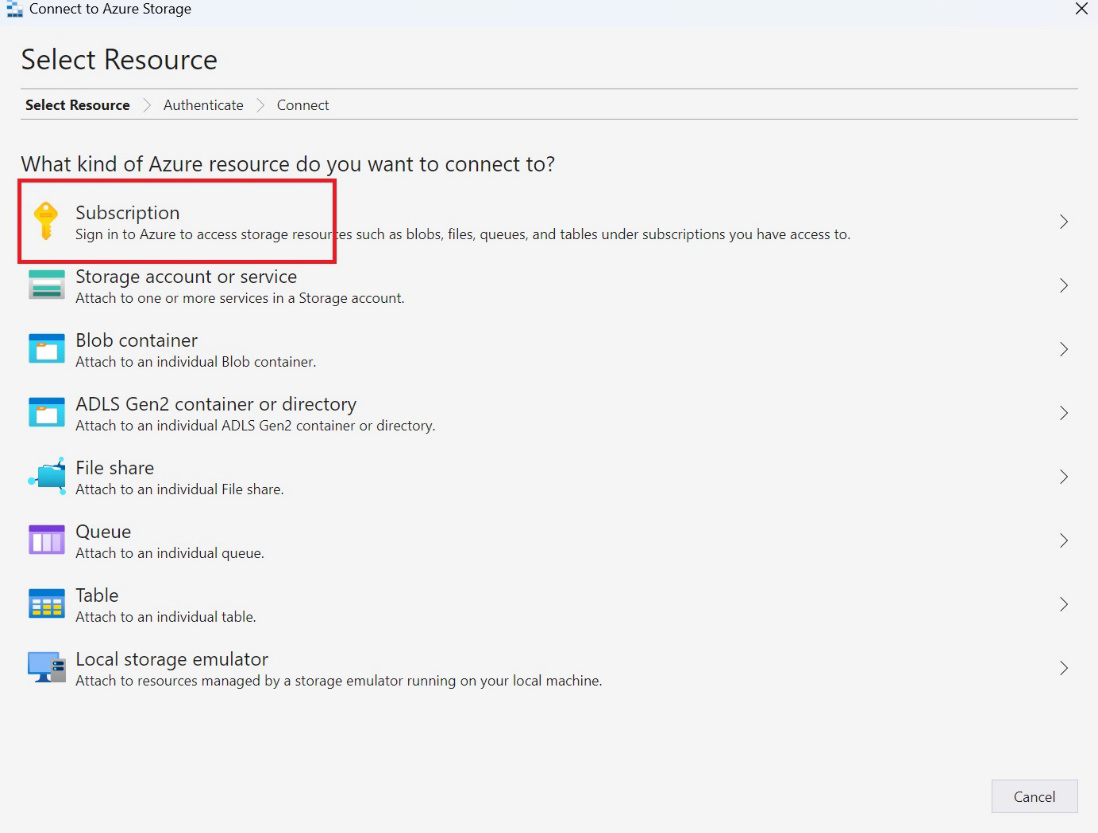
Azure Storage Explorer requires you to sign in to connect to Azure resources. Select Subscription and follow the instructions to sign in.
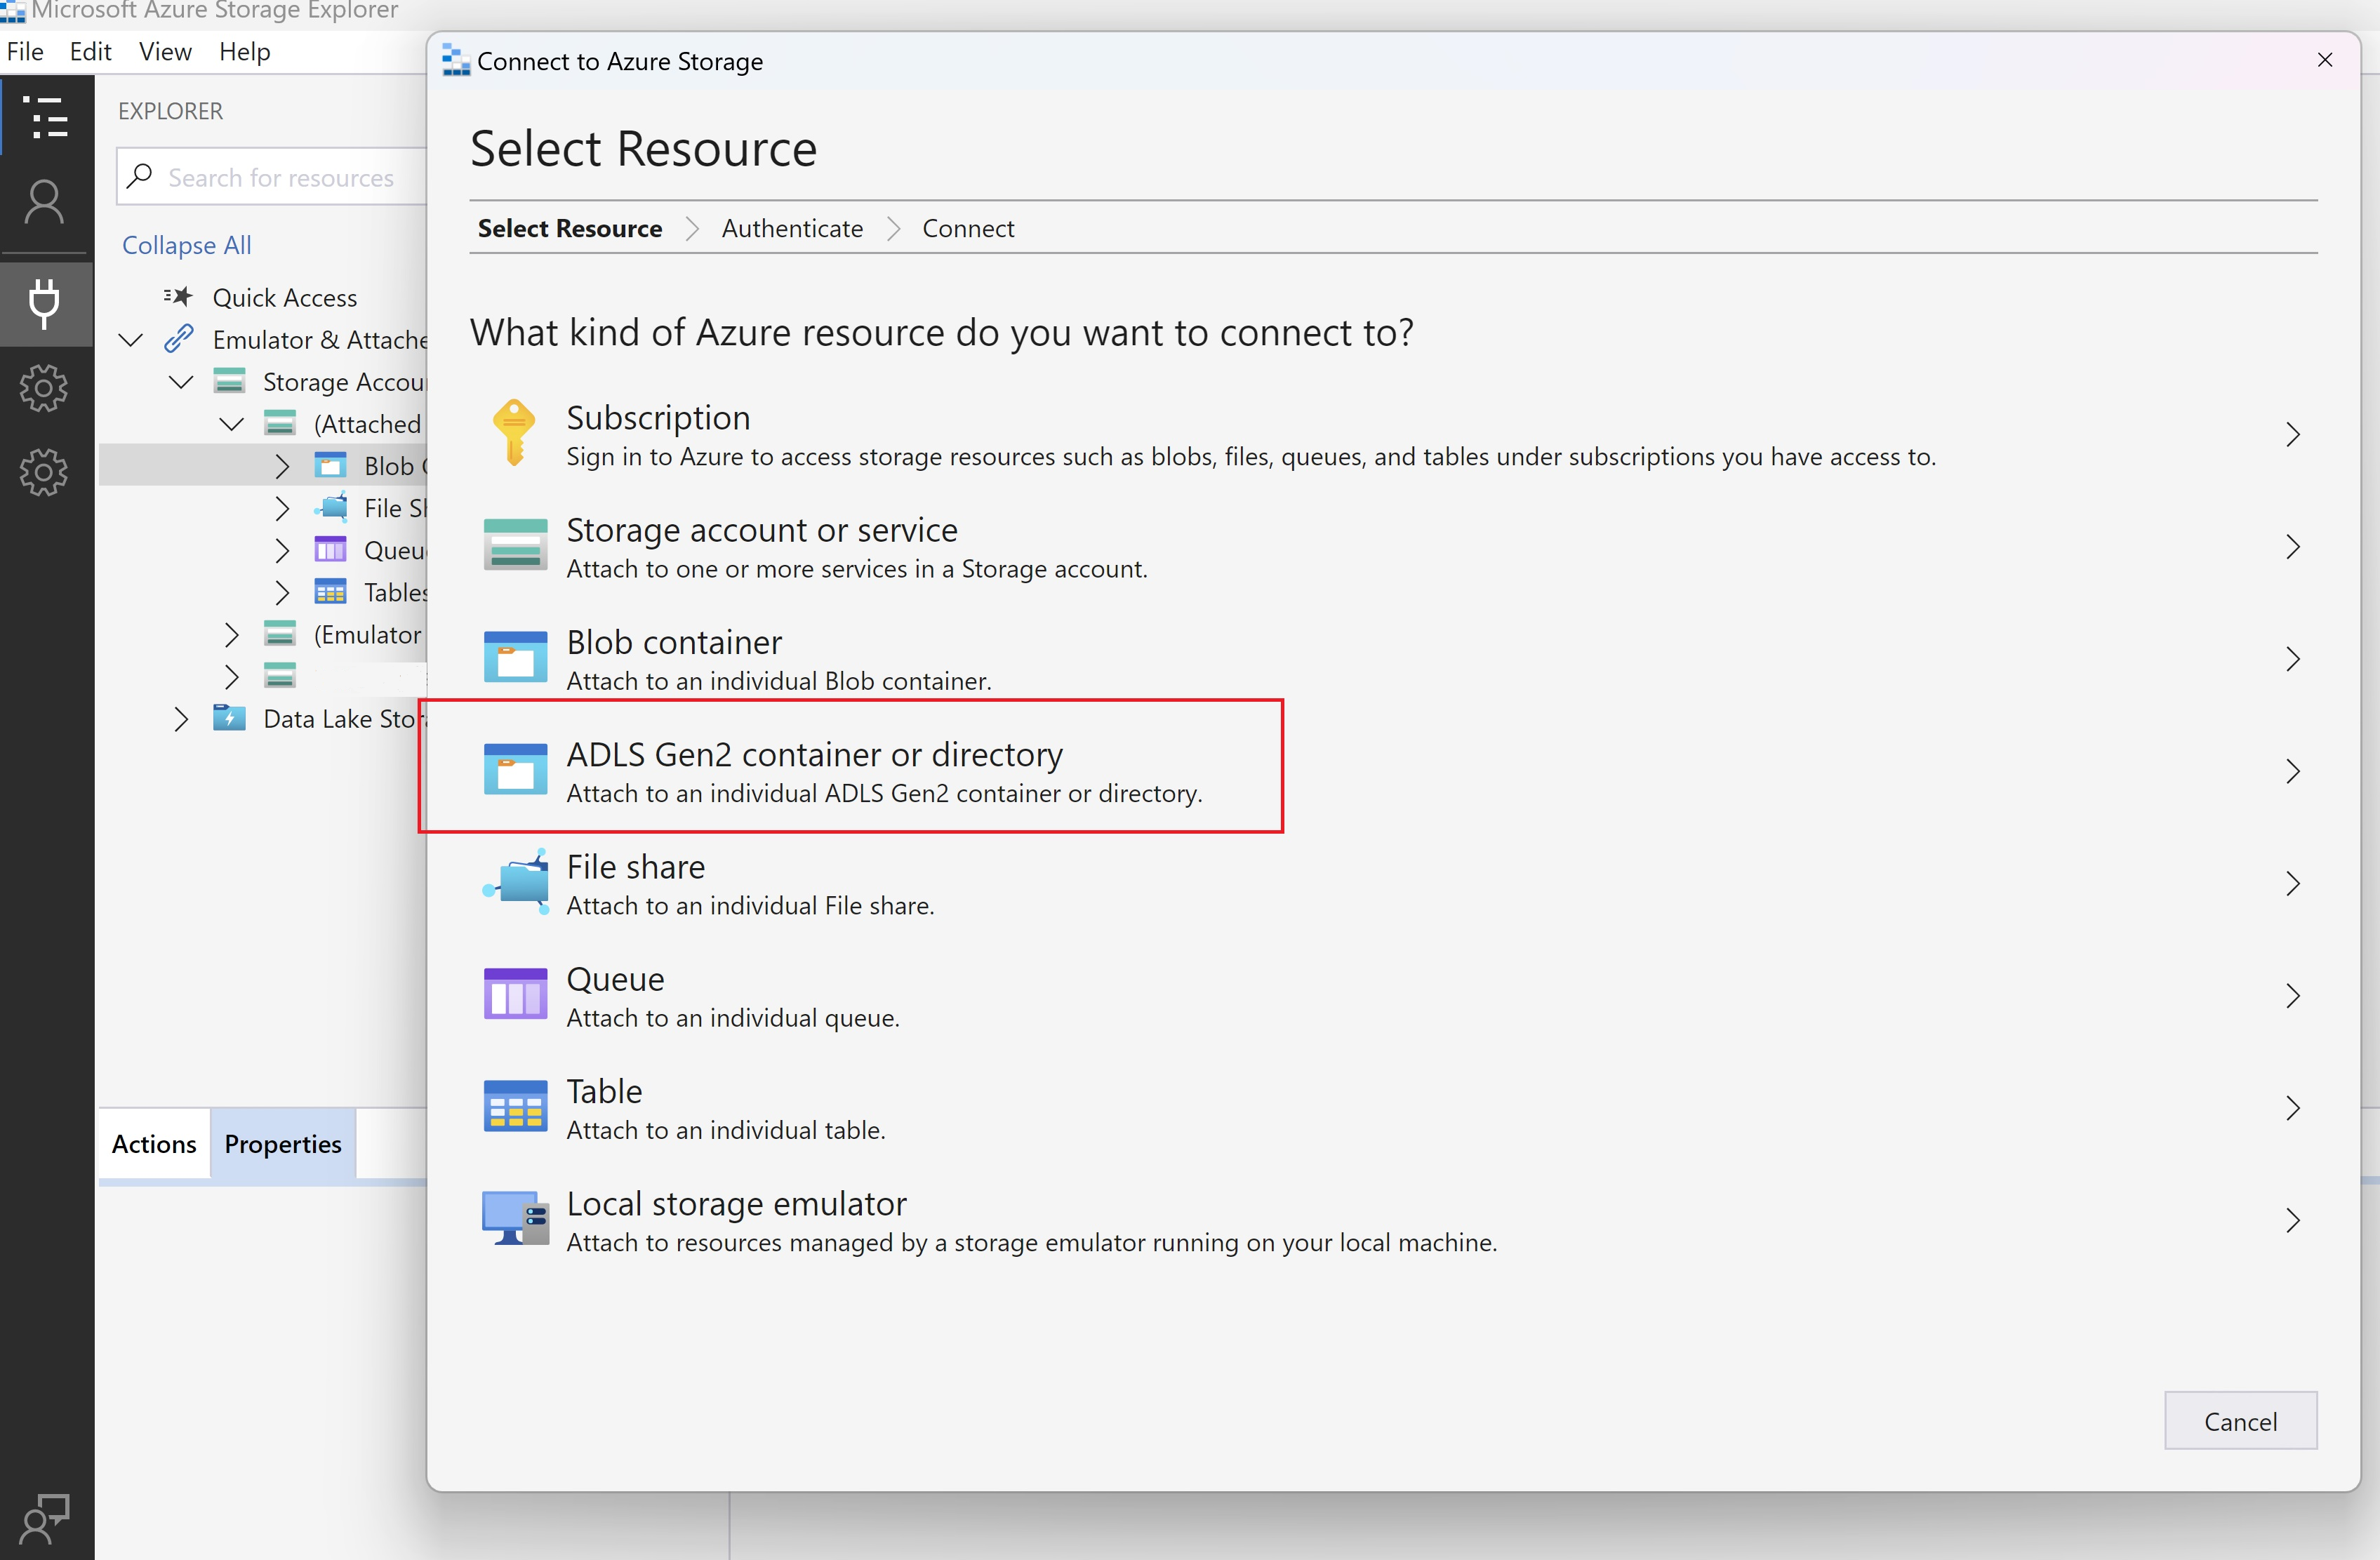
Connect to OneLake by selecting the Open connect dialog icon again and select ADLS Gen2 container or directory.
Enter URL details of the workspace or item you would like to connect to, in this format:
https://onelake.dfs.fabric.microsoft.com/{workspace-Name}/{itemName.itemType}/. You can find the workspace name and item name in the Properties pane of a file in the Microsoft Fabric portal.You can choose a Display name for convenience, then select Next.

Storage Explorer browses to the location of the OneLake you entered.
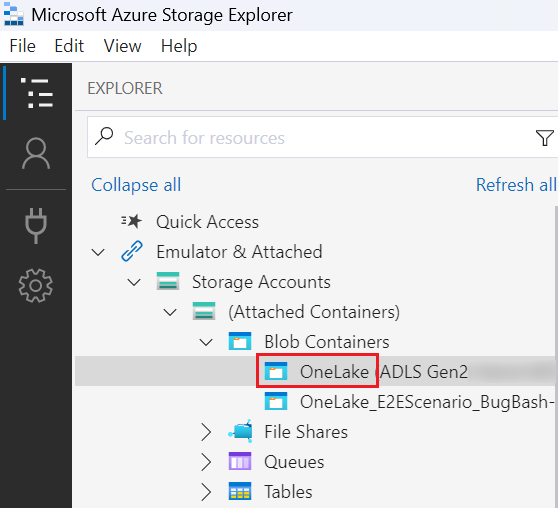
To view the contents, select the OneLake folder you connected.
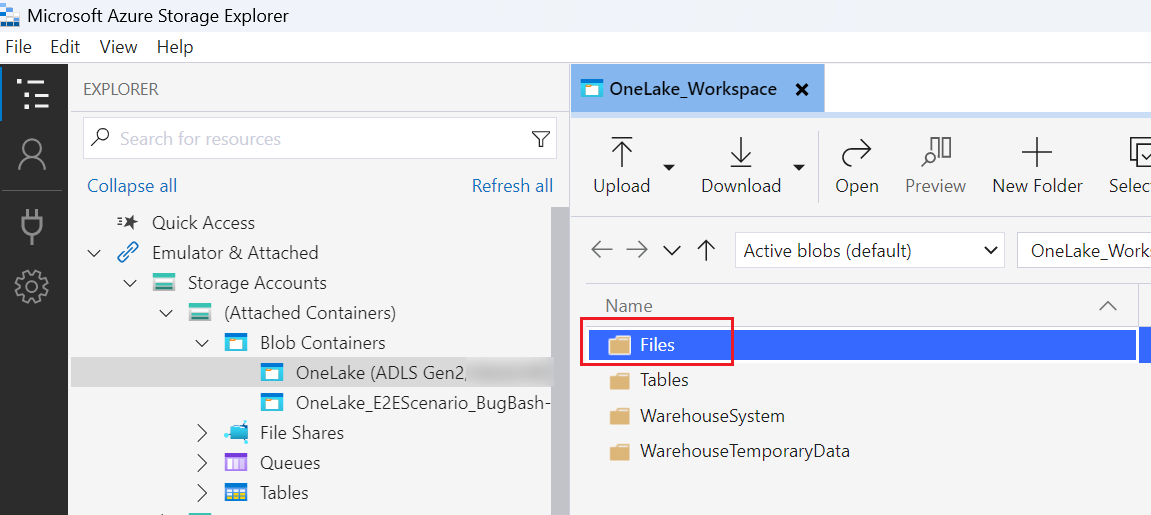
Select Upload. In the Select files to upload dialog box, select the files that you want to upload.

To download, select the folders or files that you want to download and then select Download.
To copy data across locations, select the folders you want to copy and select Copy, then navigate to the destination location and select Paste.


Limitations
If a workspace name has capital letters, deletion of files or folders fails due to a restriction from the storage service. We recommend using your workspace name in lowercase letters.