Project Acoustics Unity Integration
This article describes how to integrate the Project Acoustics Unity plug-in into your Unity project.
Software requirements:
- Unity for Windows
- Project Acoustics Unity package
Import the plug-in
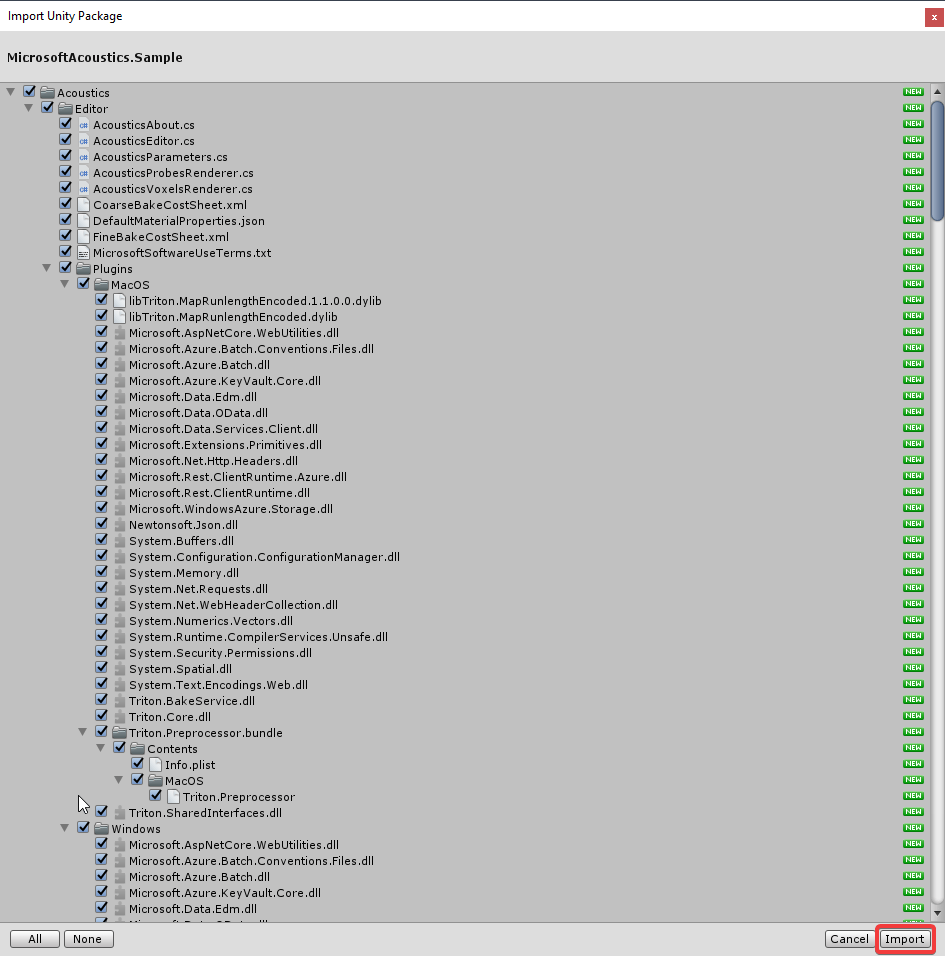
Import the acoustics UnityPackage into your project. In Unity, go to Assets > Import Package > Custom Package.

Choose ProjectAcoustics.unitypackage.
Select the Import button to integrate the Unity package into your project.
Set up audio DSP
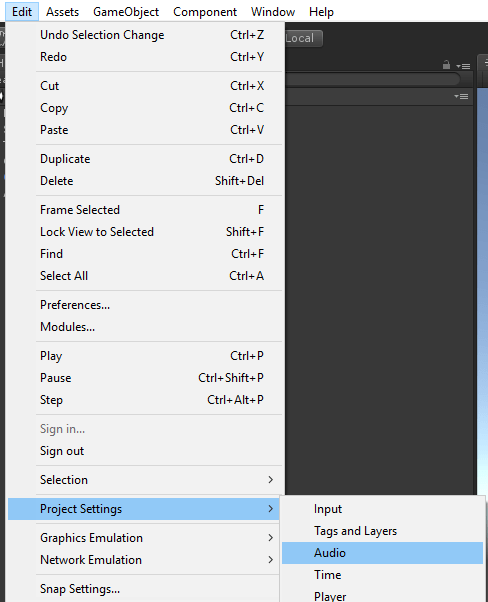
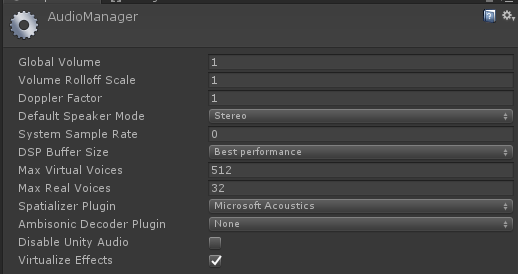
Project Acoustics includes audio runtime HRTF-based DSP that integrates into the Unity audio engine spatializer framework. To enable the Project Acoustics DSP, go to Edit > Project Settings > Audio to open the Unity audio settings. Select Project Acoustics as the Spatializer Plugin for your project.
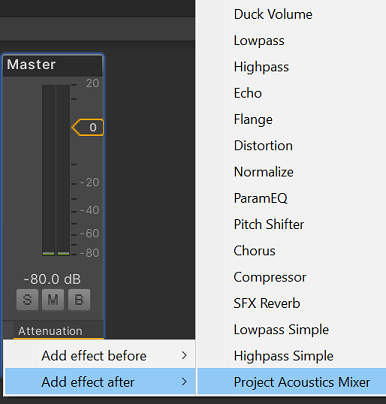
Next, open the Audio Mixer (Window > Audio Mixer). Make sure that you have at least one mixer, with one group. If you don't have one, select the + button to the right of Mixers. Right-click the bottom of the channel strip in the effects section, and add the Project Acoustics Mixer effect. Only one Project Acoustics mixer is supported at a time.
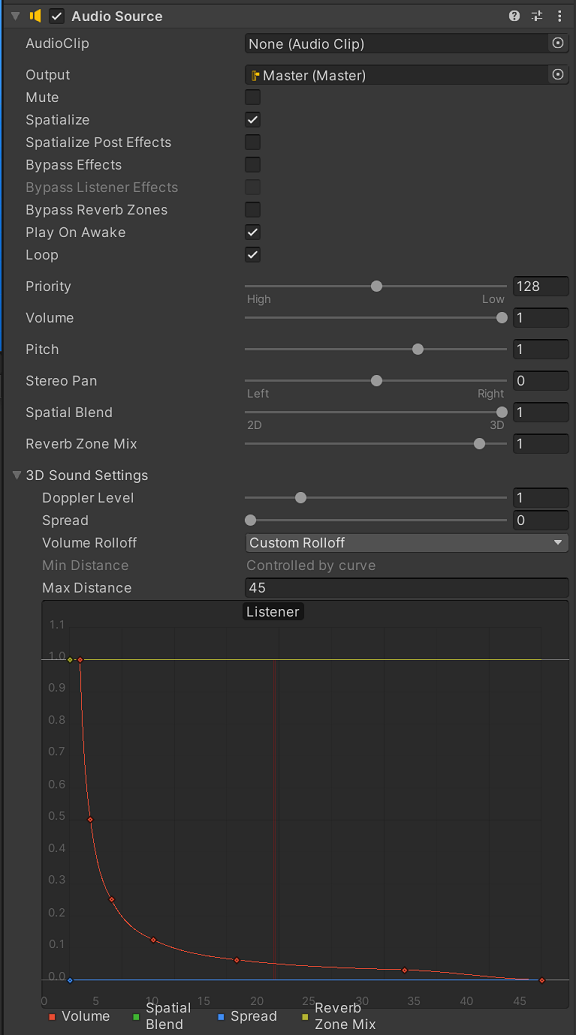
Enable acoustics on sound sources
Create an audio source: Select the Spatialize check box in the AudioSource inspector panel. Make sure that Spatial Blend is set to full 3D.
Enable acoustic design
Attach the AcousticsAdjust script to a sound source in your scene to enable additional source design parameters: Select Add Component and choose Scripts > Acoustics Adjust.

Next steps
- Bake your scene with Project Acoustics for Unity.
- Create an Azure Batch account to bake your scene in the cloud.
- Explore the Project Acoustics Unity design process.