Note
Access to this page requires authorization. You can try signing in or changing directories.
Access to this page requires authorization. You can try changing directories.
The first time you turn on your HoloLens, you are guided through setting up your device, signing in with a user account, and calibrating the HoloLens to your eyes. This section walks through the HoloLens 2 initial setup experience.
In the next section, you learn how to work with HoloLens and interact with holograms. To skip ahead to that article, see Getting around HoloLens 2.
Before you start
Before you get started, make sure you have the following available:
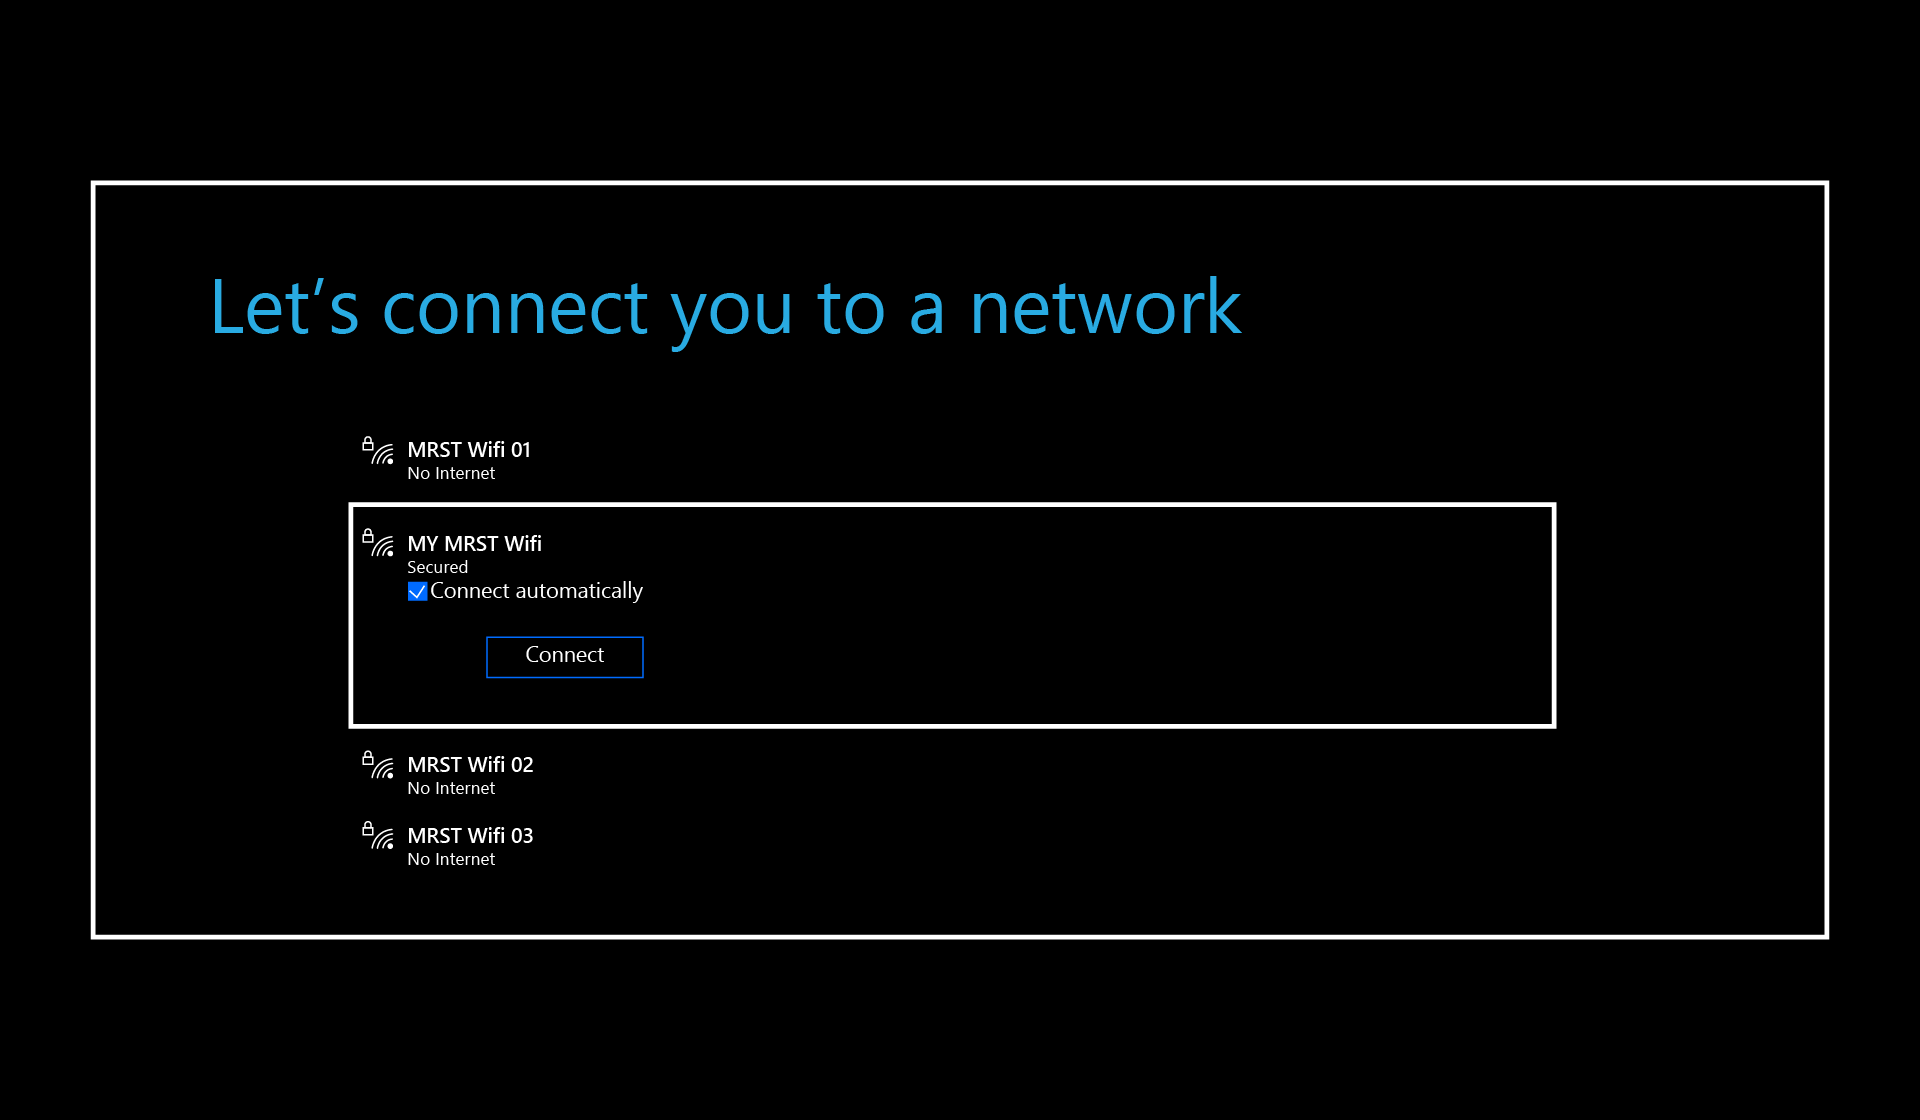
A network connection. You need to connect your HoloLens to a network to set it up. With HoloLens 2, you can connect with Wi-Fi or by using ethernet (you'll need a USB-C-to-Ethernet adapter). The first time you connect, you need an open or password-protected network that doesn't require navigating to a website or using certificates to connect. Learn more about the websites that HoloLens uses.
A Microsoft account. You also need to sign in to HoloLens with a Microsoft account (or with your work account, if your organization owns the device). If you don't have a Microsoft account, go to account.microsoft.com and set one up for free.
A safe, well-lit space with no tripping hazards. Health and safety info.
The optional comfort accessories that came with your HoloLens, to help you get the most comfortable fit. More on fit and comfort.
Set up Windows
The first time you start your HoloLens 2, your first task is to set up Windows Holographic. When you start your HoloLens, you'll hear music and see a Microsoft logo.
You'll see a hummingbird flying around.
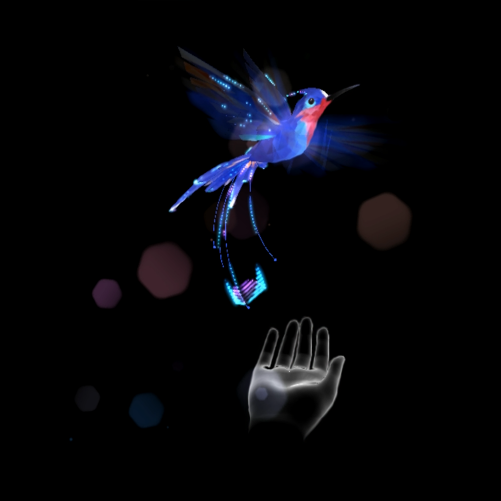
It follows your hand.

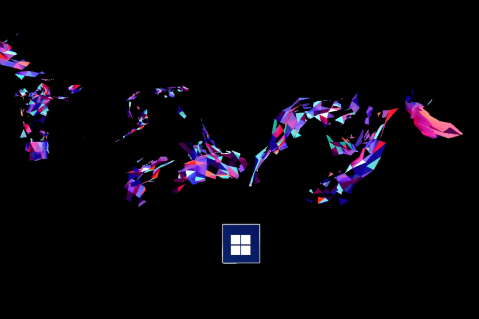
A button with a Microsoft logo shows up. Press the button, and HoloLens 2 walks you through the following steps:
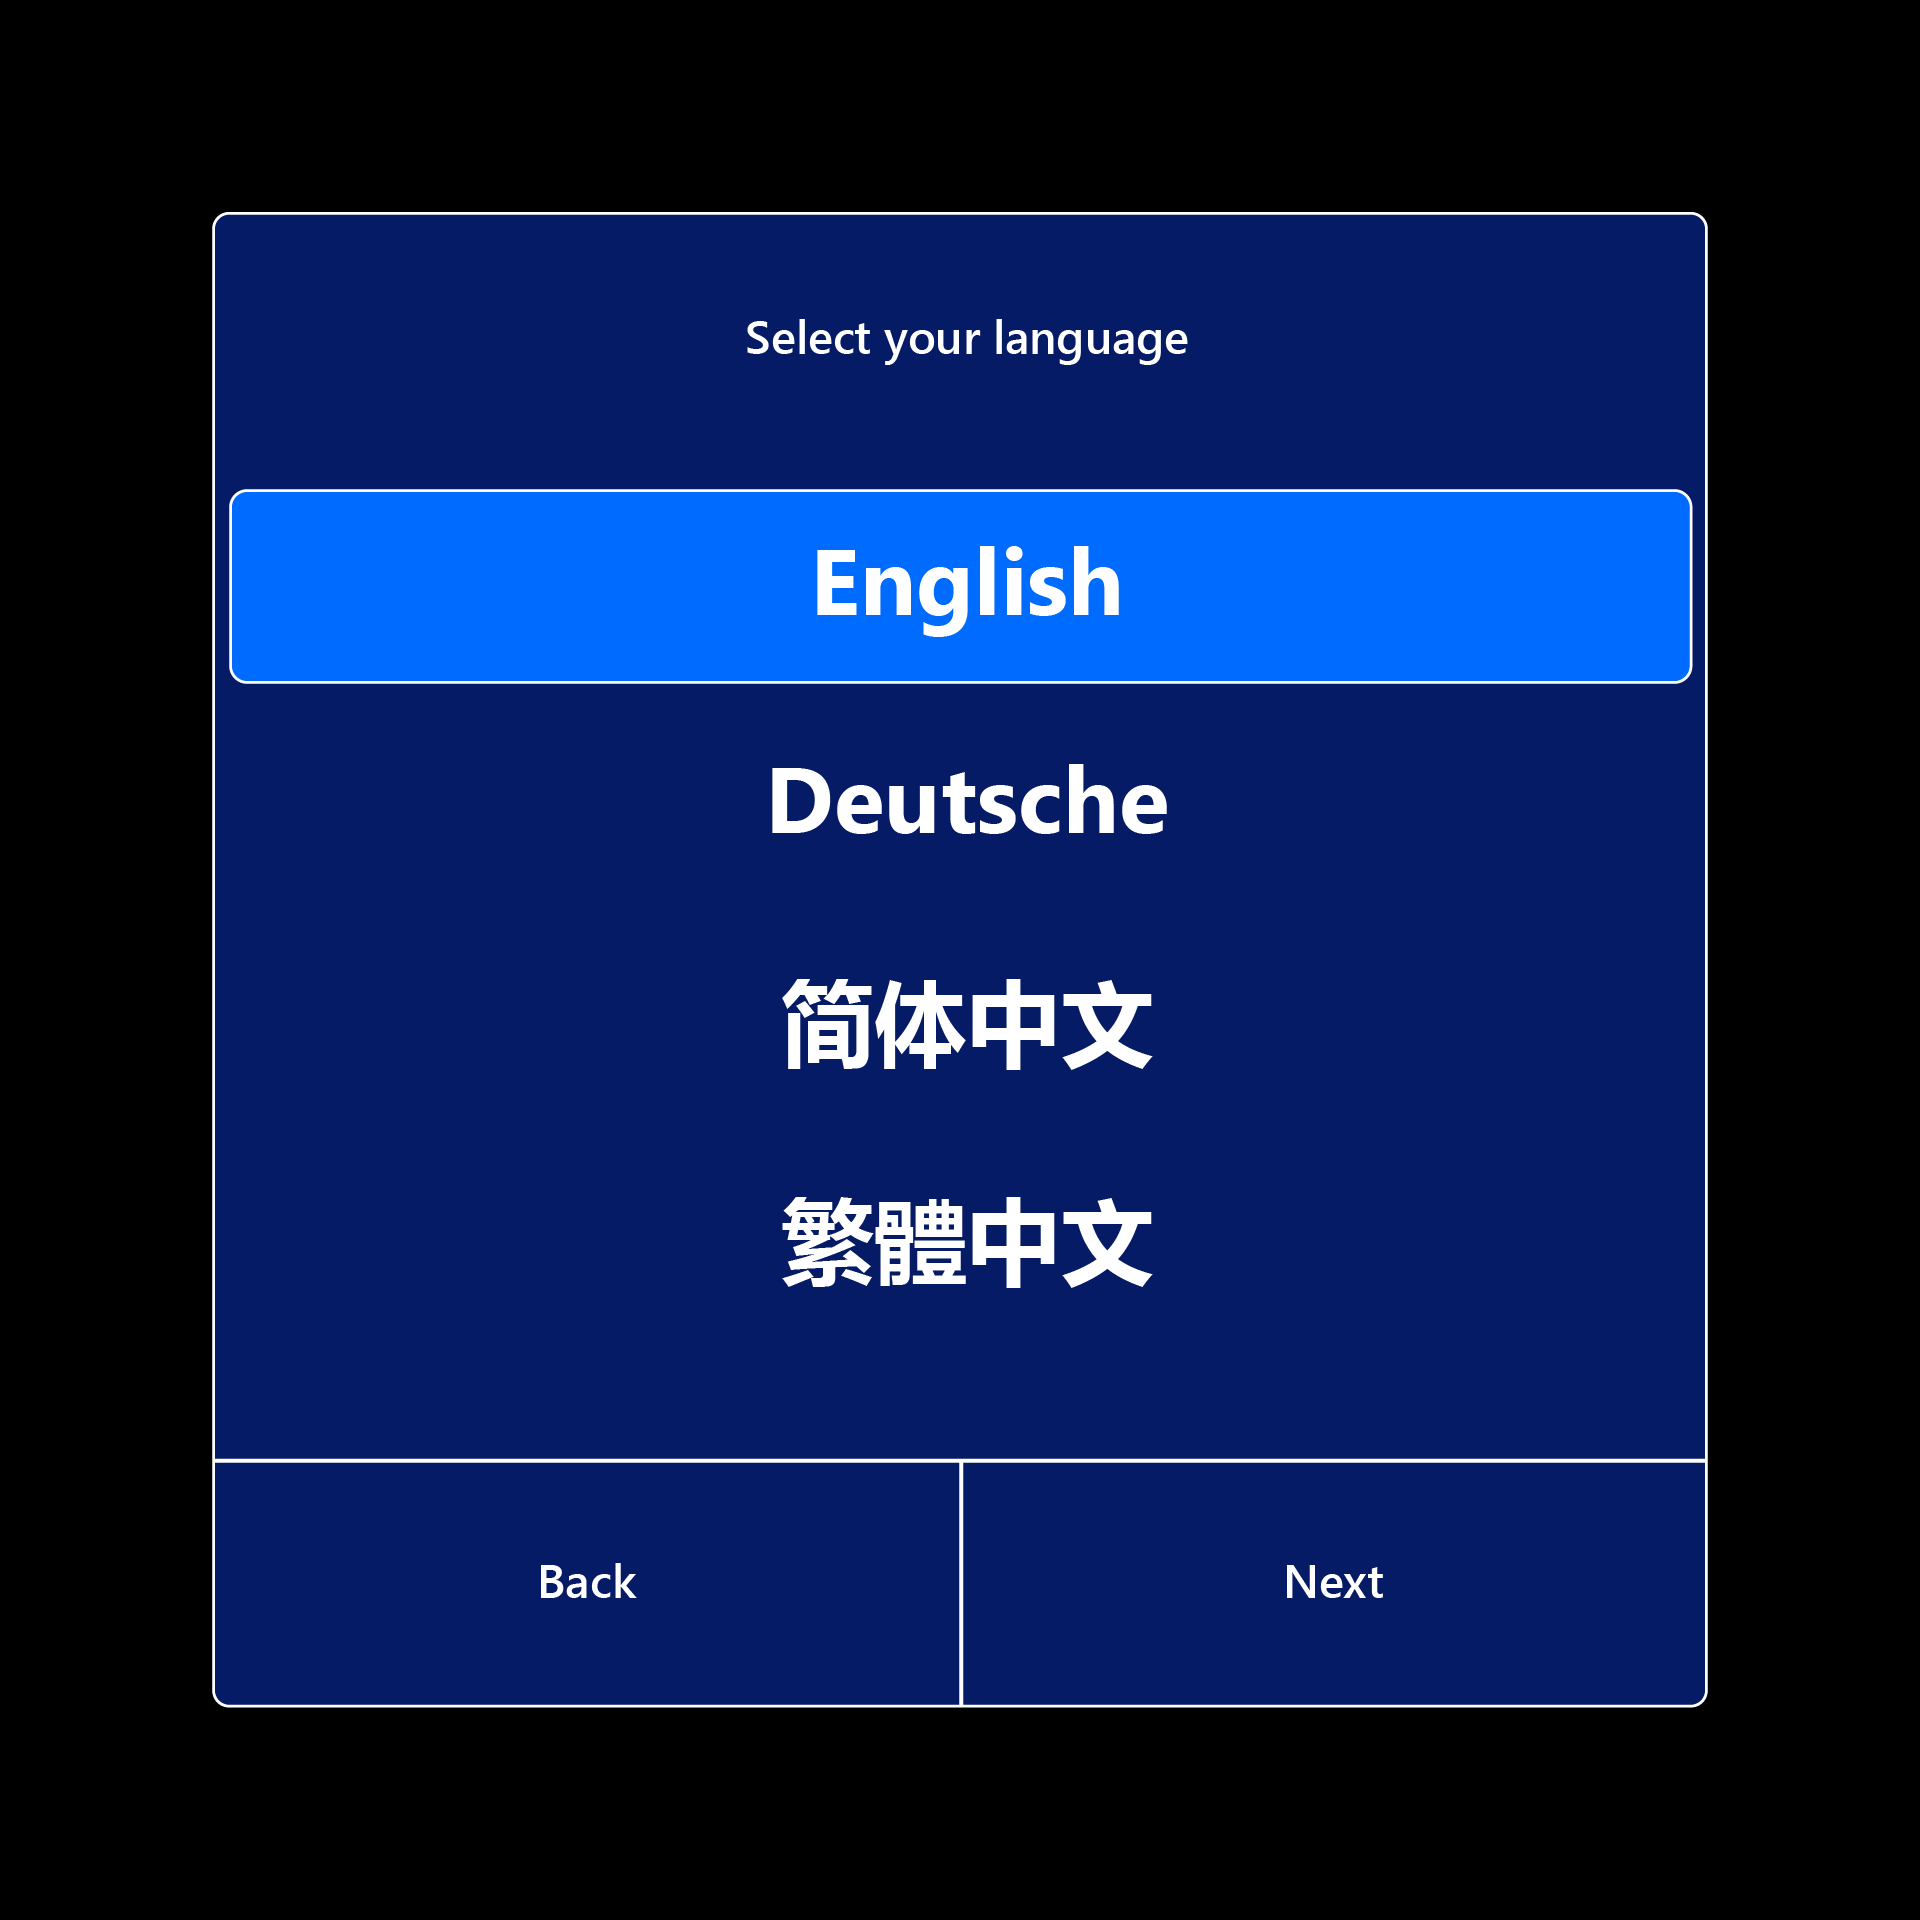
Select your language.
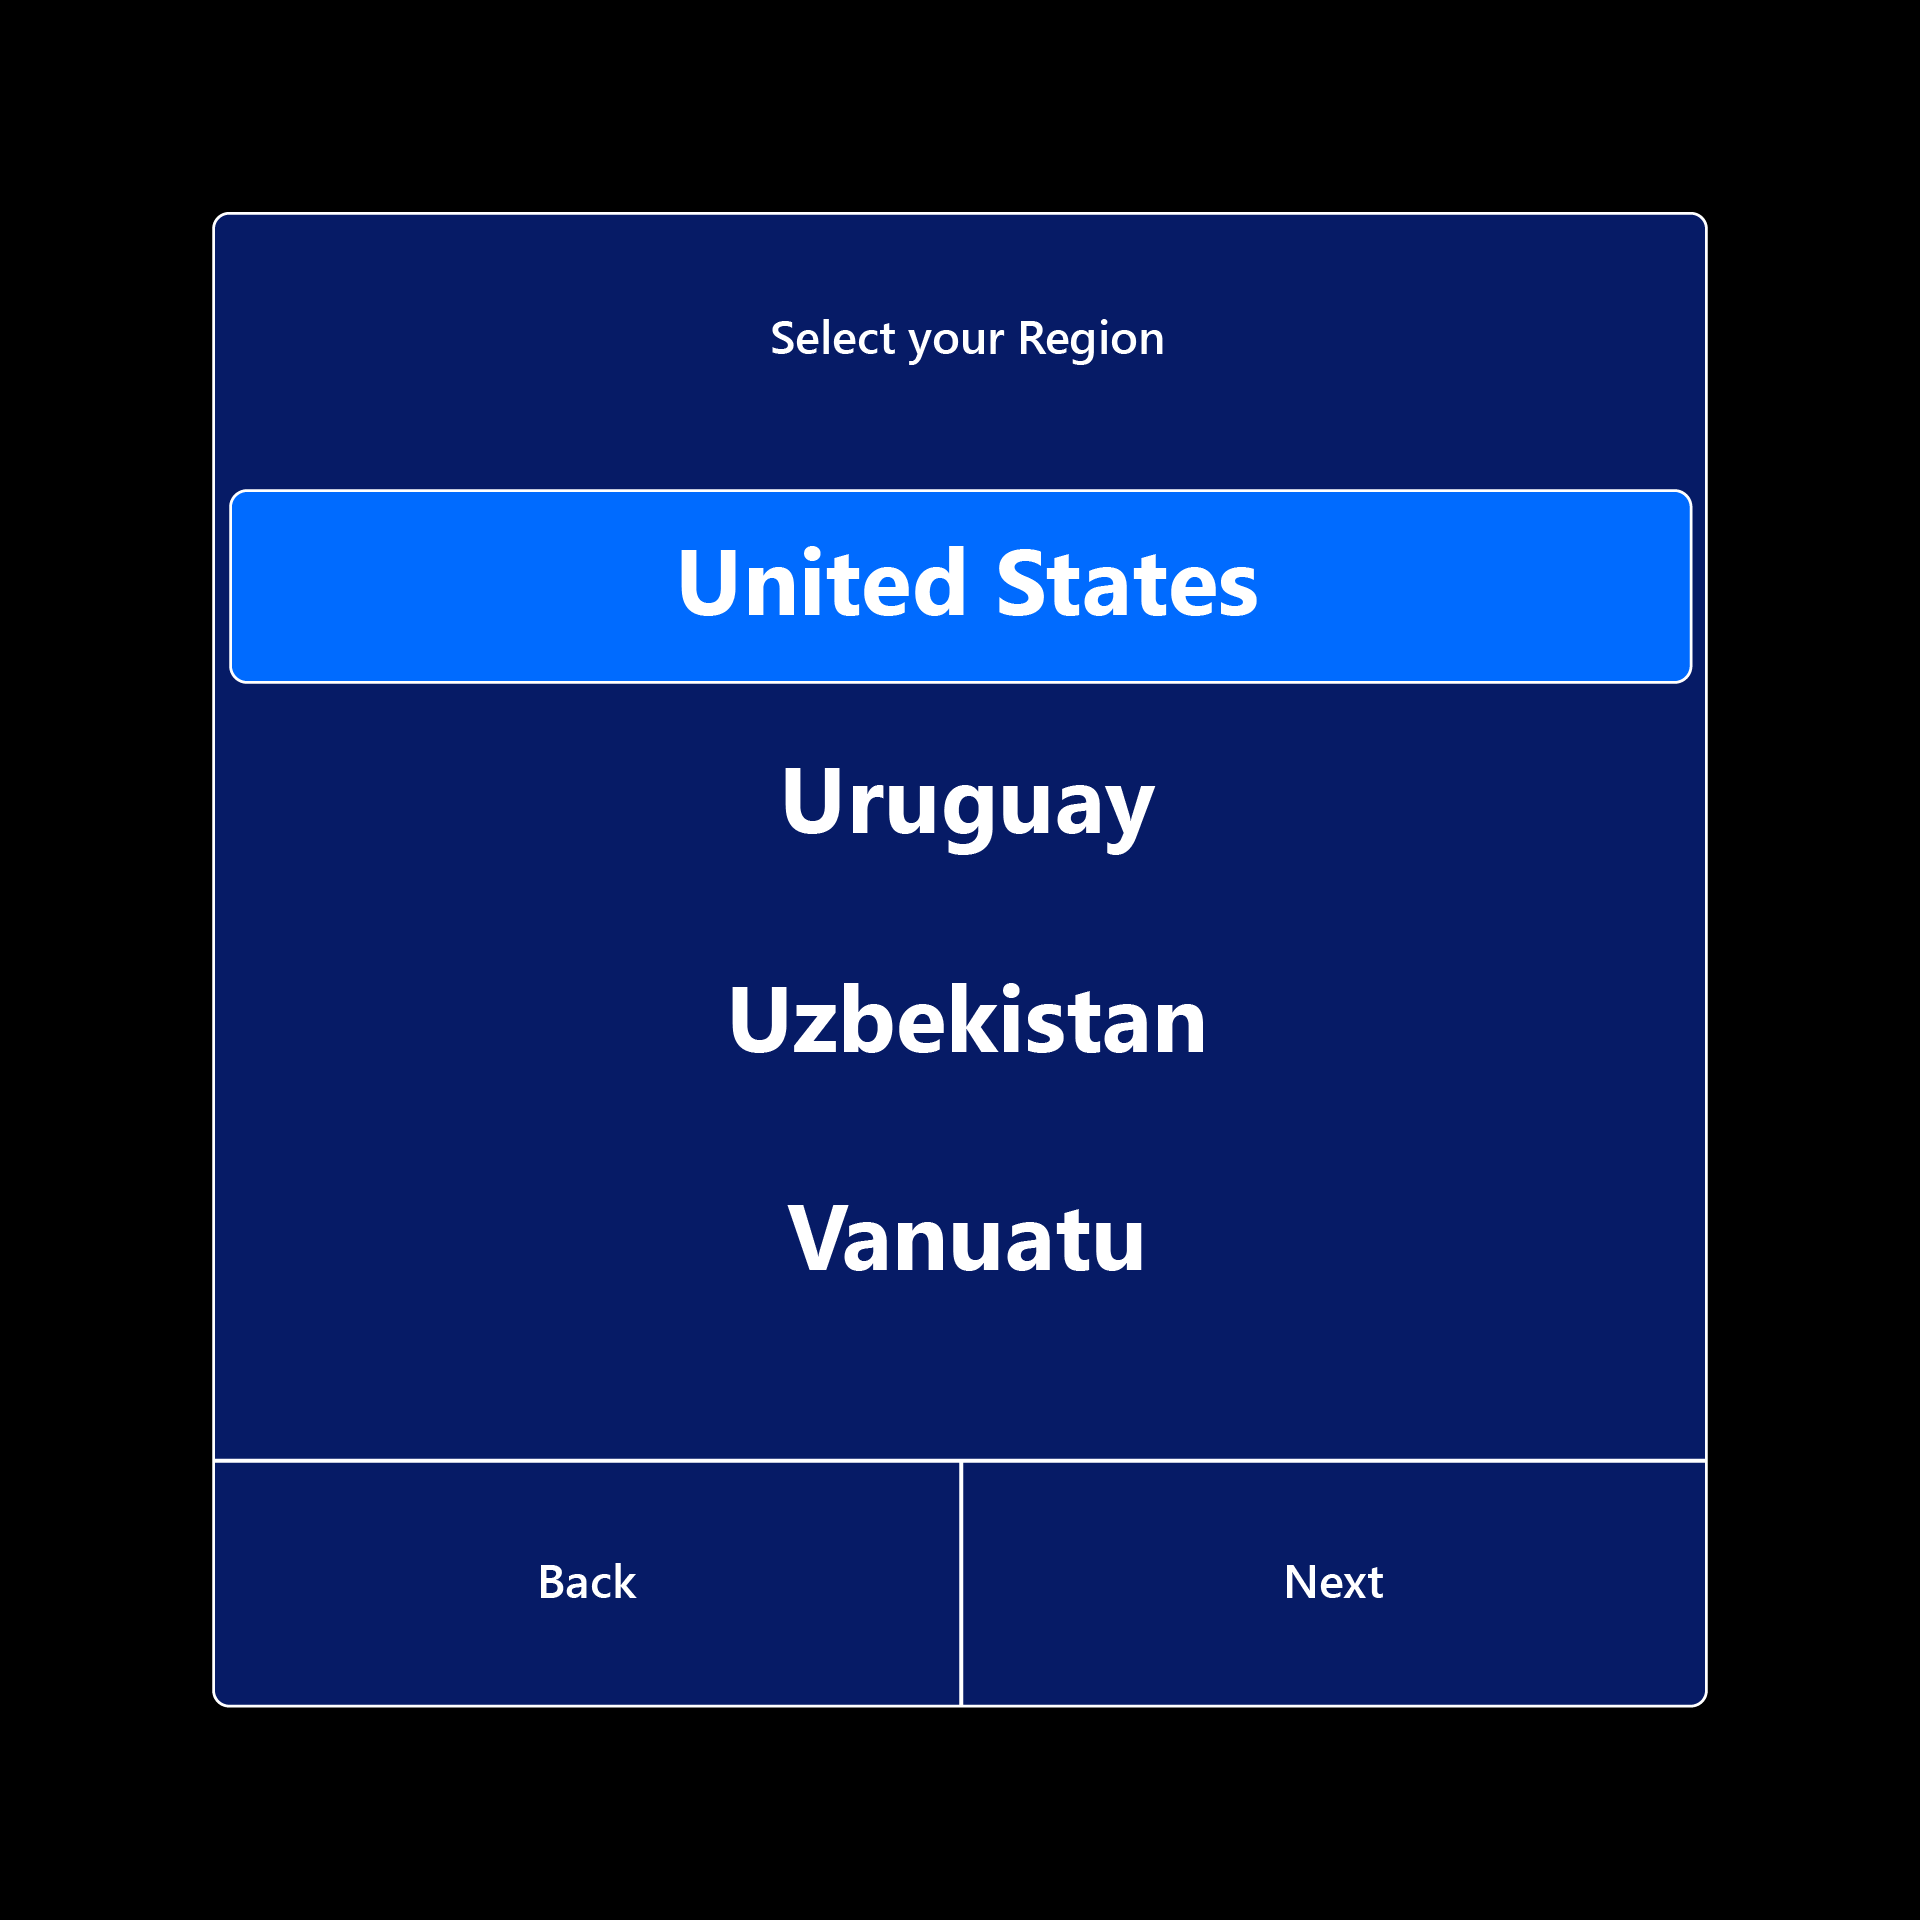
Select your region.
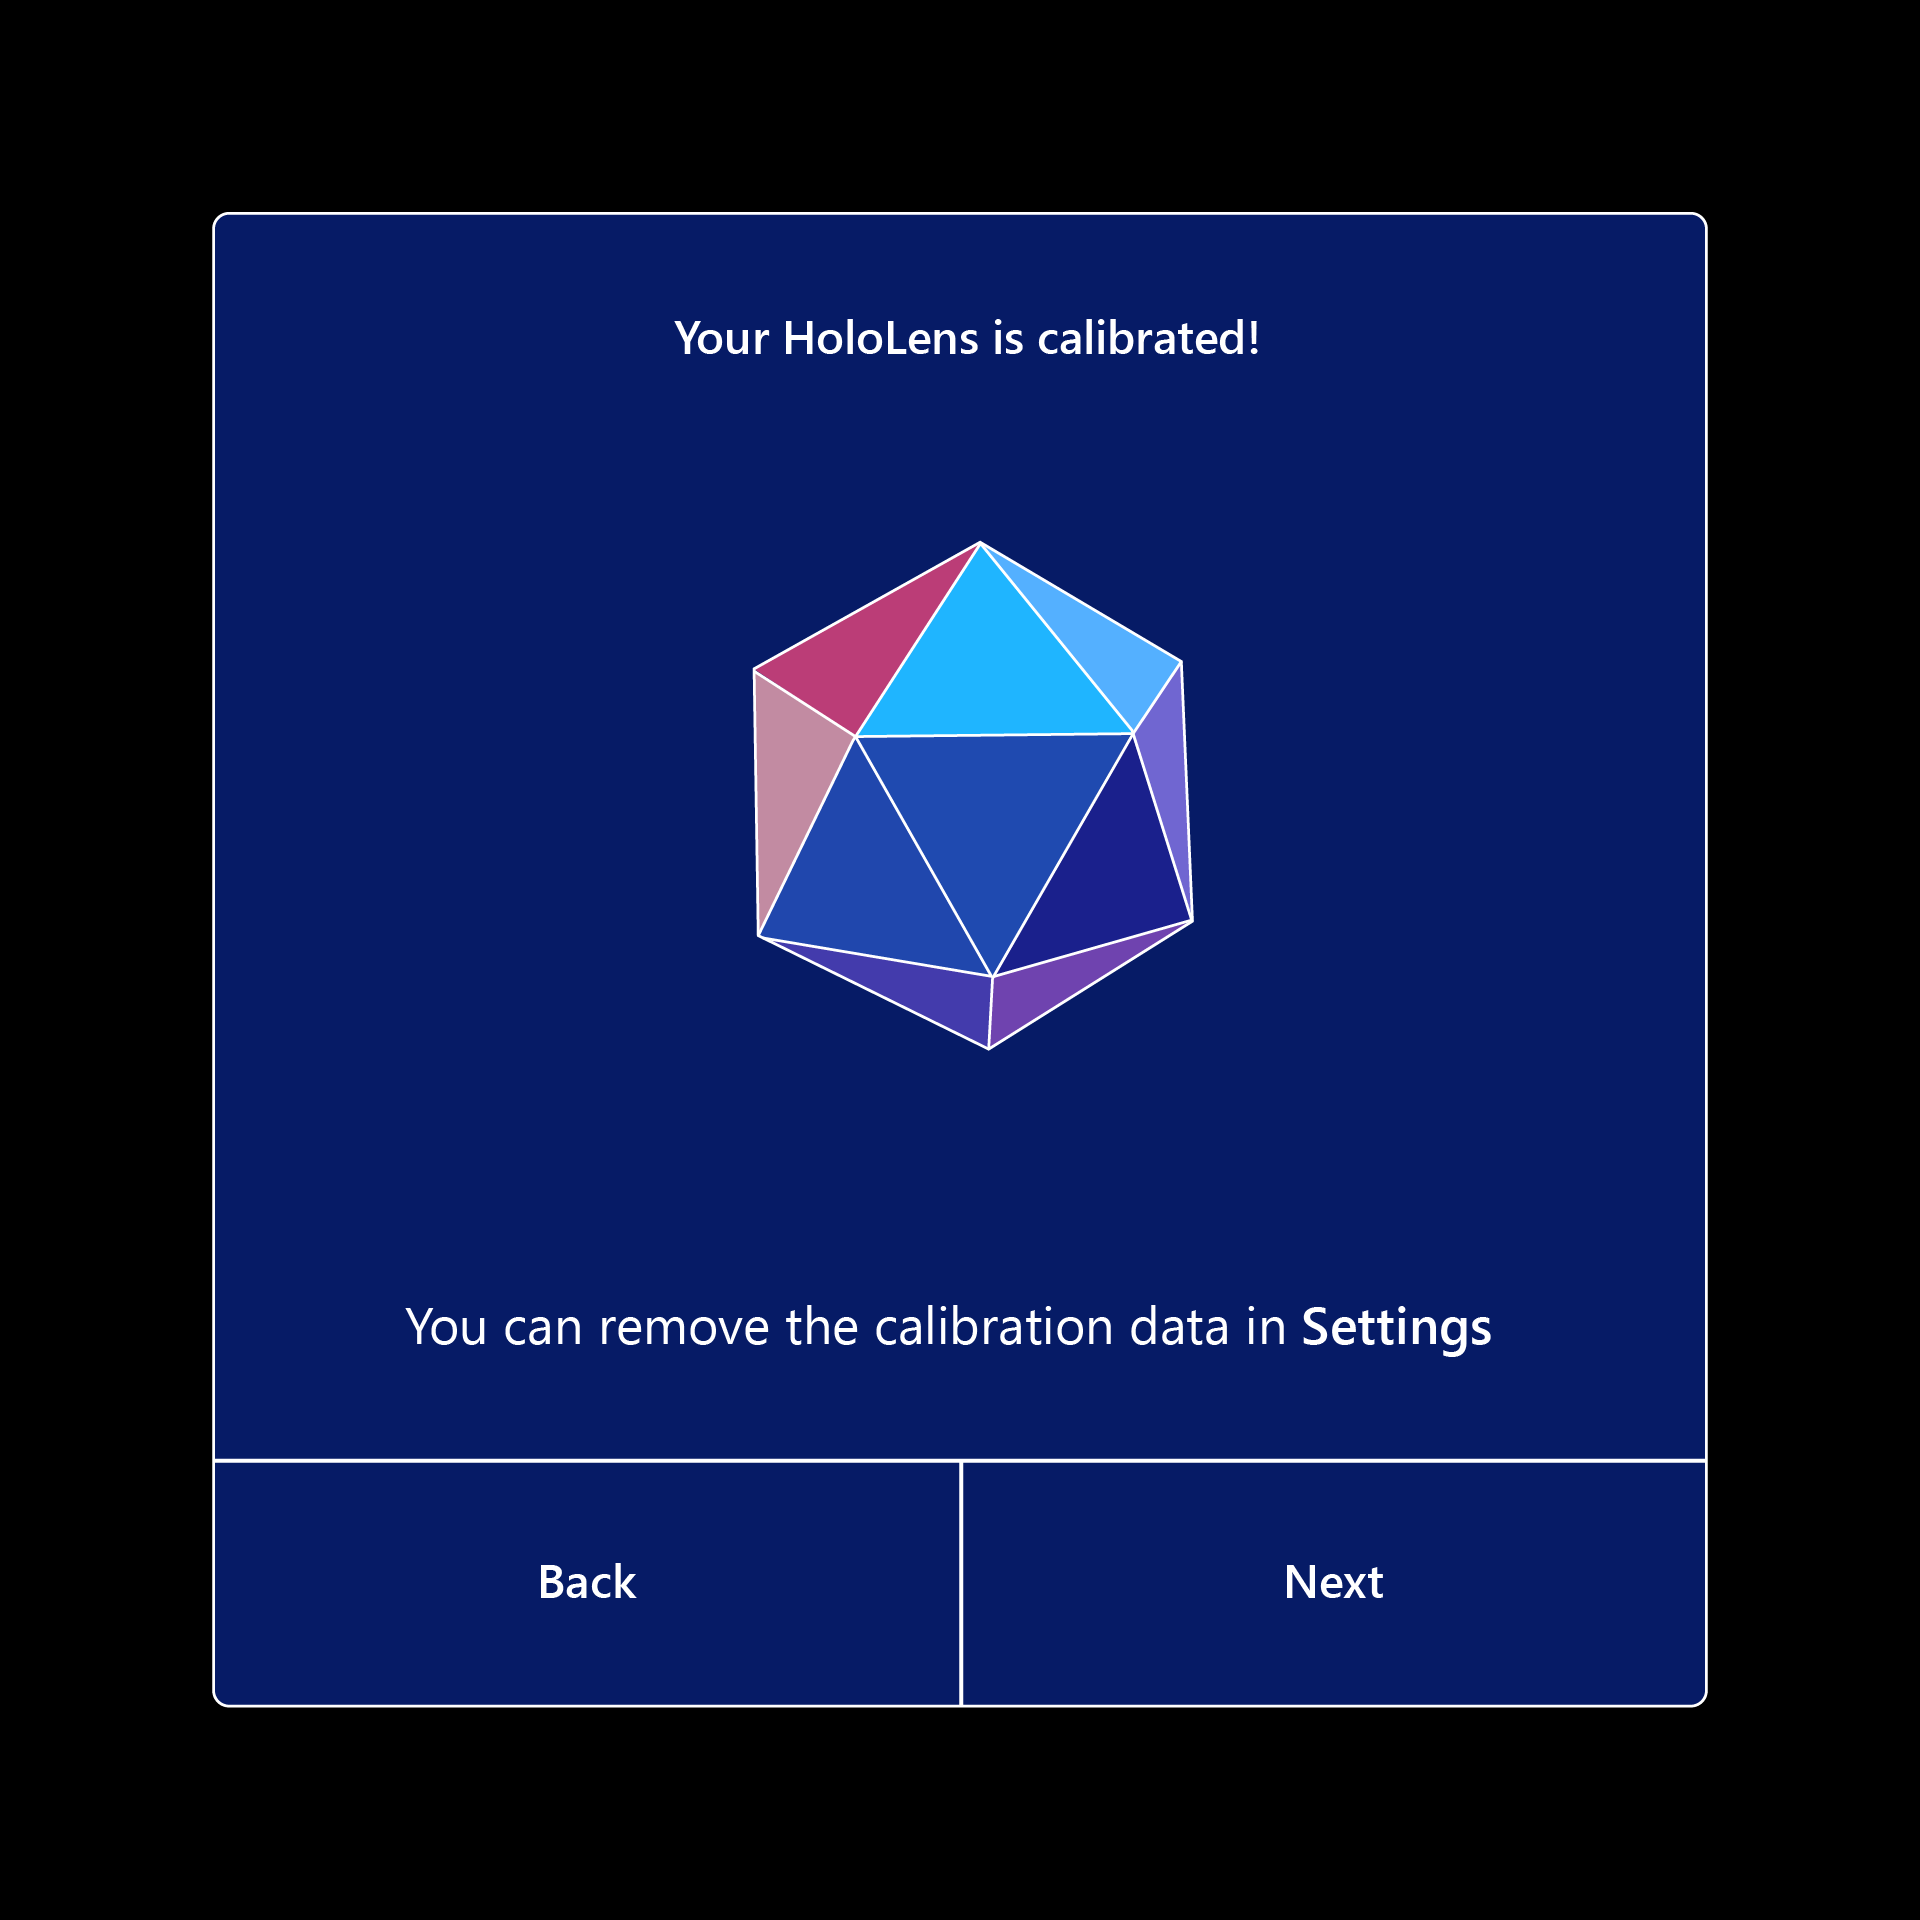
Calibrate HoloLens to your eyes. If you choose to skip calibration, you'll be prompted the next time you sign in.
View consent to collect biometric data for device calibration and improved reliability.
.png)
Calibrate HoloLens to your eyes. First, you'll adjust your visor to enable eye calibration to take place.
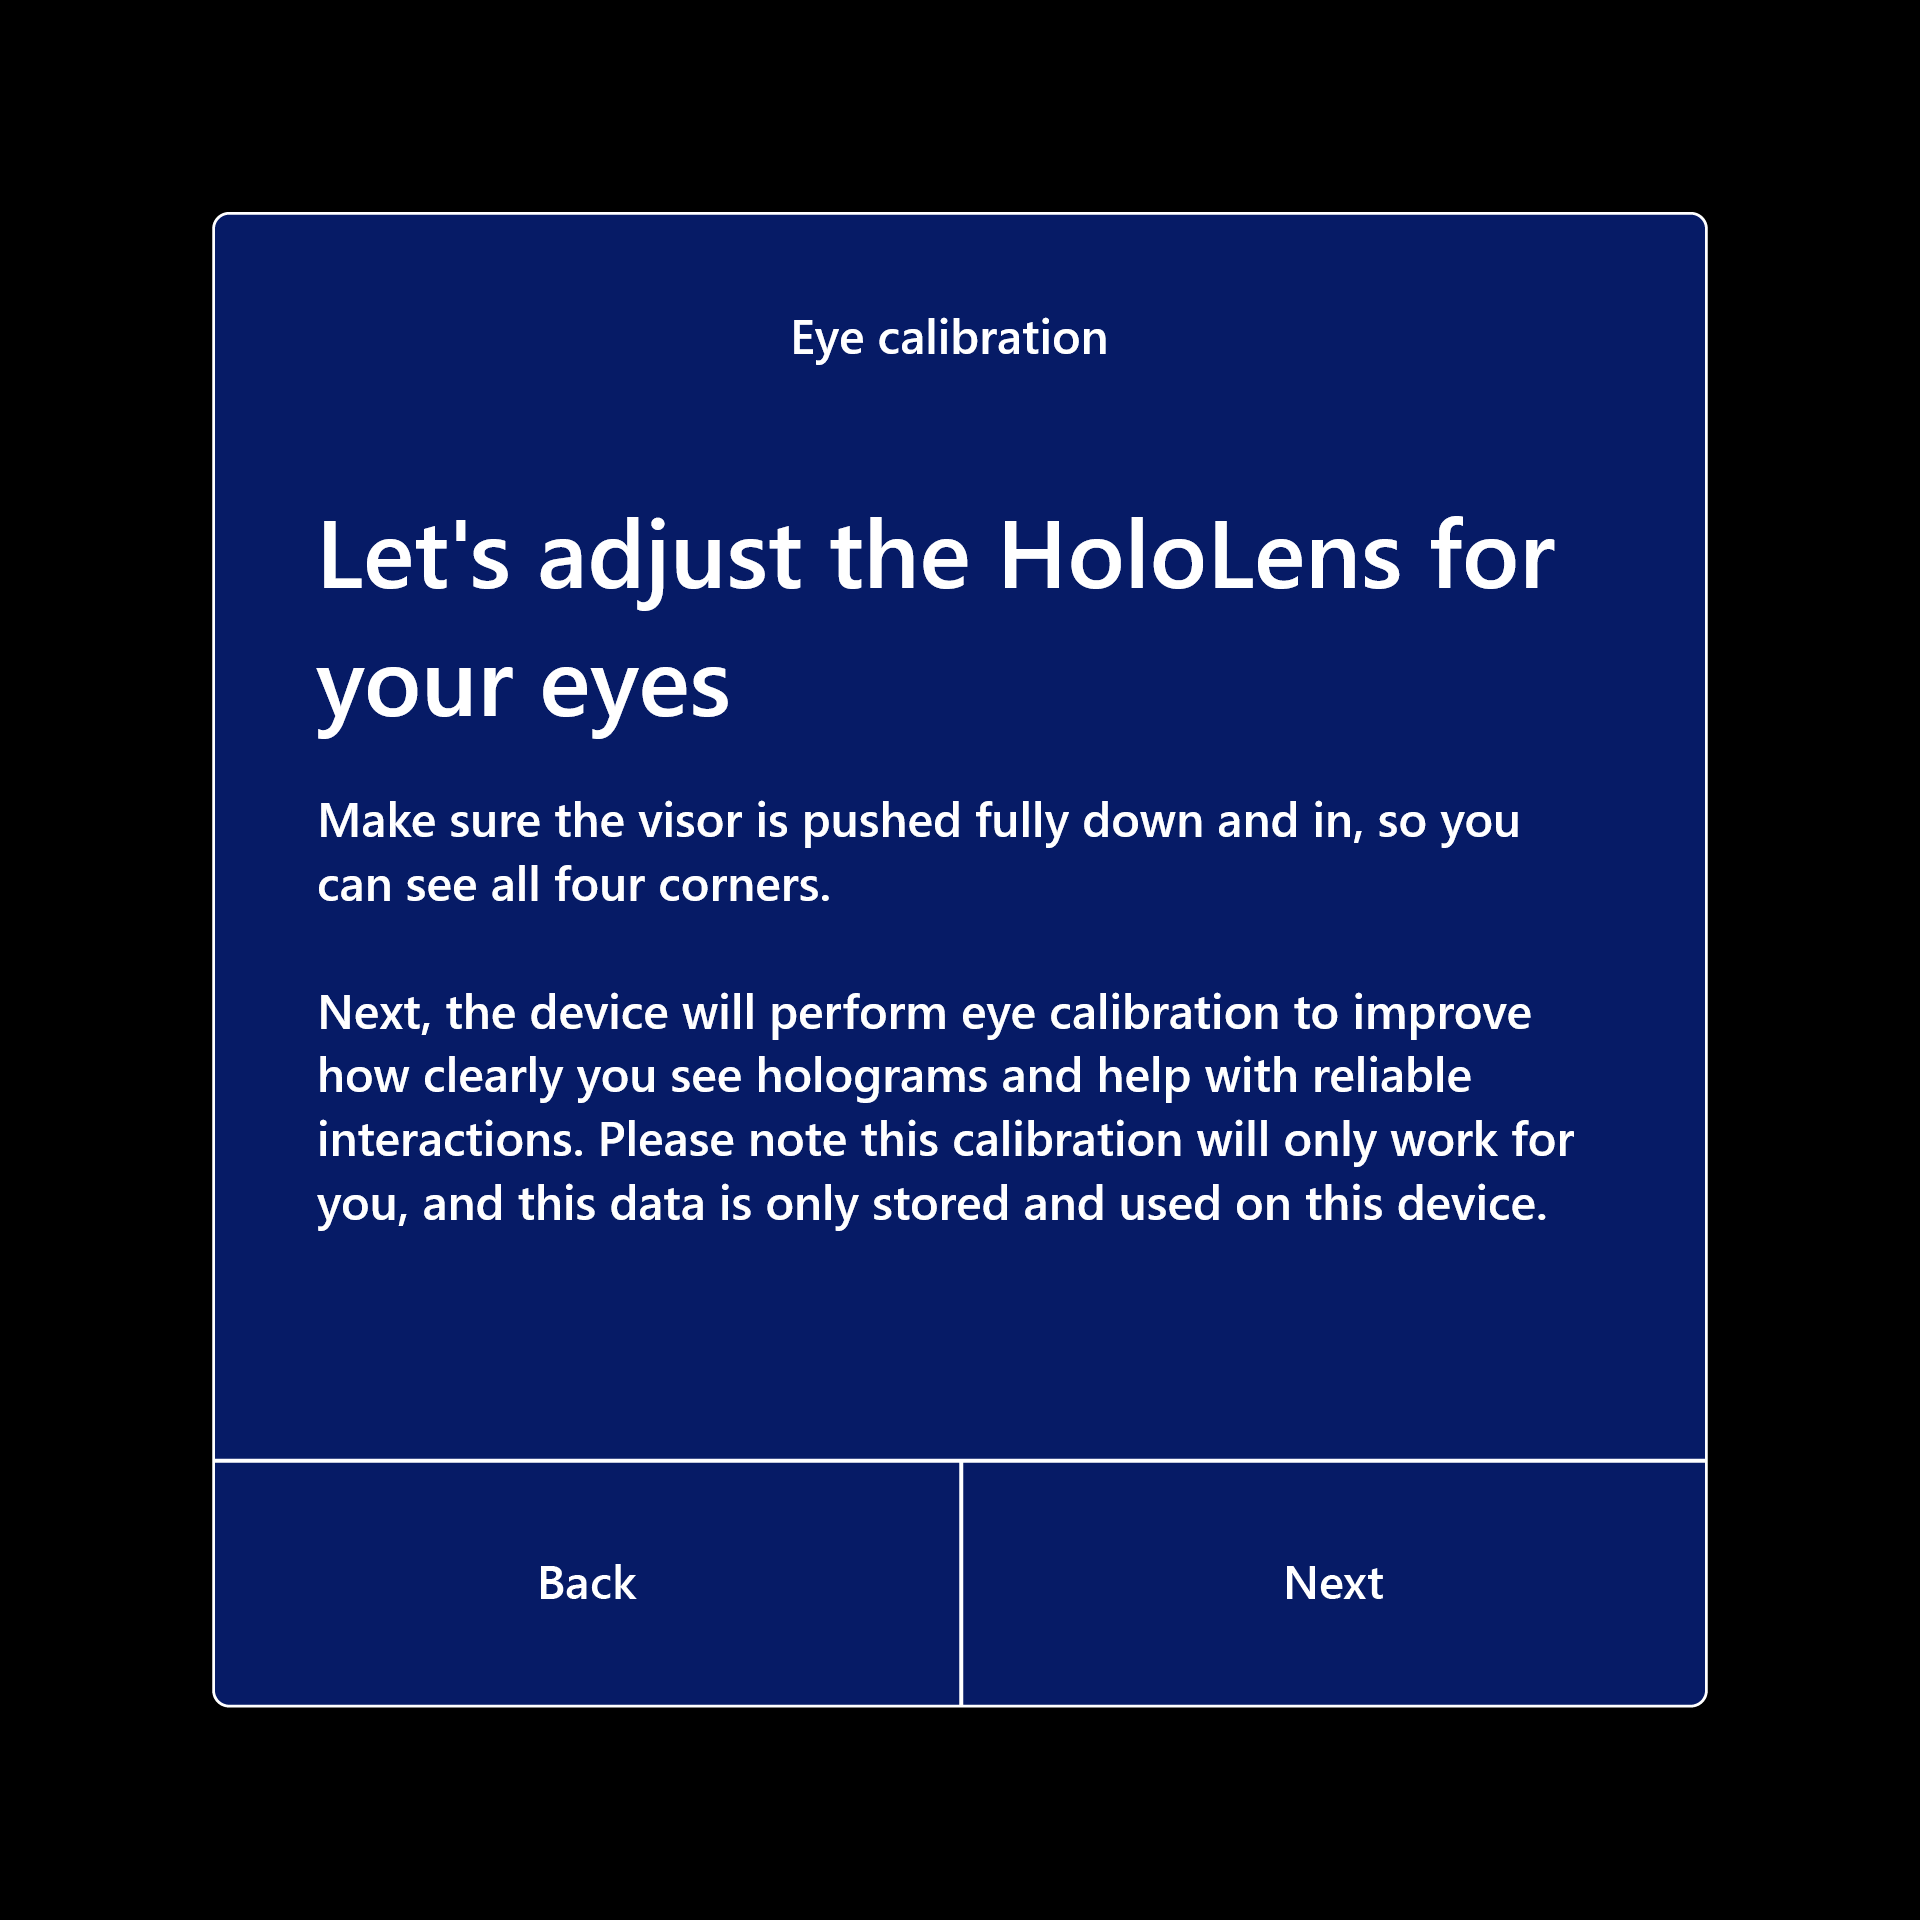
After calibration, holograms appear correctly even as the visor shifts on your head. Calibration information is stored locally on the device and is not associated with any account information. For more information, see Calibration data and security.
Connect to the internet (select Wi-Fi or your ethernet connection).
HoloLens sets your time zone automatically based on information obtained from the Wi-Fi network. After setup finishes, you can change the time zone by using the Settings app.
Note
If you progress past the Wi-Fi step and later need to switch to a different network while still in setup, you can press the Volume Down and Power buttons simultaneously to return to this step if you are running an OS version from October 2019 or later. For earlier versions, you may need to reset the device or restart it in a location where the Wi-Fi network is not available to prevent it from automatically connecting.
Also note that during HoloLens Setup, there is a credential timeout of two minutes. The username/password needs to be entered within two minutes otherwise the username field will be automatically cleared.
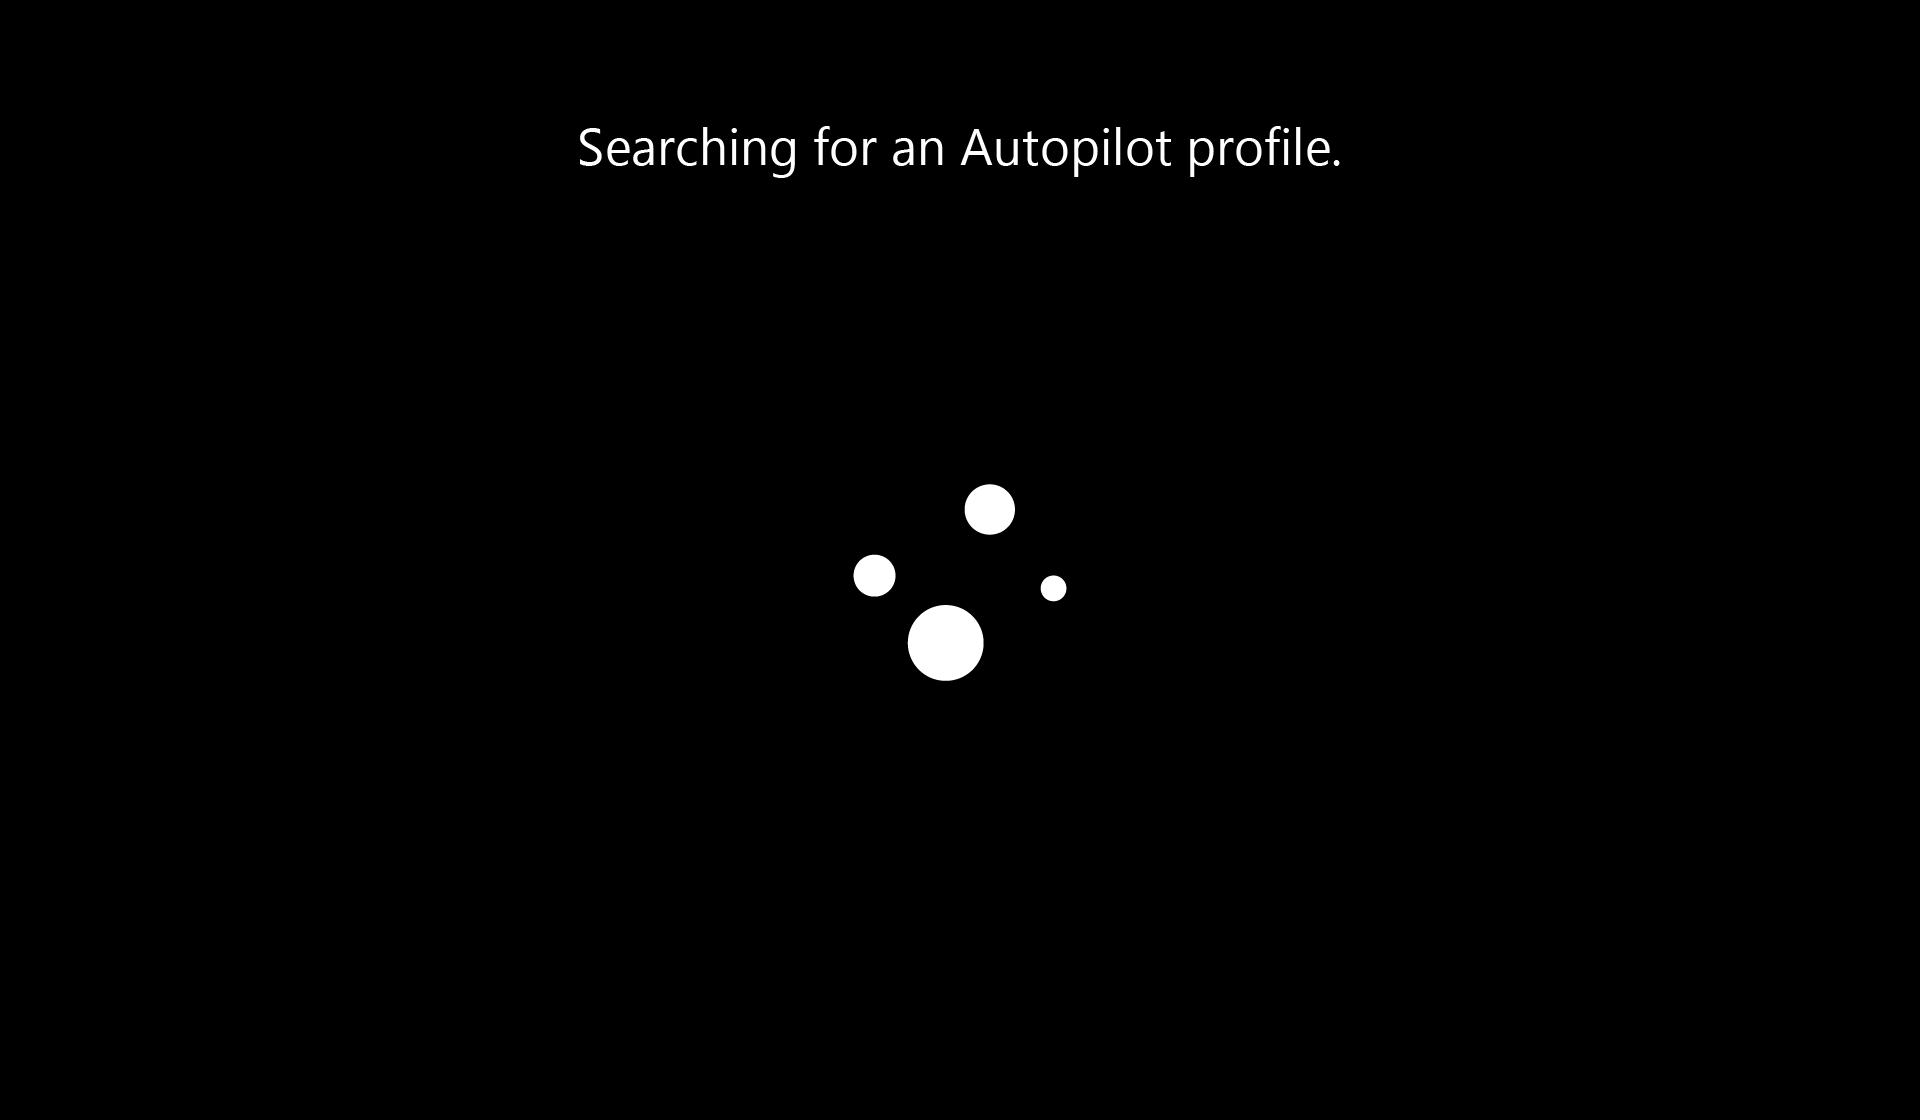
HoloLens 2 searches and applies an Autopilot profile if one exists. No action is needed on this screen.
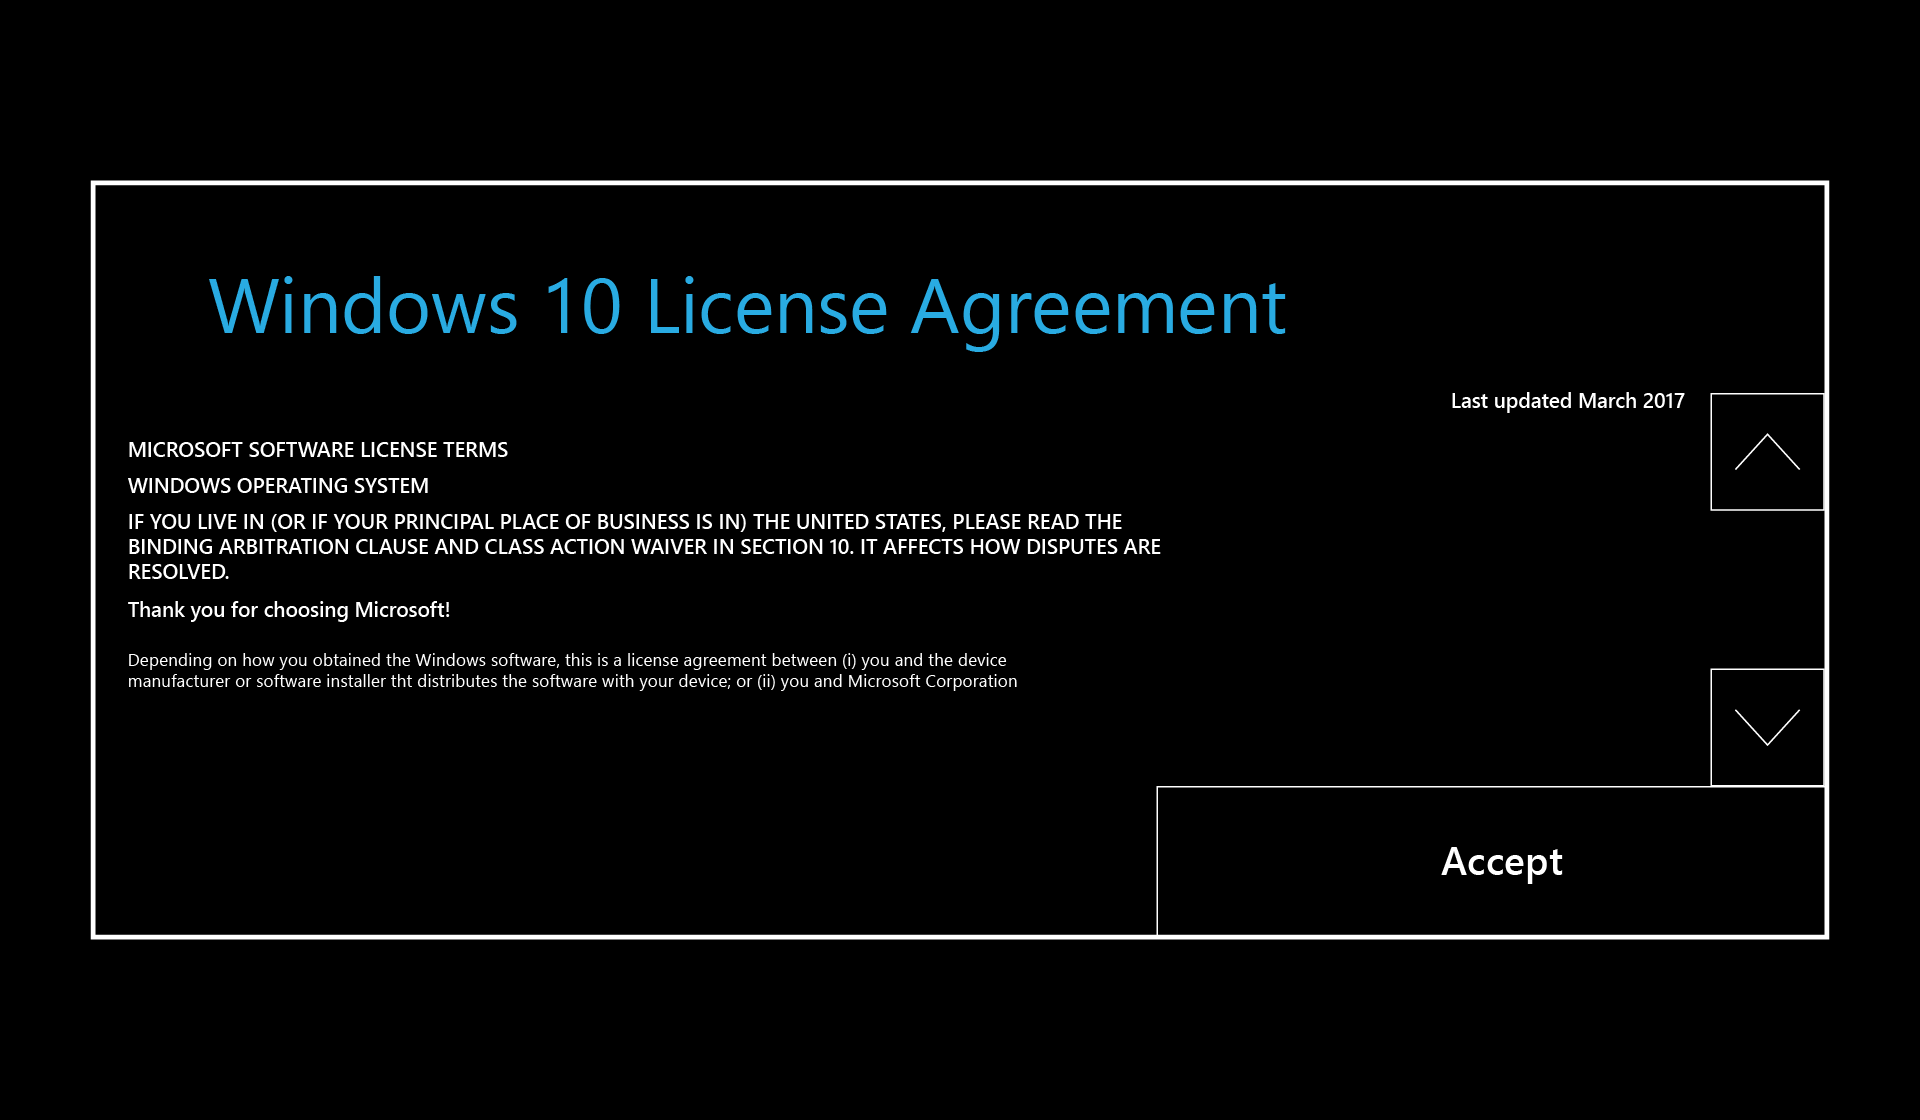
Click Accept on the licensing screen.
Sign in to your user account. You choose between My work or school owns it and I own it.
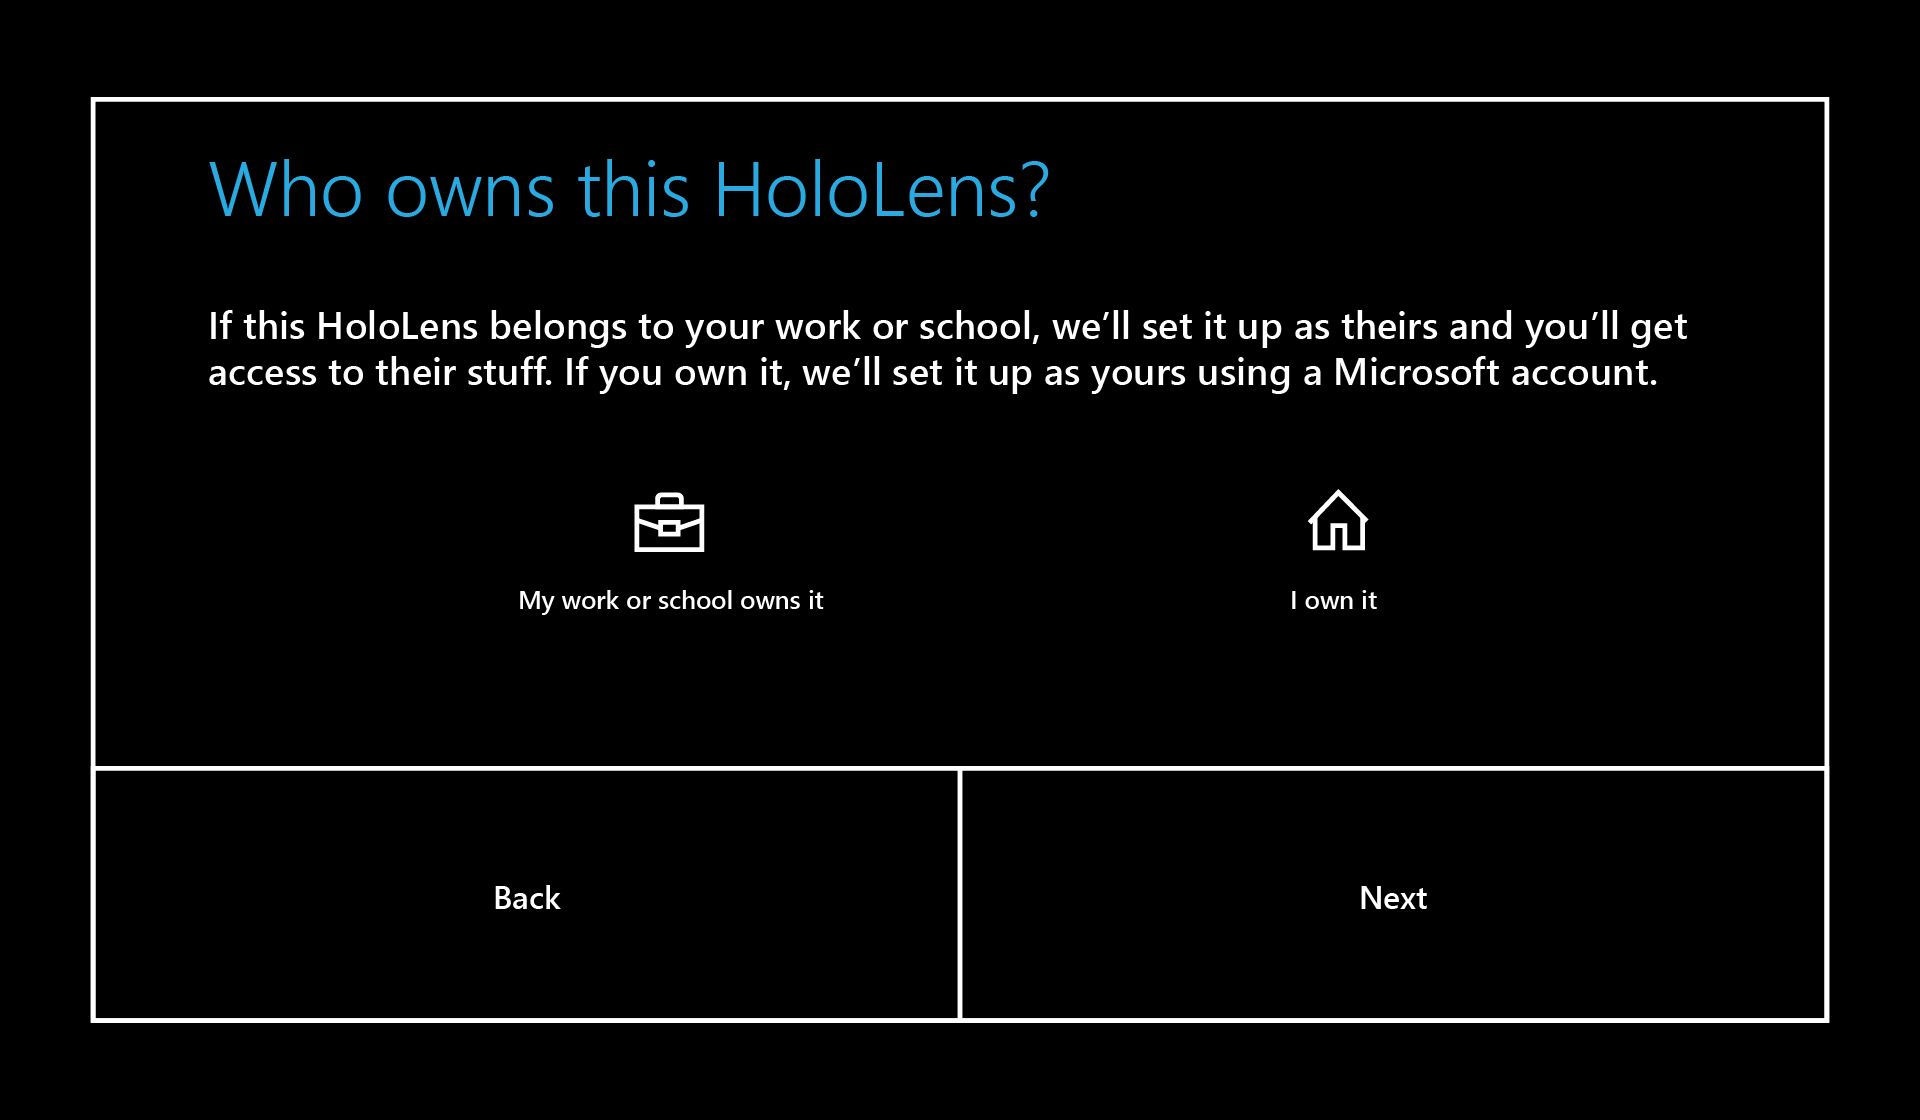
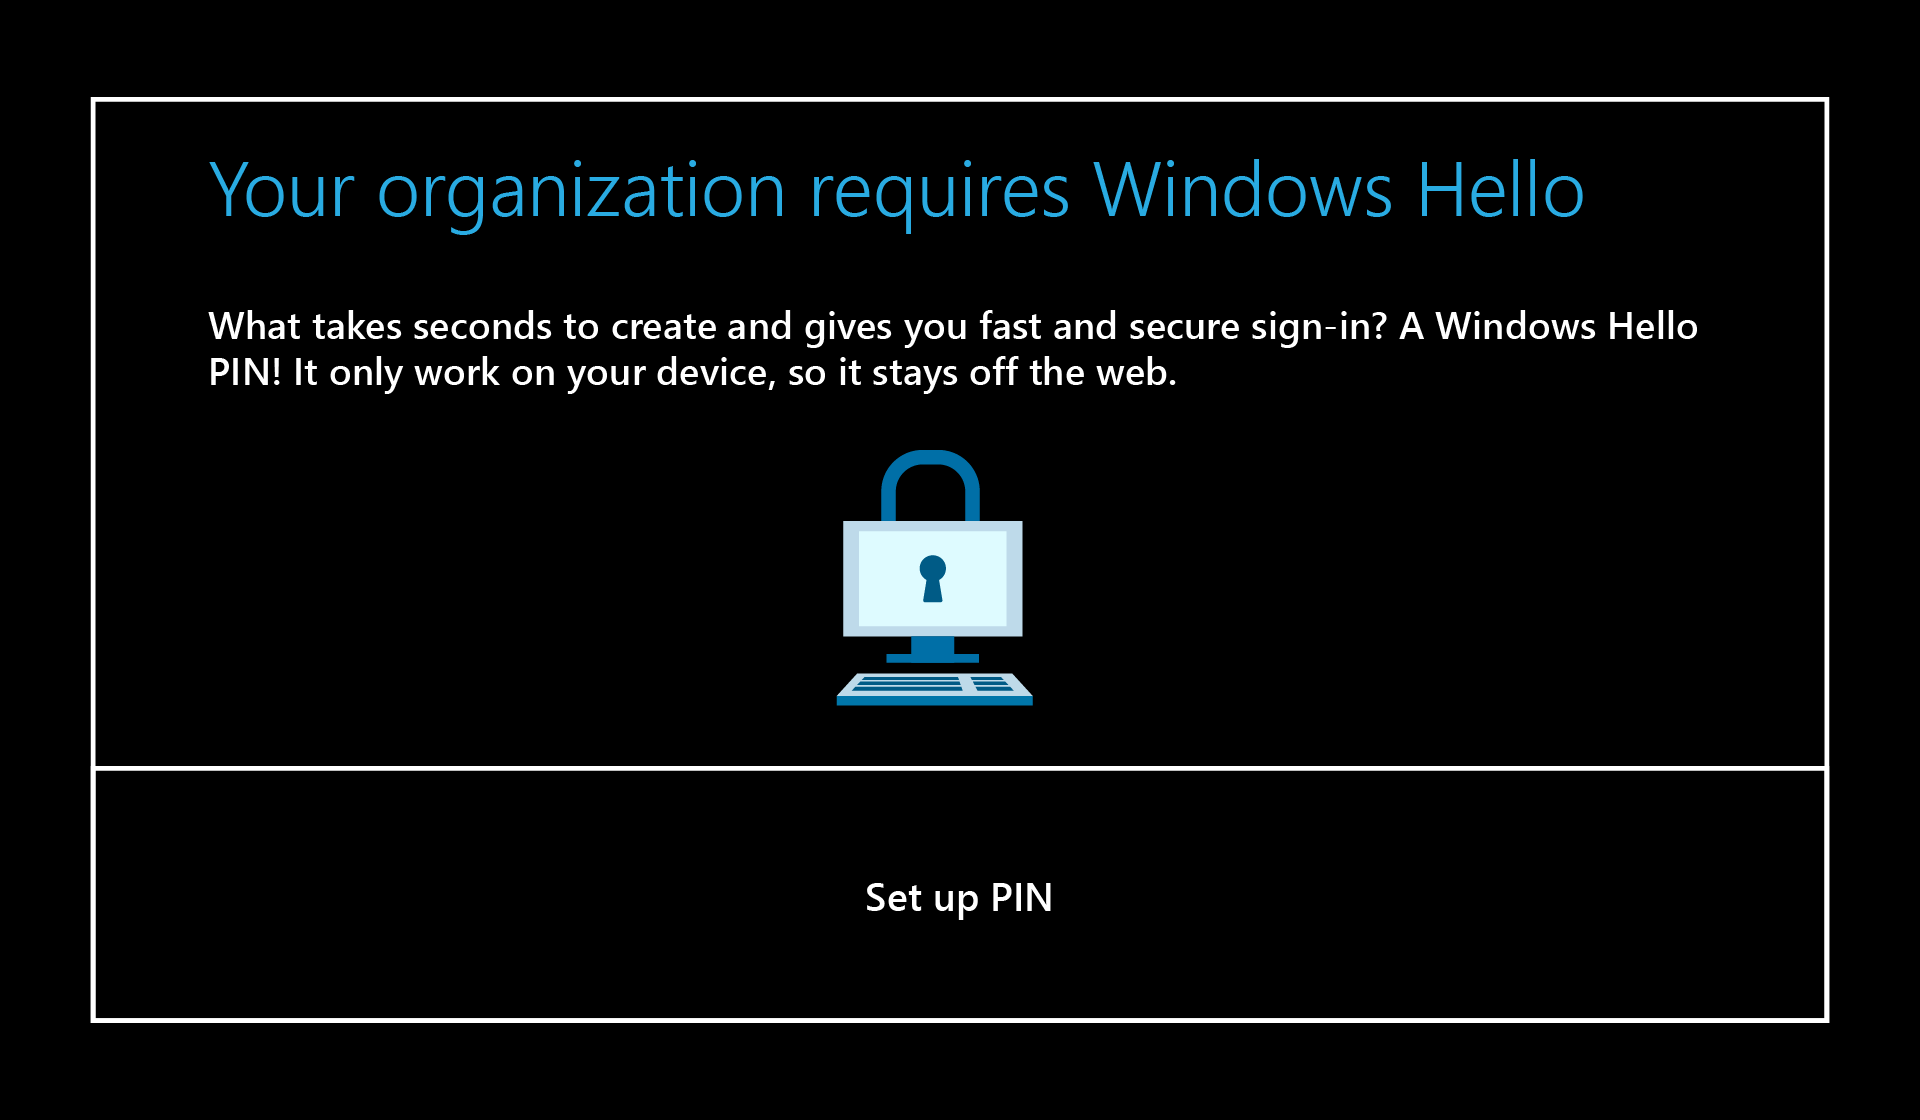
When you choose My work or school owns it, you sign in with a Microsoft Entra account. If your organization uses Microsoft Entra ID P1 or P2 and has configured automatic MDM enrollment, HoloLens automatically enrolls in MDM. If your organization doesn't use Microsoft Entra ID P1 or P2, automatic MDM enrollment isn't available. In that case, you need to manually enroll HoloLens in device management.
- Enter your organizational account information.
- Accept the privacy statement and the end user license agreement.
- Sign in by using your Microsoft Entra credentials. This may redirect to your organization's sign-in page.
- Continue setting up the device.
When you choose I own it, you sign in with a Microsoft account. After setup is complete, you can manually enroll HoloLens in device management.
- Enter your Microsoft account information.
- Enter your password. If your Microsoft account requires two-step verification (2FA), complete the verification process.
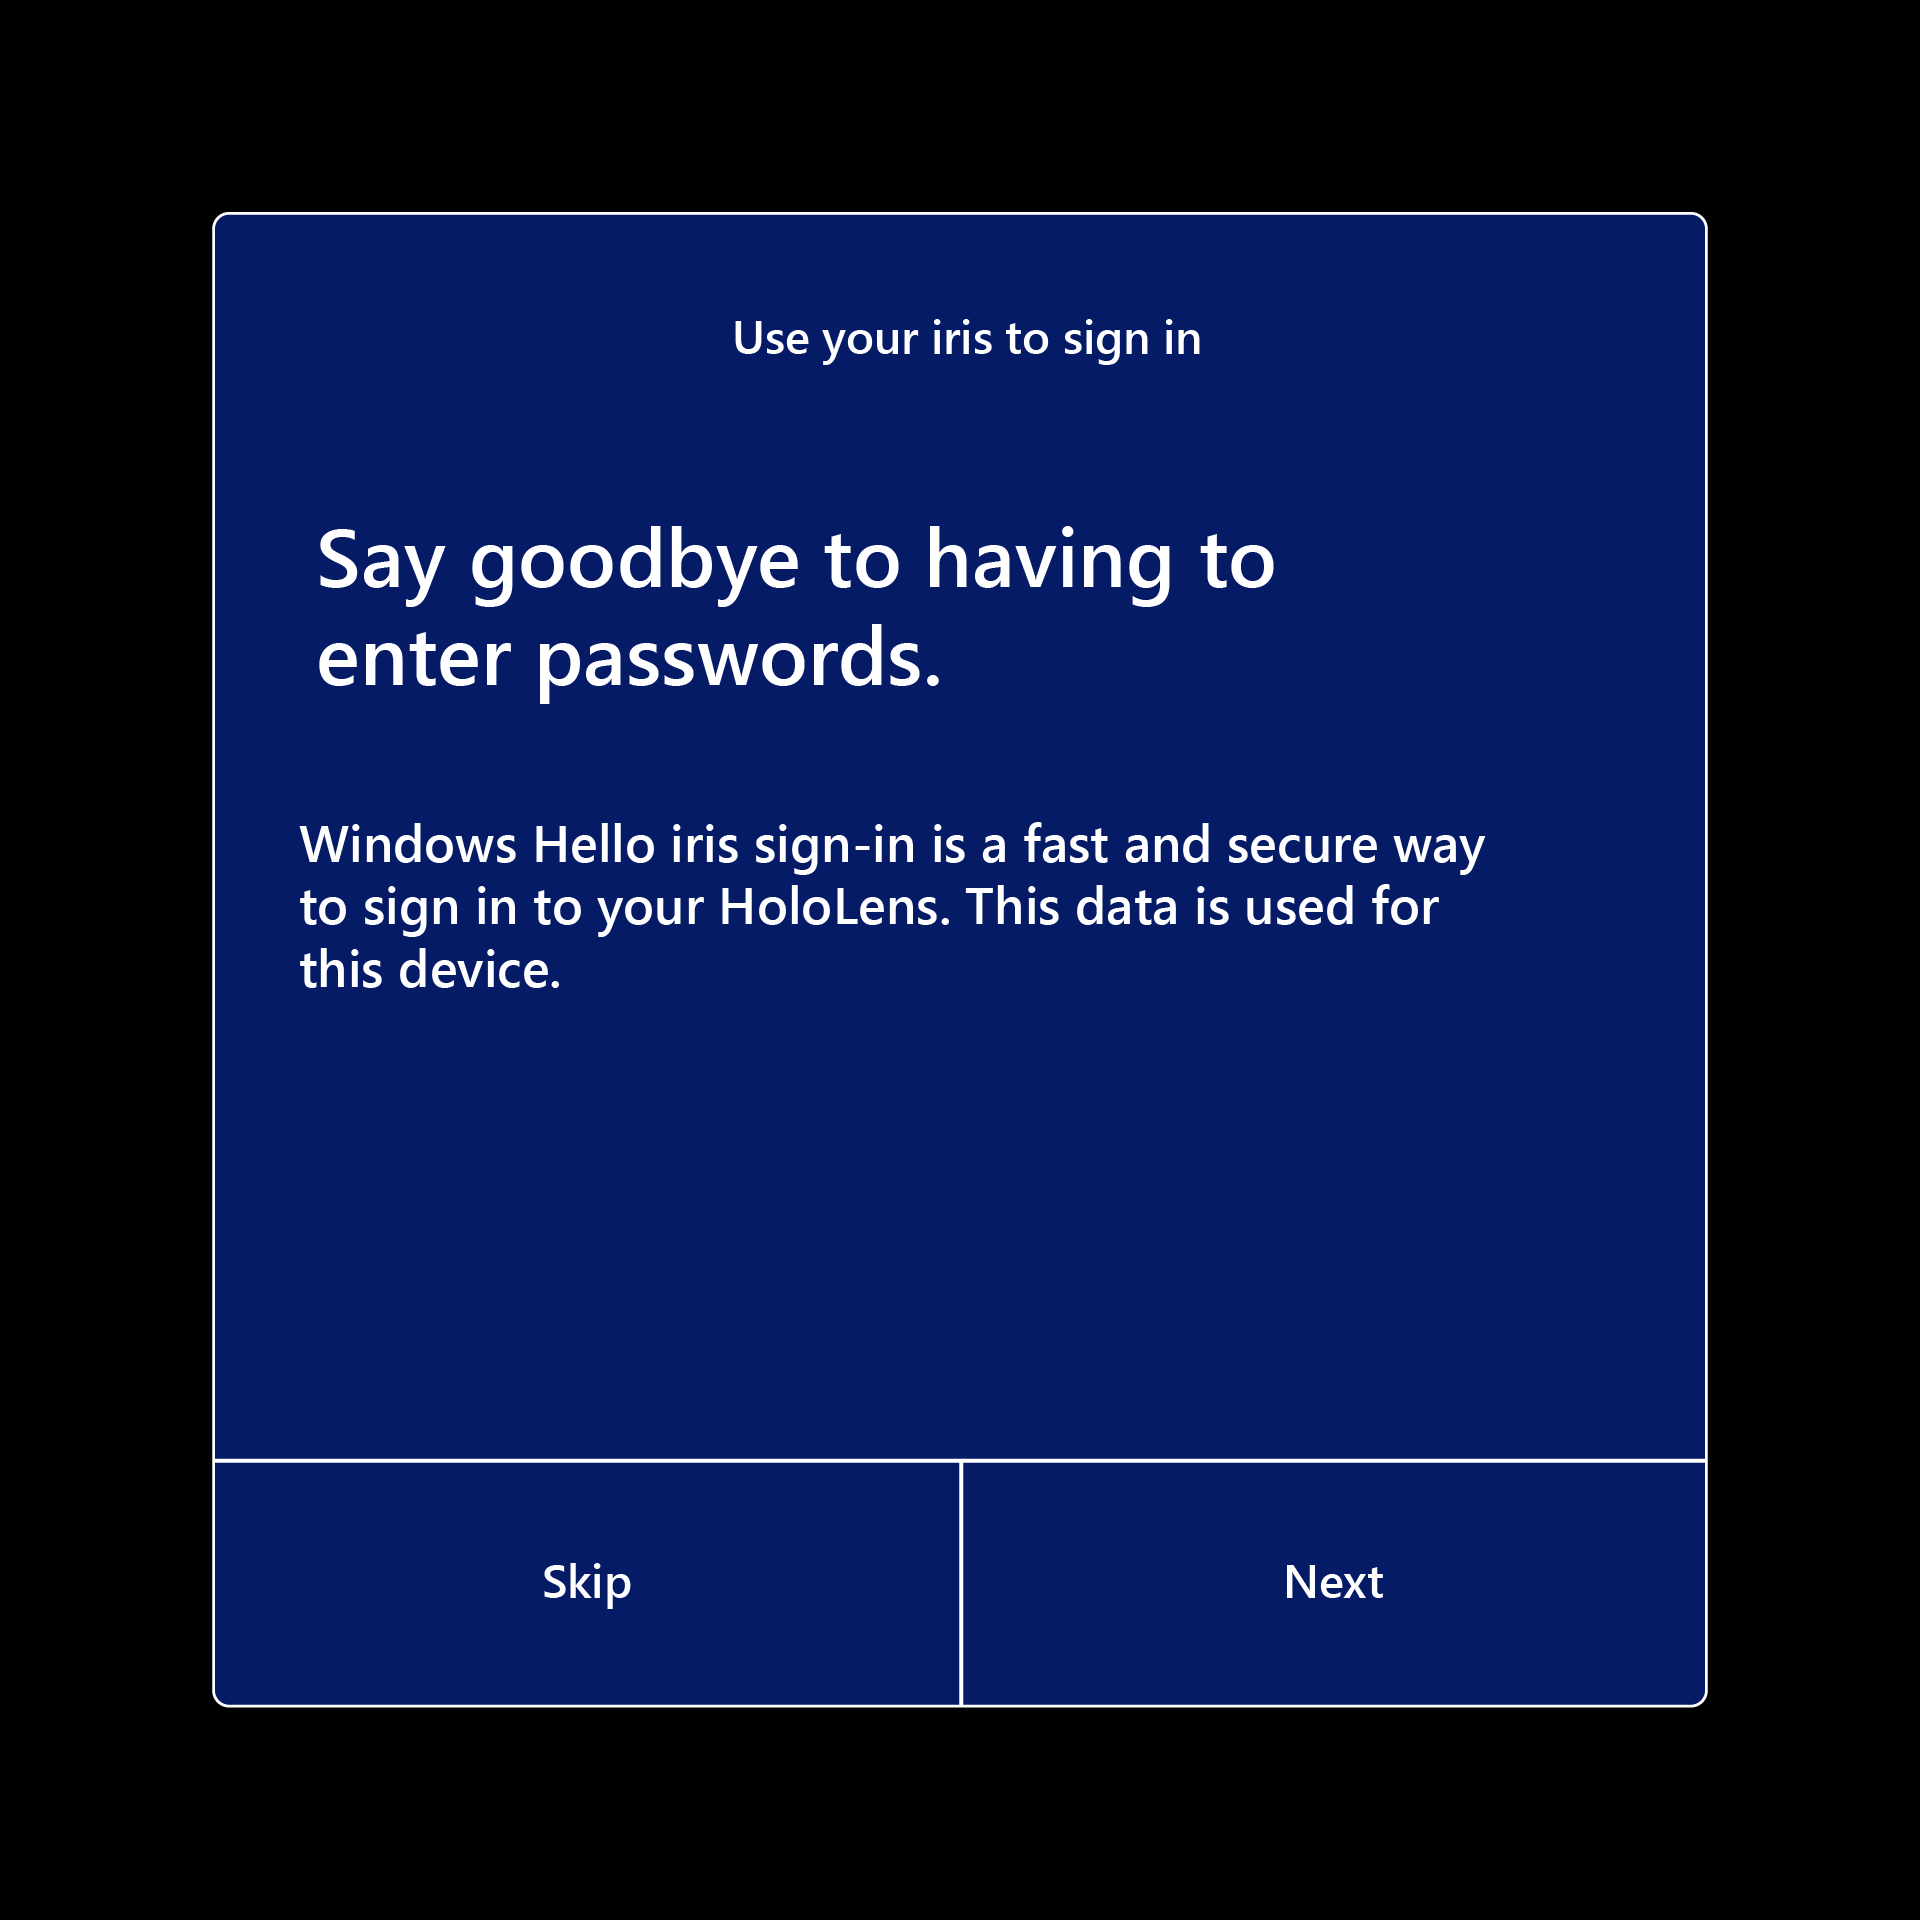
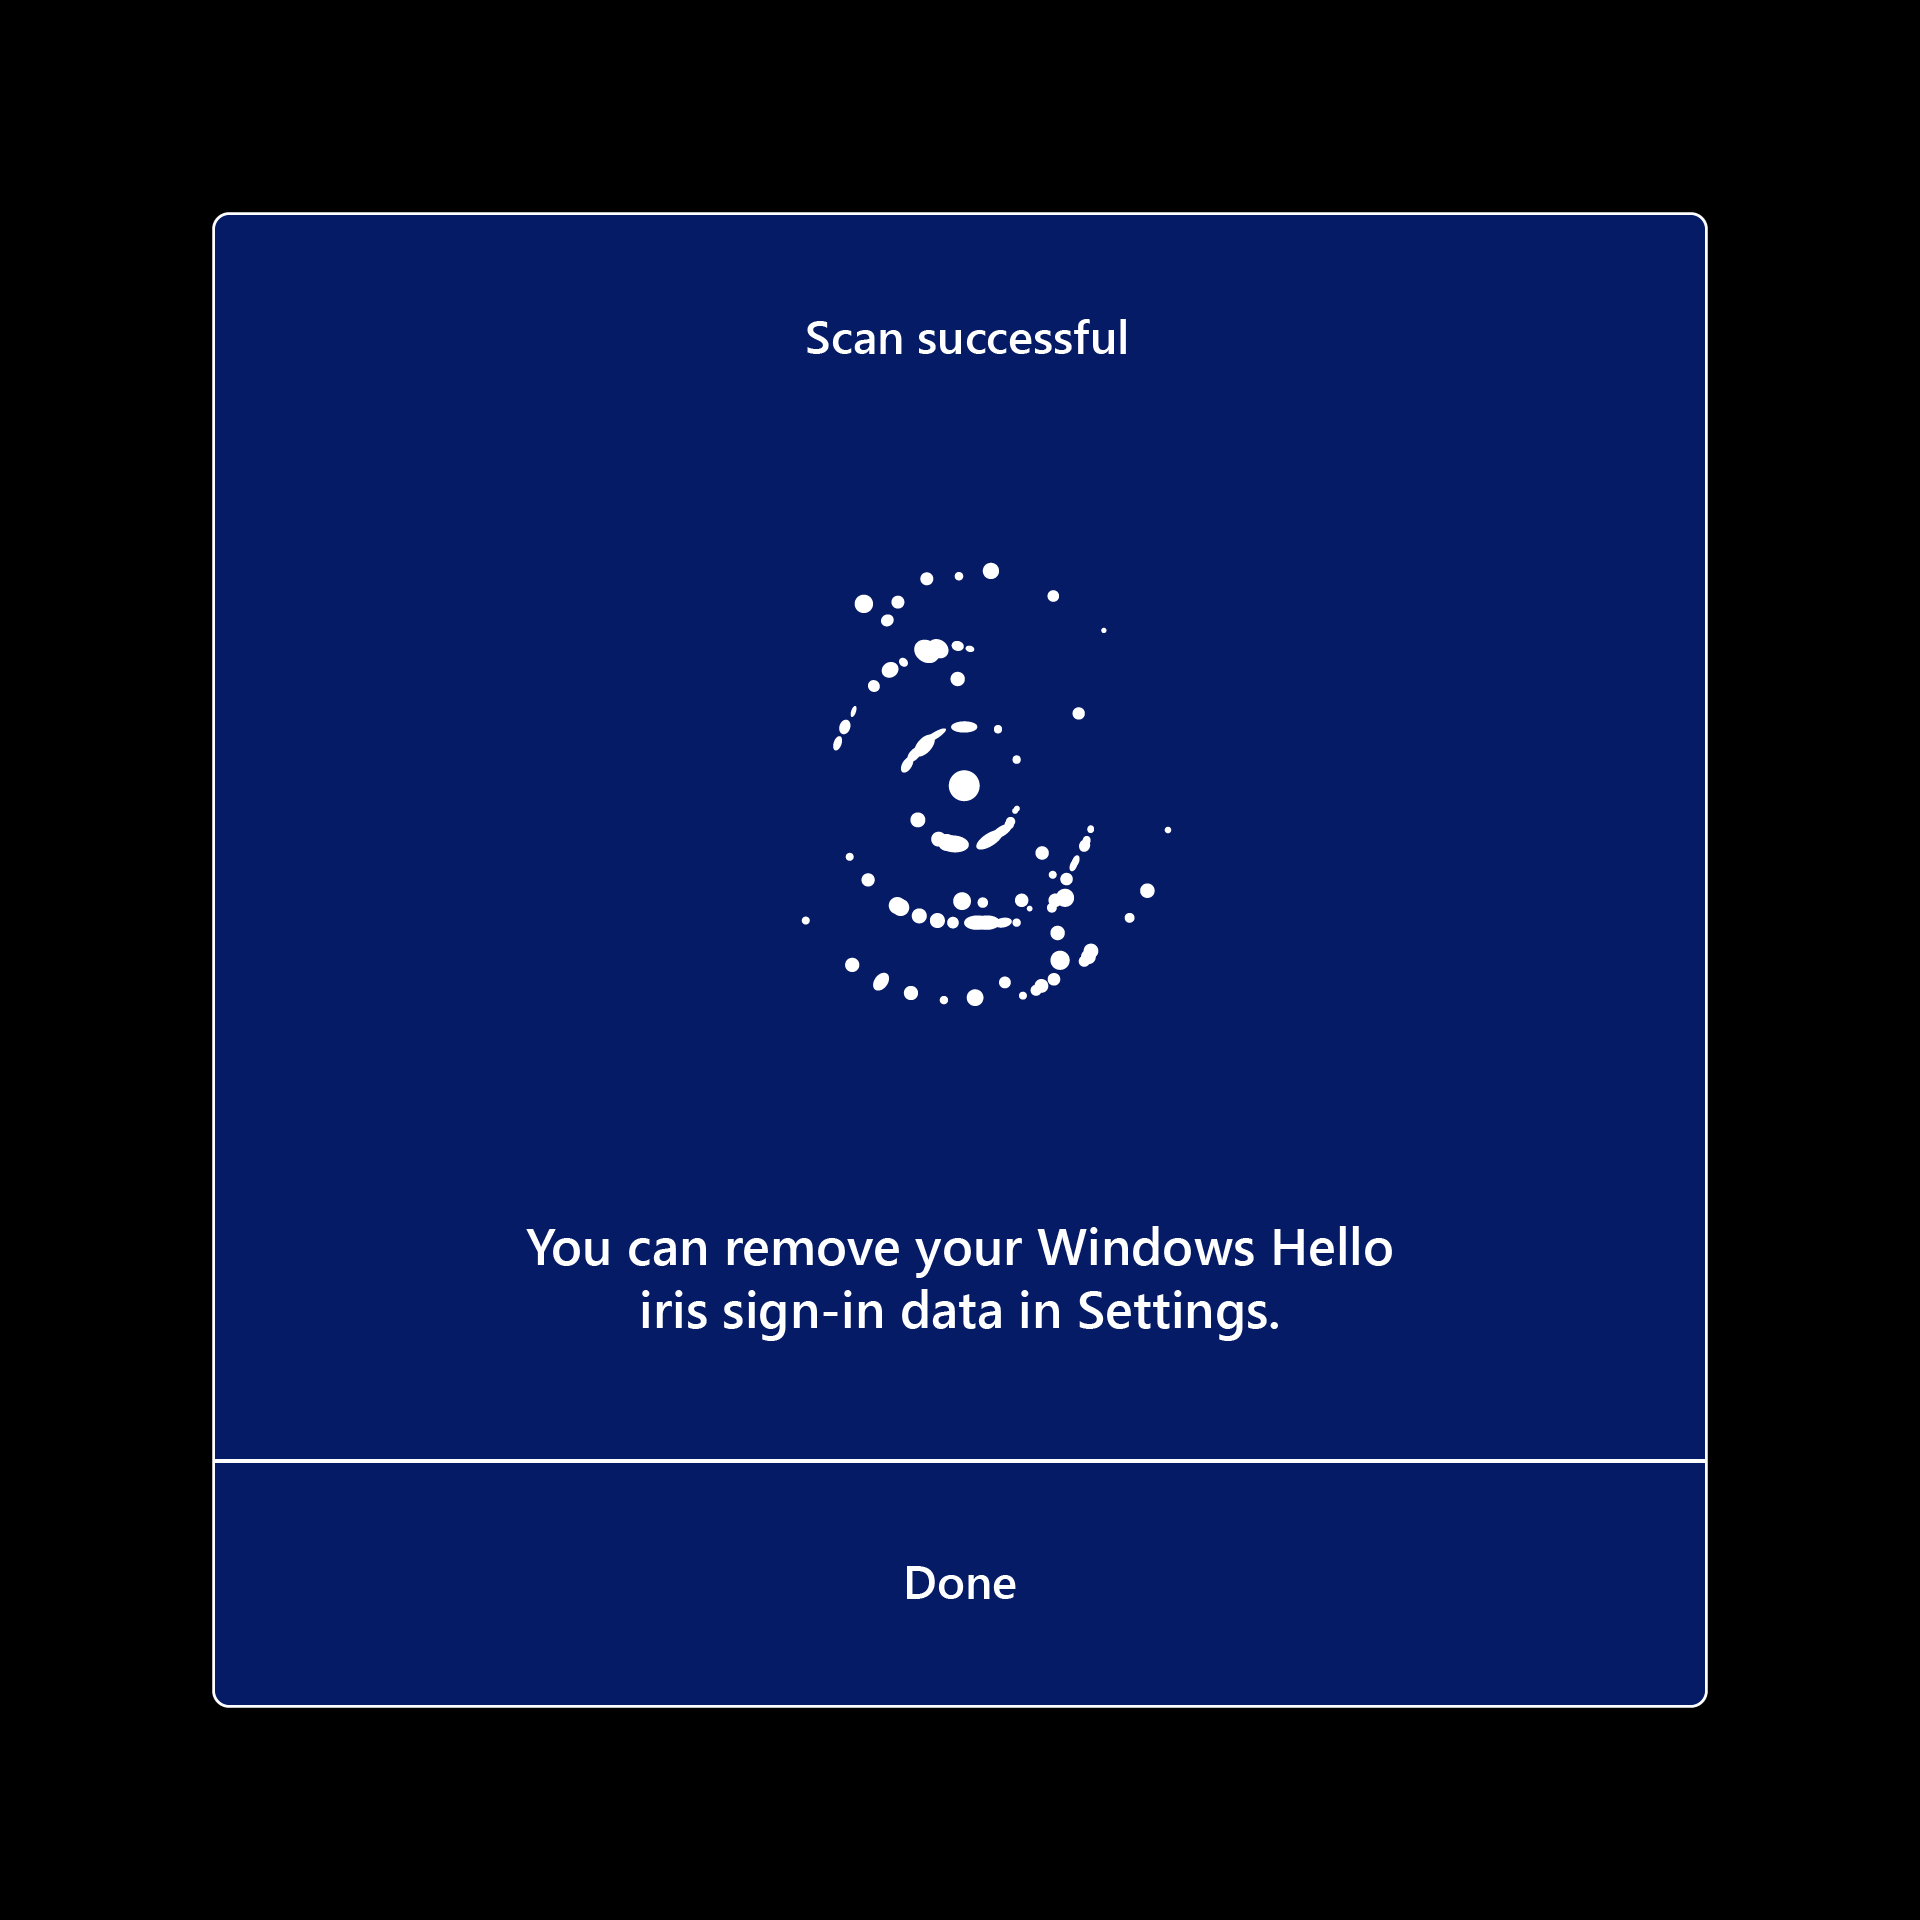
Set up Iris sign-in by selecting Next. You'll go through a similar experience to the eye calibration. Select Done when the scan is complete. You may also select Skip to bypass this step.
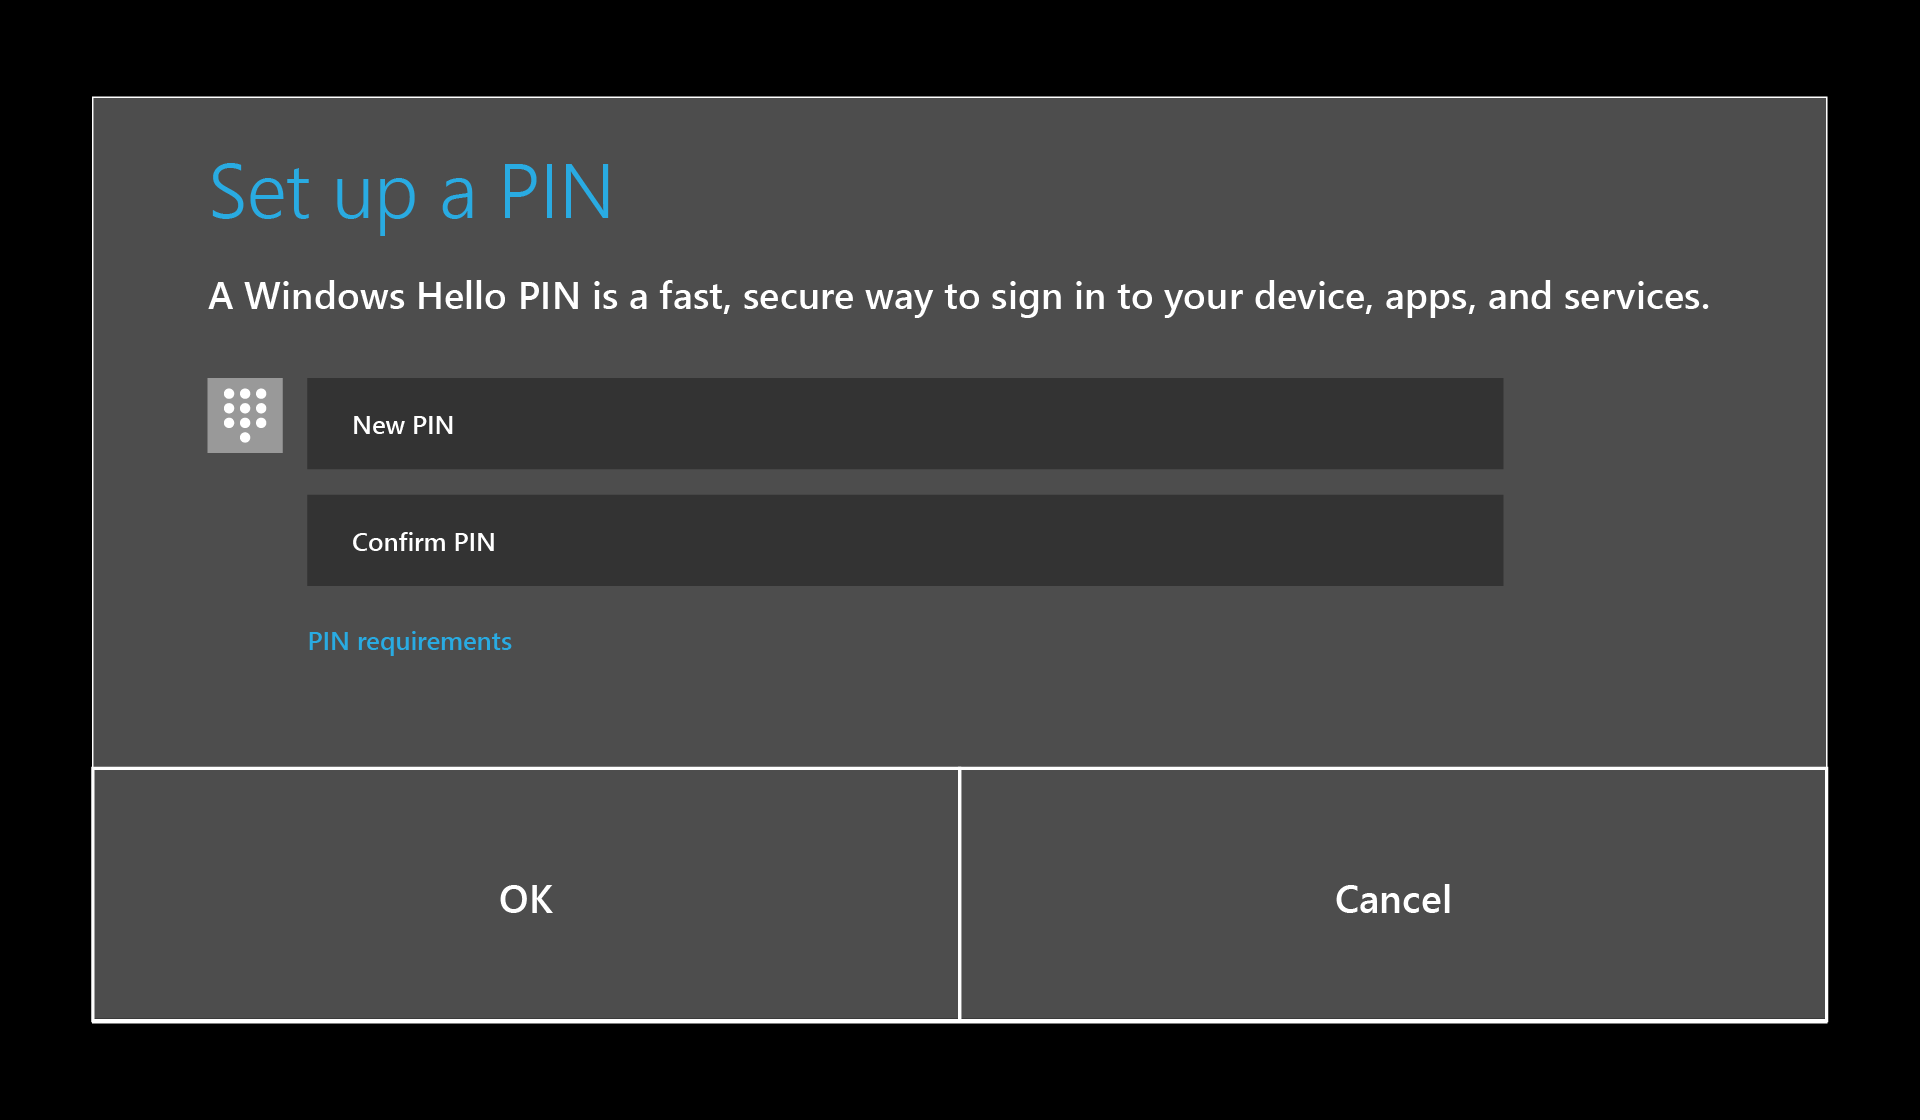
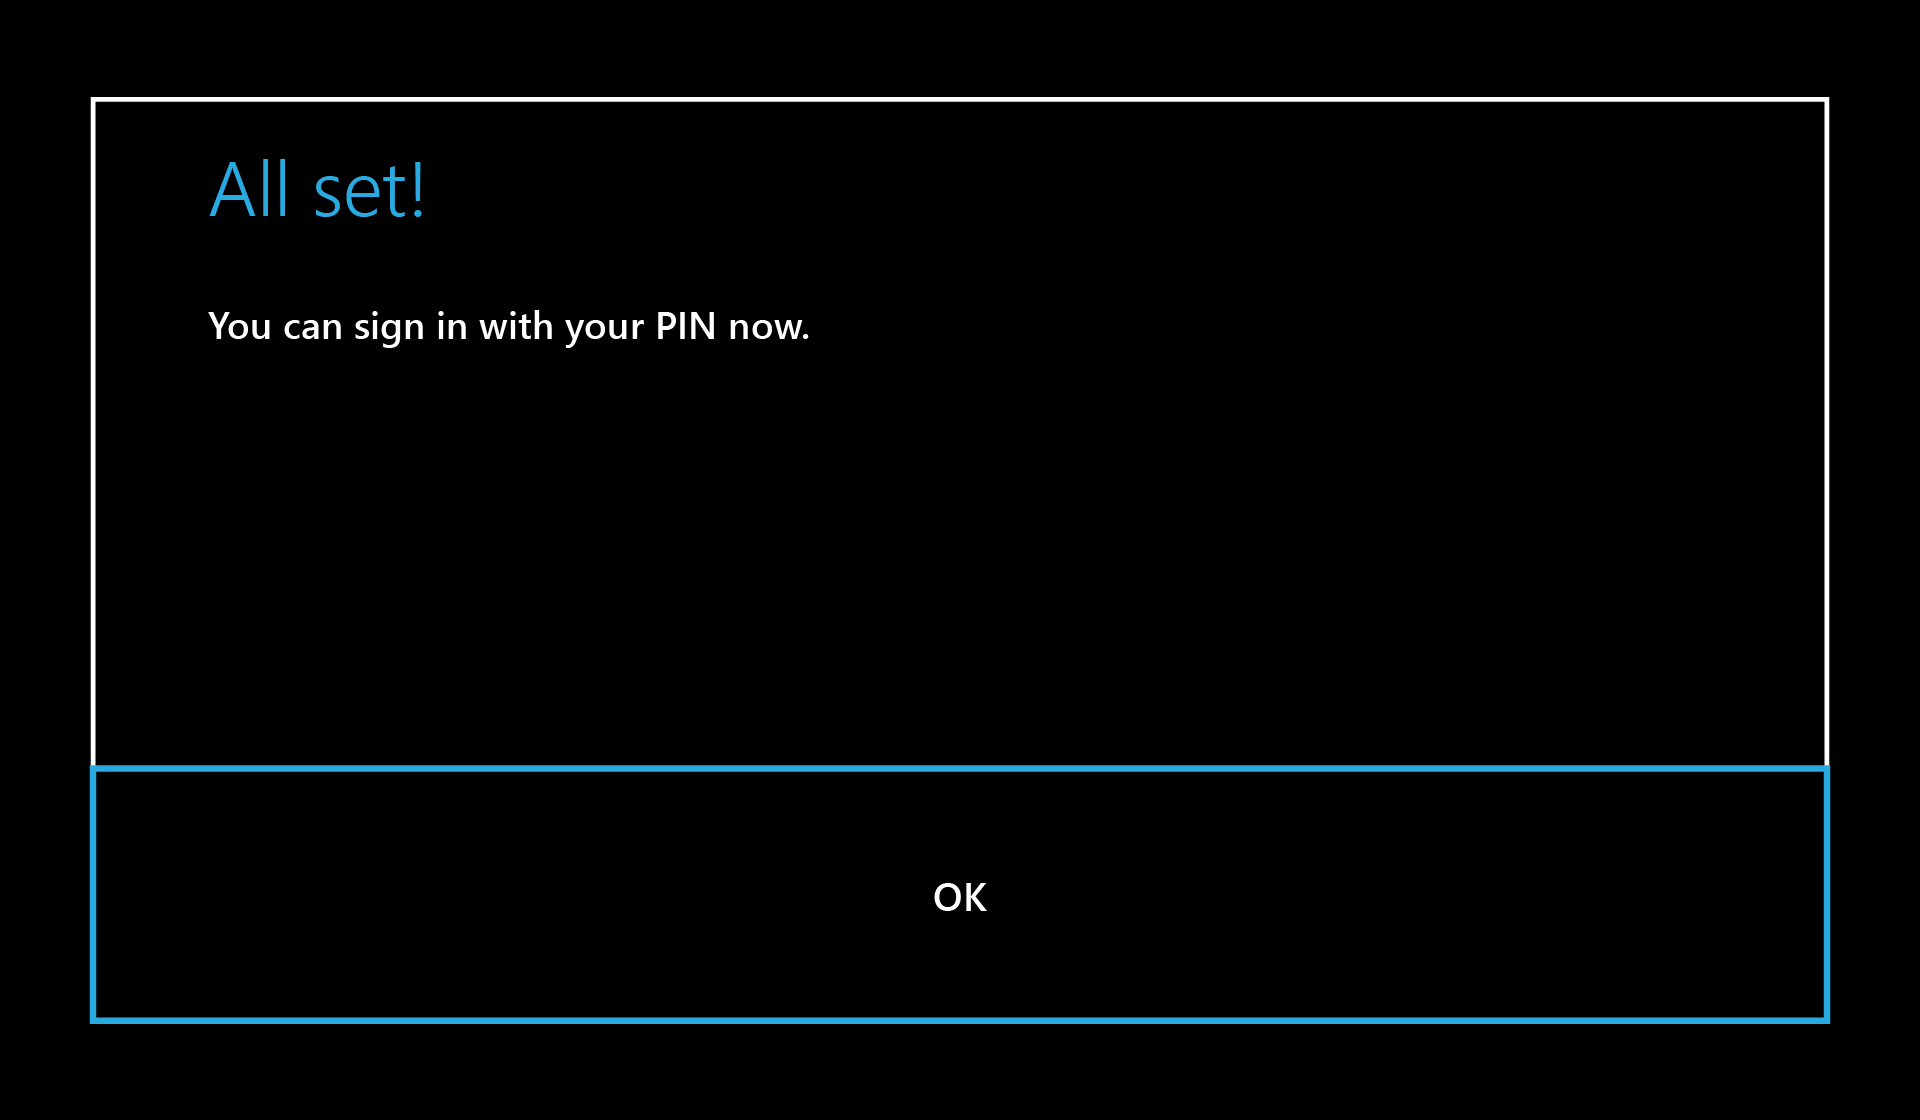
You'll set up a PIN to sign in the device. This PIN is device specific.
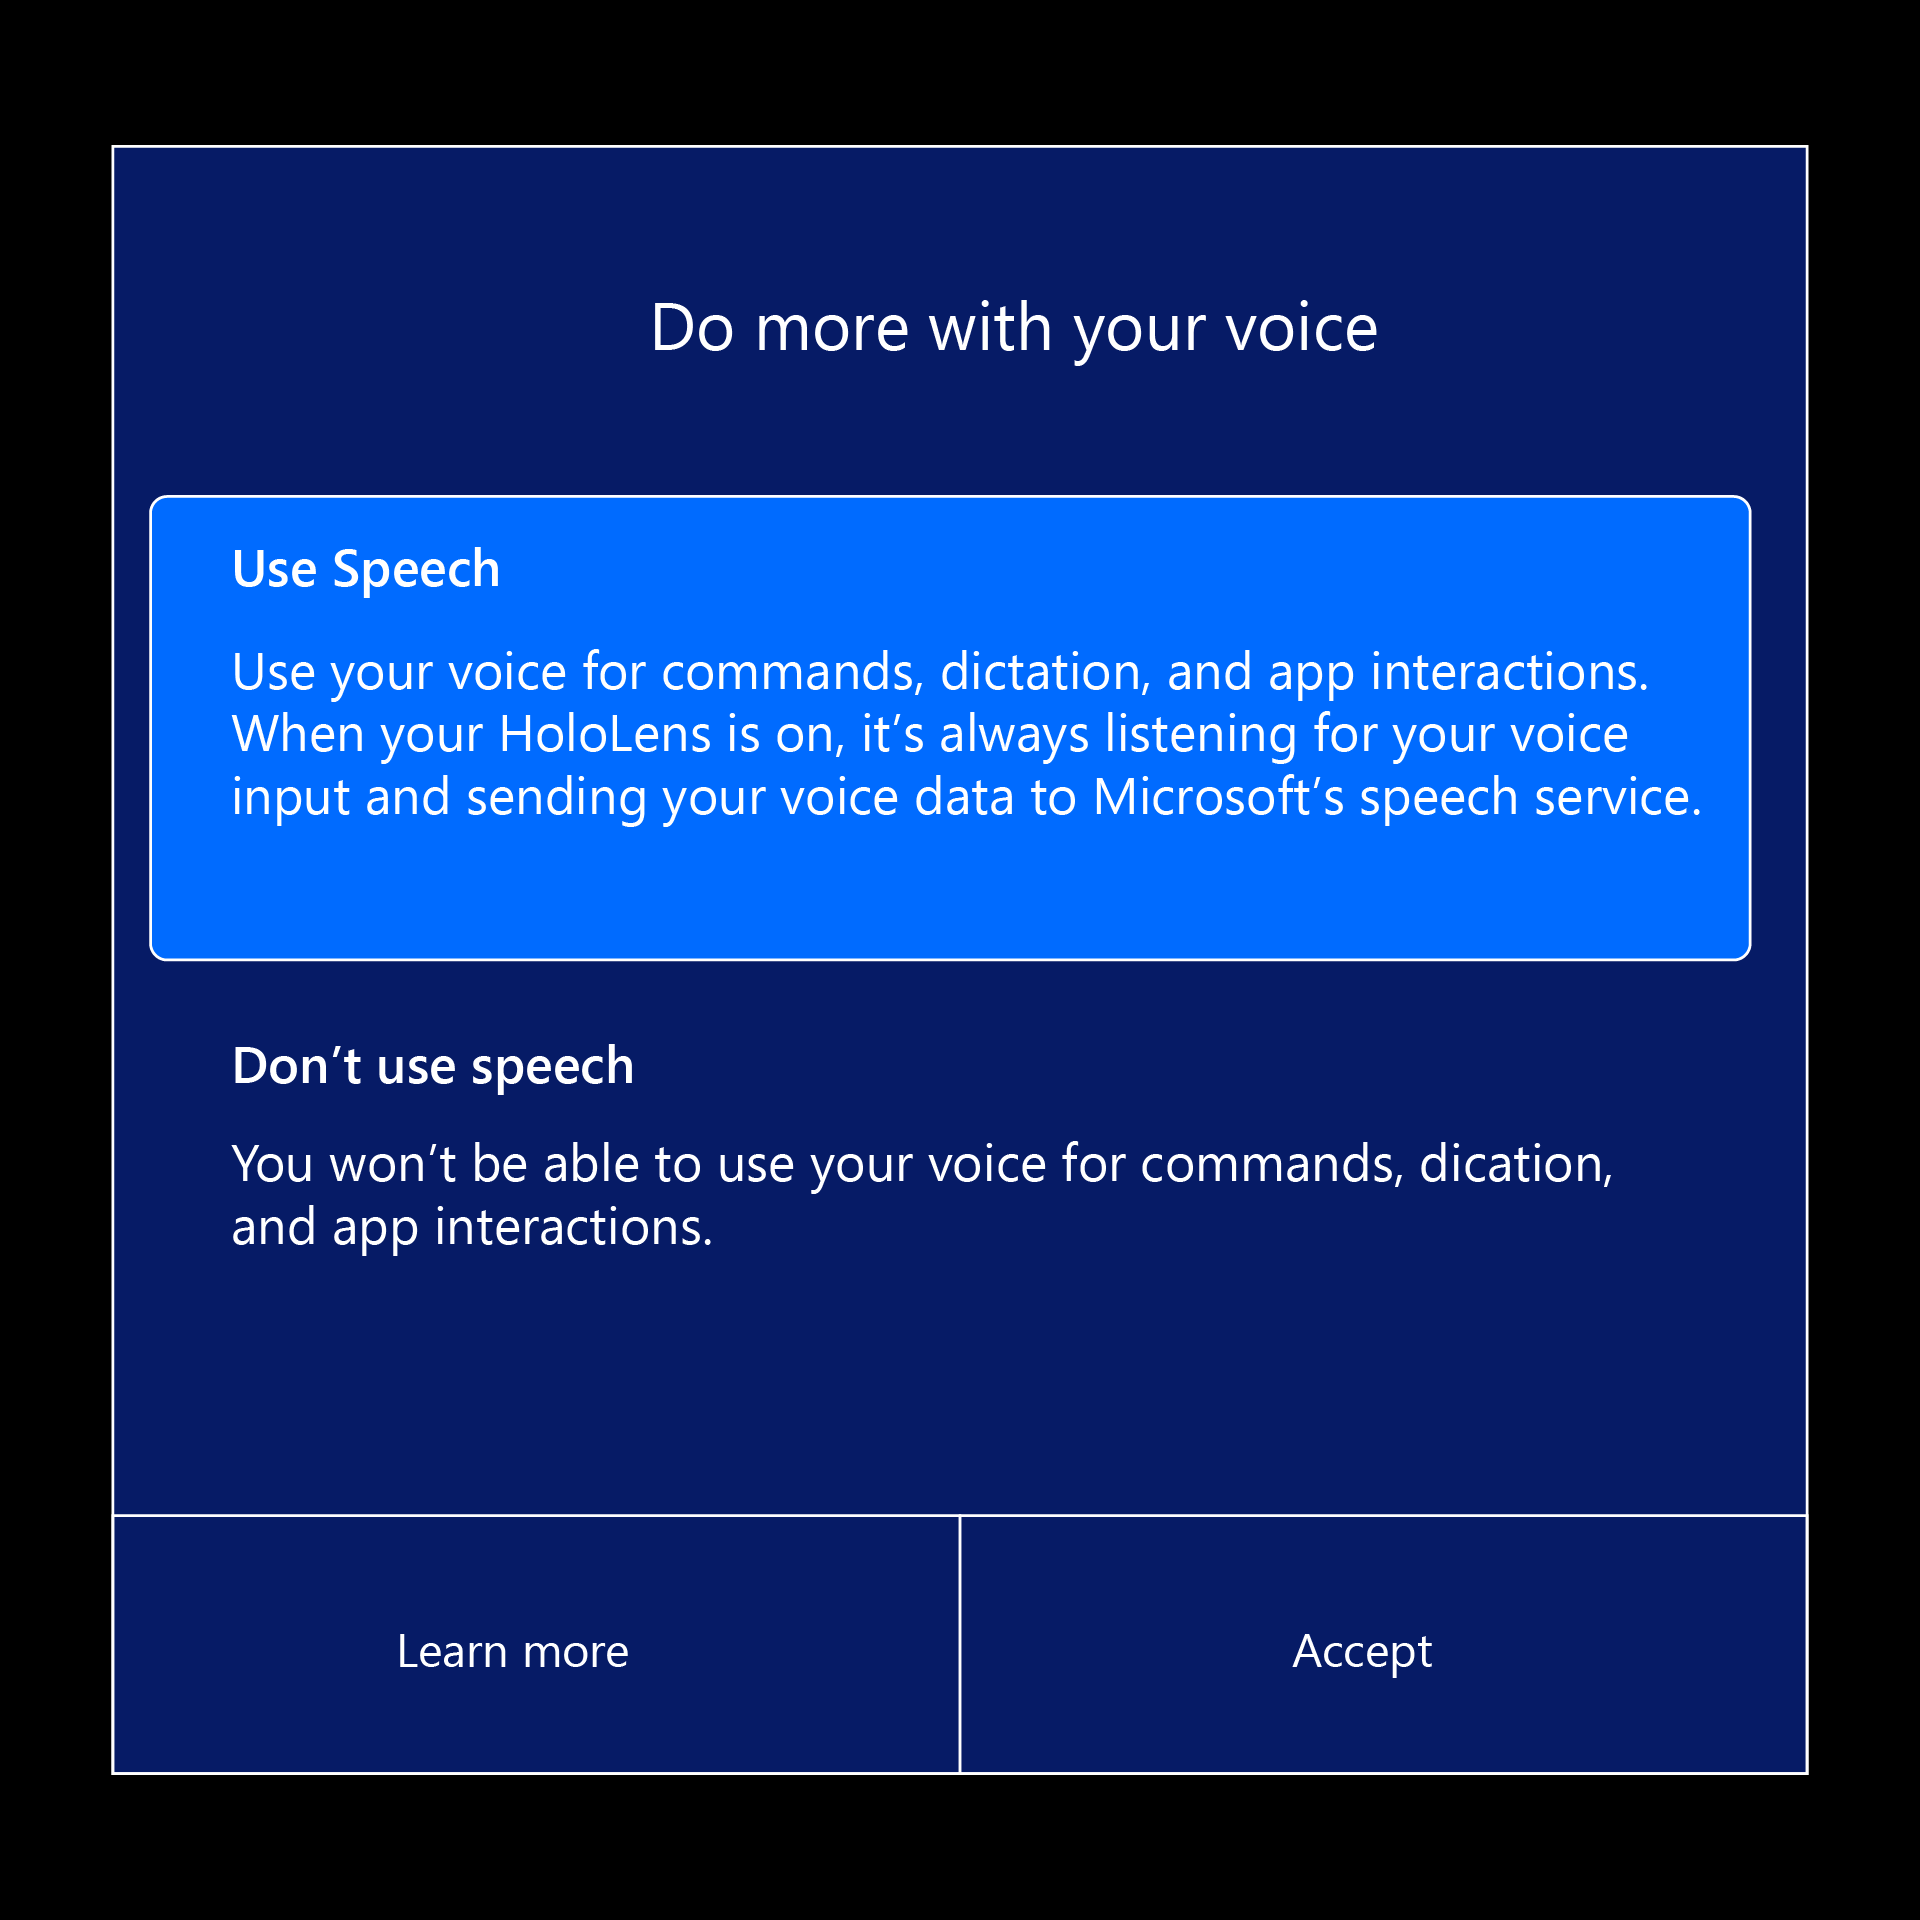
Select whether to enable speech on HoloLens 2.
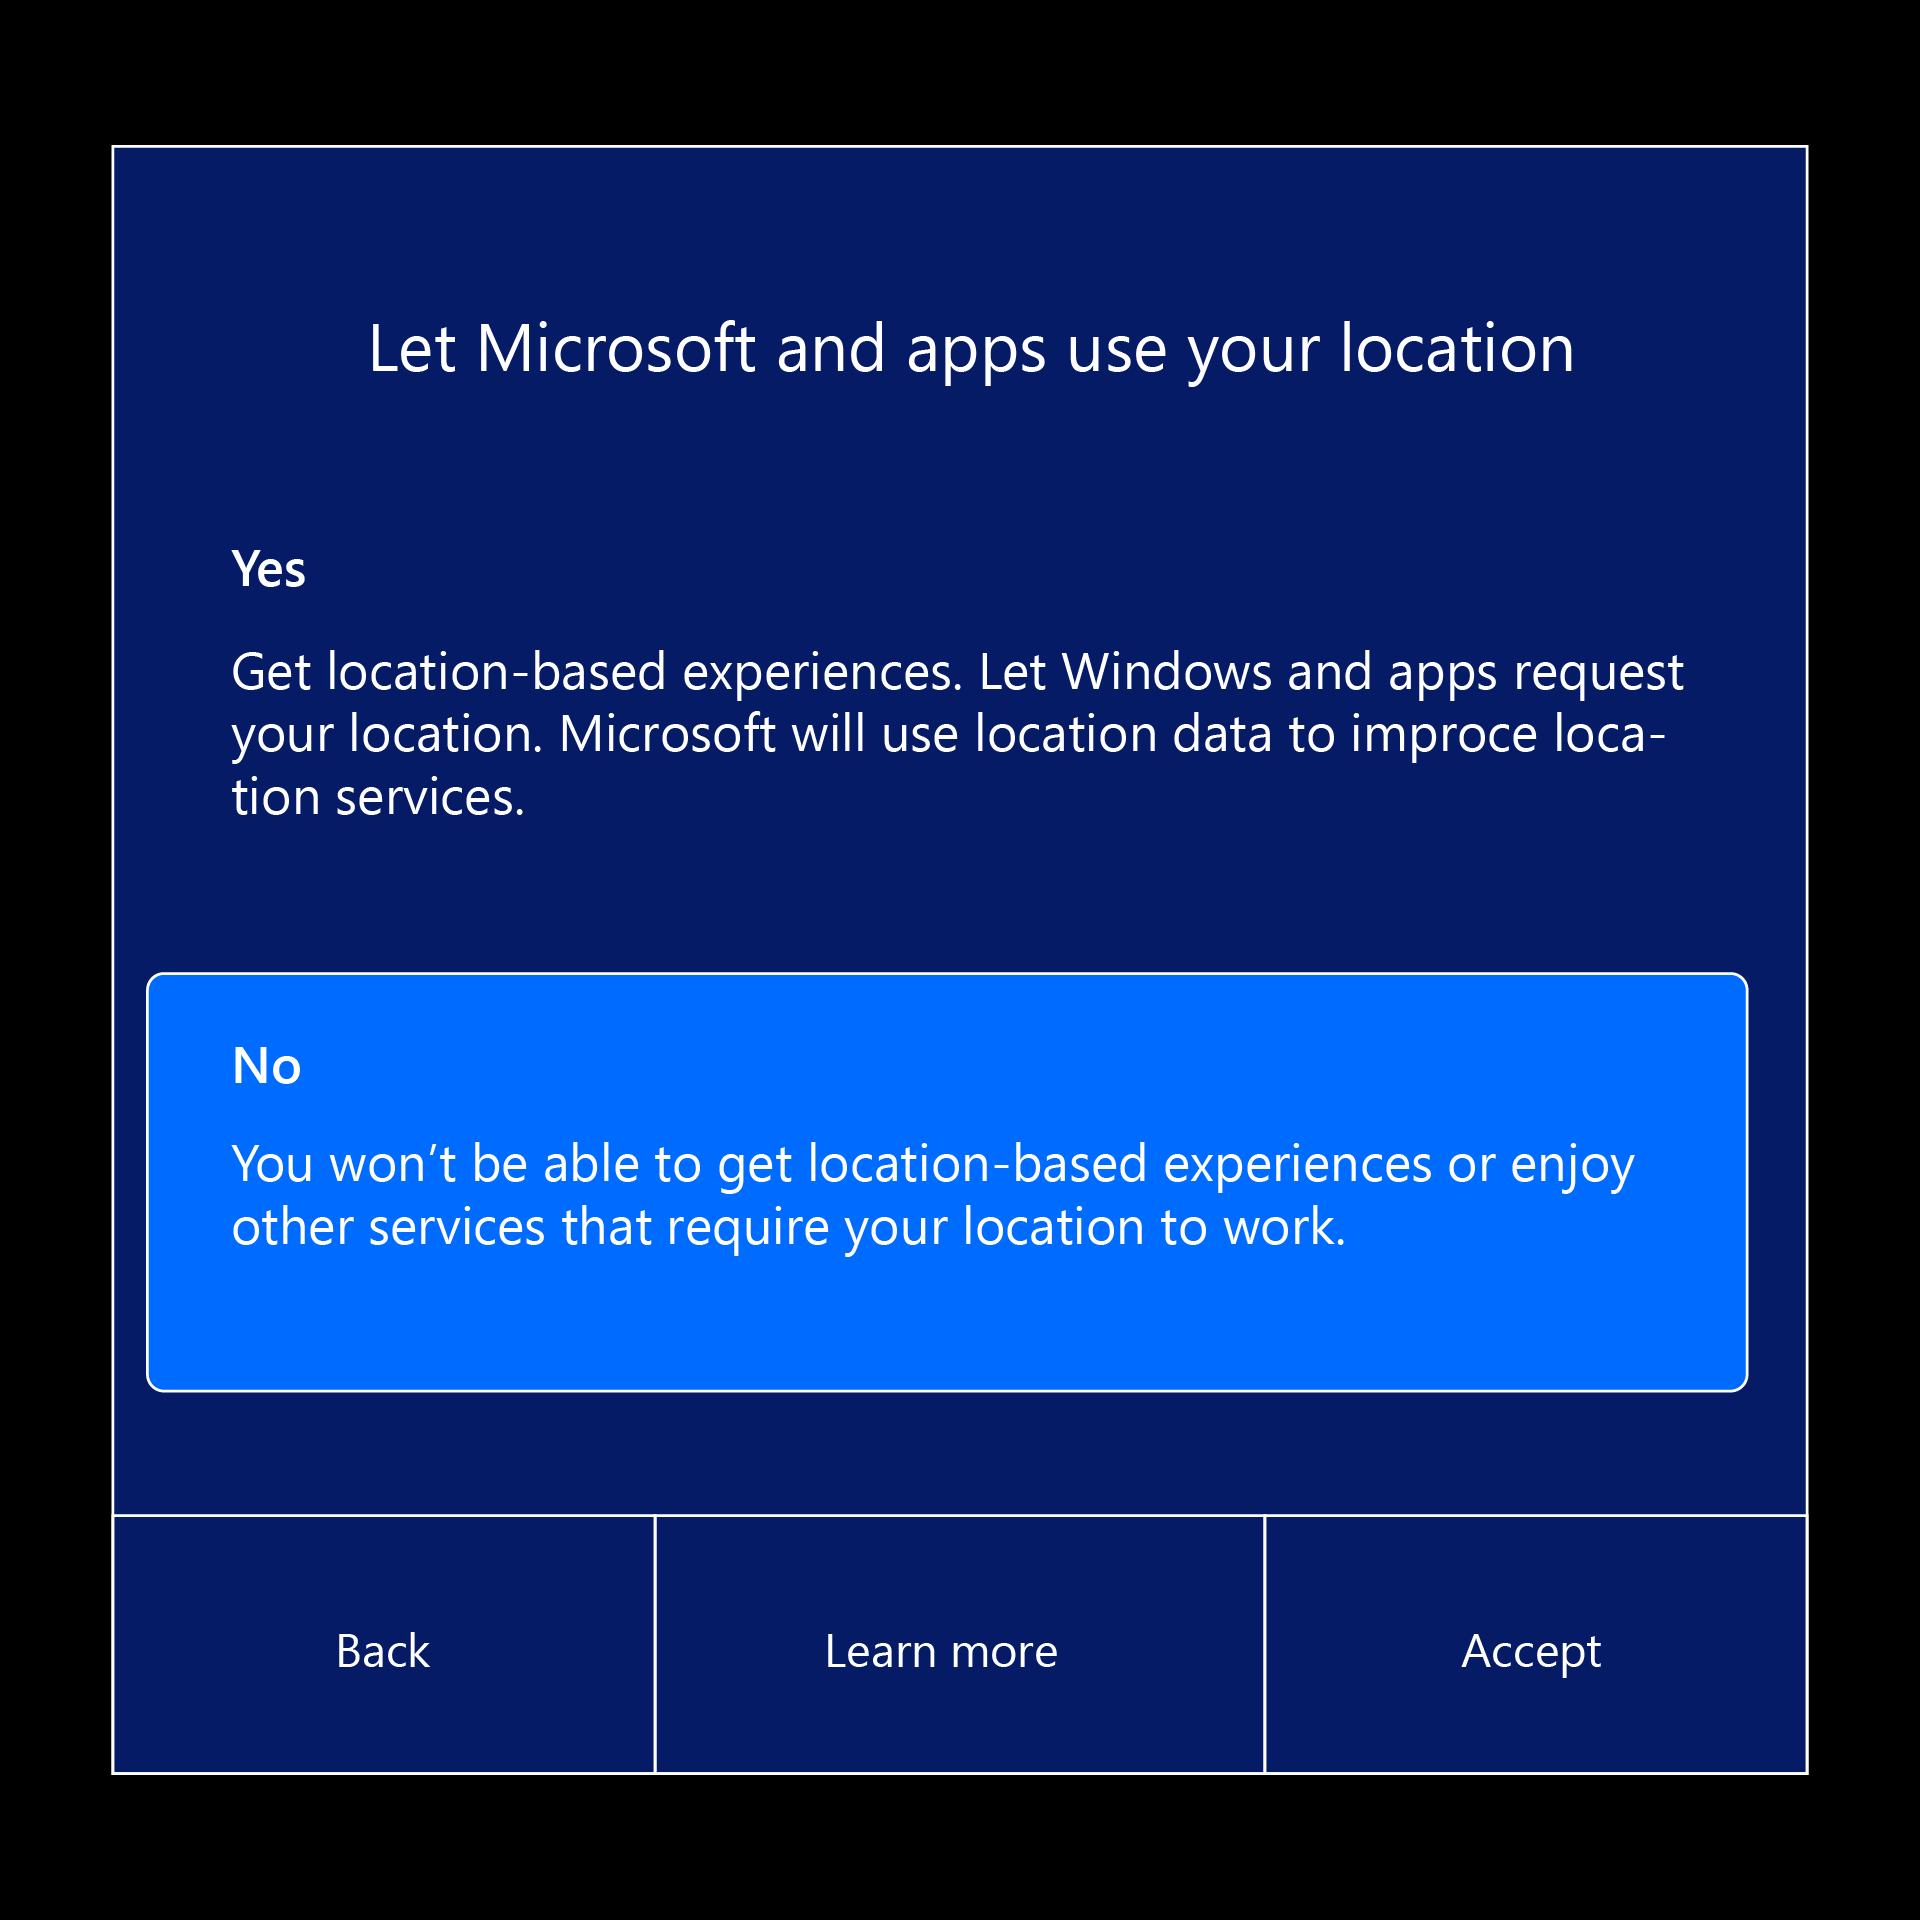
Select whether to enable location on HoloLens 2.
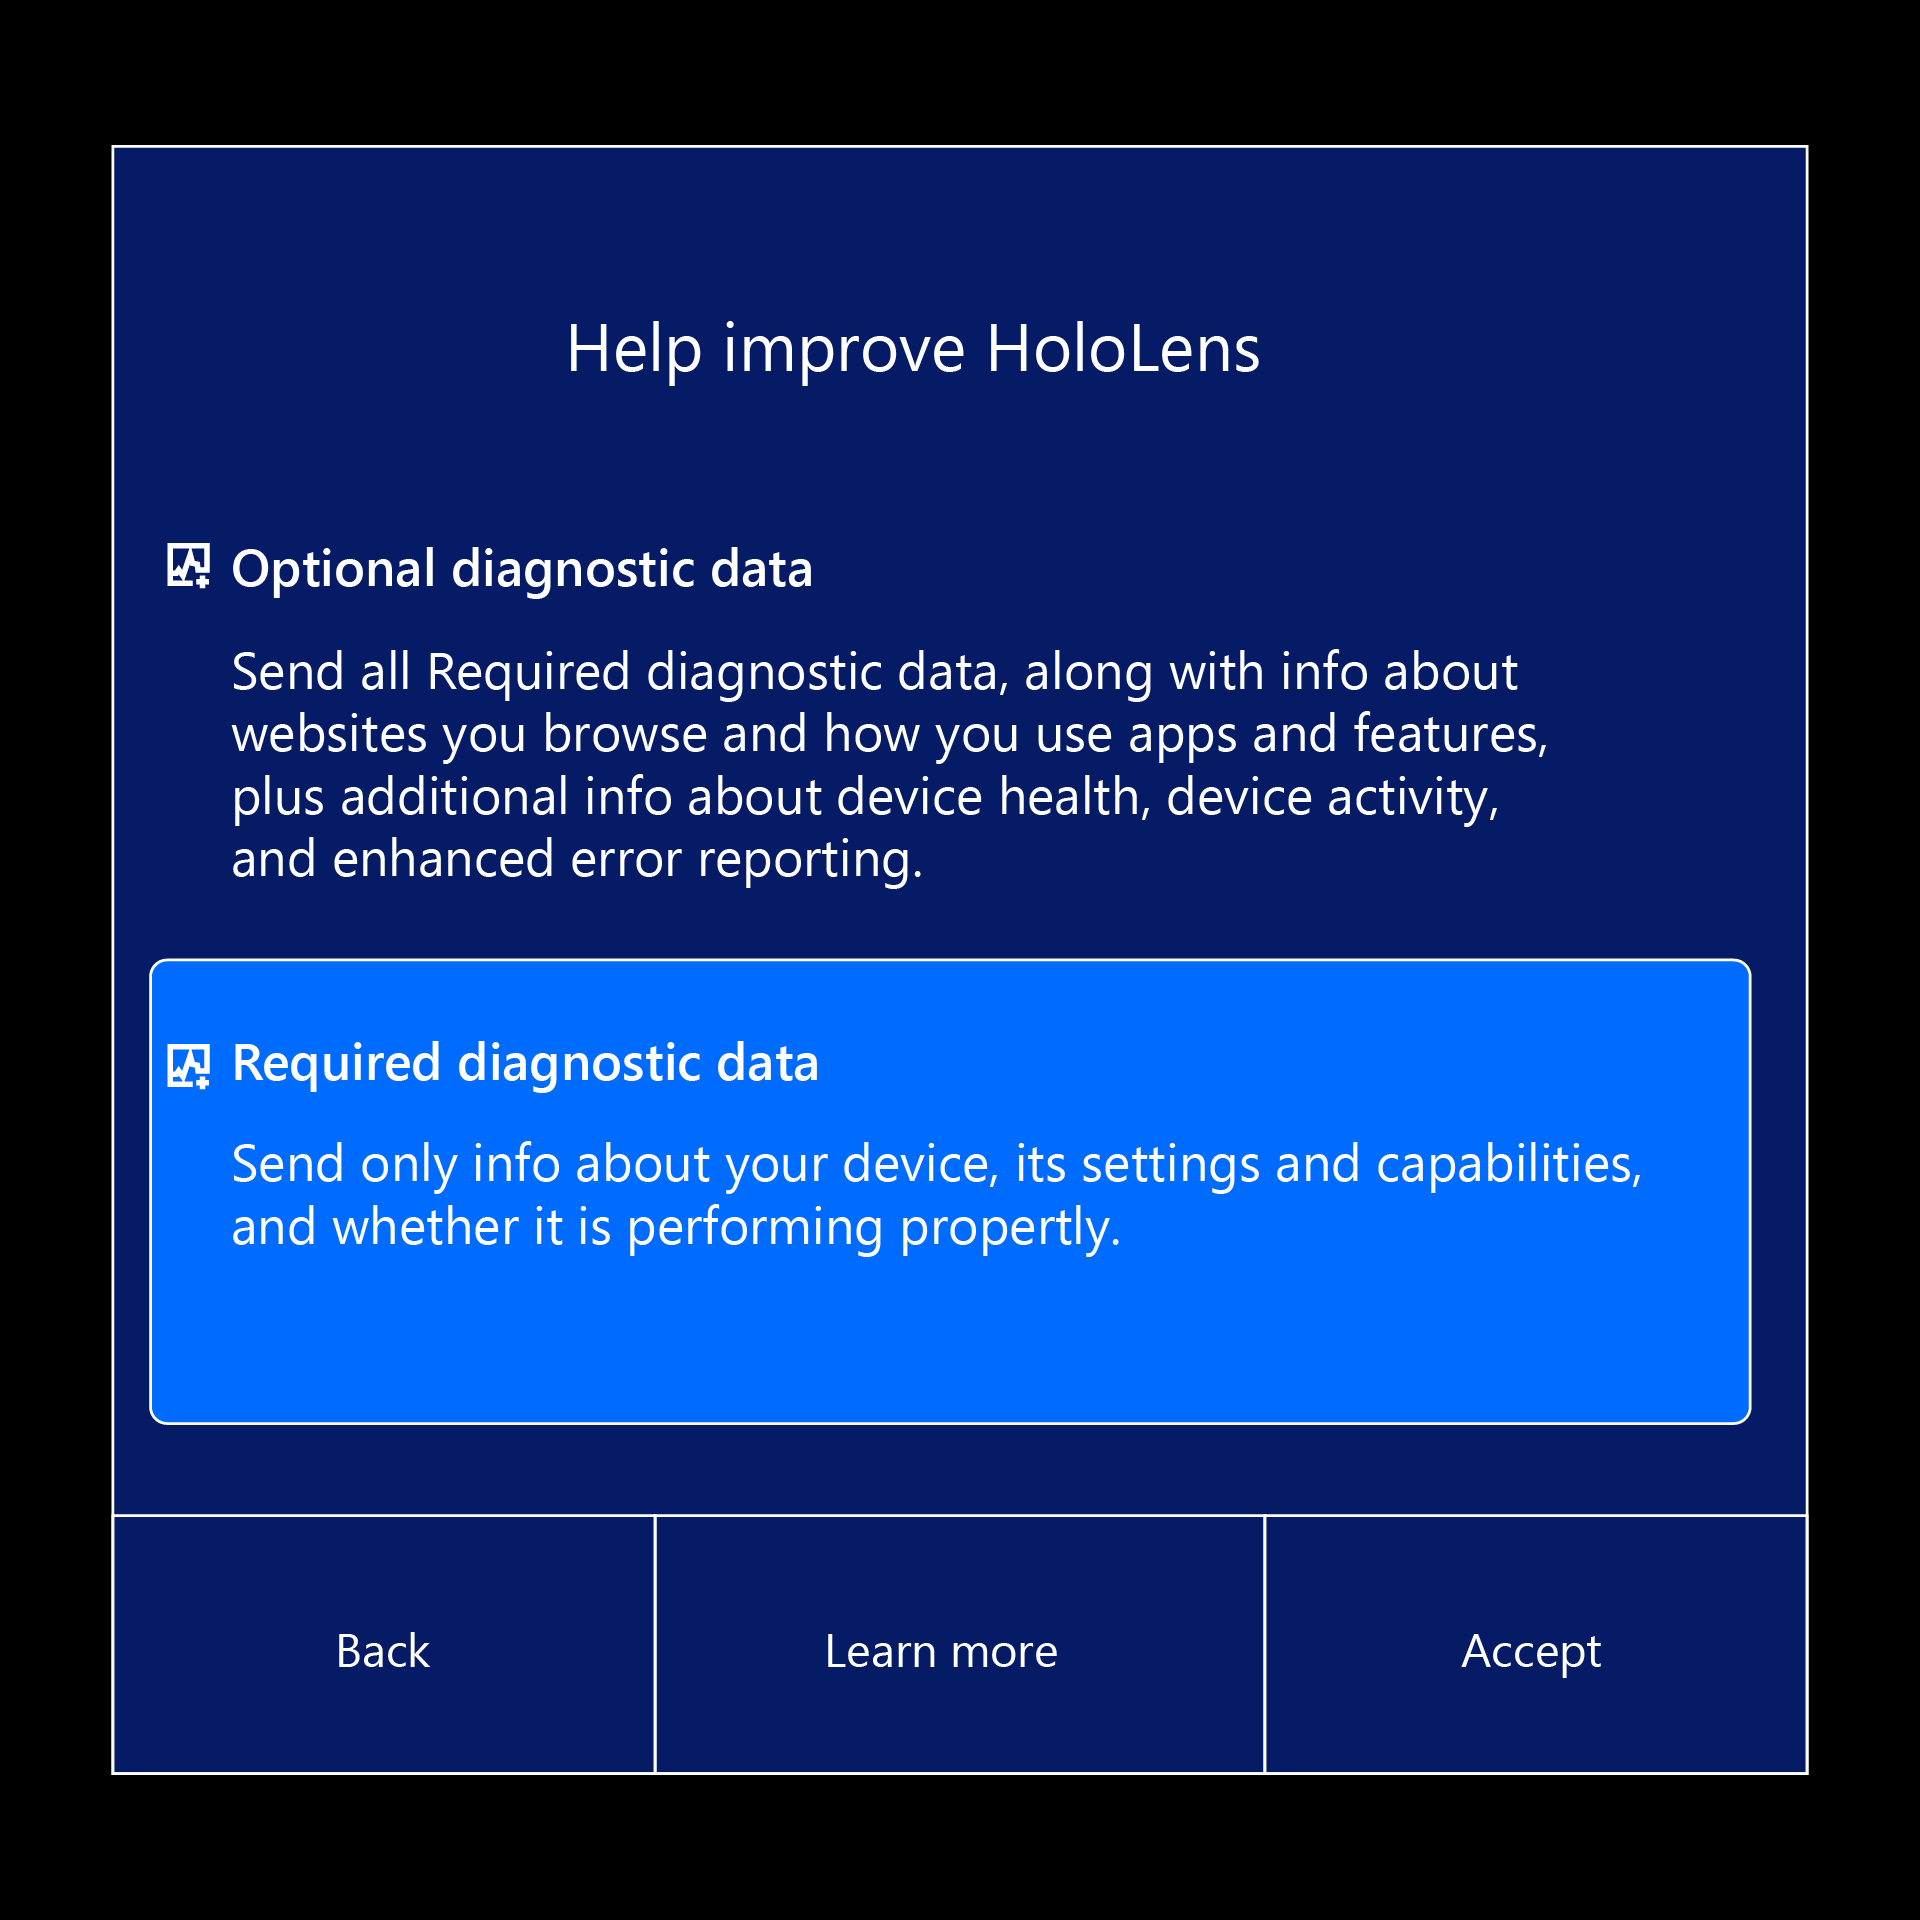
Select your telemetry level. If you can, enable Optional telemetry. This information really helps the HoloLens engineering team.
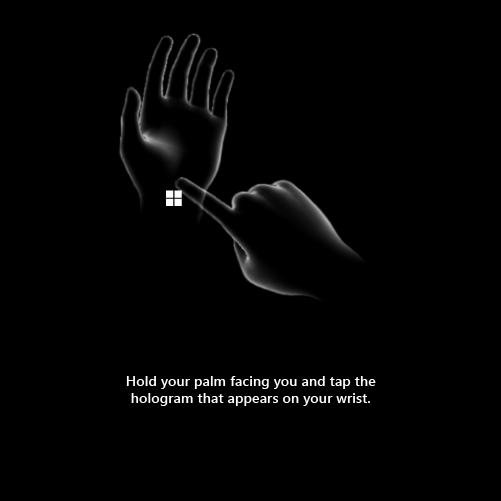
Learn how to use the start gesture on HoloLens 2.
Congratulations! Setup is complete and you're ready to use HoloLens!
Next steps
Start interacting right away with Mixed Reality and navigating Windows 10 on your HoloLens - check out the Tips app for hands-on tutorials for hand interactions. Use the start gesture to go to Start or say "Go to Start" and select Tips.
Click below to continue reading about getting around HoloLens 2.