Note
Access to this page requires authorization. You can try signing in or changing directories.
Access to this page requires authorization. You can try changing directories.
Important
When you plan to use Advanced Recovery Companion to install an FFU offline, you must download your flash image first Download the current image for HoloLens 2. Automatic download and flashing is no longer supported.
Use the charger and the USB Type-C cable that came with the HoloLens 2 as that is the best way to charge your device. The charger supplies 18W of power (9V at 2A). Using the wall charger supplied, HoloLens 2 devices can charge the battery to full in less than 65 minutes when the device is in standby. If those accessories aren't available, make sure the charger that's available can support at least 15W of power.
Important
Before you start any troubleshooting procedure, make sure that your device is charged to 20 to 40 percent of battery capacity, if possible. The battery indicator lights located under the power button are a quick way to verify the battery capacity without logging into the device.
Note
If possible, avoid using a PC to charge the device over USB, which is slow.
If the device is correctly booted and running, there are three ways to check the battery charge level:
From the main menu of the HoloLens device UI.
View the LED close to the power button (for a 40-percent charge, you should see at least two solid LEDs).
- When the device is charging, the battery indicator lights up to indicate the current level of charge. The last light will fade in and out to indicate active charging.
- When your HoloLens is on, the battery indicator displays the battery level in five increments.
- When only one of the five lights is on, the battery level is below 20 percent.
- If the battery level is critically low and you try to turn on the device, one light will blink briefly, then go out.
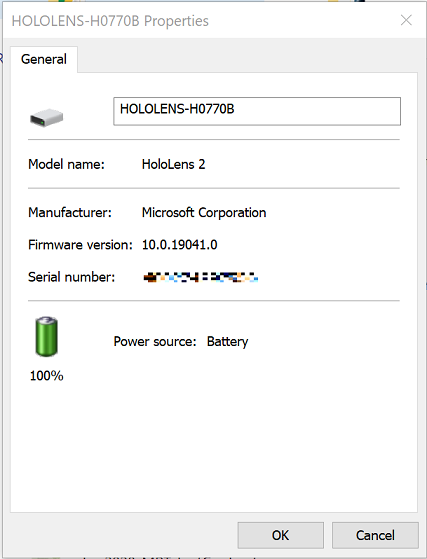
On your host PC, open File Explorer and look for your HoloLens 2 device on left side under This PC. Right-click the device, and select Properties. A dialog box will show the battery charge level.

If the device can't boot to the startup menu, note the LED appearance and device enumeration on the host PC. Then follow the troubleshooting guide. If the state of the device doesn't match any of the states listed in the troubleshooting guide, perform the hard restart procedure with the device connected to the power supply, not to your host PC. Wait at least one hour for the device to charge.
Note
Let's start by defining terms.
"Restart" simply means turn the device off and on.
"Reset" means restore the device to defaults through the Settings UI to reinstall the current image.
"Reflash" means the device is connected to a PC, and a new image (optionally a different one) is to be installed.
Restart the device
Under certain circumstances, you may have to manually restart the device without using the software UI. This may help you solve an issue you are encountering without having to reset/reflash your device.
Standard restart procedure
Unplug the Type-C cable to disconnect the device from the power supply or the host PC.
Press and hold the power button for 15 seconds. All LEDs should be off.
Wait 2-3 seconds, and then short-press the power button. The LEDs close to the power button will light up, and the device will begin to start up.
Connect the device to the host PC, and then open Device Manager. (For Windows 10, press the Windows key and then the X key, and then select Device Manager.) Make sure the device enumerates correctly as Microsoft HoloLens as shown in the following image:

Hard-restart procedure
If the standard reset procedure didn't work, use the hard-restart procedure:
Unplug the Type-C cable to disconnect the device from the power supply or the host PC.
Hold down the volume down + power buttons for 15 seconds. The device will automatically restart.
Connect the device to the host PC.
Open Device Manager (for Windows 10 press the Windows key and then the X key, and then select Device Manager). Make sure the device enumerates correctly as Microsoft HoloLens as shown in the following image:

Reset the device
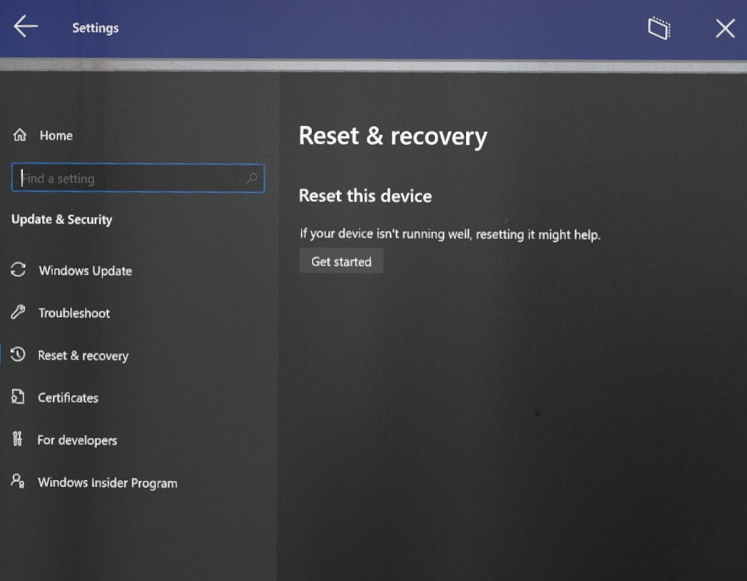
You can reset your device directly from your headset. Select Settings, then select Update & Security > Reset & recovery > Reset this device.

When you reset in this manner, all user accounts will be removed and all data will be erased.
Clean-reflash the device
In extraordinary situations, you may have to "clean-flash" the HoloLens 2. Please note that clean-reflash isn’t expected to affect the following issues:
- Display color uniformity
- Booting with sound but no display output
- 1-3-5-LED pattern
- Overheating
- OS crashes (which are distinct from application crashes)
There are two ways to reflash the device. For both, you must first install Advanced Recovery Companion from the Windows Store.
Warning
If you reflash your device, all your personal data, apps, and settings will be erased, including TPM-reset information.
To get the latest HoloLens 2 Full Flash Update (FFU) package to reflash your device via Advanced Recovery Companion, download the latest monthly HoloLens 2 image. This version is the latest generally available build.
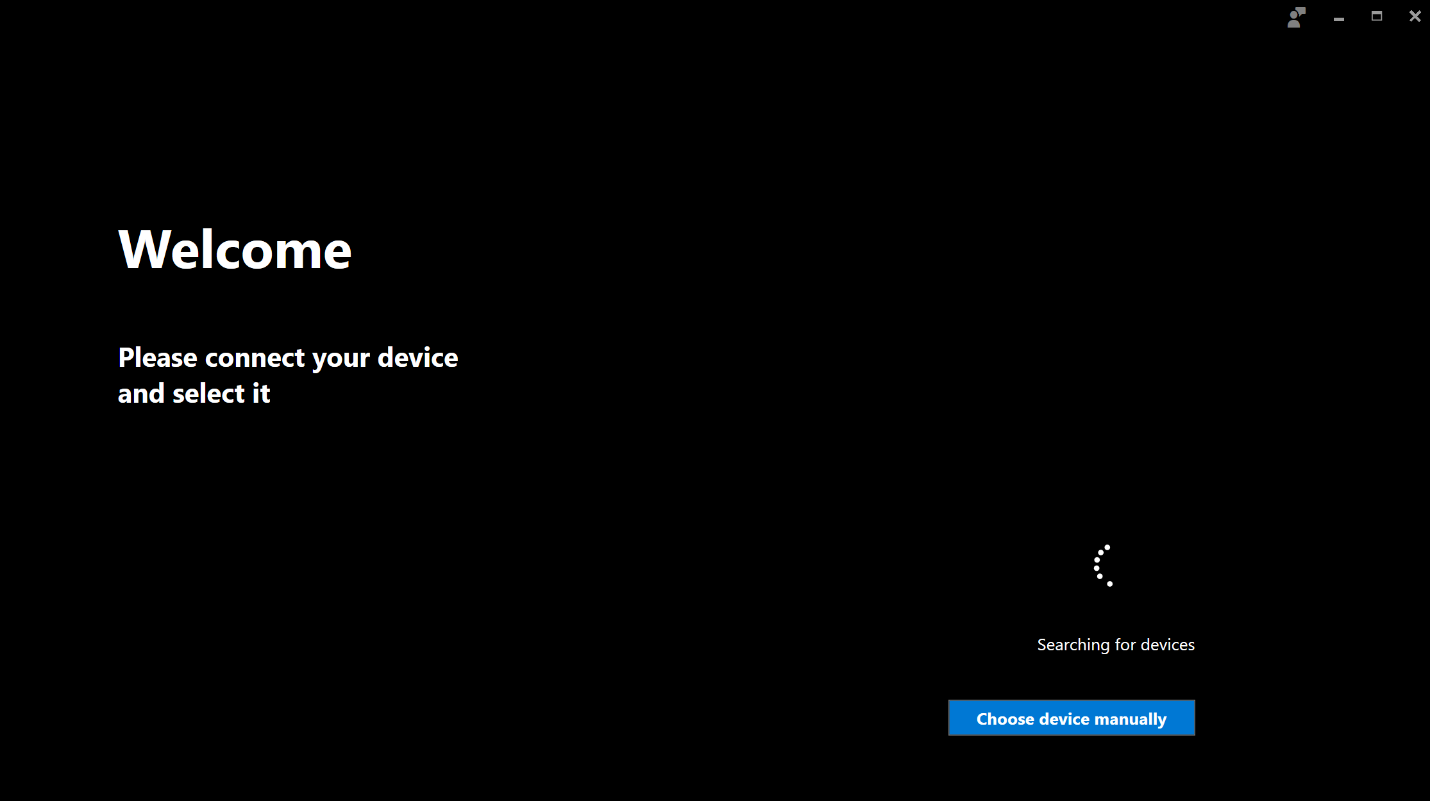
Before you start the reflash procedure, make sure the app is installed and running on your Windows 10 PC and ready to detect the device. Also ensure that your HoloLens is charged to a minimum of 40%.

Normal flashing procedure
While the HoloLens device is running, connect it to the Windows 10 PC where you previously opened the Advanced Recovery Companion app.
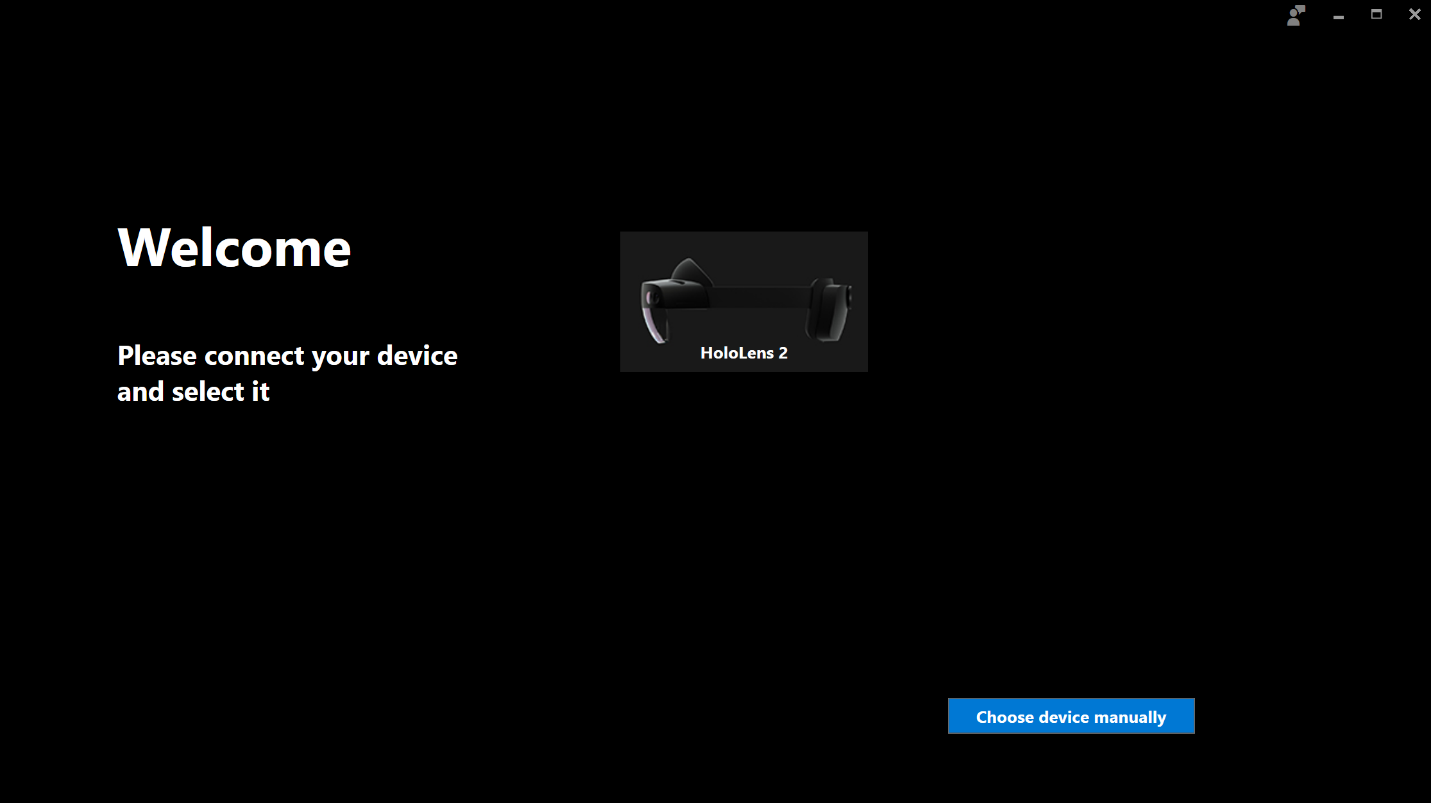
The device will be automatically detected, and the Advanced Recovery Companion app UI will start the update process:

Select the HoloLens 2 device in the Advanced Recovery Companion app UI, and follow the instructions to complete the reflash.
Manual flashing mode procedure
You may need to put the device into recovery mode if:
- The HoloLens 2 doesn't start correctly
- Advanced Recovery Companion cannot detect the device
- You no longer know the password/PIN for a device that only has a single user
Unplug the Type-C cable to disconnect the device from the power supply or the host PC.
Press and hold the power button for 15 seconds. All LEDs should turn off.
While pressing the volume up button, press and release the power button to start the device. Wait 15 seconds, and then release the volume up button. Only the middle LED of the five LEDs will light up.
Connect the device to the host PC, and open Device Manager. (For Windows 10 press the Windows key, and then the X key, and then select Device Manager.) Make sure the device enumerates correctly as Microsoft HoloLens as shown in the following image:

The device will be automatically detected, and the Advanced Recovery Companion app UI will start the update process:

Select the HoloLens 2 device in the Advanced Recovery Companion app UI, and then follow the instructions to complete the reflash.
Wipe the device
You can wipe your HoloLens 2 remotely from the Intune company portal if you can't access it to perform a reset. If you choose the Retain enrollment state and user account checkbox before starting the Wipe action, you can retain the user data.
For more information, see Remove devices by using wipe, retire, or manually unenrolling the device.
Note
Although the HoloLens device will be wiped successfully with this method, the device will not be removed from Intune. This anomaly is a known issue, and an easy workaround will resolve it.
Troubleshoot Advanced Recovery Companion
Ensure your device is charged to 40% or more before attempting to flash.
Check your device is unlocked.
Check your device is plugged directly into the host PC, not a hub.
If your device is not showing as a HoloLens/HoloLens Recovery device under Universal Serial Bus Drivers, check:
- Ports, as a Qualcomm HS-USB device
- Other Devices, as a QUSB_BULK device - your host PC is missing the necessary drivers to detect your HoloLens. Right click and select Update Driver and search for drivers online or check Optional Updates in your Windows Update settings. After the driver is downloaded, ARC should be able to detect it.
If ARC does not detect your device, ensure that you can connect to your device via File Explorer on your PC. If you cannot;
- It is possible that your device may have USB policies that disable that connection. If so, try Manual Flashing mode.
- If there are no policies, try a different USB cable.
Check that your device doesn't display a 1-3-5-LED pattern.
Download ARC without using the app store
To download ARC without using the app store, download the app package first using Winget and then use Intune to deploy it to your HoloLens 2 as a line of business app. Details are documented on the Microsoft Store & Intune page.
Other resources: