Note
Access to this page requires authorization. You can try signing in or changing directories.
Access to this page requires authorization. You can try changing directories.
This guide shows how to design metadata artifacts for CICS or IMS host applications. You can then save these metadata artifacts as Host Integration Server Definition XML (HIDX) files to use with the CICS and IMS built-in, service provider-based connectors in Azure Logic Apps.
Prerequisites
Download and install Visual Studio. After installation, make sure that you also install the workload named Desktop development with C++ in Visual Studio. Otherwise, you get the error Exception from HRESULT 0x800A007C.
Download and install the HIS Designer for Azure Logic Apps. The only prerequisite is Microsoft .NET Framework 4.8.
Enable Visual Studio support for the Flat File processor in Azure Logic Apps. For this task, follow these steps:
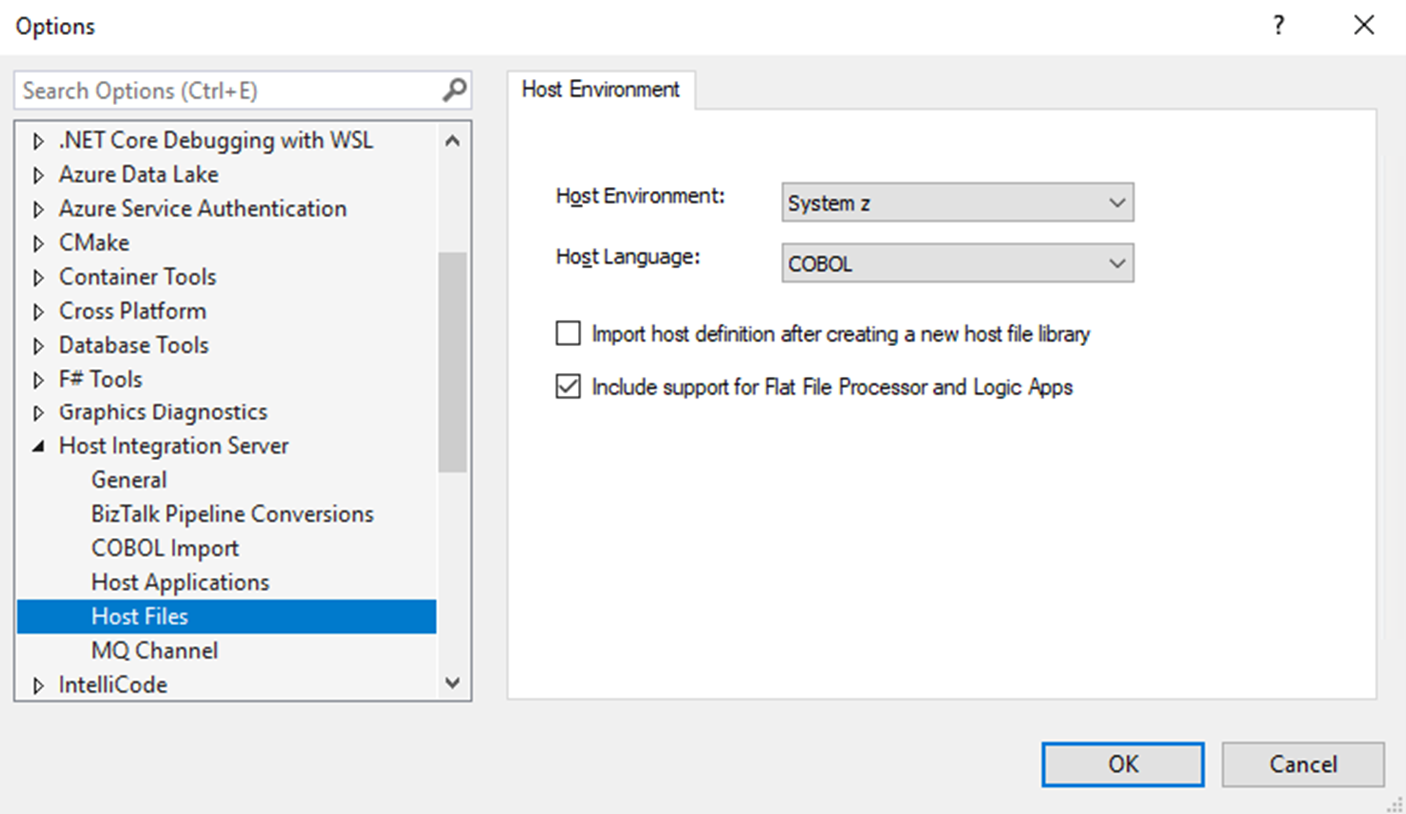
Open Visual Studio. On the toolbar, open the Tools menu, and select Options.
From the Options list, expand Host Integration Server, and select Host Files.
On the Host Environment tab, select Include support for Flat File Processor and Logic Apps.
Create a host application project
In Visual Studio, you can use the Host Application project template to create metadata artifacts. You can then use these artifacts with the CICS and IMS built-in, service provider-based connectors in Standard workflows for Azure Logic Apps. To create a new host application project, follow these steps:
In Visual Studio, from the File menu, select New > New Project.
From the project template list, select Host Application > Next.
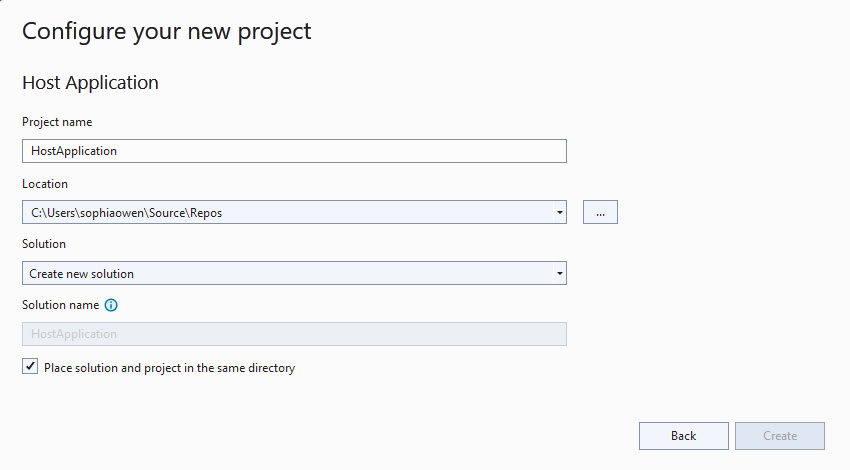
In the Configure your new project box, change the details that you want, and select Create.
Add a .NET client definition
To support the CICS and IMS connectors in Azure Logic Apps, you need to add a .NET client definition.
In Solution Explorer, open the new host application project's shortcut menu, and select Add > Add .NET Client Definition.
When the Add New Item box appears, in the Name property, provide a name for the .NET client definition, and select Add.
These steps continue with the example name NetClnt1.
After the .NET Client Definition wizard launches, in the Library box, provide a name for the interface to use for identifying the .NET client library that you want to create.
This example continues with the interface name IInterface1:
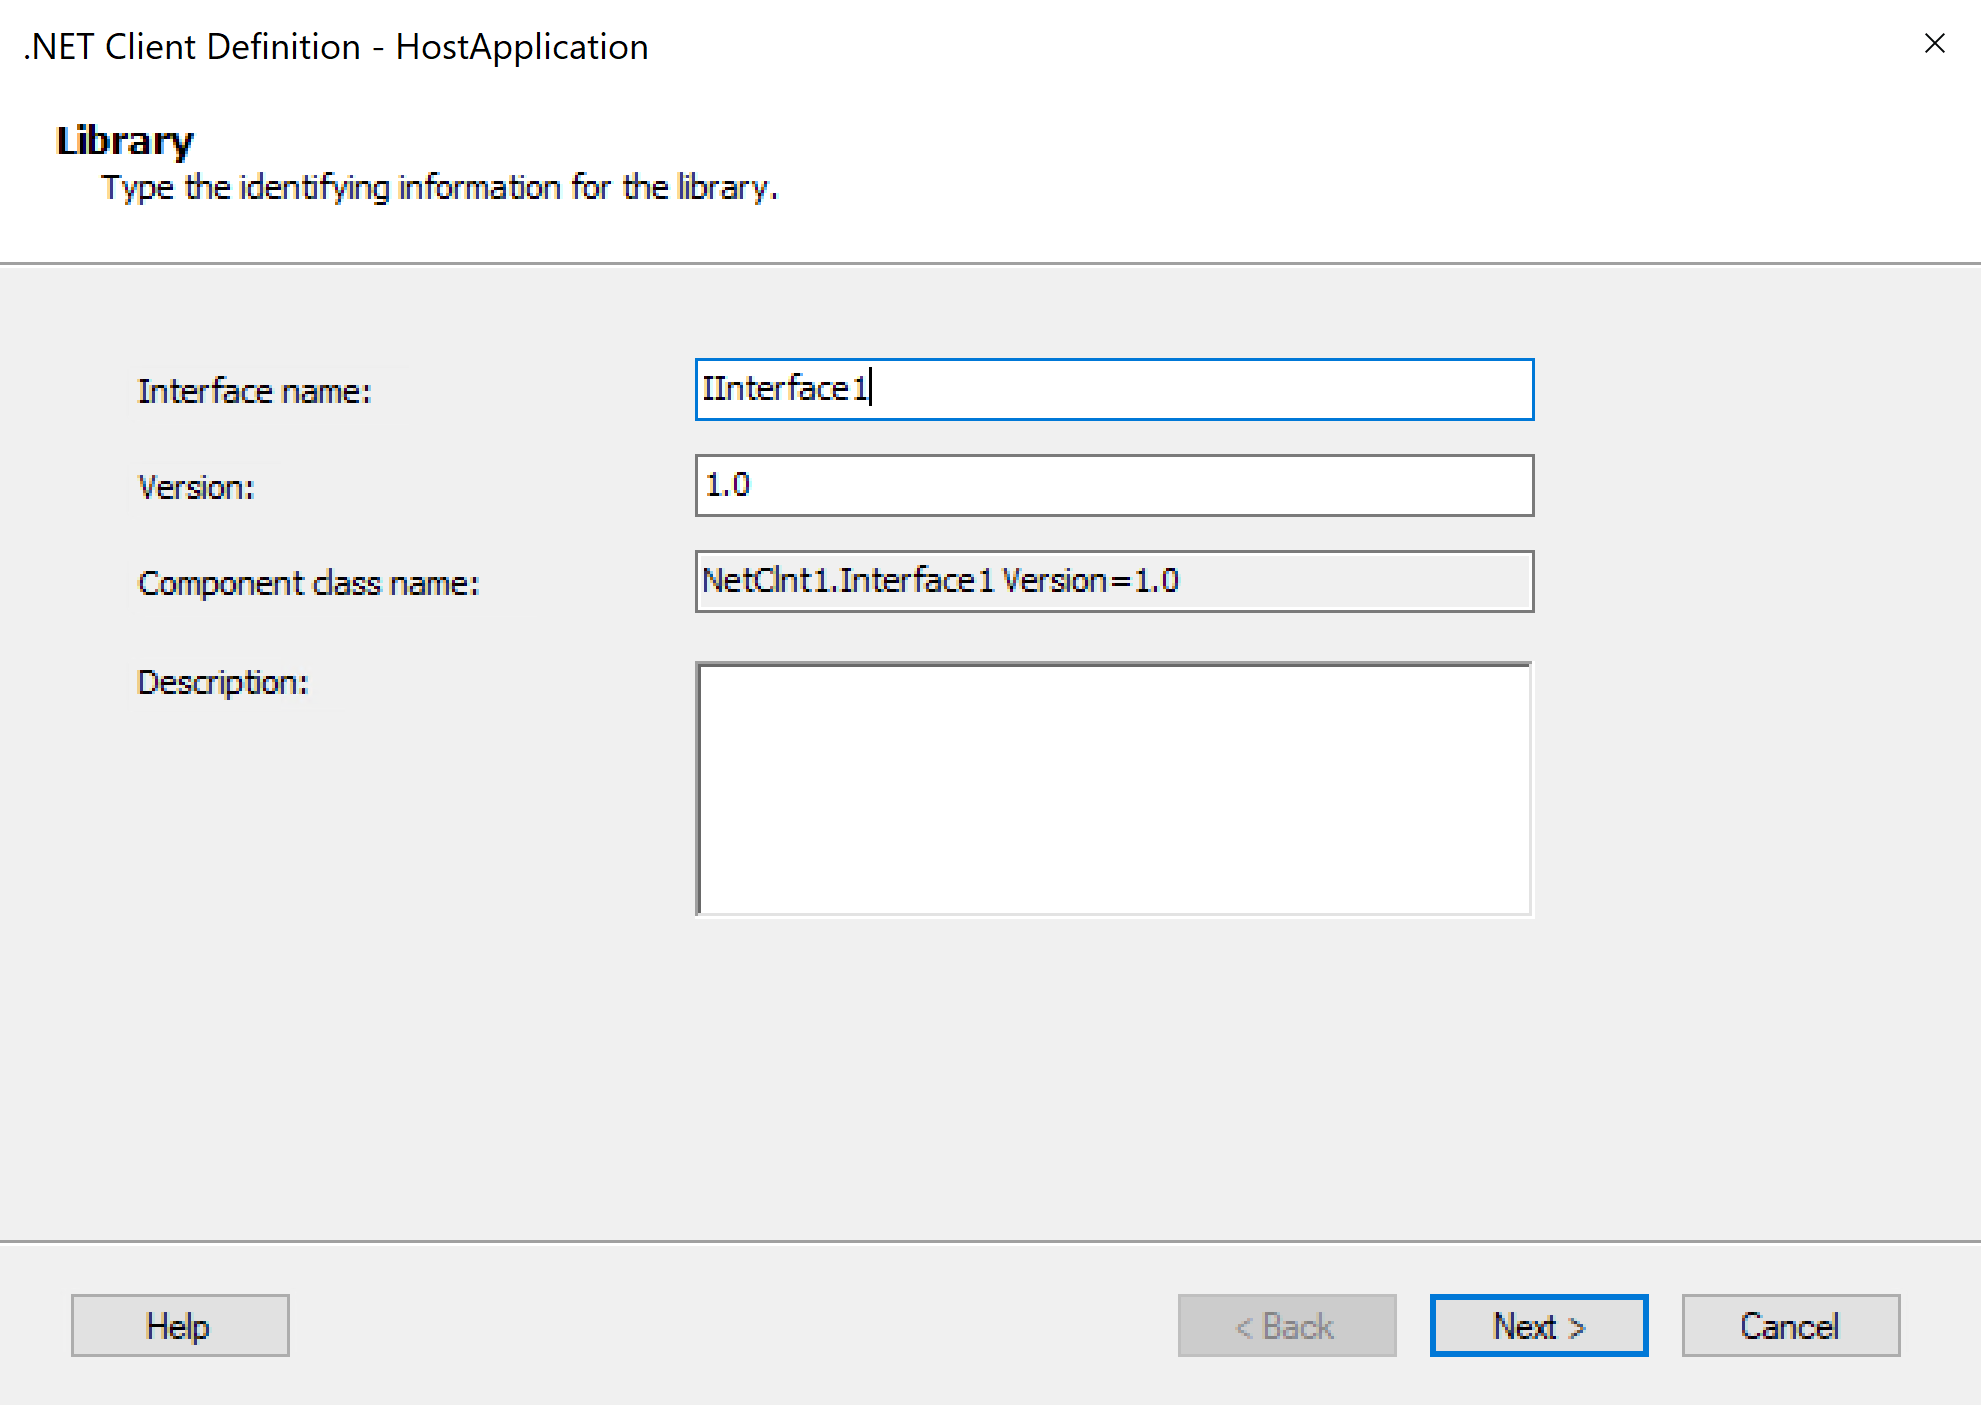
When you're done, select Next.
In the Remote Environment box, identify the remote mainframe or midrange environment and the programming model to use by providing the following information:
Parameter Value or action Vendor Microsoft Protocol Select the appropriate network protocol to access the mainframe or midrange system:
- TCP
- HTTP
- LU 6.2 (Unsupported for Azure Logic Apps connectors)Target Environment Select the target system:
- CICS
- IMS
- System i
- System Z
- System i Distributed Program CallProgramming Model Select a programming model. Host Language Select the language in use: COBOL or RPG Allow 32K in/out Select this option to use the full 32K of the COMMAREA data area when you use the LINK model. When you're done, select Create.
After you finish with the wizard, the main design view appears for you to manually create or import metadata artifacts. For this task, continue to the next section.
Design a metadata artifact
This section shows how to manually create a metadata artifact. To import a host definition instead, see Importing Host Definitions.
The following table lists the components of the main design view:
| Component | Description |
|---|---|
| Component node | The root of the metadata artifact. Stores information about the client library and the remote environment. |
| Interface node | Groups all the methods in a component. |
| Data Tables folder | Groups data tables in the assembly. |
| Structures folder | Groups variables with shared attributes. |
| Unions folder | Represents the equivalent of COBOL unions. |
Add a method
For your metadata artifact, you can add a method to expose the mainframe program business logic to workflows in Azure Logic Apps.
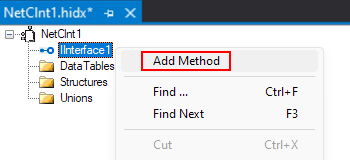
In the main design view, open the new interface's shortcut menu, and select Add Method.
Open the method's shortcut menu, and select Properties. Provide values for the method's properties based on the article Method Properties.
Add a parameter or return value
After you add a method, you can define parameters and a return value to pass and receive data between the mainframe program and workflows in Azure Logic Apps.
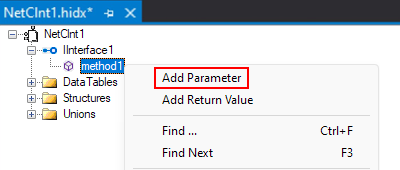
In the main design view, open the new method's shortcut menu, and select Add Parameter.
Open the parameter's shortcut menu, and select Properties. Provide values for the parameter's properties based on the following table:
Property Description or value Is Array If true, you must set the array dimensions, which support arrays with up to 7 dimensions and 16,777,215 elements. You must also enter values for the array properties Occurs Count In and Occurs Depending On. Data Type The parameter's .NET data type Name The parameter's name Parameter Direction The method parameter's direction: In, In/Out, or Out Error Handling Trigger an error, round, or truncate. Host Data Type The parameter's COBOL or RPG data type Precision The parameter's data precision Trailing Filler For parameters where the length is less than the specified maximum, you must specify the filler size. 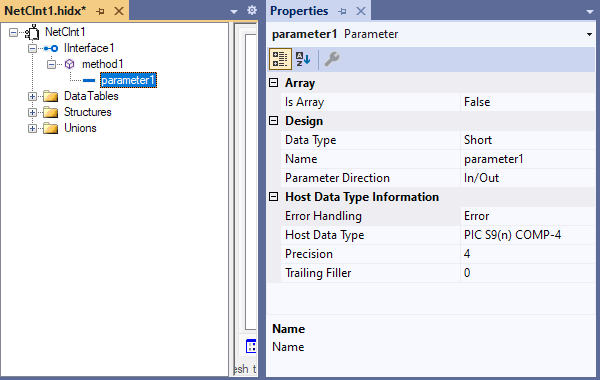
Open the new method's shortcut menu, and select Add Return Value.

Open the return value's shortcut menu, and select Properties. Provide values for the return value's properties based on the following table:
Property Description or value Is Array If true, you must set the array dimensions, which support arrays with up to 7 dimensions and 16,777,215 elements. You must also enter values for the array properties Occurs Count In and Occurs Depending On. Return Type The return value's .NET data type Return Value Positioned After Indicate the position of the return value relative to the parameters. Use TICS Work Area A Boolean value that specifies to use a 256-byte working area, which is kept over persistent connections and is placed at the start of the data. Error Handling Trigger an error, round, or truncate. Host Data Type The return value's COBOL or RPG data type Precision The parameter's data precision Trailing Filler For parameters where the length is less than the specified maximum, you must specify the filler size. 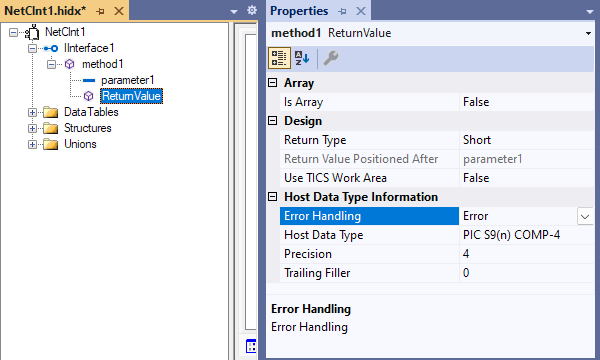
Add a data table
In the main design view, open the DataTables shortcut menu, and select Add DataTable.

Open the new data table's shortcut menu, and select Add DataTable Column. Repeat this step as necessary.
Open the new column's shortcut menu, and select Properties. Provide values for each column's properties based on the following table:
Property Description or value Data Type The column's .NET data type Name The column's name Error Handling Trigger an error, round, or truncate. Host Data Type The column's COBOL or RPG data type Precision The column's data precision Trailing filler For columns where the length is less than the specified maximum, you must specify the filler size. 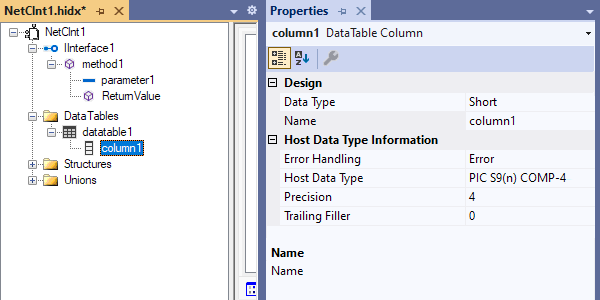
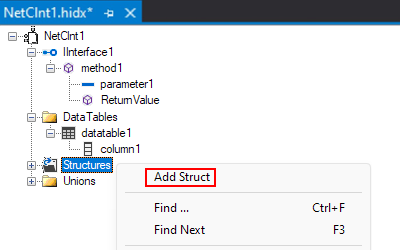
Add a structure
In the main design view, open the Structures shortcut menu, and select Add Struct.
The designer creates a structure with one member.
To add another member, open the new structure's shortcut menu, and select Add Structure Member. Repeat this step as necessary.
Open the member's shortcut menu, and select Properties. Provide values for each member's properties based on the following table:
Property Description or value Is Array If true, you must set the array dimensions, which support arrays with up to 7 dimensions and 16,777,215 elements. You must also enter values for the array properties Occurs Count In and Occurs Depending On. Data Type The member's .NET data type Name The member's name Error Handling Trigger an error, round, or truncate. Host Data Type The member's COBOL or RPG data type Precision The member's data precision Trailing filler For members where the length is less than the specified maximum, you must specify the filler size. 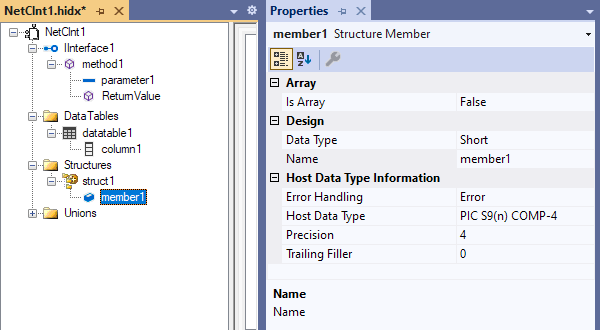
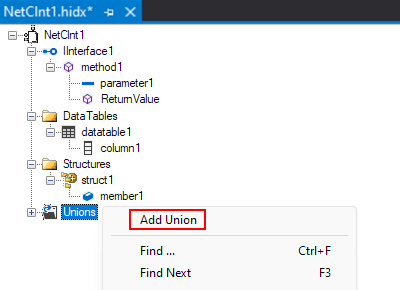
Add a union
In the main design view, open the Unions shortcut menu, and select Add Union.
The designer creates a union with two members.
To add another member, open the new union's shortcut menu, and select Add Union Member. Repeat this step as necessary.
Open the member's shortcut menu, and select Properties. Provide values for each member's properties based on the following table:
Property Description or value Is Array If true, you must set the array dimensions, which support arrays with up to 7 dimensions and 16,777,215 elements. You must also enter values for the array properties Occurs Count In and Occurs Depending On. Data Type The member's .NET data type. This value can include structures defined in the previous section. Name The member's name Error Handling Trigger an error, round, or truncate. Host Data Type The member's COBOL or RPG data type Precision The member's data precision Trailing filler For members where the length is less than the specified maximum, you must specify the filler size. 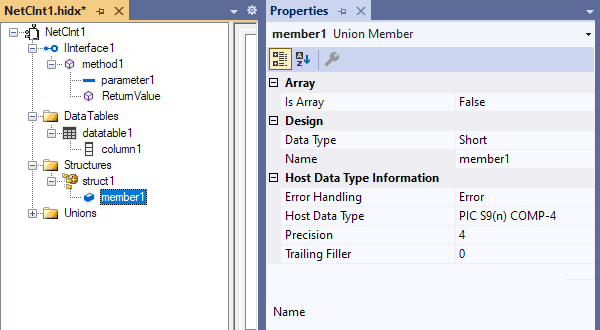
When you're done, continue to the next section to create the library that stores the metadata's design.
Create the Host Integration Definition XML (HIDX) or metadata artifact
This section describes how to create the library that stores the metadata artifact's design.
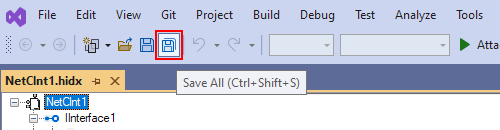
To generate the metadata artifact, on the Visual Studio File menu or toolbar, select Save All. (Keyboard: Press Ctrl+Shift+S)
To find the generated HIDX file, go to your host application's folder.
