Set up Store operations
After deploying Store operations, you must set up an organizational structure that protects sensitive data and enables collaboration. You can set up business units, security roles, and field security profiles to control data access.
Management of business units, teams, and users for Store operations is done through the Power Platform Admin Center. The following sections provide the details on how to set up data for Store operations.
Prerequisites
You need to sign in to Store operations Admin using your System Administrator and Teams Administrator to set up Store operations.
Create business units
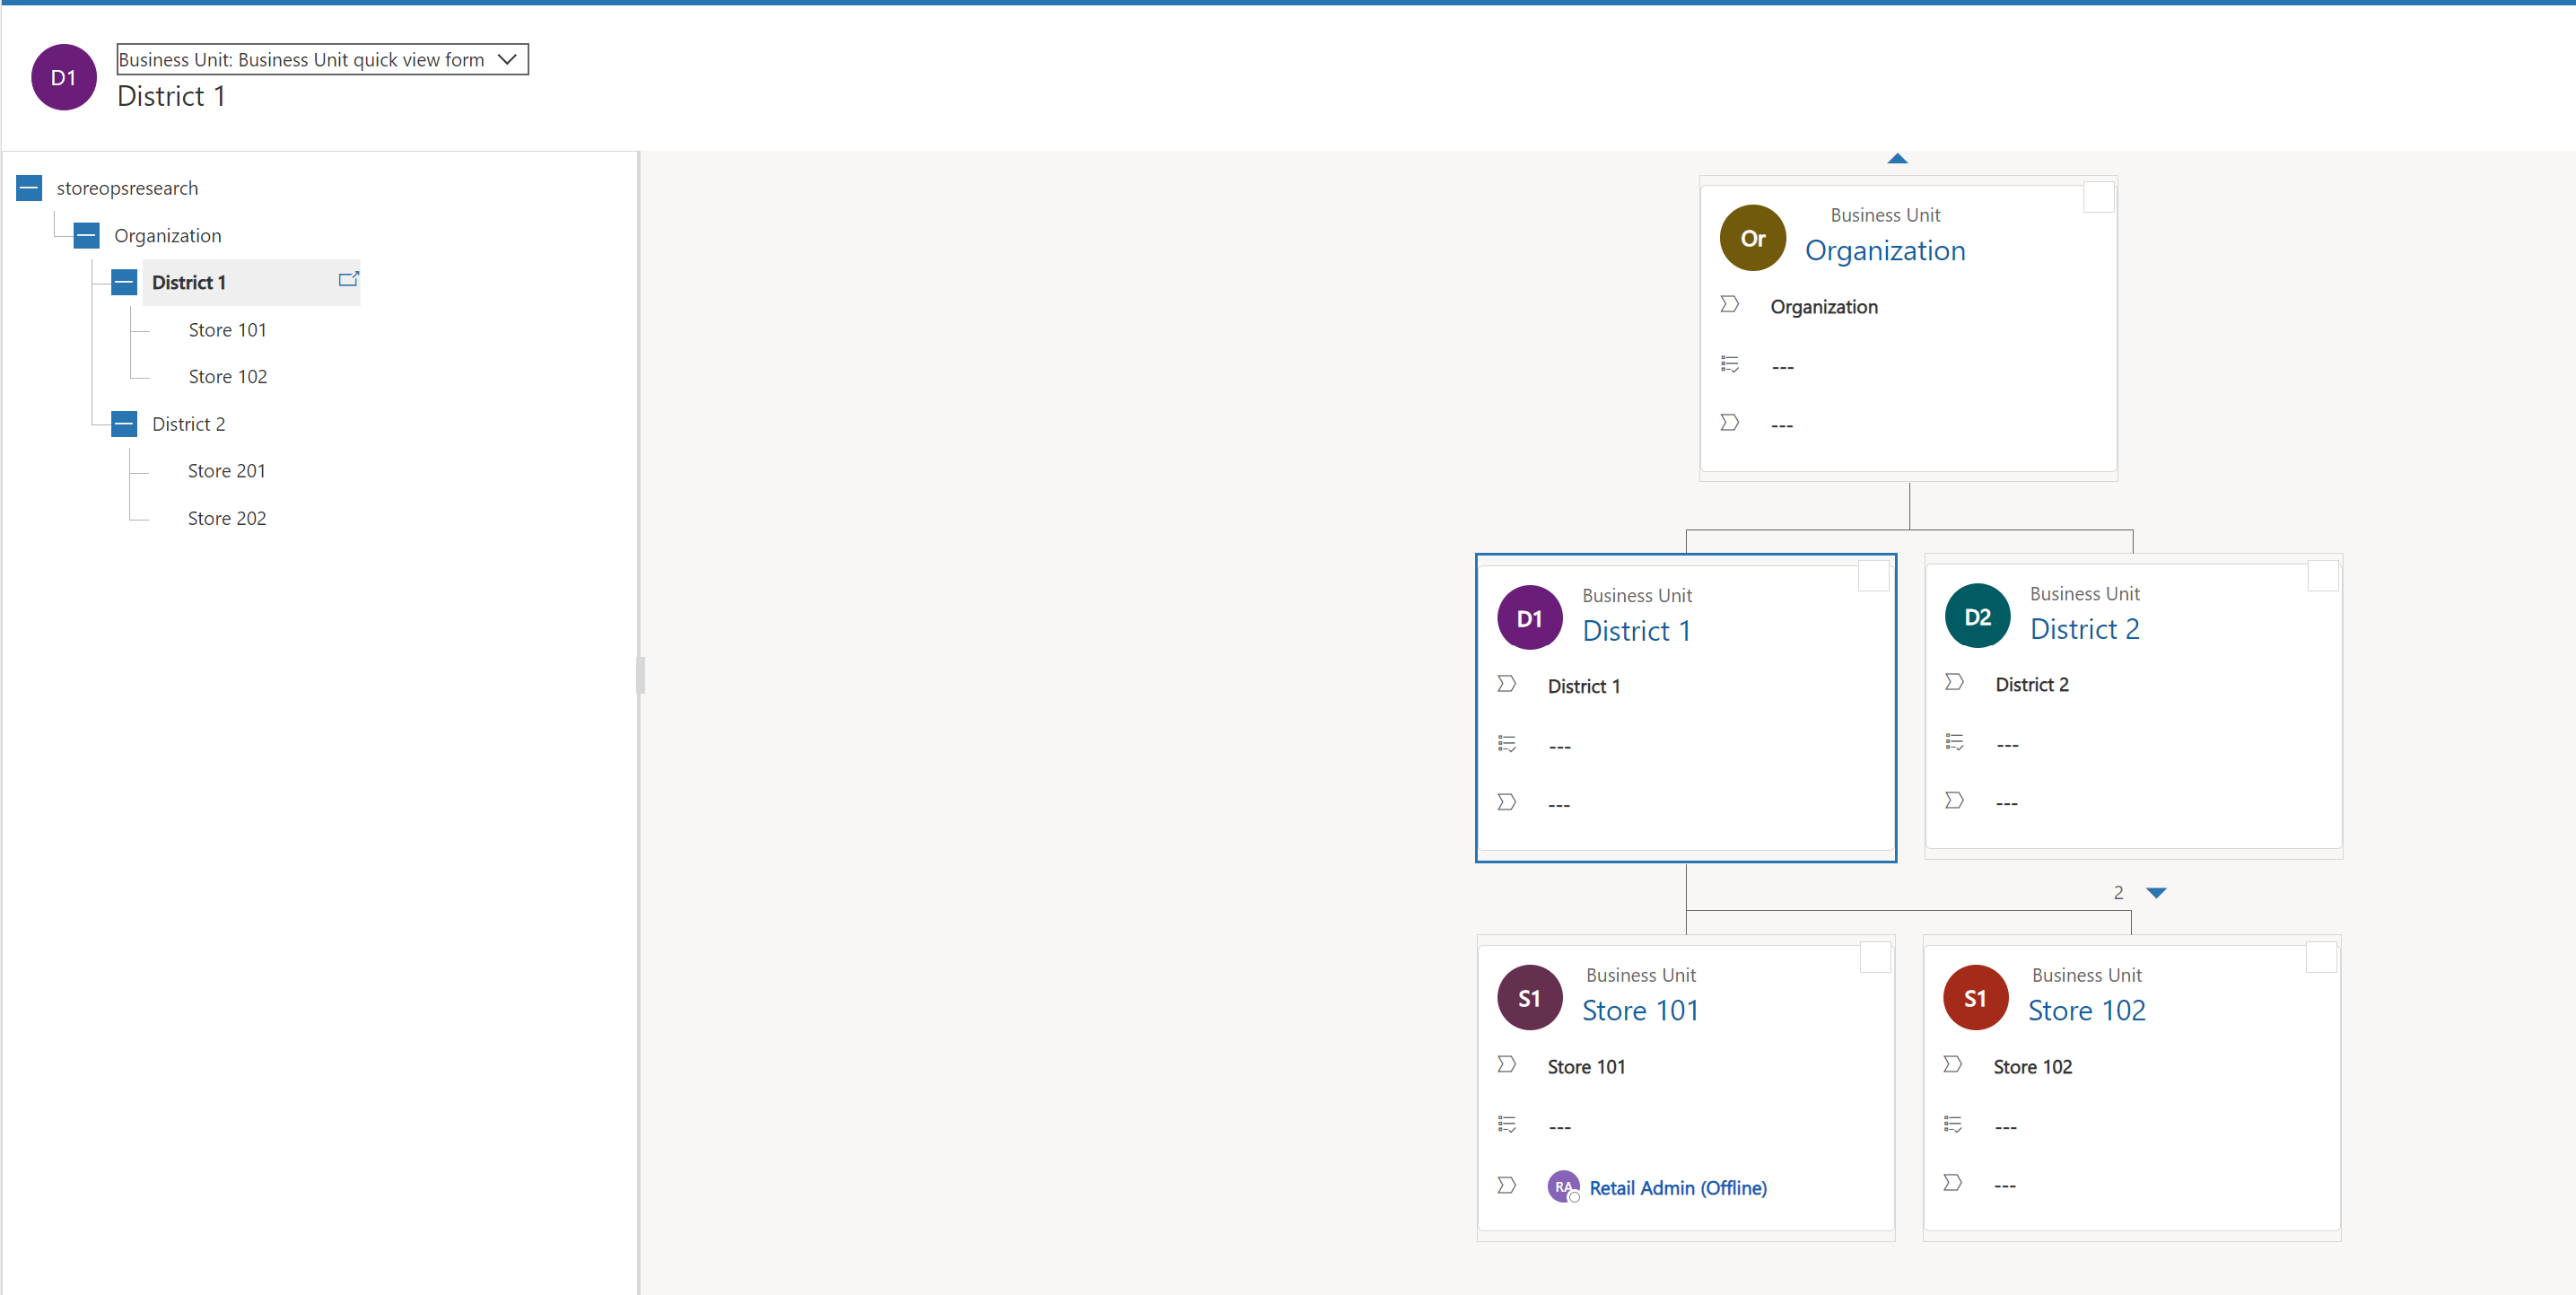
Business Units represent the hierarchy of the retail organization, from the headquarters down to the stores, such as Headquarters -> District -> Store -> Department. Store operations enables customers to create any levels of hierarchy that reflects their organizational structure. Select the hierarchy icon next to the hierarchy name to get a hierarchical view of the business units.
To create a business unit, perform the following steps:
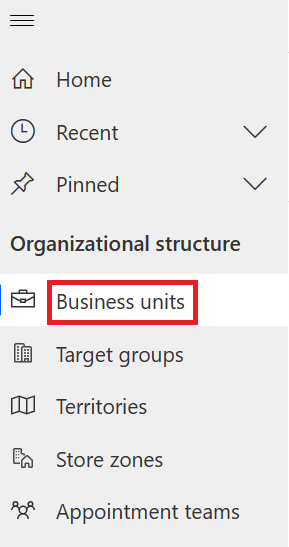
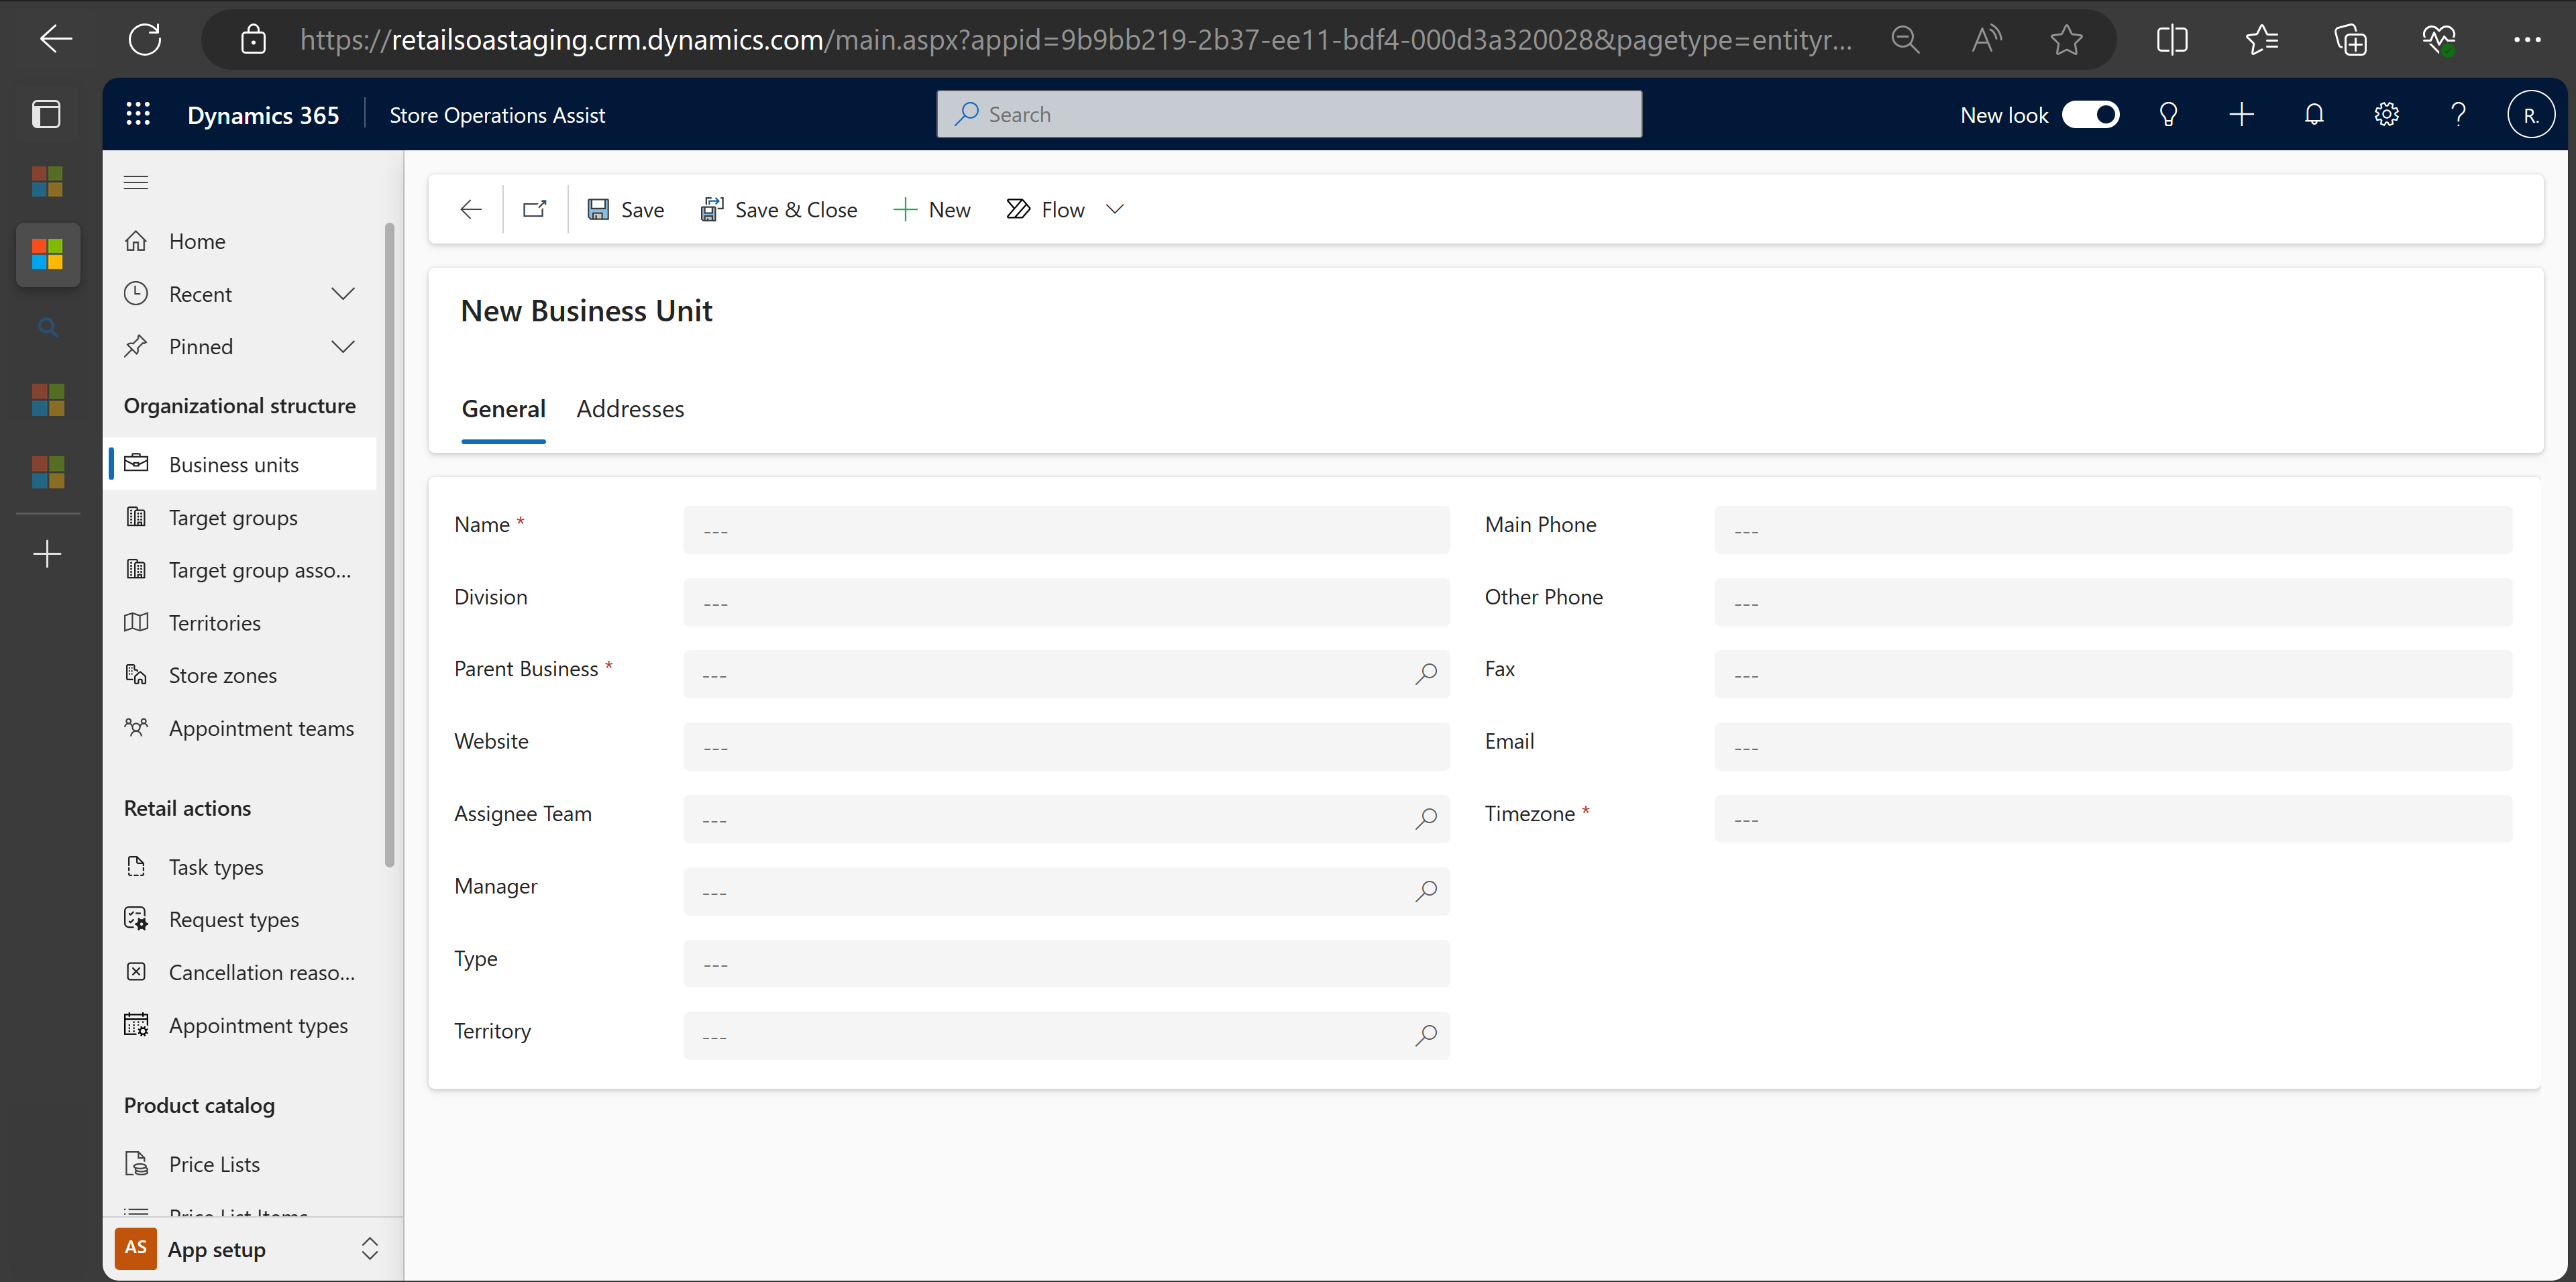
On the left navigation pane, select Business units.
Copy the default business unit value displayed on the screen.
Open the sample Business Unit.csv file. Download and extract the sample data from the Business unit zip file.
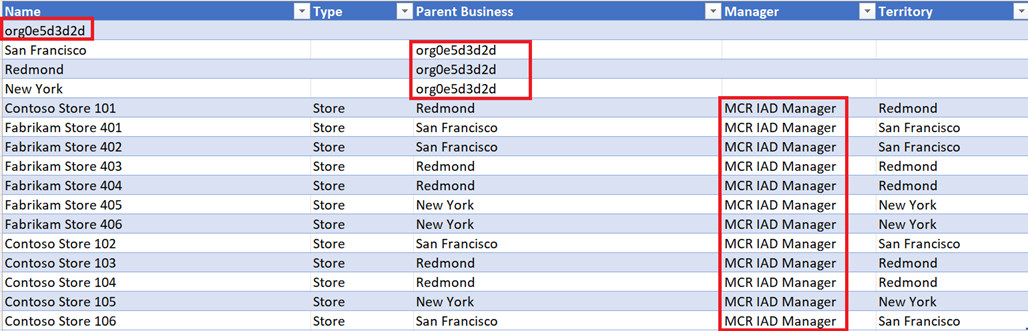
Change the Parent Business value of the highlighted cells in that column to the default business unit value in your environment. This value displays when you open the business units on the left navigation pane. Similarly, change the Manager value in the highlighted cells in that column with the value that you're using.
On the left navigation pane, select Business units.
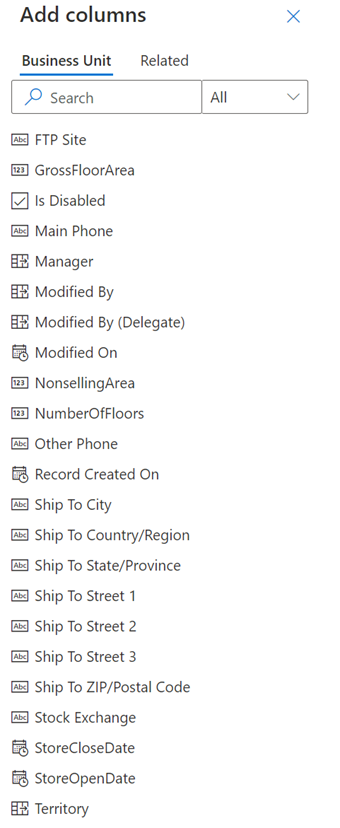
Select Edit columns > Add columns.
Select Territory > Manager.
Select Close on the Add columns screen and then select Apply on the Edit columns screen.
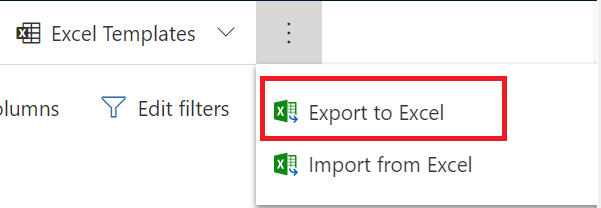
Select Export to Excel.
Open the downloaded Microsoft Excel file, copy all rows from the sample Business Unit.csv file into the new Excel sheet, and then save the Excel file.
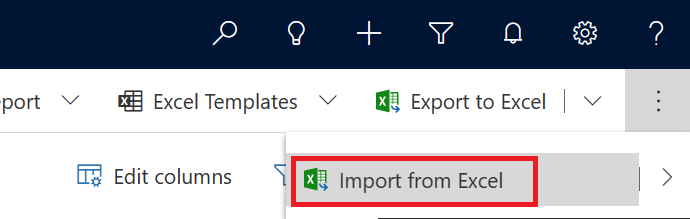
On the Business units form, select the ellipsis (...) menu on the upper command bar and then select Import from Excel.
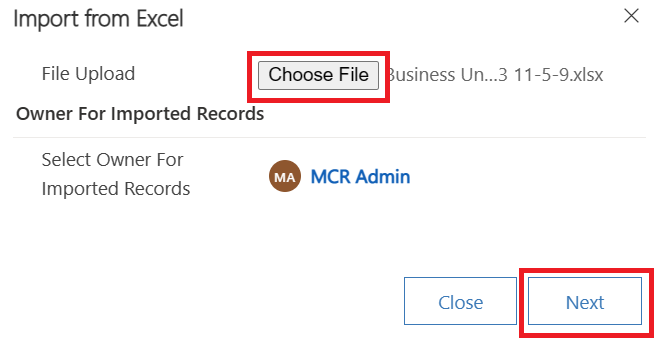
Upload the Excel file from the local directory and then select Next.
The Allow Duplicates option is set to No by default. Don't change this option.
Select Finish Import in the lower-right corner of the screen.
To track the progress of the import, go to Power Apps (we recommend that you use an Incognito or InPrivate browsing session).
Sign in with your manager credentials.
Select the correct environment from the Environment dropdown menu in the upper-right corner.
Select the Settings gear icon and then select Advanced Settings in the upper-right corner of the ribbon.
Select Settings > Data Management.

Select Imports. If all records are successfully processed, then the Status Reason indicates Completed and the value in the Successes field is equal to Total Processed.


For more information, see Create or edit business units, Assign a business unit to a different parent business, and Hierarchy security to control access.
Specify time zone for Business Units
You can establish a specific time zone for each business unit. This designated time zone serves as the reference for the business unit manager and other users associated with the same business unit. Furthermore, the due times assigned to tasks now align with the respective business unit's time zone.
In instances where a store associate is affiliated with more than one business unit, the Store operations Mobile prompts the associate to select the appropriate time zone upon sign in. Later, the chosen time zone is set for that associate, ensuring accurate time-related functionalities within the application.
Create user accounts
You can use the Microsoft 365 admin center to create user accounts for every user who needs access to Store operations. For more information, see create a user account
Create Dataverse teams
You can create Microsoft Dataverse teams to collaborate with other people across business units. Although a team belongs to one business unit, it can include users from other business units. You can associate a user with more than one team.
For more information, see: Microsoft Dataverse teams management and Manage group teams.
Set up Microsoft Teams team
You can configure a Microsoft Teams team in Store operations for task assignments. Power Platform offers the capability to sync the team and user information from Microsoft Entra ID and use it in Store operations.
To configure a Microsoft Teams team in Store operations, perform the following steps:
Sign in to Power Platform admin center.
Select an environment, and then select Settings > Users + permissions > Teams.
Select + Create team.
Specify the following fields:

Field name Details Team name Enter a name that is unique within a business unit. Description Enter a description of the team. Business unit Select the Store operations business unit for which you're configuring this team. Administrator Search for administrator user in the organization for this team. Team type Select the team type from the dropdown list. Group name Search and select the team that you want to use in Store operations. Ensure that you already created this team in Microsoft Teams. Membership type Select the membership type from the dropdown list. Configure the new team and assign a security role to the team.
You successfully configured an existing team from Microsoft Teams in Store operations application for task assignment.
Important
When users are synced from Microsoft Entra ID, the correct user role and the business unit have to be assigned to the users manually.
Tip
As a best practice, you can model the business unit hierarchy in Store operations based on the team targeting hierarchy in Microsoft Teams.This step would sync the team and user information from Microsoft Teams to Store operations directly and would make user management easier. For more information, see Set up your team targeting hierarchy. For additional business units created in Store operations, which are different from the team targeting hierarchy, the user management would have to be done in Power Apps.
Sync setup with Microsoft Teams
Establishing a frontline operational hierarchy plays a crucial role in enhancing the effective management of tasks related to store operations. The synchronization setup with Microsoft Teams aims to optimize this hierarchy, ensuring a seamless integration that facilitates improved task management.
This feature empowers retailers to establish a frontline operational hierarchy seamlessly integrated with the organization's frontline teams and locations structure in the Teams admin center. It represents a pioneering instance of integrating Microsoft Teams and a Power Apps frontline app such as Store operations in a unified, cohesive system. For more information, see Deploy your frontline operational hierarchy.
With this feature, you can:
Assign the security role required for store employees to access Store operations.
Associate store employee's time zone with the store's time zone. As a result, tasks are published to the store's local time zone.
Update a store's parent node (for example, district) in Teams, if the parent node is updated in input file (teams hierarchy).
PowerShell scripts can be used as one time operation to replicate the hierarchy from Teams to Dataverse (Store operations) and for periodic synchronization of teams and users. When you execute these scripts, the inherent logic extracts user and team details from Microsoft Entra, while the hierarchy is derived from Teams. This streamlined process significantly simplifies user management, consolidating it into a singular platform – Microsoft Teams.
Download the scripts from the links to perform the following tasks:
Create Business Units and Teams in Dataverse based on a Team targeting hierarchy CSV file.
Dynamically derive users from Microsoft Teams,for example, store.
Dynamically add a new user in a store (team) to the business unit (store) in Store operations.
Assign licenses
You must assign license to user accounts for Store operations access.
For more information, see assign licenses to a user
Assign security roles
Store operations provides the following security roles:
Retail Data manager: The responsibility of this role is to keep the master data (for example, product, customer, asset, stores) up-to-date. This role is typically a business analyst at regional headquarters familiar with the data schema (tables and fields).
Retail District Operations manager: The responsibility of this role is to drive sales, customer service, and associate engagement throughout the district. They drive district consistency and provide support to the stores in specific areas of expertise by engaging store leadership teams. They create and assign strategic in-store activities, such as visual merchandising and promotion executions, to the store managers.
Retail Store manager: The responsibility of this role is to drive sales and service, increase associate engagement and ensure operational excellence in the store. They can sign in to Store operations and view the activities assigned to them by the District Operations Manager by using the filter option – assigned to me. They in turn, assign activities to the Operations associates. They can also create and assign store activities specific to their store or delegate urgent tasks to the Operations associates.
Retail Operations associate: The responsibility of this role is to perform upkeep of the store and keep operations flowing and safe. The tasks might involve picking up trash, putting discarded items back in the correct place, conducting product audits, cycle counts, asset audits, safety walks, and others. The retail associate must ensure that the shelves of a retail store are stocked with products and displays for customers. They also must track inventory levels, report any issues or shortages to management and clean up unwanted items that are flagrant violations to in-store decorum.
Retail Customer assistant: The responsibility of this role is to engage with customers visiting the store and provide them with knowledgeable support. The tasks of a customer associate encompass assisting customers with product/service discussions, answering their inquiries, scheduling virtual appointments with experts, following up with customers, making sales, and delegating tasks to coworkers. They also must work on keeping store shelves fully stocked with merchandise and displays for customer convenience, discussing new products with customers, and fostering stronger customer relationships.
Important
Licensed users must be assigned at least one security role to access Store operations. Security roles can be assigned either directly or indirectly by a member of a group team. For more information, see assign a security role to a user. You can edit the privileges associated with an existing security role. For more information, see edit a security role.
Caution
If you edit an out-of-box security role, ensure that you test the solution with the updated role before rolling it out to frontline workers.
Set up inventory visibility
You can integrate Store operations with your existing ERP system and use the new inventory visibility feature in Store operations to get product and inventory information. This feature empowers store associates with valuable product and inventory insights, enhancing their ability to serve customers effectively.
The inventory visibility feature is enabled by connecting your ERP with custom APIs to get data. It has two plugins:
Fetch product information: The Fetch product information plug-in is used to obtain product information like product ID, product name, category of product, product description, product images and product rating from the retailer's existing ERP system and show it in Store operations Mobile.
Fetch inventory information: The Fetch inventory information plug-in is used to obtain inventory information like product price, inventory count, location of inventory, restocking date from their existing ERP system and show it in Store operations Mobile.
The given table lists the required request parameters for each custom API:
| Custom API |
Required Request Parameters |
|---|---|
| Fetch Product Information | productid variantFilters |
| Fetch Product Inventory | productid storeId variantFilters |
Note
Refer to Tutorial: Update a plug-in (Microsoft Dataverse) - Power Apps | Microsoft Learn for registering the plugin.
To update the plug-in to the custom APIs for inventory visibility, perform the following steps:
Download the sample Clienteling Custom APIs for reference.
Add your code to these plug-ins to integrate with your ERP system and fetch the data.
Go to Power Apps maker portal to initiate the configuration process for inventory visibility.
Select Store operations UI solution from the list of solutions available on the home page.
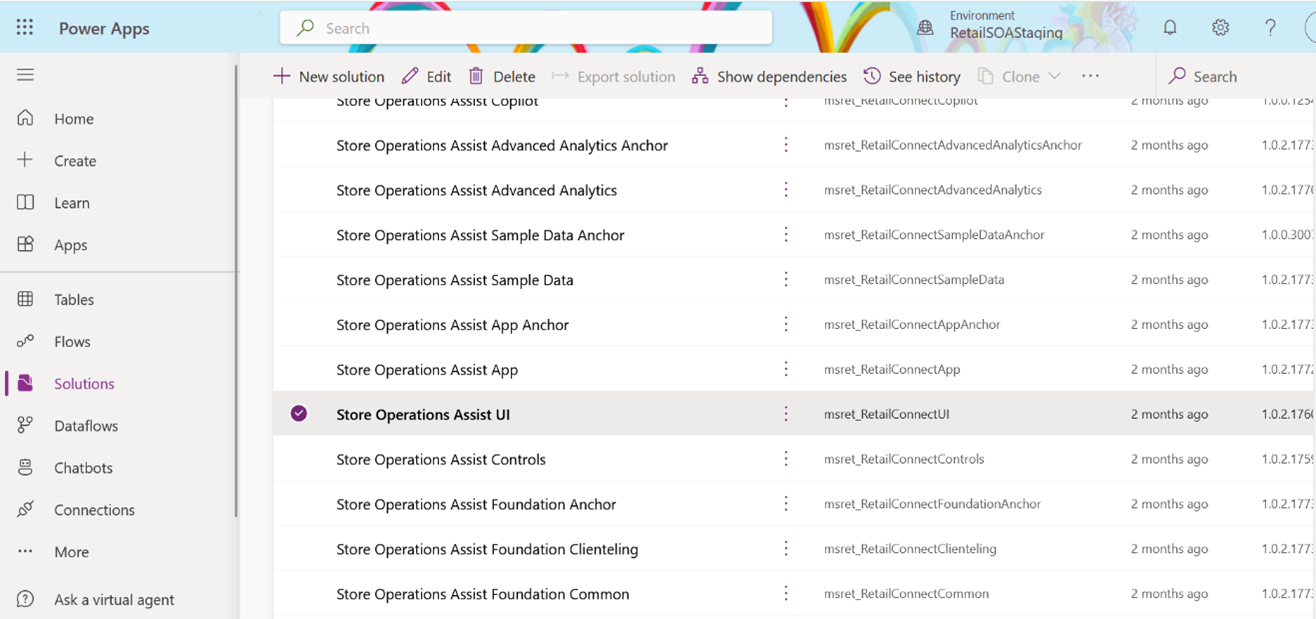
Select Custom API in the left panel. A list of custom APIs is displayed. You need to update the relevant plug-ins in both Custom APIs.
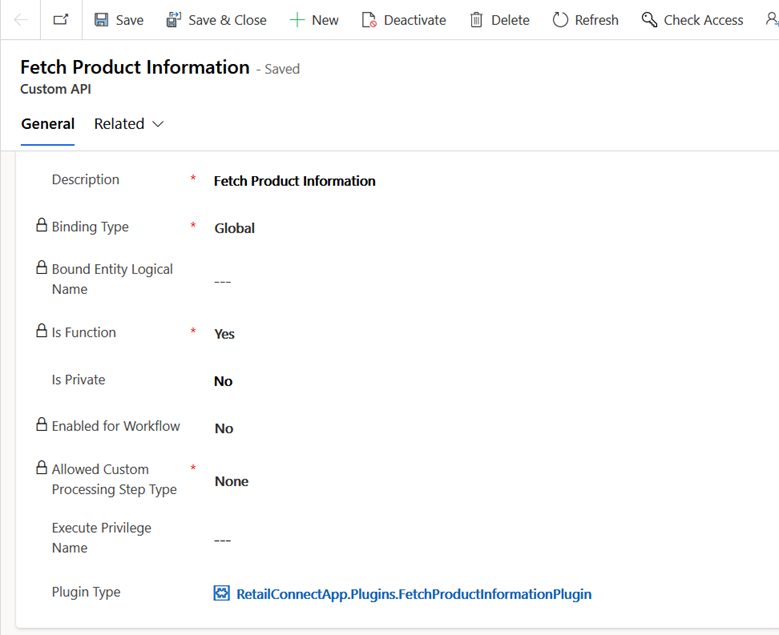
Select Fetch Product Information.
You're redirected to a form. Scroll down on that form and update the plugin type field. Replace the default plug-in with the one that you created in the earlier step. Select Save.
Repeat the steps for the other Custom API, Fetch Product Inventory.
Enable search settings
In a trial or sandbox environment, the search setting is off by default, and you have to turn on the setting for Contact searching. If the search setting is off, a store associate can't search for a customer baseball card or create a new customer or appointment.
To turn on the search setting, perform the following steps:
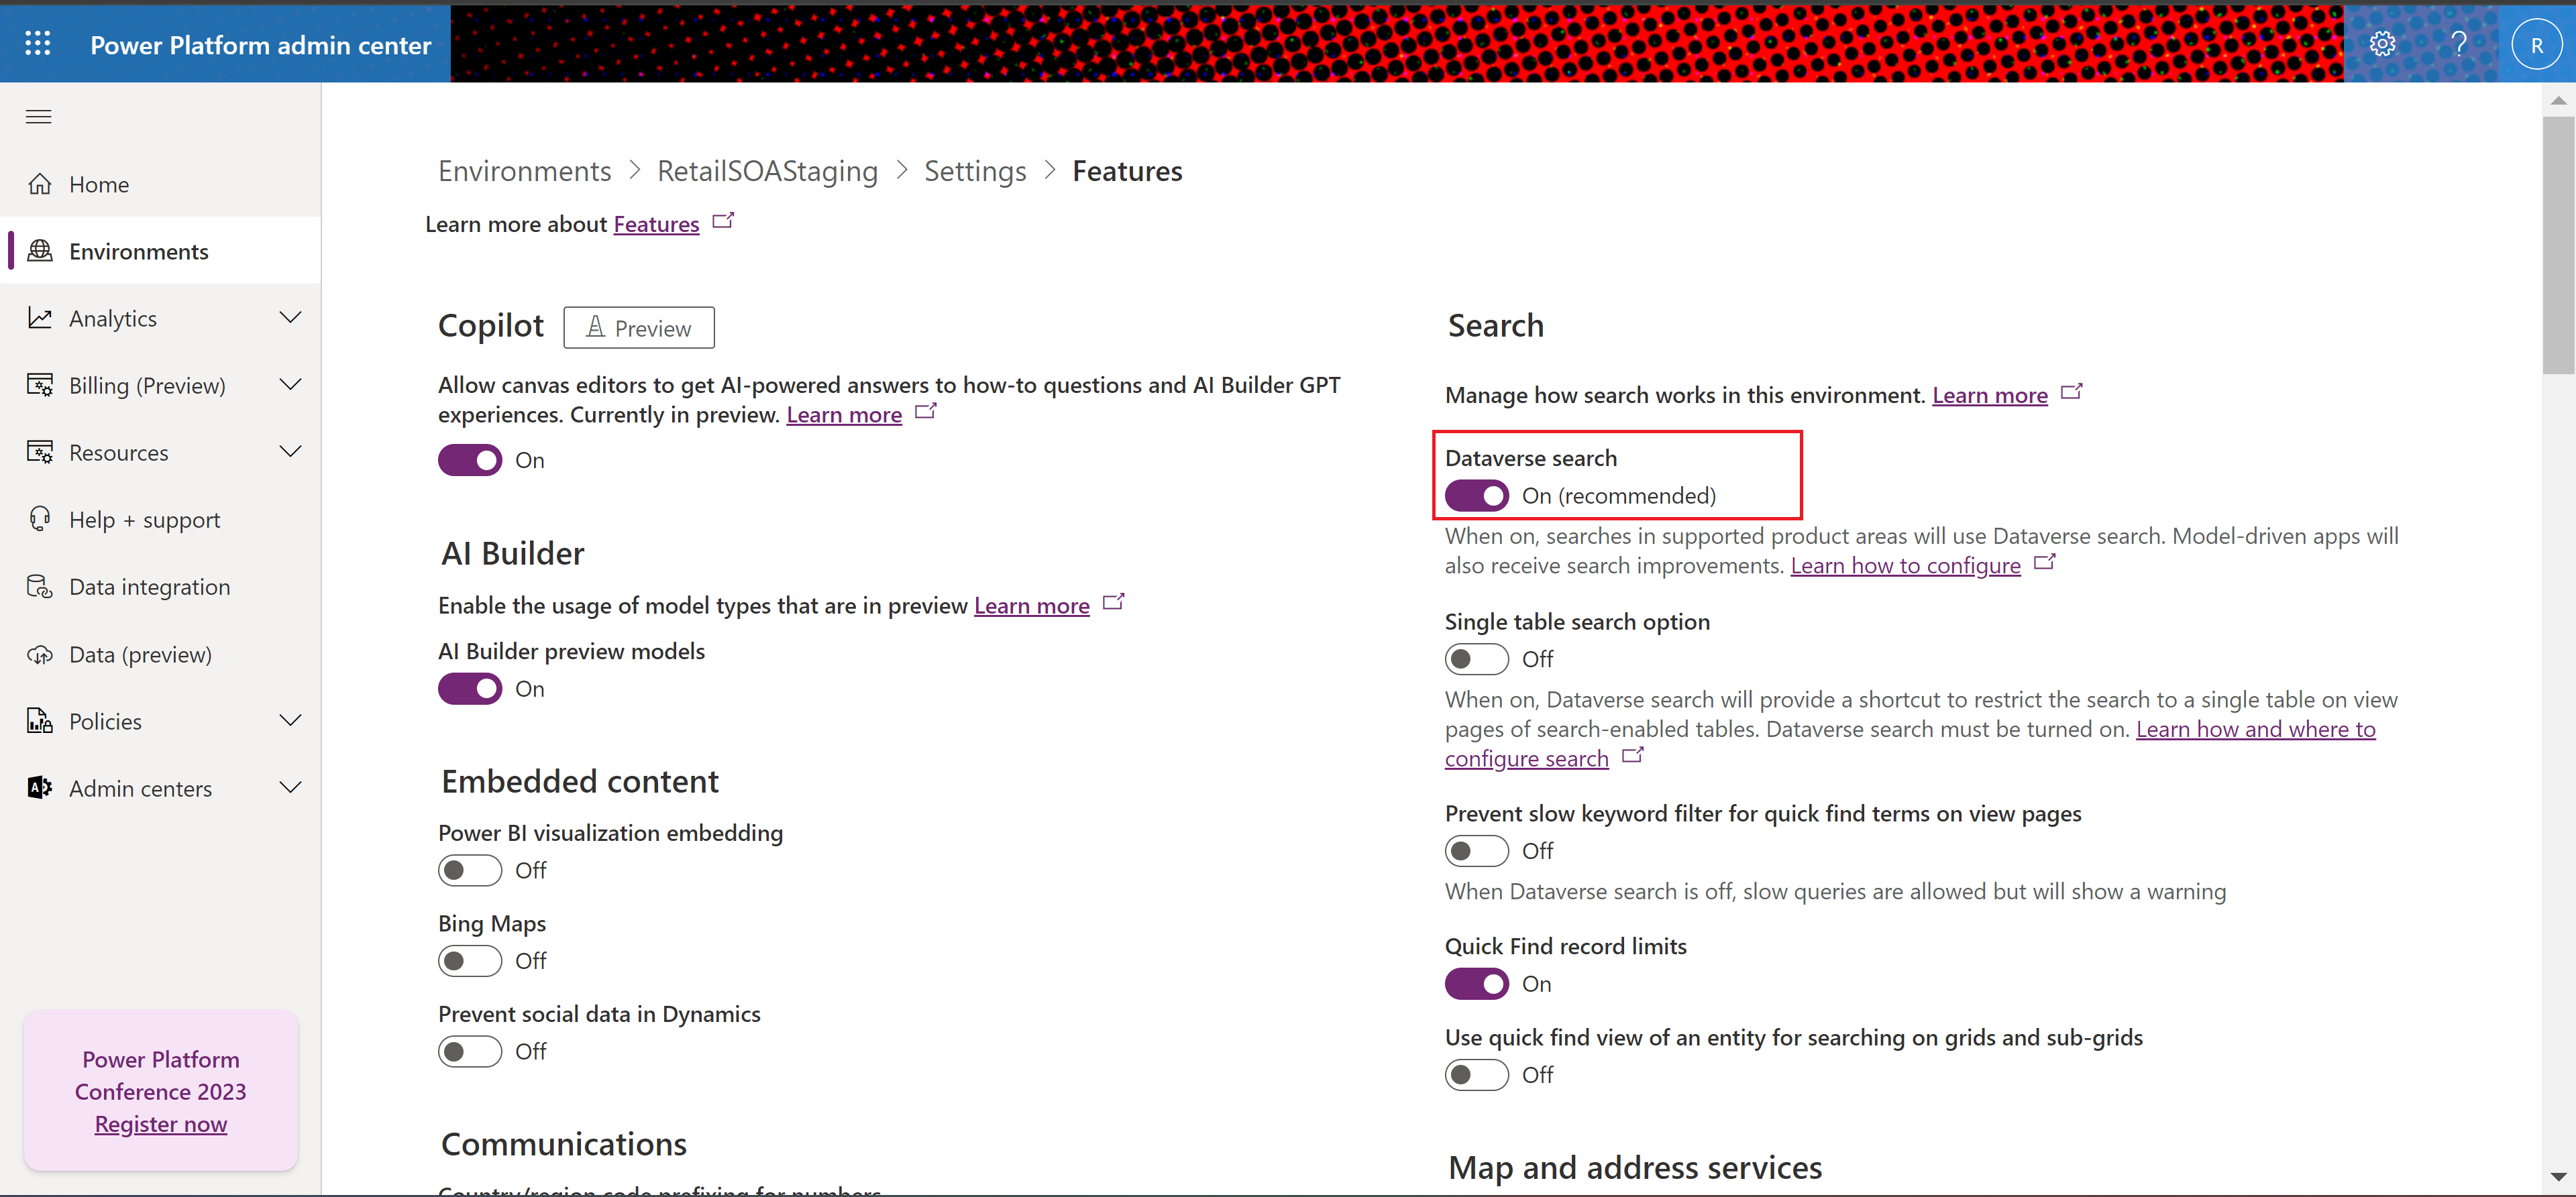
Sign in to Power platform admin console.
Navigate to your environment setting features.
In the Search section, enable Dataverse search by using the On (recommended) toggle.
Collect feedback from users
You can collect feedback from end-users such as store associates on how satisfied they are with their Store operations Mobile experience. To know more, see: App ratings (Preview).