Deploying Azure Functions using Visual Studio Team Services
Azure Functions is an event driven, compute-on-demand experience that extends the existing Azure application platform with capabilities to implement the code triggered by events occurring in Azure or third-party service as well as on-premises systems. Azure Functions allows developers to take action by connecting to data sources or messaging solutions thus making it easy to process and react to events. Developers can leverage Azure Functions to build HTTP-based API endpoints accessible by a wide range of applications, mobile and IoT devices.
What is covered in this lab?
In this lab, you will
- Create a Visual Studio Team Services account and generate the PartsUnlimited project data with VSTS Demo Generator tool
- Setup Azure Functions in Azure portal and add code via Visual Studio
- Configure the build definition in Visual Studio Team Services to build and test the code
- Configure the CD pipeline in Visual Studio Team Services for Website, API and Azure Functions
Pre-requisite
In order to complete this lab you will need:
- Visual Studio 2017: You can click the
Hands-on Labbutton below to launch a pre-configured virtual machine on our Hands-on Lab site. Use the Resources tab in the integrated instruction to find the credentials to login to the machine. - Azure Subscription: If you don't have an Azure subscription, create a free account
- Visual Studio Team Services Account: If you don’t have one, you can sign up for one from here
Stay on this site and follow instructions with your own machine.
Continue to first stepVisit the Hands-on Lab site for integrated instruction.
Hands-on LabSetting up the environment
Prerequisites for the lab
Microsoft Azure Account: You will need a valid and active Azure account for the Azure labs. If you do not have one, you can sign up for a free trial
If you are a Visual Studio Active Subscriber, you are entitled for a $50-$150 credit per month. You can refer to this link to find out more including how to activate and start using your monthly Azure credit.
If you are not a Visual Studio Subscriber, you can sign up for the FREE Visual Studio Dev Essentialsprogram to create Azure free account (includes 1 year of free services, $200 for 1st month).
You will need a Visual Studio Team Services Account. If you do not have one, you can sign up for free here
Visual Studio 2017 version 15.4 or later with .Net Core SDK, Git and Azure Development Tools for Visual Studio are installed.
Part A: Create required Azure resources
In this lab, you will be using a fictional eCommerce website - PartsUnlimited. The PartsUnlimited team wants to roll out a new discount for its employees and customers and wants to build Azure Functions that will retrieve the right discount depending on whether the logged in user is an employee or a customer.
Let us create the required resources the Azure Portal.
Open your browser and navigate to https://portal.azure.com
Login with you username and password
Click Deploy To Azure to provision required azure resources for this lab.

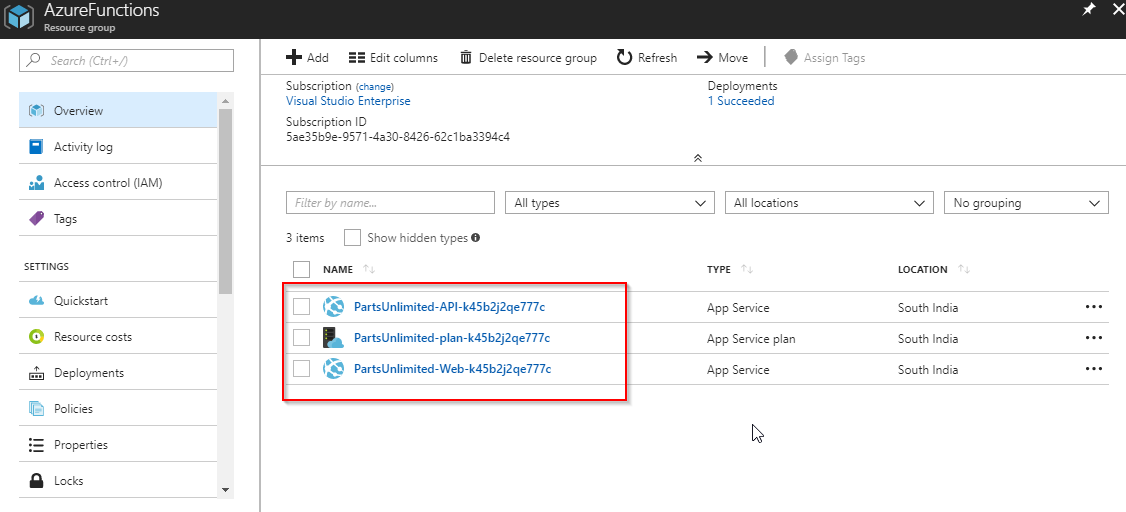
Navigate to the Resource Group which you have created to view the resources. You should see 3 resources as shown below.
Part B: Generate project data with VSTS Demo Generator
Use the VSTS Demo Generator to provision the project on your VSTS account.
VSTS Demo Generator helps you create team projects on your VSTS account with sample content that include source code, work items,iterations, service endpoints, build and release definitions based on the template you choose during the configuration.
Click the Sign In button to get started. If you are asked for credentials, sign in with the same credentials used above to log in to Azure
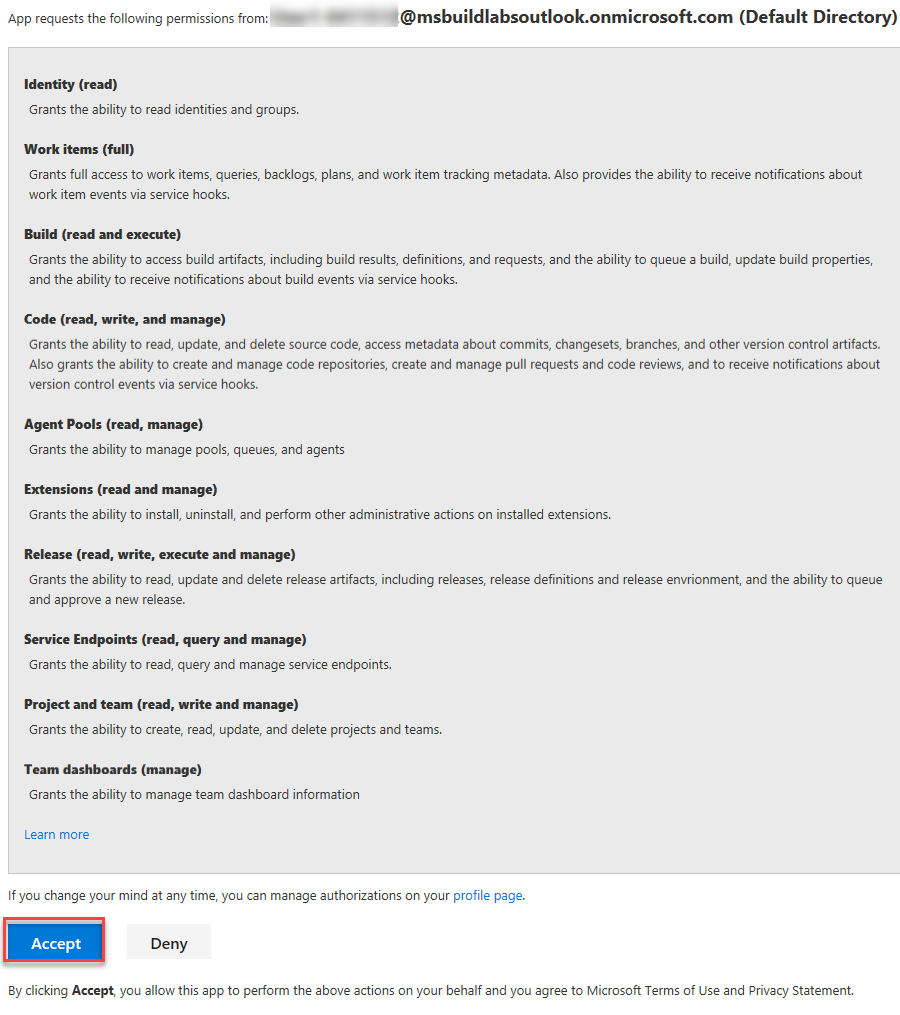
Accept the request for permissions by clicking on the Accept button.
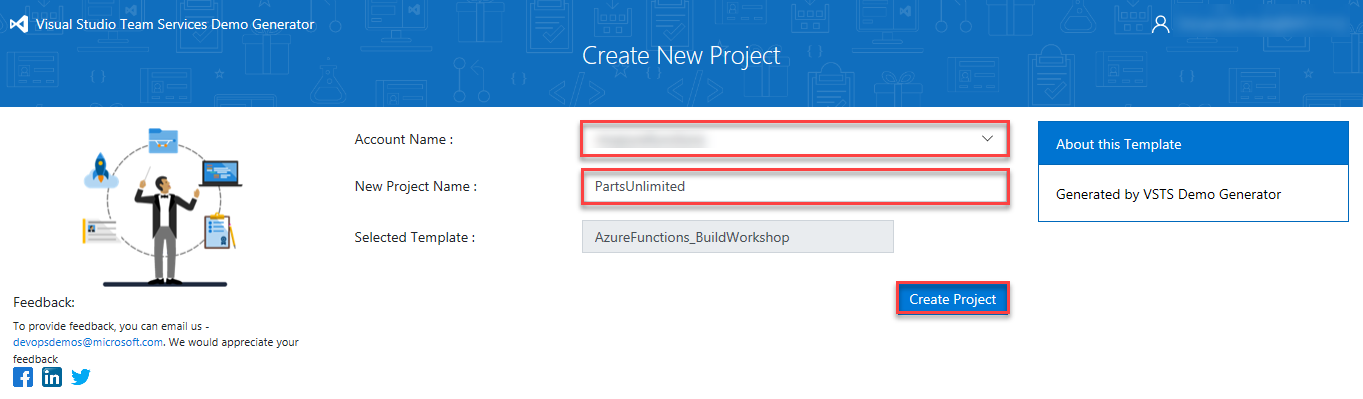
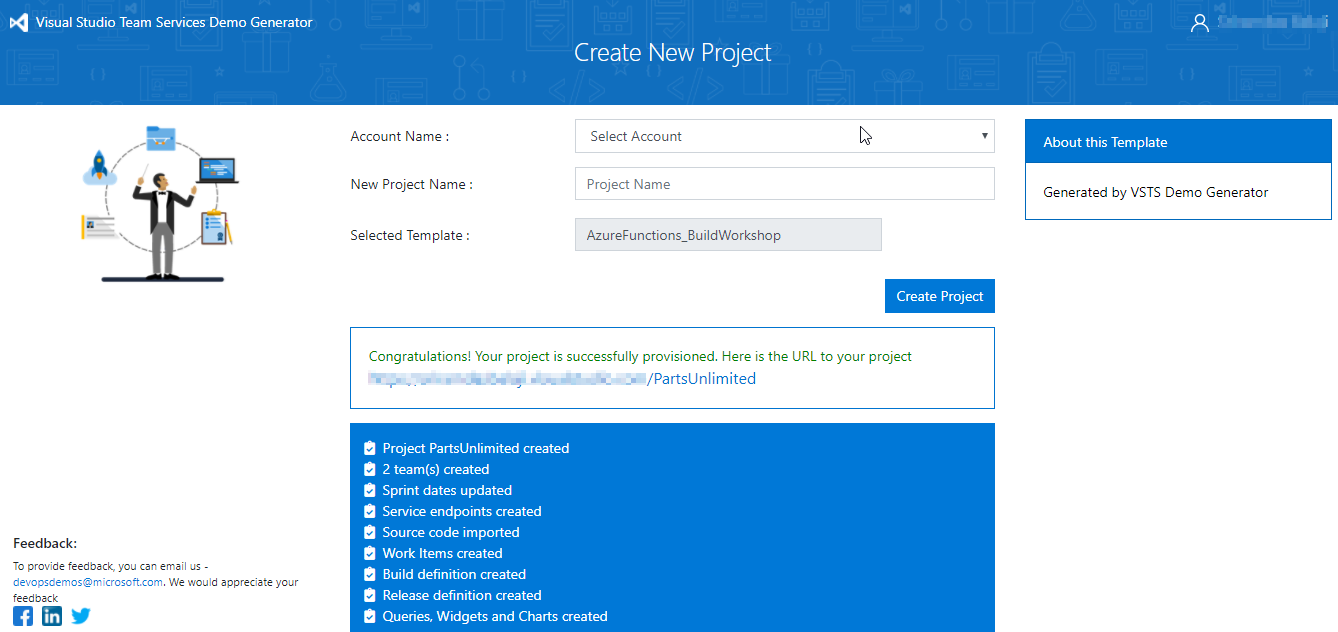
Select the previously created Team Services account from the drop down, provide the project name as PartsUnlimited and click Create Project.
Once the project is created, click on the generated URL to be directed to the project portal in a new tab.
Navigate to the Code hub within the project portal, select Clone and then select Clone in Visual Studio.
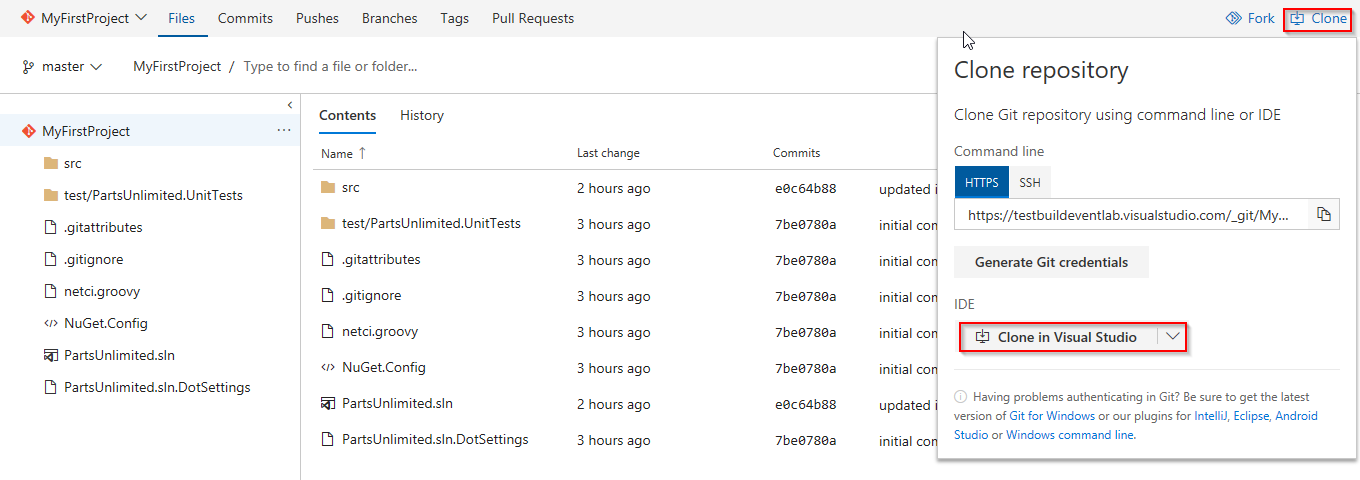
Note that VSTS supports a wide variety of IDEs including Eclipse, IntelliJ, XCode, Android Developer Studio, Visual Studio Code, etc.
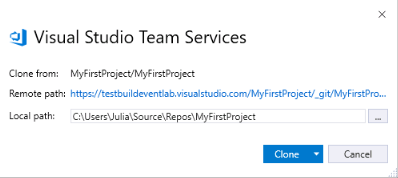
When the code opens in Visual Studio, if you are prompted to sign into Visual Studio Team Services, use the same credentials(that you used above to create the VSTS account) and select Clone
You can use the same credentials used above to log in to Azure
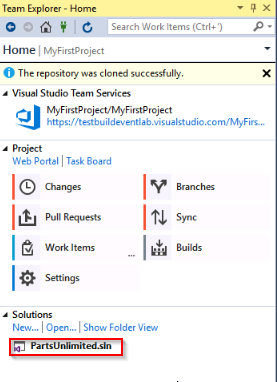
Once it is cloned, you should see PartsUnlimited.sln under Solutions in the Team Explorer.
Create Azure Function in Azure Portal and Visual Studio
In this exercise, you will create an Azure Functions App from the Azure portal and then add code by creating an Azure Functions project in Visual Studio.
The Azure Functions created in this exercise will act as a switching proxy or mechanism to return different (discount) information based on the user logged in to the application. Although you have used a simple condition here, this could also use more complex rules which could potentially be hidden behind another web api call.
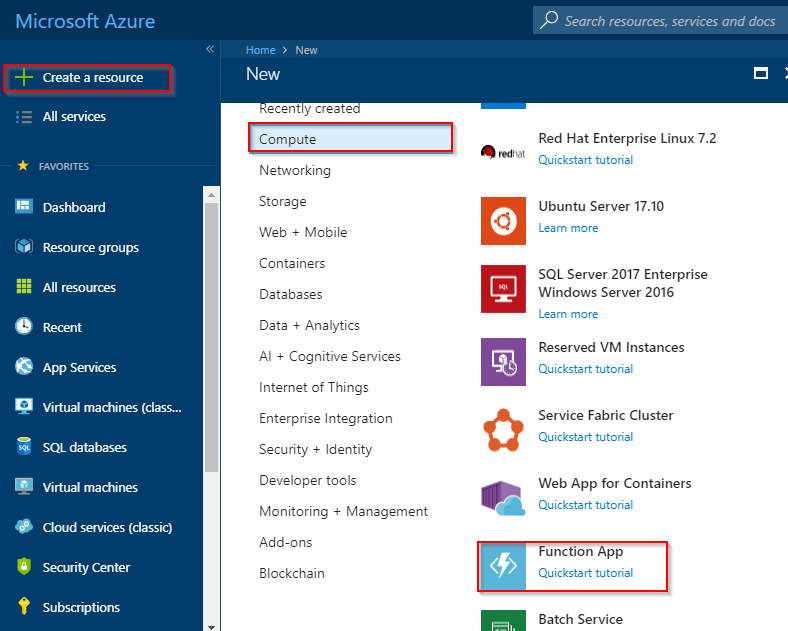
Go back to the Azure Portal. Select the +Create a resource button found on the upper left-hand corner of the Azure portal, then select Compute > Function App.
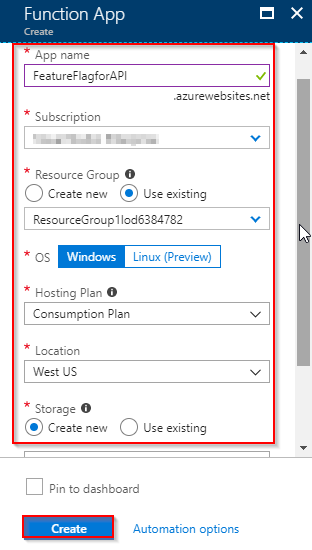
Use the function app settings as specified in below image. Select Create to provision and deploy the function app.
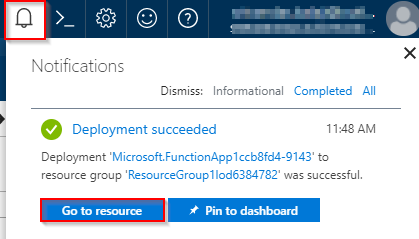
Select the Notification icon in the upper-right corner of the portal and watch for the Deployment succeeded message. Select Go to resource to view your new function app.
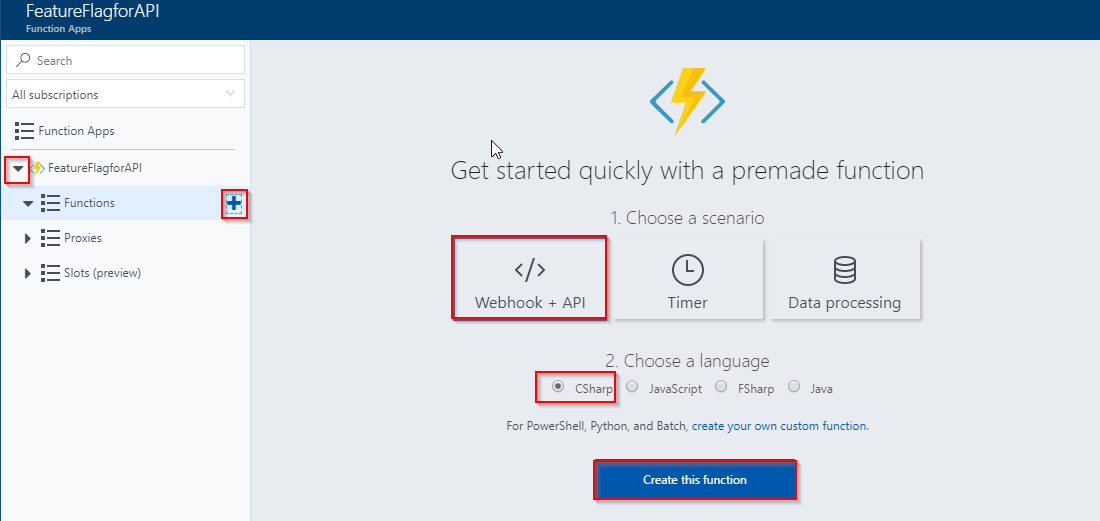
Expand your new function app, then click the + button next to Functions.
In the Get started quickly page, select WebHook + API, Choose C# as language for your function, and click Create this function.
In this lab, you are using C# as script language for your function, but you can create a function in any supported language.
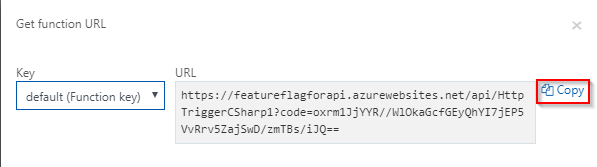
Select HttpTriggerCSharp1 in Functions and click </>Get Function Url.
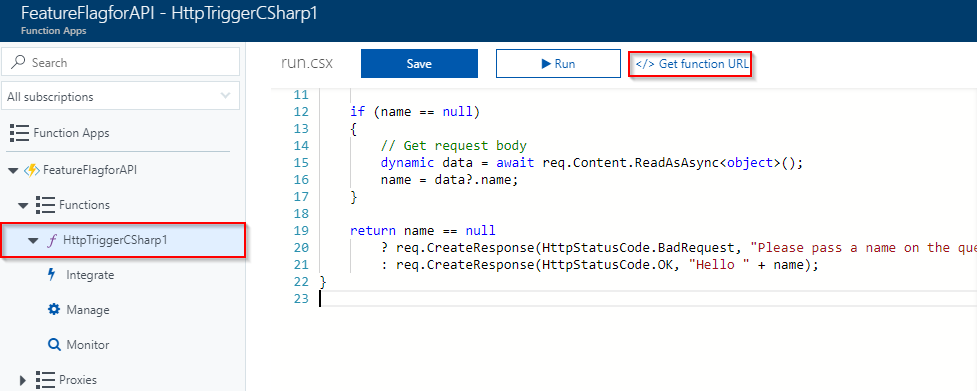
Copy the Azure Function URL and save to notepad. You will need this URL later on.
Next you will add code to the Functions App. While there are many ways of doing it, you will use Visual Studio in this lab. You will write code to redirect to the right APIs based on the user login, to return different (discount) information.
Return to Visual Studio, double click on the PartsUnlimited.sln solution to open it.
Right click on the solution and select Add and select New Project.

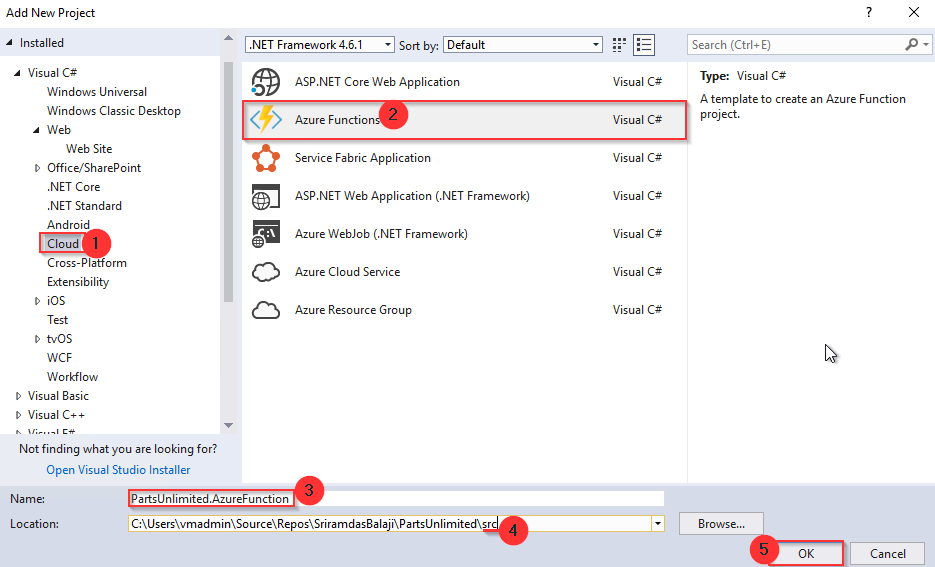
Select Cloud under Visual C# category, select Azure Functions as the type of this project. Enter PartsUnlimited.AzureFunction for the name and append \src at the end of the location, then click OK.
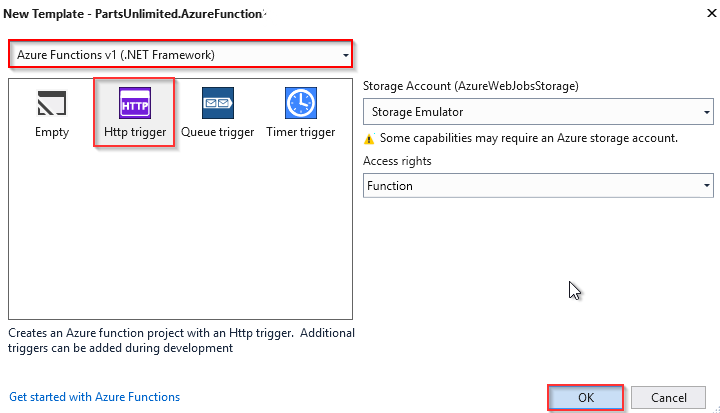
Select HttpTrigger template, Azure Functions v1 (.NET Framework) from the framework dropdown and click OK
Expand the PartsUnlimited.AzureFunction project, open Function 1.cs and replace the existing code with the following code.
  using System;
  using System.Linq;
  using System.Net;
  using System.Net.Http;
  using System.Threading.Tasks;
  using Microsoft.Azure.WebJobs;
  using Microsoft.Azure.WebJobs.Extensions.Http;
  using Microsoft.Azure.WebJobs.Host;

  namespace PartsUnlimited.AzureFunction
 {
 public static class Function1
 {
     [FunctionName("HttpTriggerCSharp1")]
     public static async Task<HttpResponseMessage> Run([HttpTrigger(AuthorizationLevel.Function, "get", "post", Route = null)]HttpRequestMessage req, TraceWriter log)
     {
         var userIdKey = req.GetQueryNameValuePairs().FirstOrDefault(q => string.Equals(q.Key, "UserId", StringComparison.OrdinalIgnoreCase));
         var userId = string.IsNullOrEmpty(userIdKey.Value) ? int.MaxValue : Convert.ToInt64(userIdKey.Value);
         var url = $"https://<<YourAPIAppServiceUrl>>/api/{(userId > 10 ? "v1" : "v2")}/specials/GetSpecialsByUserId?id={userId}";
         using (HttpClient httpClient = new HttpClient())
         {
             return await httpClient.GetAsync(url);
         }
     }
 }
}
Navigate to the resource group where you have created resources in the Azure Portal. Click PartsUnlimited-API-XXXXXXX.azurewebsites.net and click the Copy icon under the URL section to copy the whole URL. Copy and replace YourAPIAppServiceUrl in url variable with API app service name.
Open StoreController.cs from the path PartsUnlimitedWebsite > Controllers > StoreController.cs
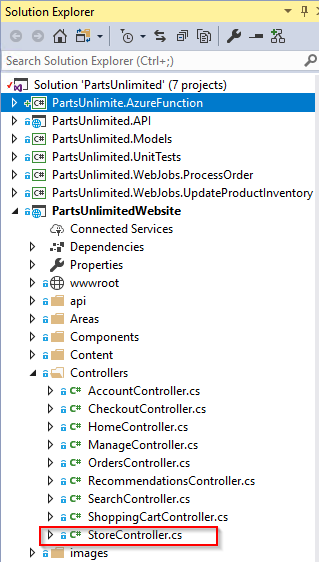
In StoreController.cs, replace the url variable in line 46 with the Function url copied in Step 7.
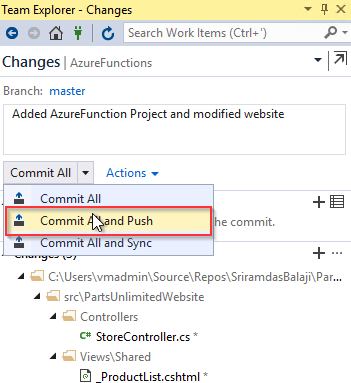
Click Changes in Team Explorer, provide a comment and select Commit all and Push to push the changes to the remote repository.
Setup continuous integration in Team Services
Next, in this exercise, you will look at the build definition to get an insight of how the code is built as part of the the CI pipeline.
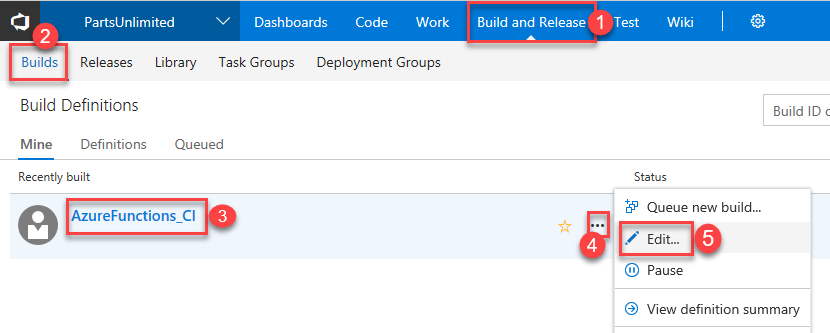
Click the Build and Release hub in VSTS portal, select the build definition AzureFunctions_CI and click the ellipsis ... button and click Edit option in the menu to view the tasks within the build definition.
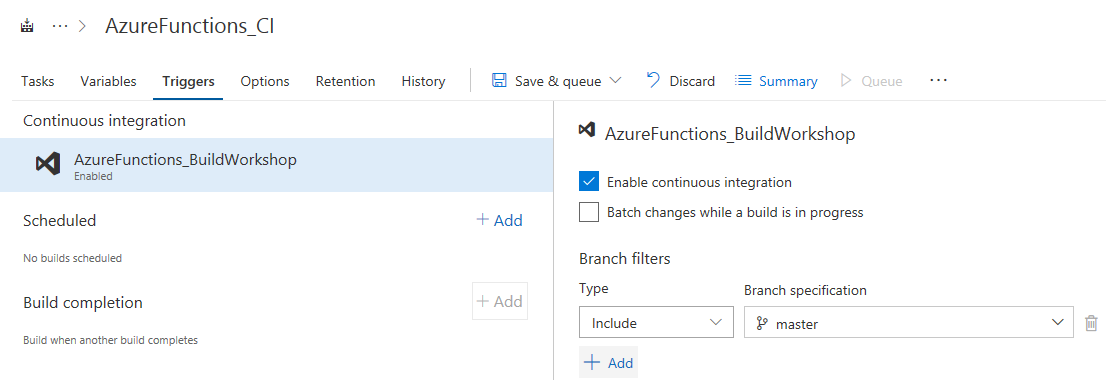
Before we run the build. you will make this a CI build. Click the Triggers tab in the build definition. Enable the Continuous Integration trigger. This will ensure that the build process is automatically triggered every time you commit a change to your repository
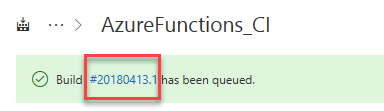
Select Save & queue to save and start your first build. A new build is started. You will see a link to the new build on the top of the page. Click the link to watch the live logs of the build as it happens. Wait for the build to complete and succeed before proceeding to the next section.
Creating a CD pipeline in Team Services
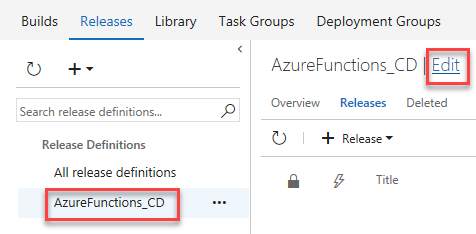
Once the build succeeds, click the Release option from the Build & Release hub.

In the Release page, select the definition AzureFunctions_CD and click Edit.
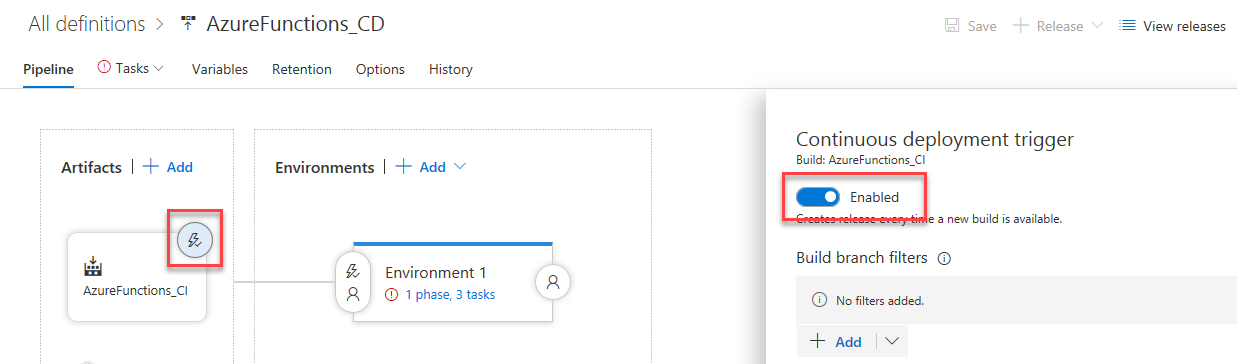
Select the artifact trigger and make sure the Continuous deployment trigger is enabled.
To deploy PartsUnlimited Website, click Tasks, select the first Deploy PartsUnlimited Website task and configure the inputs as shown below.
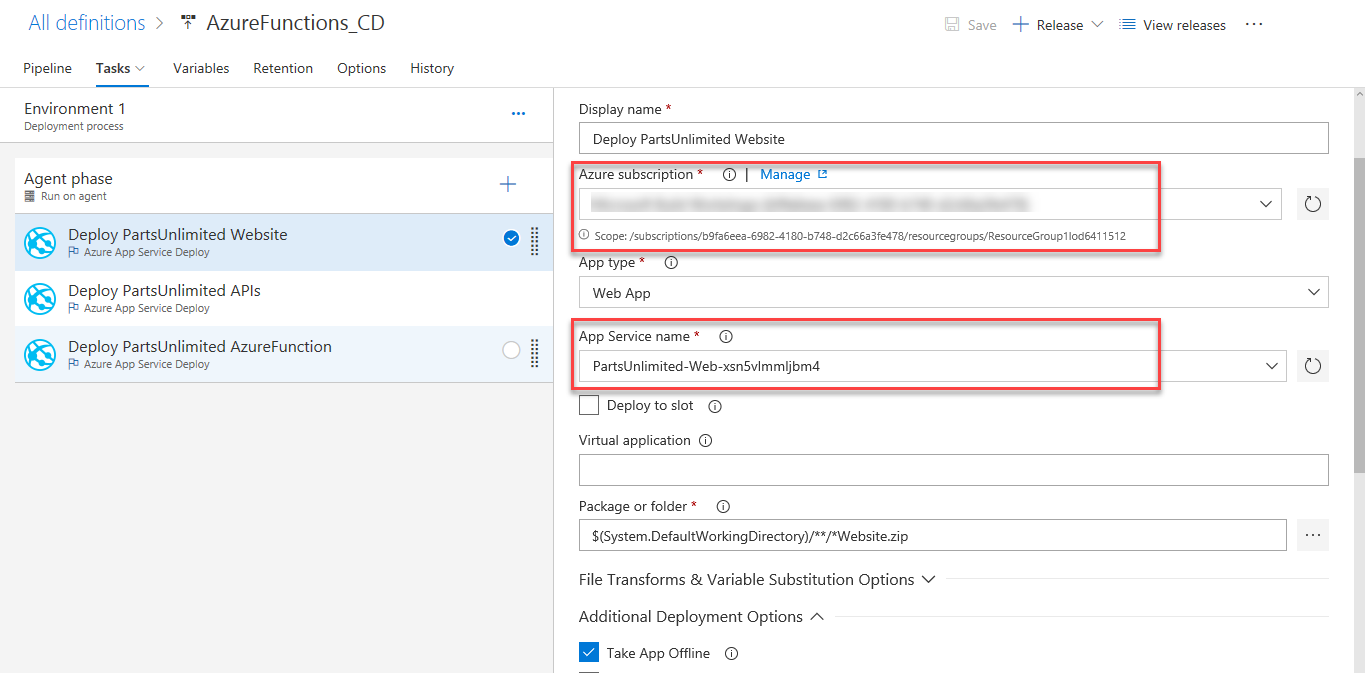
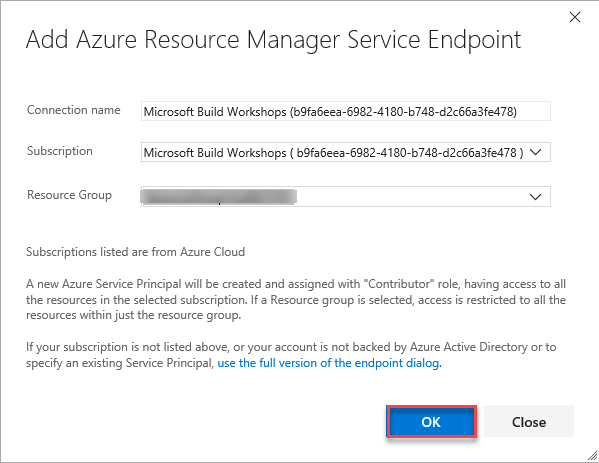
To authorize the Azure Subscription, first select the Azure subscription from the drop down and then the drop down within the Authorize button. Click the drop down, choose Advanced Options and authorize Team Services to connect to the Azure subscription.

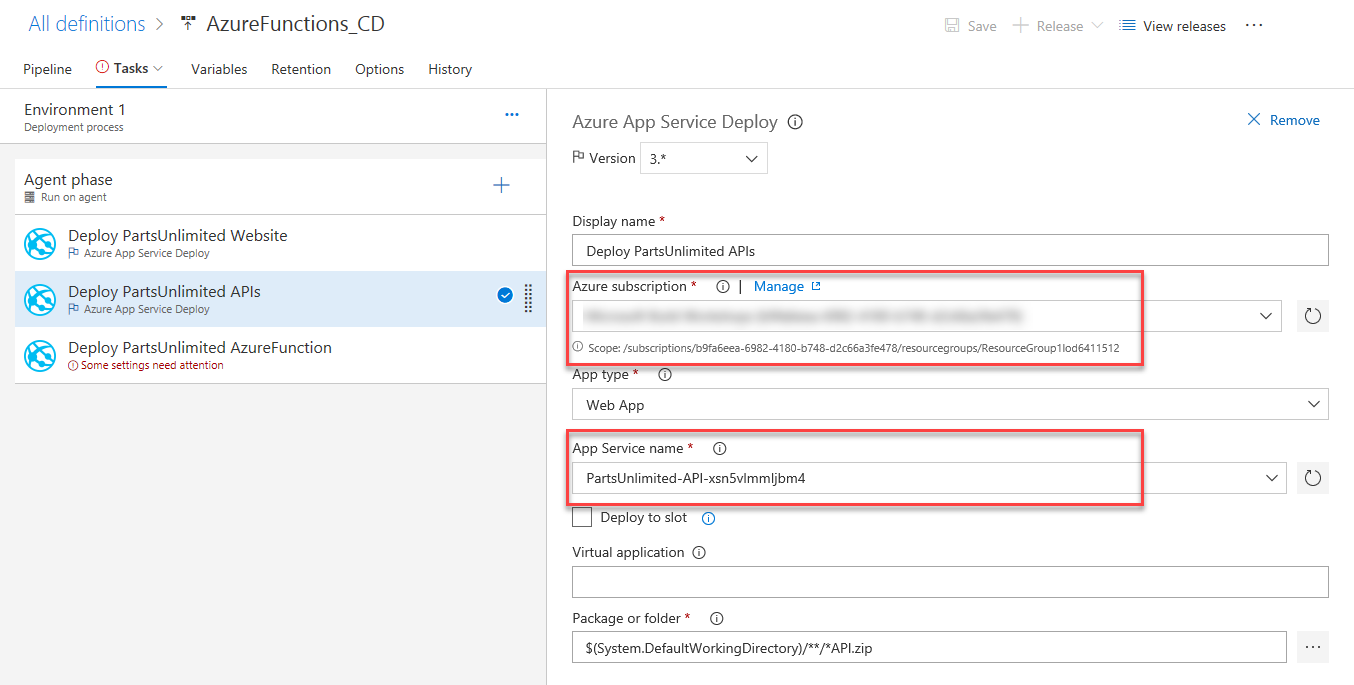
For the PartsUnlimited APIs, select the second task and configure the inputs as shown below.
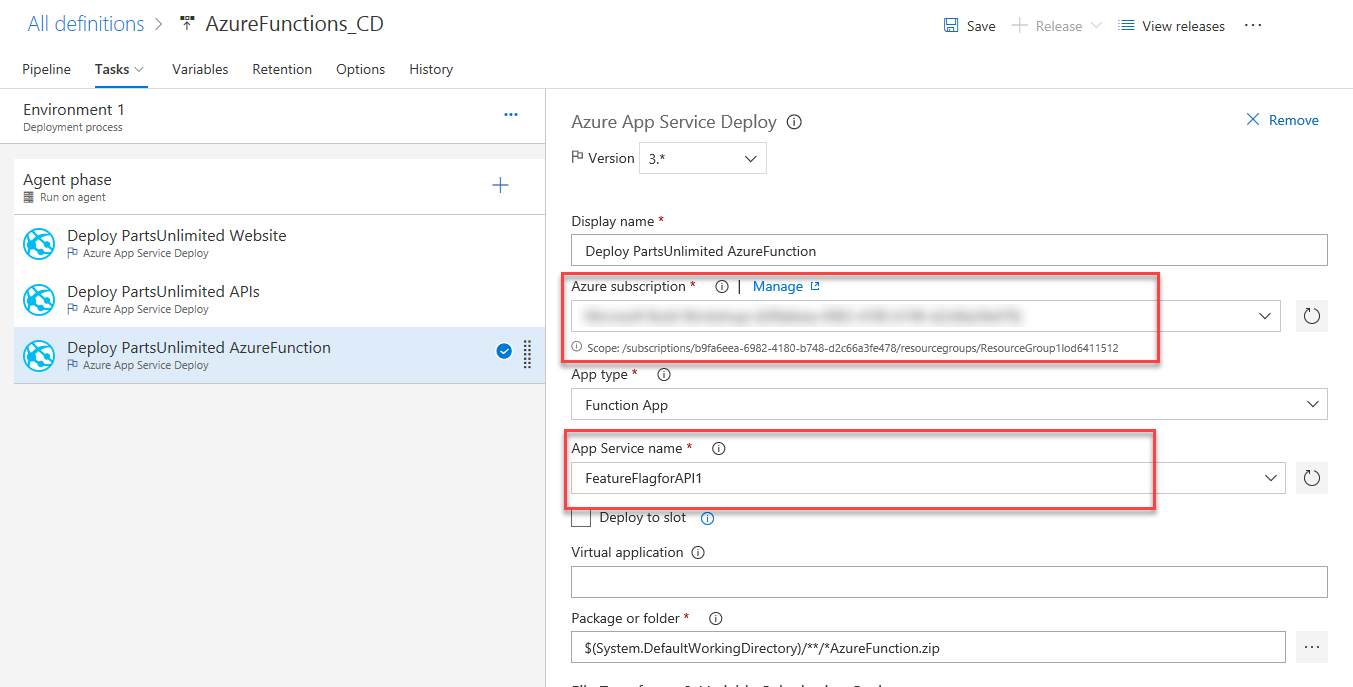
Select the third task to deploy PartsUnlimited Azure Function and configure the inputs as shown below.
Click Save. In the Save dialog box, click OK. To test the release definition, click Release and then Create Release.

On the Create new release dialog box, click Create.
You will notice a new release being created. Select the link to navigate to the release.
You can watch the live logs for the deployment as it happens. Wait for the release to be deployed to the Azure web app.
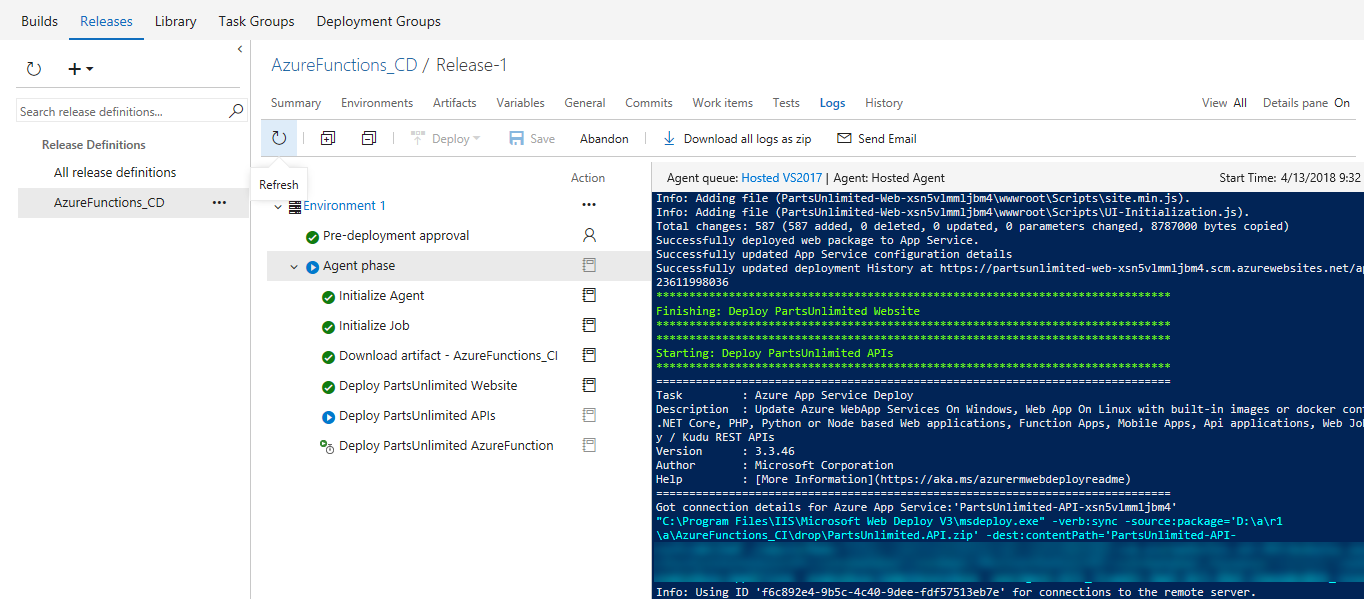
Wait for the release to complete and succeed before proceeding to the next section.
Verify the deployment
Once deployment has completed, go to the Azure portal. In your resource group select PartsUnlimited-Web-xxxxx and click Browse
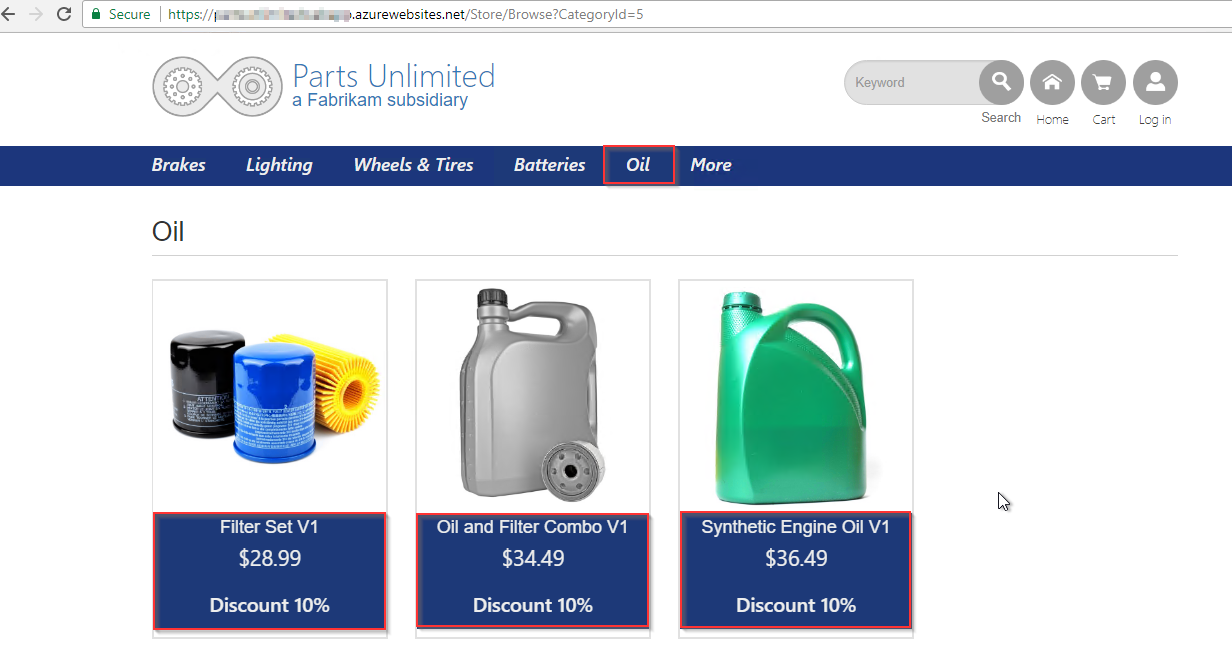
You will see the website as shown below. Navigate to Oil category, notice that products are showing discount as 10%.
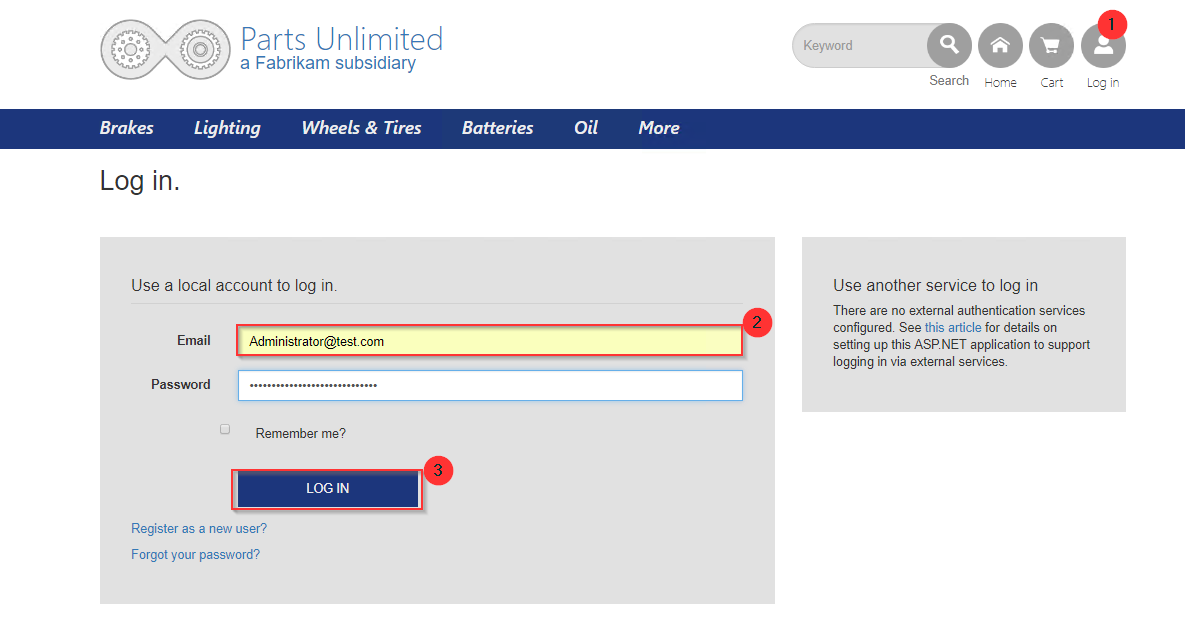
Now log in as user Administrator@test.com with password YouShouldChangeThisPassword1! and navigate to Oil category again. You will notice that for this user Azure function routes the request to other API and shows Discount as 30%
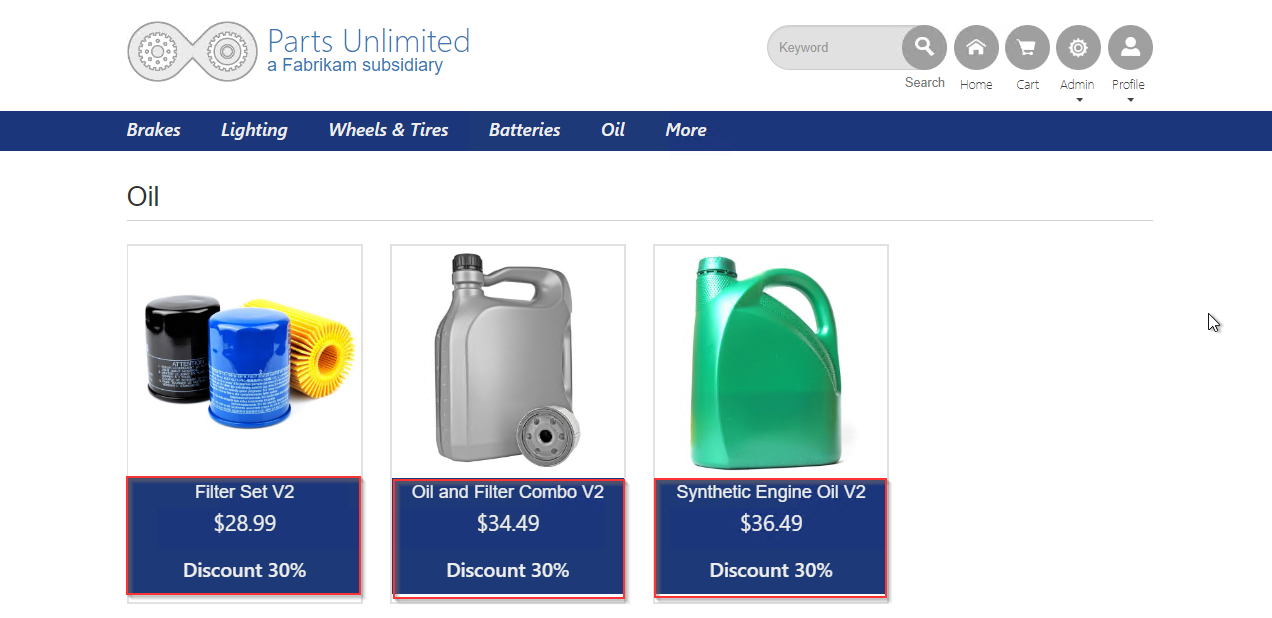
You have connected PartsUnlimited website to the Web API and used Azure function to retrieve data from either v1 or v2 of the API based on the user ID.
Congratulations!
You've completed this lab.
Have an issue with this section? If so, please give us some feedback so we can improve this section.