Exercise - Display user files
In this exercise, you'll extend the app to display a list of files in the user's root folder in OneDrive for Business.
Get the list of files
Start by adding the Microsoft Graph call to the application.
In your code editor, open the graph.js file.
At the end of the file, add a new async function named
getFiles()to retrieve the list of files. Use the select function to retrieve theid,name,folder, andpackageproperties for each file.// Get files in root of user's OneDrive async function getFiles() { ensureScope('files.read'); try { const response = await graphClient .api('/me/drive/root/children') .select('id,name,folder,package') .get(); return response.value; } catch (error) { console.error(error); } }
Add an HTML placeholder to show the files
Next, add HTML that will display the list of files.
In your code editor, open the index.html file.
Extend the
contentblock with a horizontal rule, label, and unordered list, as follows:<div id="content" style="display: none;"> <h4>Welcome <span id="userName"></span></h4> <!-- Add for file download --> <hr /> <label>Files in your OneDrive root folder:</label> <ul id="downloadLinks"></ul> </div>
Display files in the app
The last step is to add a small amount of code to call the function you added earlier and display the list of files.
In your code editor, open the ui.js file.
At the end of the file, add the
displayFiles()function.async function displayFiles() { const files = await getFiles(); const ul = document.getElementById('downloadLinks'); while (ul.firstChild) { ul.removeChild(ul.firstChild); } for (let file of files) { if (!file.folder && !file.package) { let a = document.createElement('a'); a.href = '#'; a.appendChild(document.createTextNode(file.name)); let li = document.createElement('li'); li.appendChild(a); ul.appendChild(li); } } }Notice the
ifstatement skips over any folders or packages to only show the files. There's no way to filter these items in the API at this time. Also note that the files are rendered as anchor tags (hyperlinks). In the next exercise, you'll add a feature to download each file when this link is selected.At the end of the
displayUI()function, right before the closing brace, add a call todisplayFiles().// beginning of function omitted for brevity content.style = "display: block"; displayFiles(); }
Run your app
You've now extended your app to show some of the user's files by using Microsoft Graph. Ensure there are some files in the root folder of the user's instance of OneDrive, and then run the app locally.
Preview the web app by executing the following command in the terminal:
npm startYour browser should point to
http://localhost:8080.Select the Sign in with Microsoft button to sign in with your Microsoft 365 account.
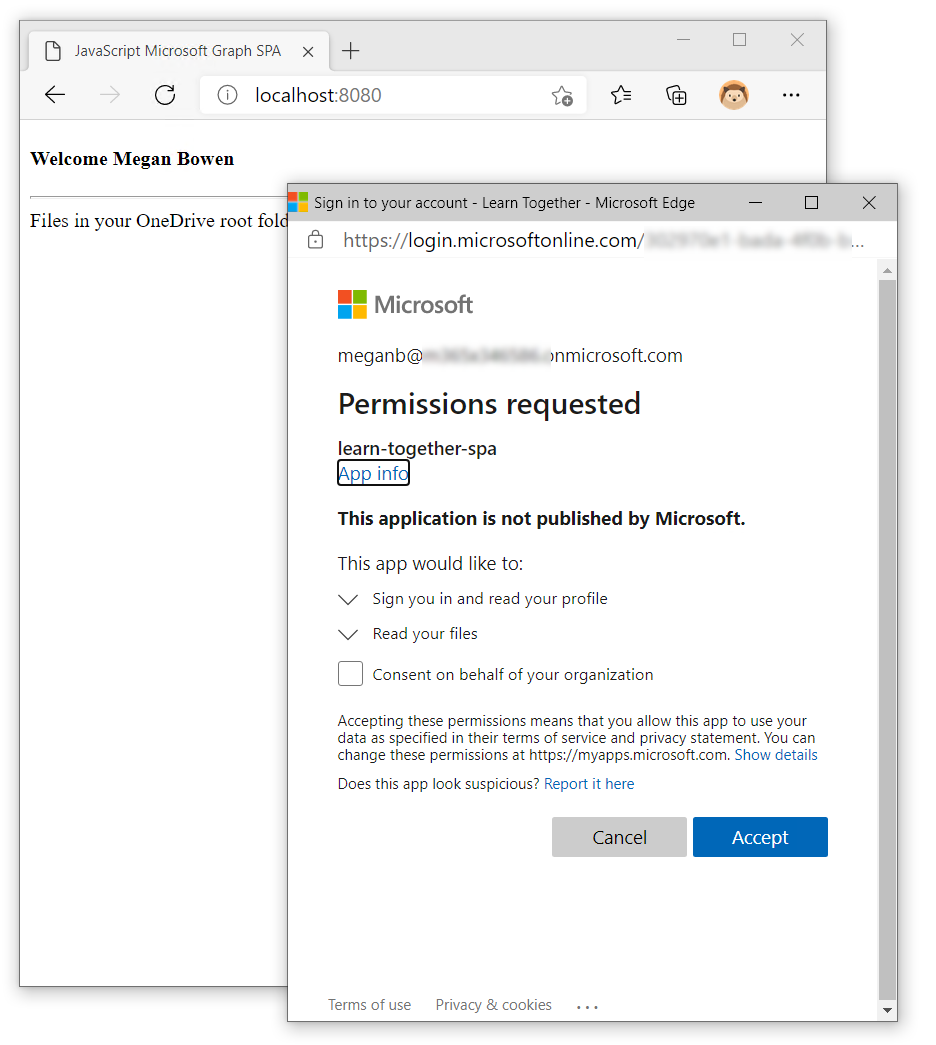
If you're running the app for the first time, you'll be prompted to grant the app access to your files. To continue, consent to the request.
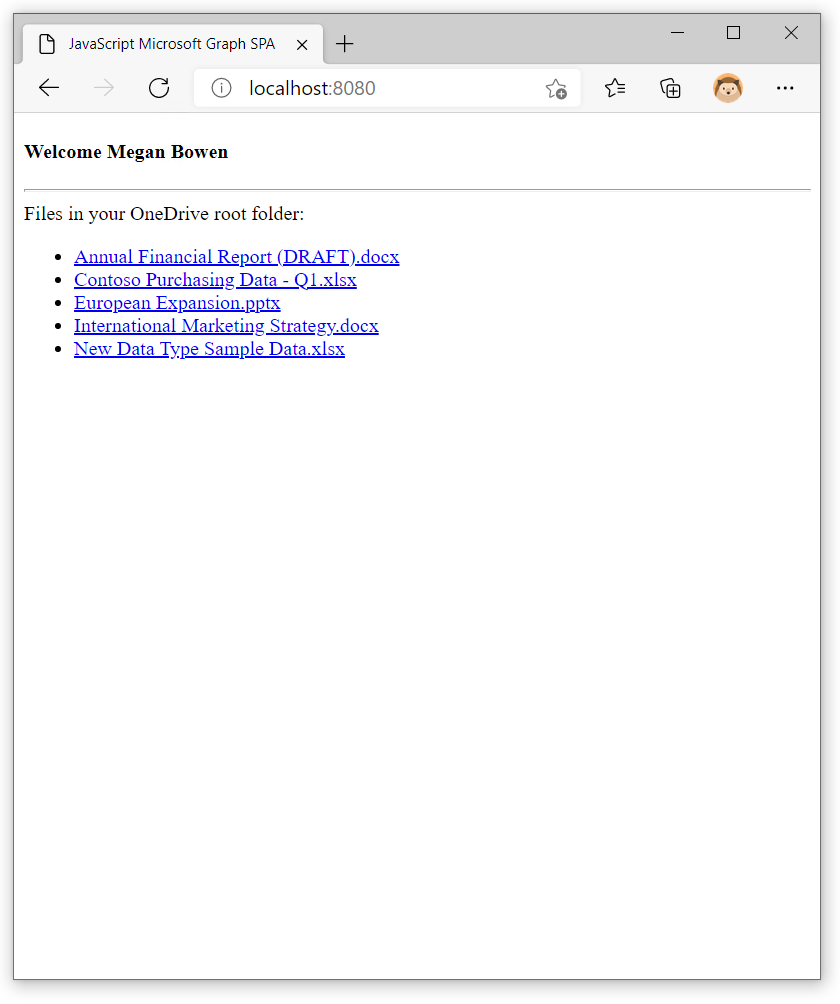
You should see the list of files.
Keep your Node.js server running because you'll use it in the next part of the exercise.