Note
Access to this page requires authorization. You can try signing in or changing directories.
Access to this page requires authorization. You can try changing directories.
What this Document Tells You
This document provides information about managing users in bulk via a CSV file, known as Org Sync. The Org Sync process involves adding or updating your organization's user data in LinkedIn Learning in bulk using a formatted CSV file. This document will help with creating, formatting, and uploading that CSV file in LinkedIn Learning.
In the People Management admin interface, you can use CSV file uploads to add new users, update existing users, assign and revoke licenses, set admin permissions, and manage group memberships.
Once you have formatted your CSV file to accomplish your needs, this same file can also be delivered to LinkedIn Learning via SFTP or HTTPS on a schedule to automate user management.
Create your CSV File
To download the CSV template and create your CSV file, take the following steps:
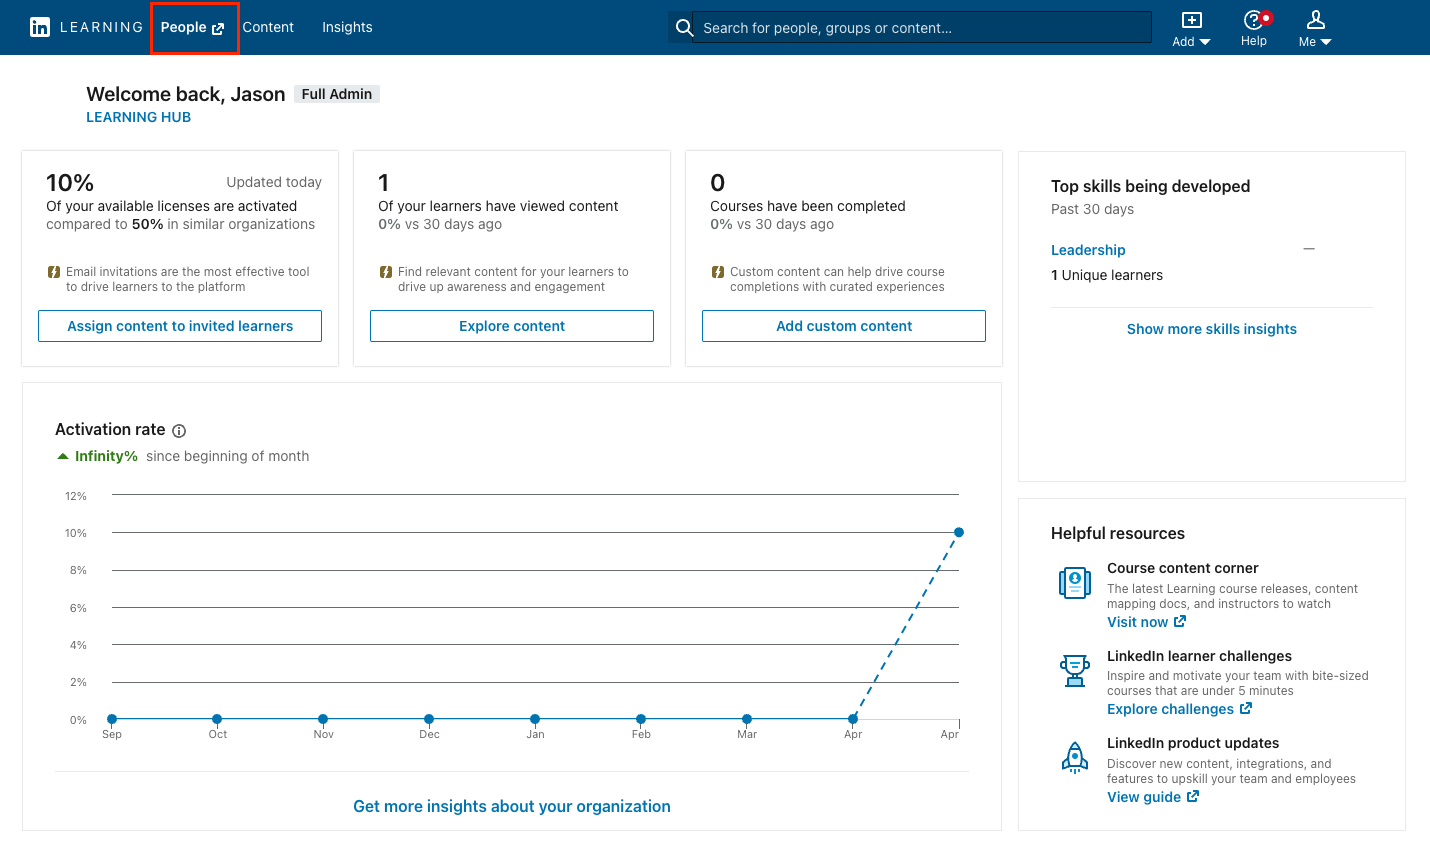
After you log in, from the Admin screen, click People in the menu bar at the top of the screen.
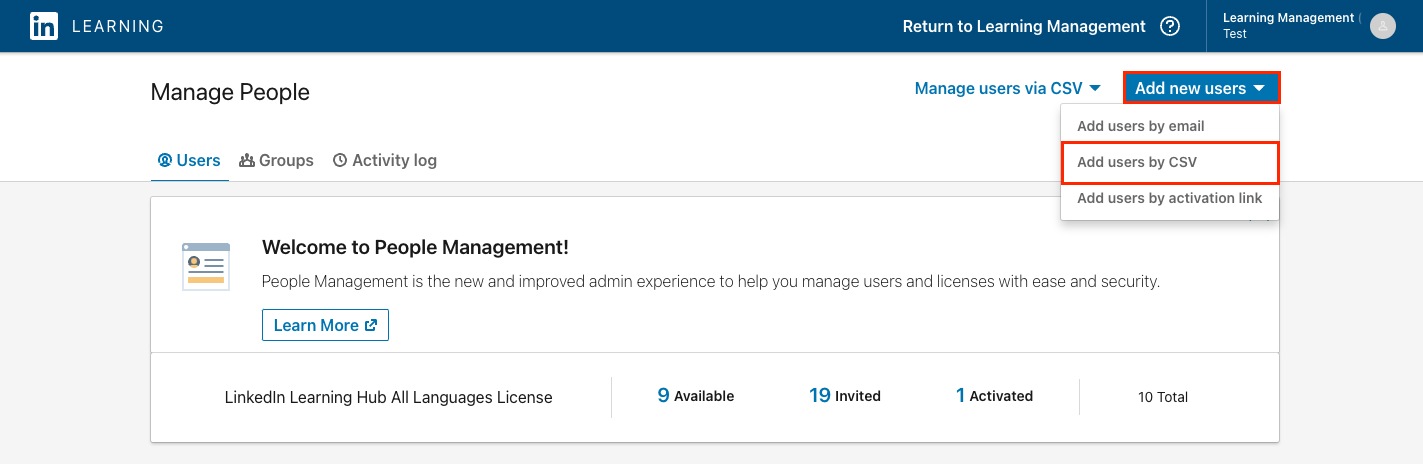
Select Add new users > Add users by CSV.
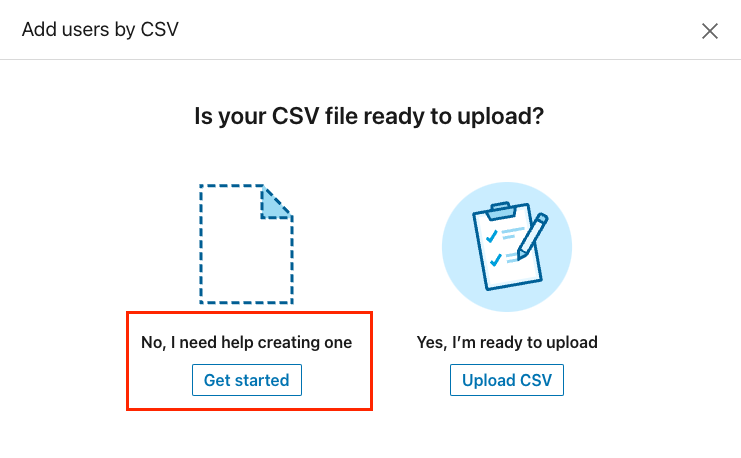
Below No, I need help creating one, click Get started.
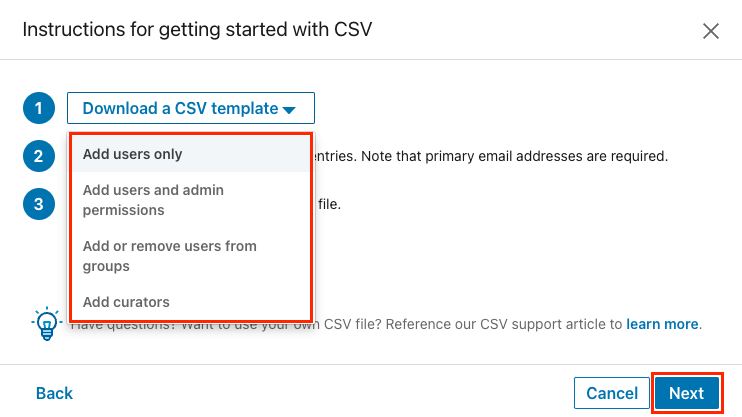
Click the Download a CSV template drop down and select one of the template options.
Open the downloaded template file in Microsoft Excel or a text editor application. Add your user data to the file and save as a .csv file type. Additional details on the specific column headers and values can be found in the Customize Your CSV File section below.
Upload your CSV File
To upload your CSV and save your changes, take the following steps:
If you are not already in the People Management section, log in as an admin and click People in the menu bar at the top of the screen.
Click Add new users and select Add users by CSV.
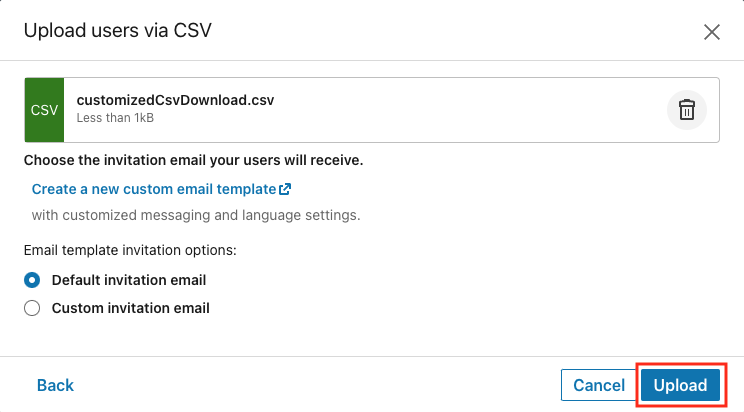
In the Add users by CSV window, click Upload CSV.
Select Upload from computer and choose the CSV file you saved.
If you have created a custom invitation email template, select it and click Upload.
Note
Invitation emails are only sent to learners if a license is assigned in the uploaded CSV file. Emails to learners can be disabled in the customization settings. To learn more about managing the emails learners receive, review the Help Center article.
Review your Upload
After you upload your CSV file:
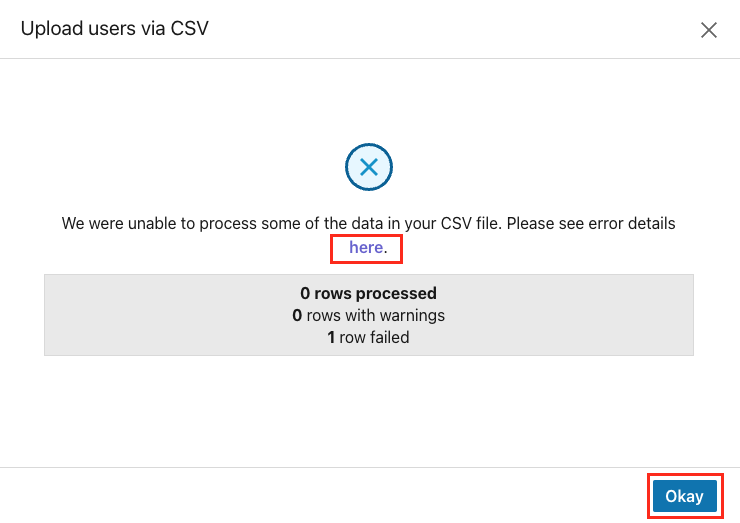
LinkedIn Learning will process the file and check for errors. If there are any errors or warnings, a dialogue box will appear with a link to download the error details report. An email is also sent to the admin with a link to the error report. The error report includes the rows that have errors and tips to help resolve them. With this information, you can determine the cause of the failure, make corrections, and re-upload the file as needed.
LinkedIn Learning will send an invitation email to any newly added learners with instructions to activate their account. If a user has been added without an active license, a welcome email is not sent.
Your newly added users will now appear in People Management and can be filtered by license type and status.
Customize Your CSV File
The CSV file is customizable and can be used to manage user attributes, licenses, permissions, and group memberships. The below sections cover these topics in more detail.
Basic Column Headers
At minimum, you must include a primary_email_address value for all users in the CSV. A unique_user_id value is also strongly recommended. The license status column can be used to assign/revoke licenses but is not required. If the license status column is not included, profiles are created and updated, but licenses are not impacted.

| CSV Column Header | Description |
|---|---|
| primary_email_address | User's primary email address (Required) |
| preferred_first_name | User's first name |
| preferred_last_name | User's last name |
| unique_user_id | A unique, unchanging value used to identify a user. This is typically an employee ID or number. (Recommended) |
| BUDGET GROUP_license_LICENSE TYPE_status | User’s license status. License type varies by product. Refer to the Create Your CSV File section to download a template with the correct value for your account. |
Manage User Licenses
Refer to the Create Your CSV File section to download a template with the correct license column header for your account. When assigning or revoking users' licenses, use the following values in the license status column:
- active: Assign a license to a user and trigger an invitation email to the user to activate their license. If a user is already active or previously invited, no email is triggered.
- inactive: Revoke a user’s license.
- Leave the field blank to update user attributes without assigning or revoking a license.
Add Custom Attributes
Custom attributes can be included in your CSV file to populate additional user profile data in LinkedIn Learning’s downloadable reports.
To add custom attributes to your CSV file, the column header should follow the format, "attribute_" followed by your attribute name. Ex: attribute_Function or attribute_Office Location.

Manage User Groups
Groups in LinkedIn Learning can be used to recommend content and filter reporting. Groups can be managed manually in the admin interface, or groups can be managed in bulk via a CSV upload.
If a group is included in the CSV file and has not been created in LinkedIn Learning, it will be created automatically.
Review the following options for managing groups via a CSV:
Replace Users’ Group Memberships
Use the column header, groups, to replace all the groups a user is a member of. The groups column accepts a comma-separated list of group names the user should be a member of. If the user is a member of a group not included in the list, they will be removed from it.

Tip
If you are adding users to a group that has a comma in the group name, you need to replace the comma with "%2C".
Example: For group names such as "NY,NY” specify the value as "NY%2CNY”.
Add or Remove Users from Specific Groups
Use the column header format, group:Group Name, to add or remove users from a specific group. The value should be yes or no to add or remove the user from the group. You will need a separate column for each group you want to manage.
Example: If you want to be able to recommend specific content to people leaders, include a column header, group:People Leaders. The value in the CSV should be yes for all people leaders and no for all individual contributors.

Add or Remove Users from Dynamic Groups
If you need to manage multiple groups without creating a separate column header for each group, use add_to_groups and remove_from_groups. These columns accept a comma-separated list of group names.
If needed, you can give these two column headers an additional label to differentiate them.
Example: You can group users by both Department and Country by adding two column headers, add_to_groups:Department and add_to_groups:Country. You will also want to include their counterparts, remove_from_groups:Department and remove_from_groups:Country, to remove users from their previous Department or Function groups as changes occur.

Grant Admin Permissions to Users
Admin permissions can be managed manually in the admin interface, or they can be managed in bulk via a CSV upload. To download a template file that includes admin permissions, follow the steps in the Create your CSV File section and choose the Add users and admin permissions template option.
Permissions can be granted at the account level or at the group level.
Assign Account-Level Permissions
To assign permissions at the account level, the values for each user should be yes to assign a permission and no to revoke a permission. Include the following column headers to assign admin permissions at the account level:
| Column Header | Description |
|---|---|
| permission_create_other_sub_admins_with_same_permissions | Grant admin permissions to other users. |
| permission_manage_custom_content | Create, edit and delete custom content. |
| permission_curate_content | Manage content, learning paths and collections. |
| permission_manage_it_settings | Configure Single Sign-On and other technical integrations. |
| permission_manage_role_guide | Create and edit role guides. |
| group_permission_edit_groups | Create groups, add and remove users from groups, rename groups, and delete groups. |
| group_permission_manage_users_licenses | Invite new users, and assign & revoke licenses. |
| group_permission_recommend_content | Recommend content, learning paths and collections. |
| group_permission_view_reports | Access downloadable reports and insights |
Assign Permissions to Specific Groups
Some admin permissions can be granted at the group level, which narrows the scope of the sub-admin's permission and access to user data. When assigning permissions for a specific group, the group must be created first.
The following column headers can be used to assign permissions to specific groups:
| Column Header | Description |
|---|---|
| group_permission_edit_groups | Create groups, add and remove users from groups, rename groups, and delete groups. |
| group_permission_manage_users_licenses | Invite new users, and assign & revoke licenses. |
| group_permission_recommend_content | Recommend content, learning paths and collections. |
| group_permission_view_reports | Access downloadable reports and insights |
To assign permissions at the group level, the value should be in the format, group:Group Name. These permissions can also be assigned at the account level with a value of yes.
Example: To assign recommendation and reporting permissions to a specific group named, "US Employees," include the columns group_permission_recommend_content and group_permission_view_reports. The value for the permissions should be group:US Employees.

Support
If you have questions or would like guidance on how to best manage your user data in LinkedIn Learning, please reach out to your LinkedIn Learning account team.
Use the following resources if you need assistance adding or deleting learner data to LinkedIn Learning:
Supporting Documentation
Manage Users Automatically via SFTP
Manage Admin Permissions in LinkedIn Learning
Manage the Emails Admins and Learners Receive from LinkedIn Learning
Manage Custom Learner Attributes
LinkedIn’s Privacy and Data Security Policy
https://www.linkedin.com/legal/privacy-policy
LinkedIn Security Contacts
If you have any security questions or you would like to report a security issue, write to us at security@linkedin.com.