Note
Access to this page requires authorization. You can try signing in or changing directories.
Access to this page requires authorization. You can try changing directories.
Join new Windows devices to Microsoft Entra ID and Intune. To bulk enroll devices for your Microsoft Entra tenant, you create a provisioning package with the Windows Configuration Designer (WCD) app. Applying the provisioning package to corporate-owned devices joins the devices to your Microsoft Entra tenant and enrolls them for Intune management. Once the package is applied, it's ready for your Microsoft Entra users to sign in.
Microsoft Entra users are standard users on these devices and receive assigned Intune policies and required apps. Windows devices that are enrolled into Intune using Windows bulk enrollment can use the Company Portal app to install available apps.
Roles and permissions
To create a bulk enrollment token, you must have a supported Microsoft Entra role assignment and must not be scoped to an administrative unit in Microsoft Entra ID. The Microsoft Entra built-in roles with permission to create bulk enrollment tokens are:
- Cloud Device Administrator
- Intune Administrator
- Password Administrator
For more information about these roles, see Microsoft Entra built-in roles.
Requirements
Devices must be running a supported version of Windows.
Enable Windows automatic enrollment.
Make sure that the service principal for Microsoft.Azure.SyncFabric (AppID 00000014-0000-0000-c000-000000000000) is present in your Microsoft Entra tenant. In a command line, use the
Get-MgServicePrincipal -Filter "AppId eq '00000014-0000-0000-c000-000000000000'"command to check for the service principal. Without the service principal, Windows Configuration Designer can't retrieve the bulk enrollment token, which results in an error.To register the service principal, use the
New-MgServicePrincipal -AppId "00000014-0000-0000-c000-000000000000"command. To learn more about this command, see New-MgServicePrincipal.
Create a provisioning package
Install Windows Configuration Designer (WCD) from the Microsoft Store.
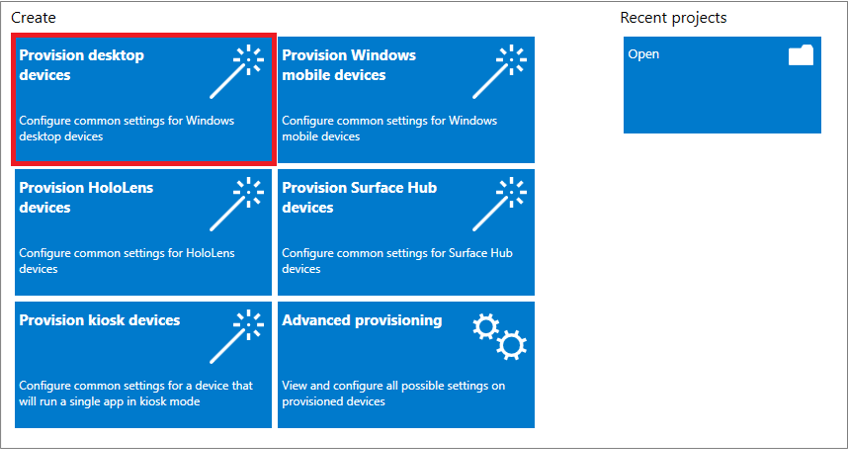
Open the Windows Configuration Designer app and select Provision desktop devices.
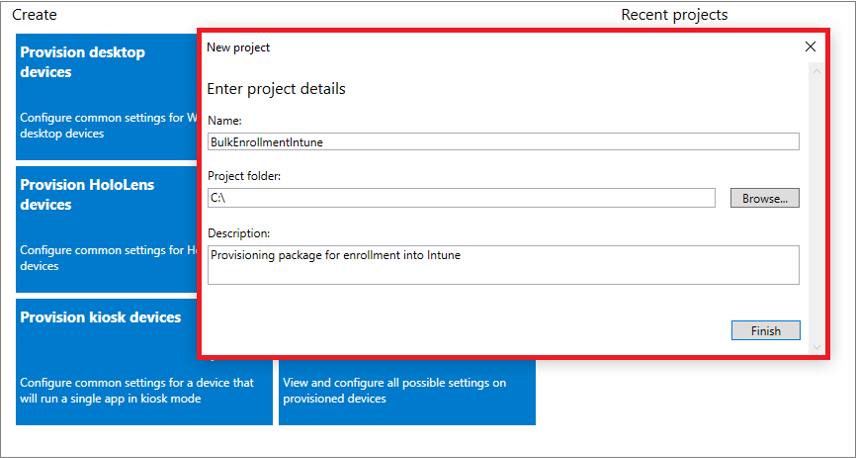
A New project window opens where you specify the following information:
- Name - A name for your project
- Project folder - Save location for the project
- Description - An optional description of the project
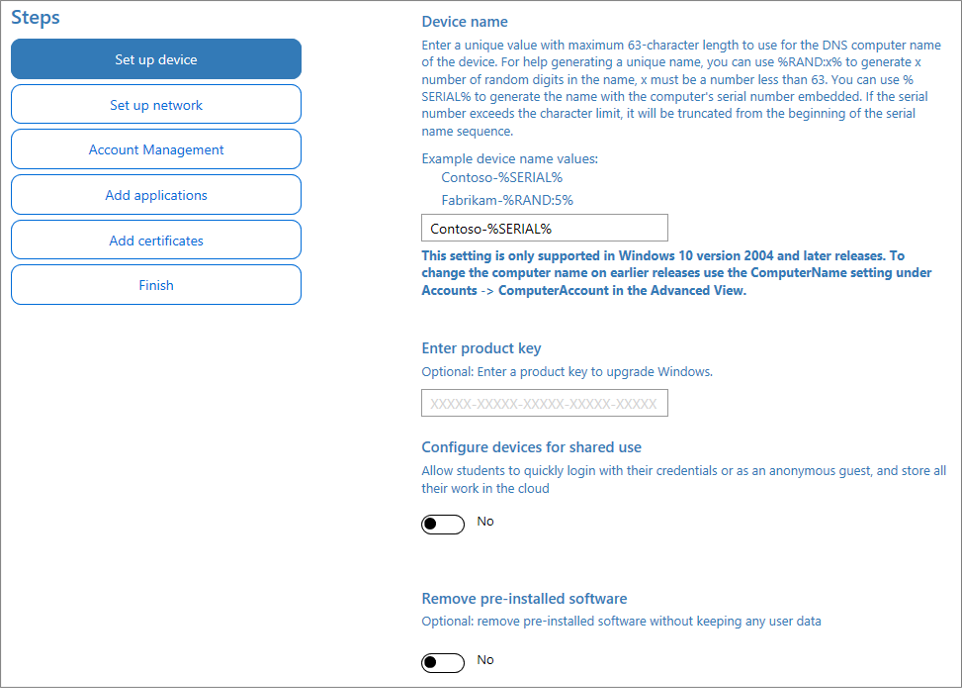
Enter a unique name for your devices. Names can include a serial number (%SERIAL%) or a random set of characters. Optionally, you can also enter a product key if you are upgrading the edition of Windows, configure the device for shared use, and remove pre-installed software.
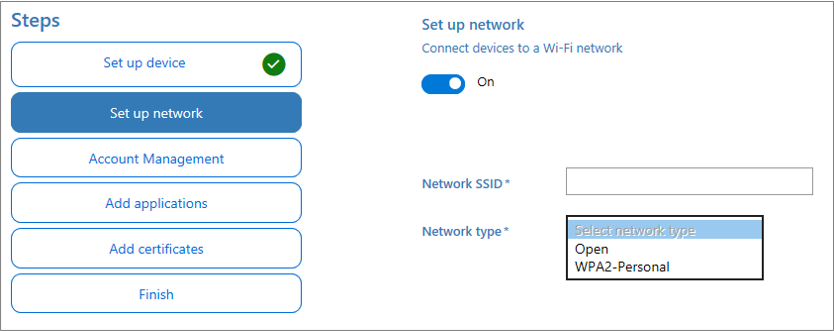
Optionally, you can configure the Wi-Fi network devices connect to when they first start. If the network devices aren't configured, a wired network connection is required when the device is first started.
Select Enroll in Azure AD, enter a Bulk Token Expiry date, and then select Get Bulk Token. The token validity period is 180 days.
Note
Once a provisioning package is created, it can be revoked before its expiration by removing the associated package_{GUID} user account from Microsoft Entra ID.
Due to the use of the package_{GUID} user account in the bulk enrollment process, tenants that use Conditional Access policies with MFA must set an exclusion or disable MFA for this process, because MFA is not supported for this scenario.
Provide your Microsoft Entra credentials to get a bulk token. Make sure you authenticate by way of password or CBA authentication, since other methods of authentication aren't supported by the app for this operation.
Note
- The account used to request the bulk enrollment token in the Windows Configuration Designer app must be included in the MDM user scope in Microsoft Entra ID. If you remove this account from a group that's tied to the MDM user scope, bulk enrollment will stop working.
- Bulk token retrieval does not work for federated user accounts enabled for staged rollouts.
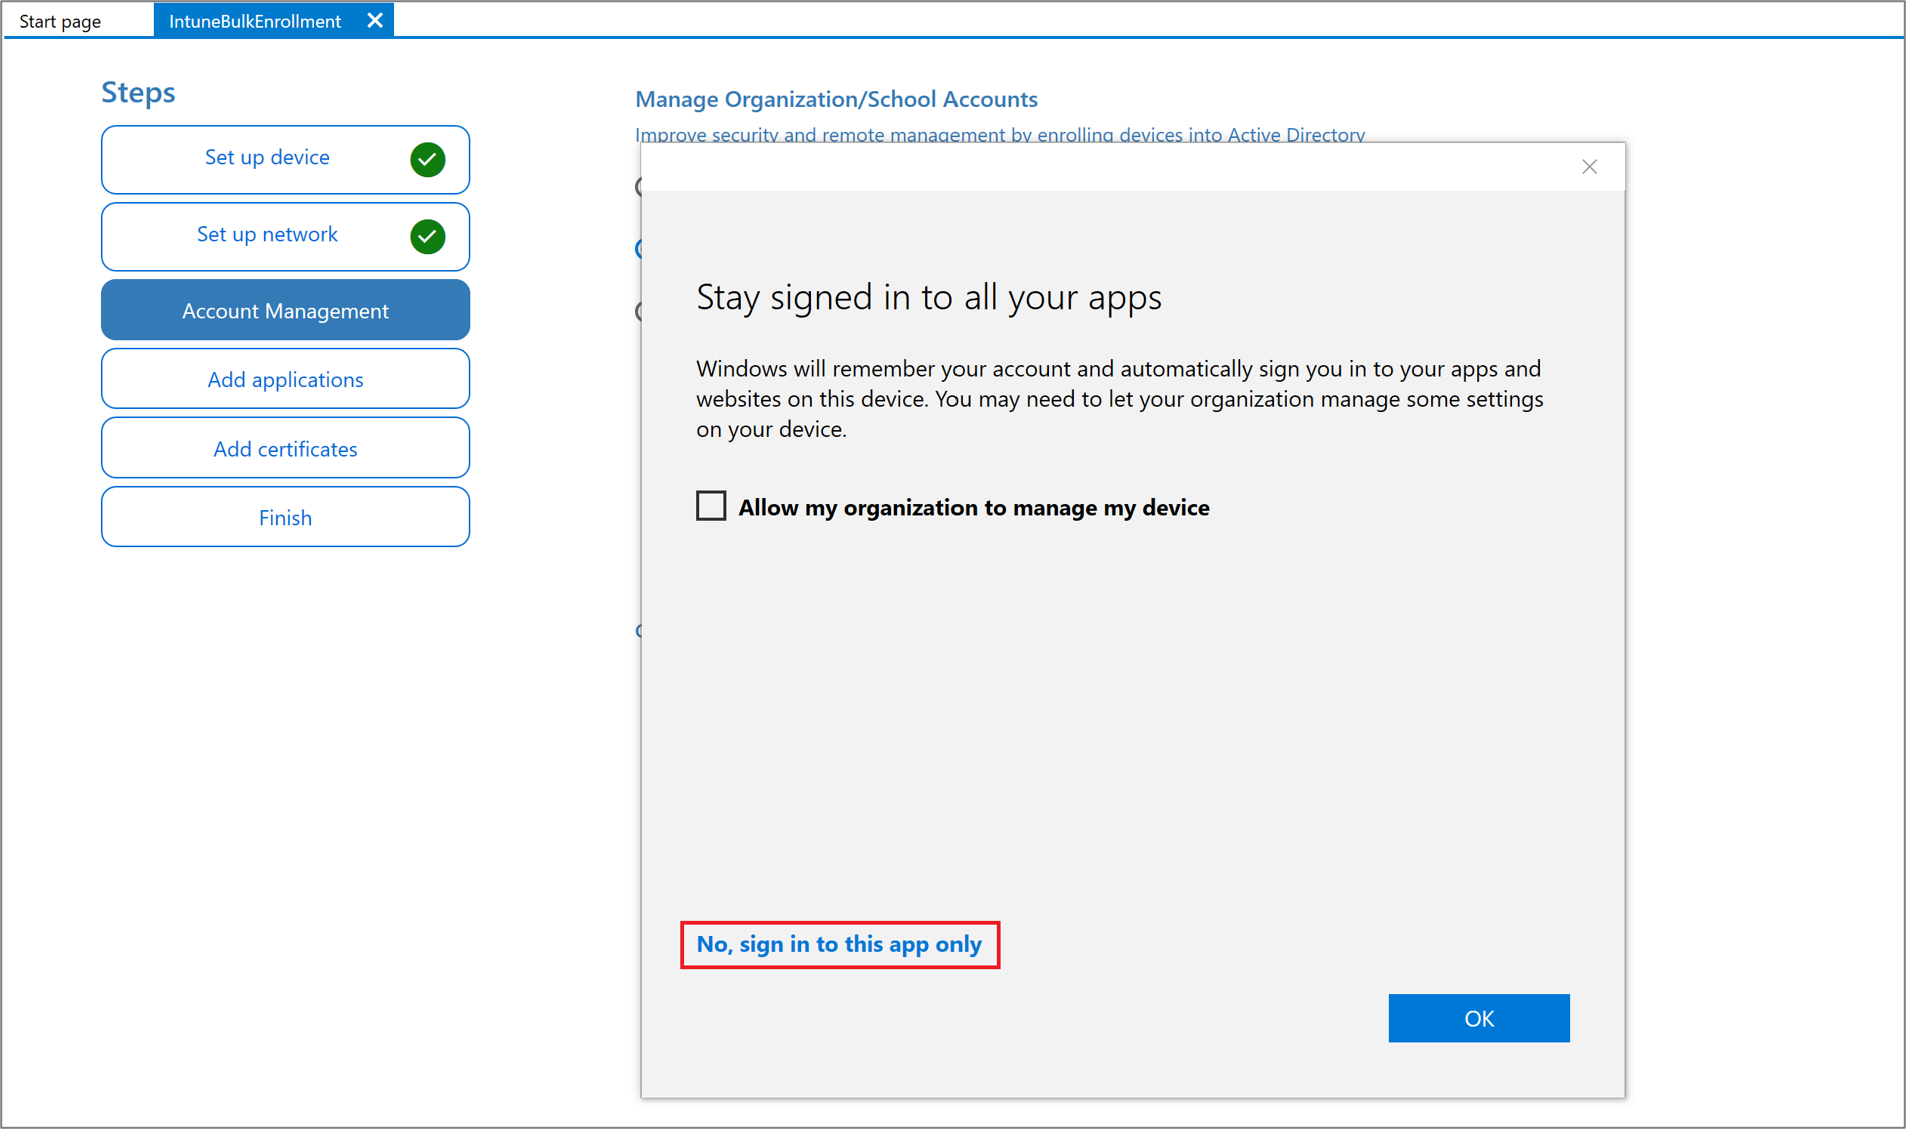
In the Stay signed in to all your apps page, select No, sign in to this app only. If you keep the check box selected and press OK, the device you are using will become managed by your organization. If you do not intend for your device to be managed, make sure to select No, sign in to this app only.
Click Next when Bulk Token is fetched successfully.
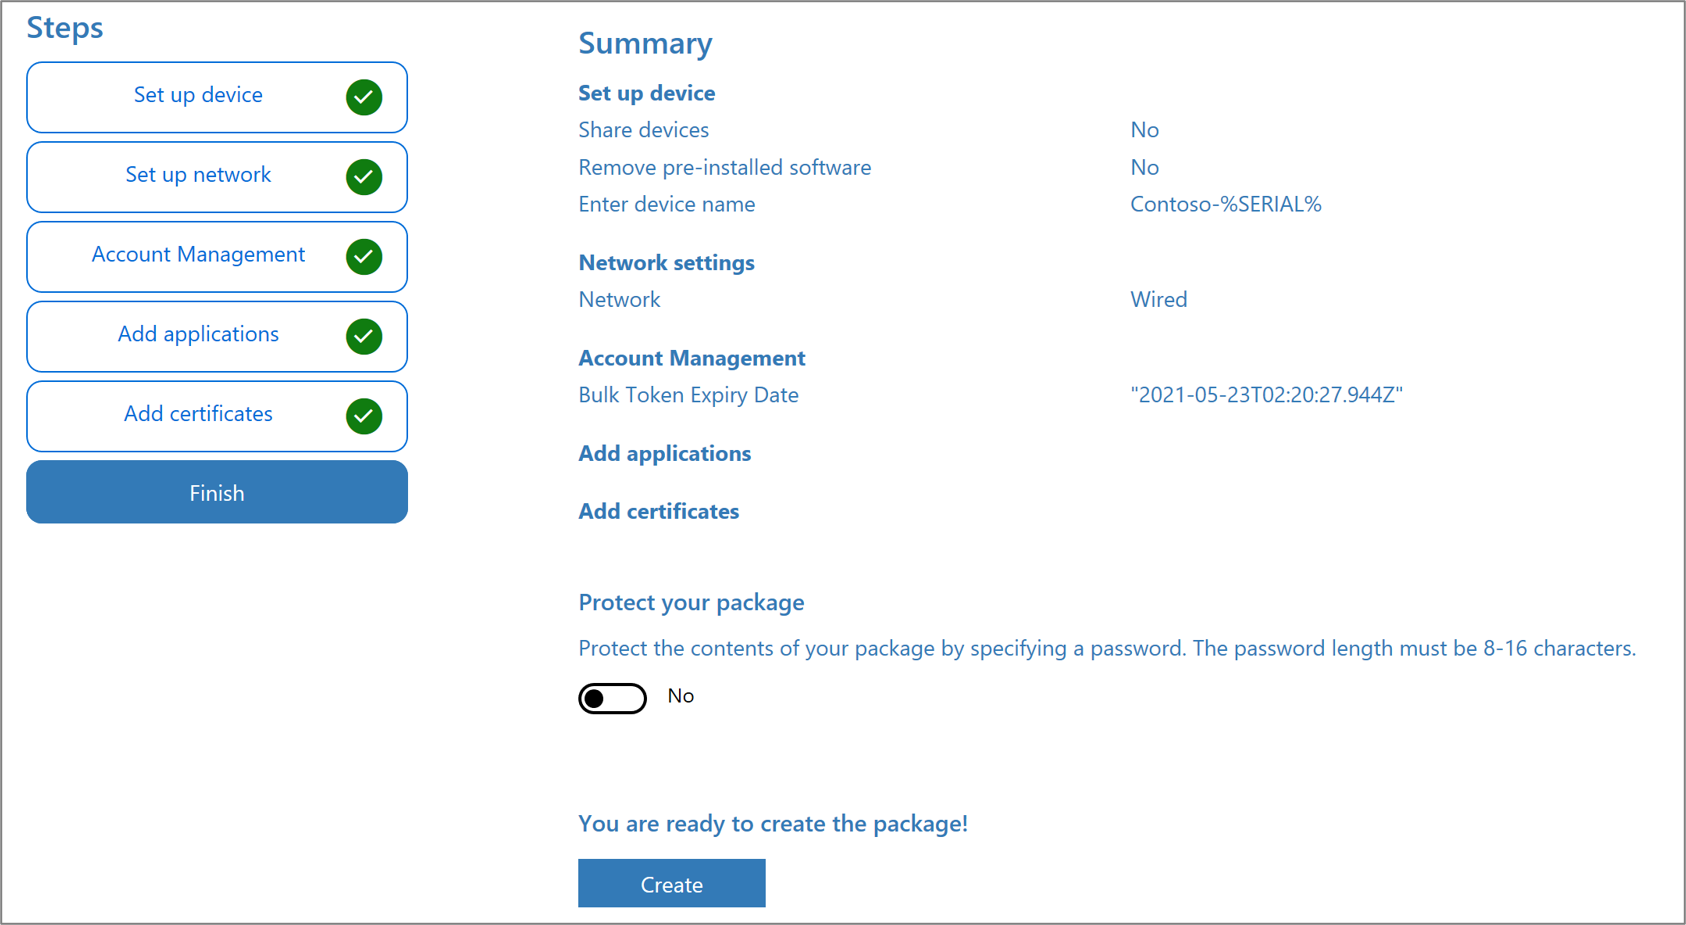
Optionally, you can Add applications and Add certificates. These apps and certificates are provisioned on the device.
Optionally, you can password protect your provisioning package. Click Create.
Provision devices
Access the provisioning package in the location specified in Project folder specified in the app.
Choose how you're going to apply the provisioning package to the device. A provisioning package can be applied to a device one of the following ways:
- Place the provisioning package on a USB drive, insert the USB drive into the device you'd like to bulk enroll, and apply it during initial setup
- Place the provisioning package on a network folder, and apply it after initial setup
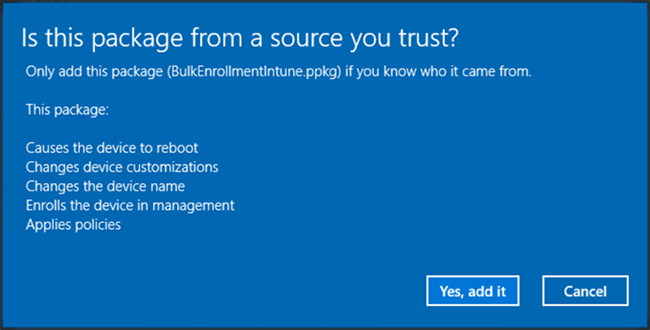
For step-by-step instruction on applying a provisioning package, see Apply a provisioning package.
After you apply the package, the device will automatically restart in one minute.
When the device restarts, it connects to the Microsoft Entra ID and enrolls in Microsoft Intune.
Troubleshooting Windows bulk enrollment
Provisioning issues
Provisioning is intended to be used on new Windows devices. Provisioning failures might require a wipe of the device or device recovery from a boot image. These examples describe some reasons for provisioning failures:
- A provisioning package that attempts to join an Active Directory domain or Microsoft Entra tenant that does not create a local account could make the device unreachable if the domain-join process fails due to lack of network connectivity.
- Scripts run by the provisioning package are run in system context. The scripts are able to make arbitrary changes to the device file system and configurations. A malicious or bad script could put the device in a state that can only be recovered by reimaging or wiping the device.
You can check for success/failure of the settings in your package in the Provisioning-Diagnostics-Provider Admin log in Event Viewer.
Note
Bulk enrollment is considered a userless enrollment method, and because of it, only the "Default" enrollment restriction in Intune would apply during enrollment. Make sure Windows platform is allowed in the default restriction, otherwise, the enrollment will fail. To check the capabilities alongside other Windows enrollment methods, see Intune enrollment method capabilities for Windows devices.
Bulk enrollment with Wi-Fi
When not using an open network, you must use device-level certificates to initiate connections. Bulk enrolled devices are unable to use to user-targeted certificates for network access.
Conditional Access
Conditional Access is available for devices enrolled via bulk enrollment running Windows 11 or Windows 10, version 1803 and later.
Important
On October 14, 2025, Windows 10 reached end of support and won't receive quality and feature updates. Windows 10 is an allowed version in Intune. Devices running this version can still enroll in Intune and use eligible features, but functionality won't be guaranteed and can vary.