Note
Access to this page requires authorization. You can try signing in or changing directories.
Access to this page requires authorization. You can try changing directories.
Note
This article describes features used in agents or agent flows powered by the standard harness.
[This article is prerelease documentation and is subject to change.]
Custom pronunciation controls how your voice agent says words and phrases that text-to-speech might mispronounce, such as brand names, product names, acronyms, locations, and industry-specific terms. You define pronunciations in your agent's voice settings, so you don't need to change your agent's messages or host a custom lexicon file.
Consistent pronunciation helps callers understand your agent and reduces confusion caused by mispronounced names and terminology. For example, a healthcare organization can specify how drug and treatment names are spoken, and a financial institution can define how its branded products and abbreviations are spoken.
Prerequisites
- Permission to edit the agent.
- A voice agent of one of the following types:
- A basic voice agent with Enable voice turned on. Learn more in Turn on basic voice.
- A real-time agent that uses the GPT-5-Chat (Preview) model. Learn more in Set up and enable real-time agents. Real-time agents that use other models don't support custom pronunciation.
Note
Custom pronunciation is in preview. Preview features aren't meant for production use and might have restricted functionality. These features are subject to supplemental terms of use, and are available before an official release so that customers can get early access and provide feedback.
Add custom pronunciations
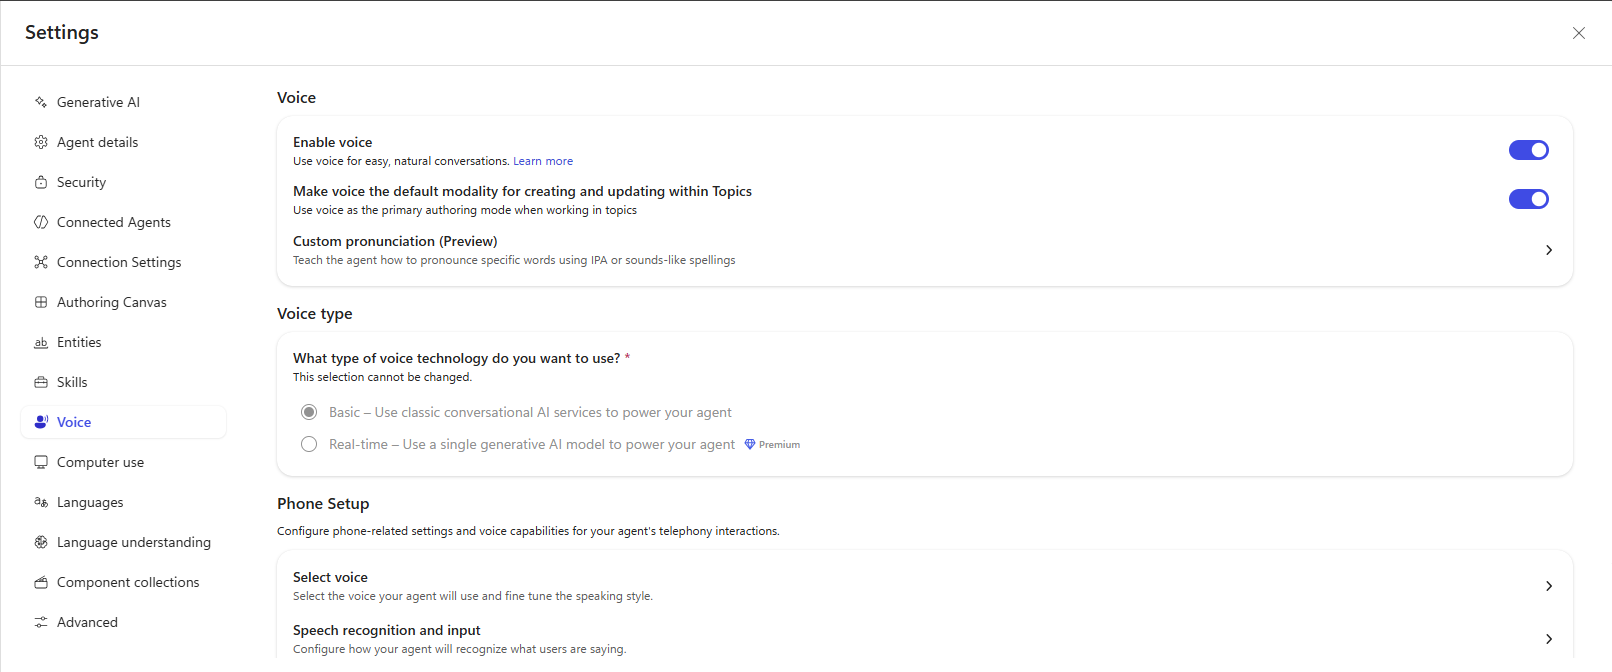
Open your agent, go to Settings, and select Voice.
Select Custom pronunciation (Preview). The Custom Pronunciation dialog lists each of your agent's languages.
Expand the language you want to add pronunciations for. For real-time agents, add pronunciations to the agent's primary language only.
In the Enter item to add or filter box, enter the word or phrase, and then select +Add.
Define how your agent pronounces the item by using one or both of the following fields:
- Pronunciation: Enter the pronunciation in the International Phonetic Alphabet (IPA). IPA gives you precise control, and is the best choice when accuracy is important. To insert IPA symbols, select the keyboard icon next to the field. Learn which IPA symbols are supported in SSML phonetic alphabets.
- Sounds like: Enter a phonetic respelling that uses familiar letters and syllables, such as
uh-see-tuh-MIN-uh-fen. Use this option if you're not familiar with IPA.
If you fill in both fields, your agent uses Sounds like.
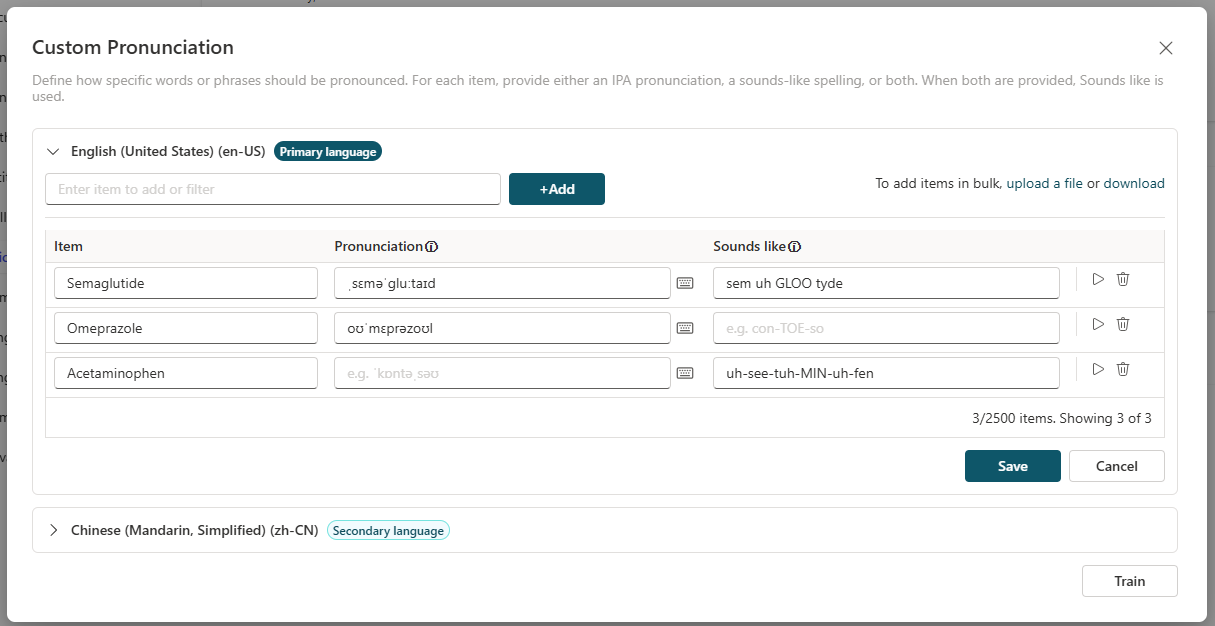
Select the play icon next to the item to hear the pronunciation. Adjust the pronunciation and preview it again as needed.
Select Save.
Select Train. Custom pronunciations don't take effect until you train them.
Publish your agent so callers hear the updated pronunciations.
Test custom pronunciations
How you test custom pronunciations depends on your agent type:
- Real-time agents that use GPT-5-Chat (Preview): After you train, you can test the pronunciations in the test panel before you publish. Learn more in Test your real-time agent.
- Basic voice agents: The test panel doesn't support voice testing for basic voice agents, so you can't hear custom pronunciations there. Use the play icon in the Custom Pronunciation dialog to preview each item, and then publish your agent and call it to verify the pronunciations.
Import pronunciations in bulk
To add many items at once, upload a CSV file.
In the Custom Pronunciation dialog, expand the language you want to update.
To get a sample file with the required format, select download.
Add your items and their pronunciations to the CSV file.
Select upload a file.
In the Upload a File dialog, select a mode:
- Append: Adds the items in your file to the existing items.
- Replace: Replaces the existing items for the selected language with the items in your file. Items for other languages don't change.
Drag your file to the upload area, or select click to browse. Then select Add.
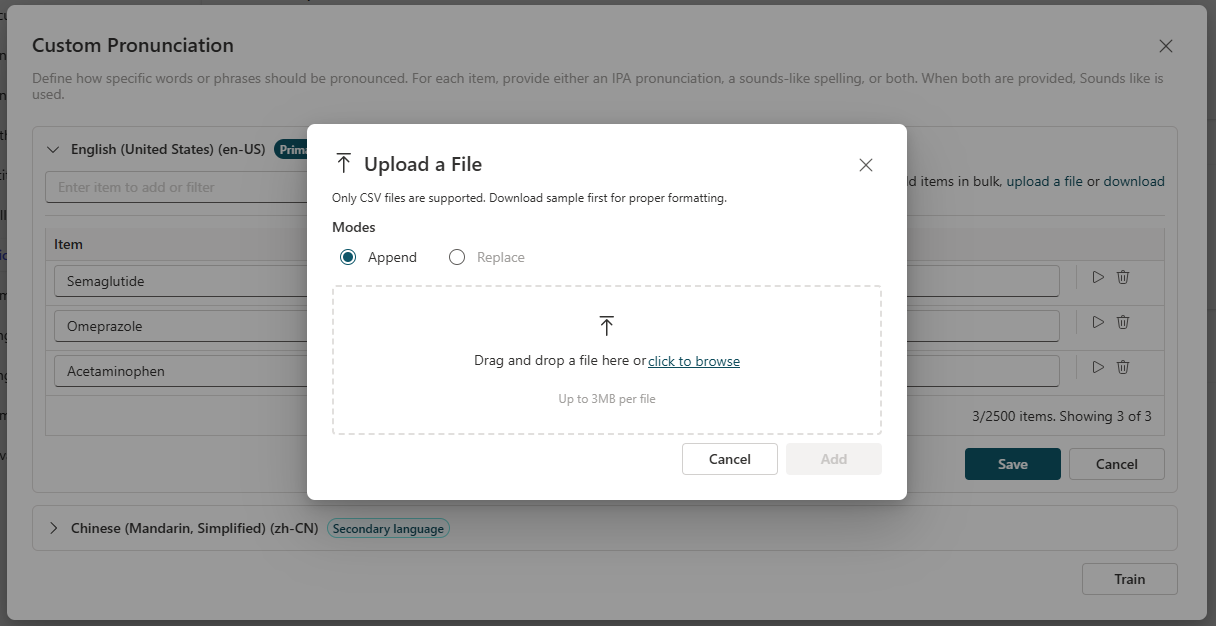
Review the imported items and correct any validation errors.
Select Save, select Train, and then publish your agent.
Limits
- An agent can have up to 2,500 custom pronunciation items for each language.
- For real-time agents, custom pronunciation supports only the agent's primary language. Secondary languages aren't supported.
- Items are case-sensitive. If a term has more than one capitalization, such as
ContosoandCONTOSO, add a separate item for each one. Learn more in Custom lexicon. - Bulk import supports CSV files up to 3 MB.