Note
Access to this page requires authorization. You can try signing in or changing directories.
Access to this page requires authorization. You can try changing directories.
This WebView2 sample embeds a WebView2 control within a Win32 native application.
- Sample name: WebView2SampleWinComp
- Repo directory: WebView2SampleWinComp
- Solution file:
WebView2SampleWinComp.sln
This sample is built as a Win32 Visual Studio 2019 project. It uses C++ and HTML/CSS/JavaScript in the WebView2 environment.
This sample uses the Windows Runtime Composition APIs (also called the Visual layer) to take advantage of the Windows UI features and create a better look, feel, and functionality in C++ Win32 applications.
This sample showcases a selection of WebView2's event handlers and API methods that allow a native Win32 application to directly interact with a WebView and vice versa.
If this is your first time using WebView, we recommend first following the tutorial Get started with WebView2 in Win32 apps, which goes over how to create a WebView2 and walks through some basic WebView2 functionality.
See also Readme file for WebView2SampleWinComp.
Step 1 - Install Visual Studio with C++ support
Microsoft Visual Studio is required. Microsoft Visual Studio Code is not supported for this sample.
This sample is built as a Win32 Visual Studio 2019 project.
If Visual Studio (minimum required version) is not already installed, in a separate window or tab, see Install Visual Studio in Set up your Dev environment for WebView2. Follow the steps in that section, and then return to this page and continue the steps below.
If you want to use Visual Studio 2017, change the project's Platform Toolset in Project Properties > Configuration properties > General > Platform Toolset. You might also need to change the Windows SDK to the latest version available to you.
Other prerequisites
WebView2 SDK - A prerelease version of the WebView2 SDK is already installed in this sample project. Steps are shown below to optionally update the SDK.
Windows 10 SDK - By default, this sample app will use the latest Window 10 SDK version that's installed on your machine. However, there is an issue with Windows 10 SDK, version 2004 (10.0.19041.0) that will stop this sample app from building. Steps are provided below to install a compatible version of the Windows 10 SDK.
Step 2 - Clone or download the WebView2Samples repo
- If not done already, clone or download the
WebView2Samplesrepo to your local drive. In a separate window or tab, see Download the WebView2Samples repo in Set up your Dev environment for WebView2. Follow the steps in that section, and then return to this page and continue below.
Step 3 - Open the Solution and set the Windows SDK target
On your local drive, open the
.slnfile in Visual Studio, in the directory:<your-repos-directory>/WebView2Samples/SampleApps/WebView2SampleWinComp/WebView2SampleWinComp.sln
or:
<your-repos-directory>/WebView2Samples-main/SampleApps/WebView2SampleWinComp/WebView2SampleWinComp.sln
A Review Solution Actions dialog might open, prompting you for which installed Windows SDK to retarget the project to:

In the Windows SDK Version dropdown list, select 10.0.20348.0 or later, or 10.0.18362.0 or earlier; do not select 10.0.19041.0. Then click the OK button. If those versions aren't available, do the steps in the "Install the Windows SDK" section below. Otherwise, skip to the section below that.
If the solution is already open, you can change the target as follows:
- In Solution Explorer, right-click the WebView2SampleWinComp project (not solution), and then click Retarget Projects.
Step 4 - Install the Windows SDK
By default, this sample app uses the latest Window 10 SDK version you have installed. There's an issue with Windows 10 SDK, version 2004 (10.0.19041.0) that will stop this sample app from building. If you run into this issue, either install (and retarget this project to use) a later version, such as Windows 10 SDK version 2104 (10.0.20348.0), or an earlier version, such as 10.0.18362.1.
To install a Windows 10 SDK:
On one of the following rows, click the Install SDK link:
- Windows 10 SDK version 2104 (10.0.20348.0) (or later)
- Windows 10 SDK, version 1903 (10.0.18362.1)
A version-specific copy of
winsdksetup.exeis downloaded to yourDownloadsdirectory.In your
Downloadsdirectory, open the copy ofwinsdksetup.exethat you just downloaded.The Windows SDK setup window opens:
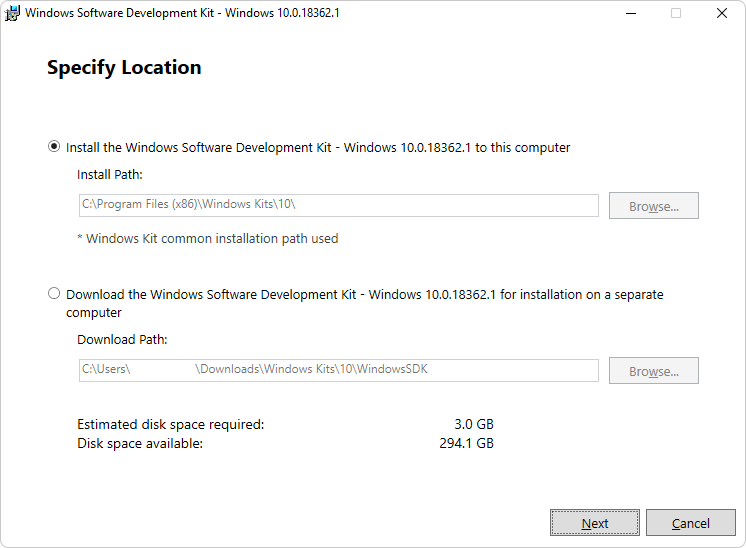
Click the Next button and then follow the prompts. You can accept the defaults. At the end of installing, the Windows SDK Welcome screen for whichever version that you selected appears:
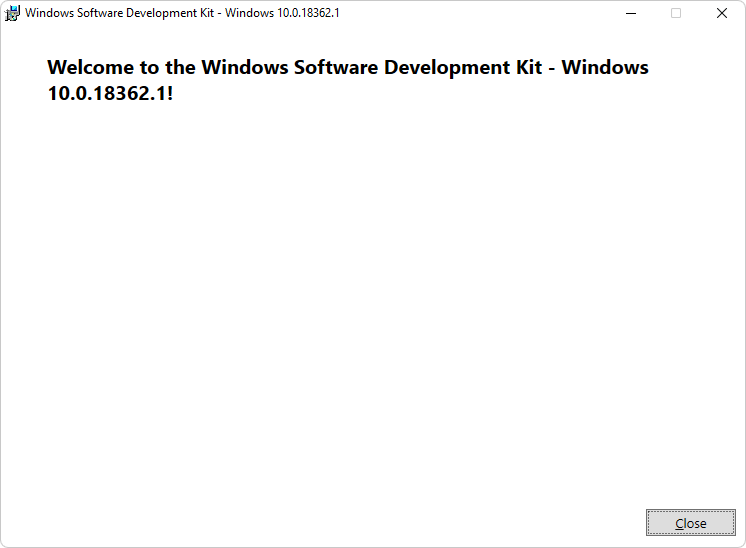
Click the Close button.
Do the previous step, "Open the Solution and set the Windows SDK target". Or, if the solution is already open, in Solution Explorer, right-click the WebView2SampleWinComp project (not solution), and then click Retarget Projects.
Step 5 - Install workloads if prompted
- If prompted, install any Visual Studio workloads that are requested. In a separate window or tab, see Install Visual Studio workloads in Set up your Dev environment for WebView2. Follow the steps in that section, and then return to this page and continue below.
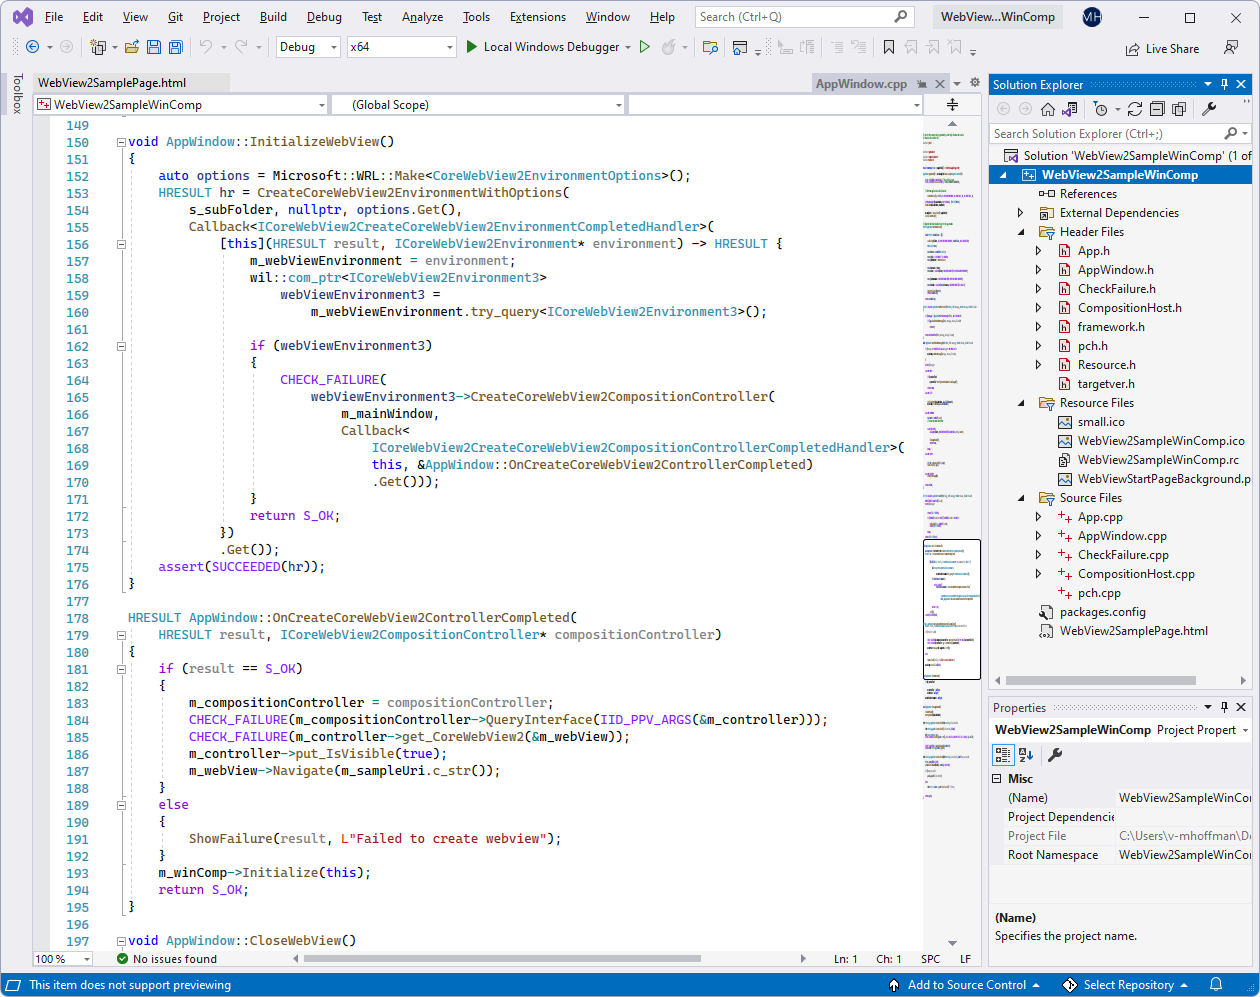
Step 6 - Build and run the project
After opening the solution in Visual Studio (above) and responding to any setup or installation prompts, the project opens in Visual Studio, showing the WebView2SampleWinComp project in Solution Explorer:
At the top of Visual Studio, set the build target, as follows:
In the Solution Configurations dropdown list, select Debug or Release.
In the Solution Platforms dropdown list, select x86, x64, or ARM64.
In Solution Explorer, right-click the WebView2SampleWinComp project, and then select Build.
This builds the project file
SampleApps/WebView2SampleWinComp/WebView2SampleWinComp.vcxproj.Select Debug > Start Debugging (F5).
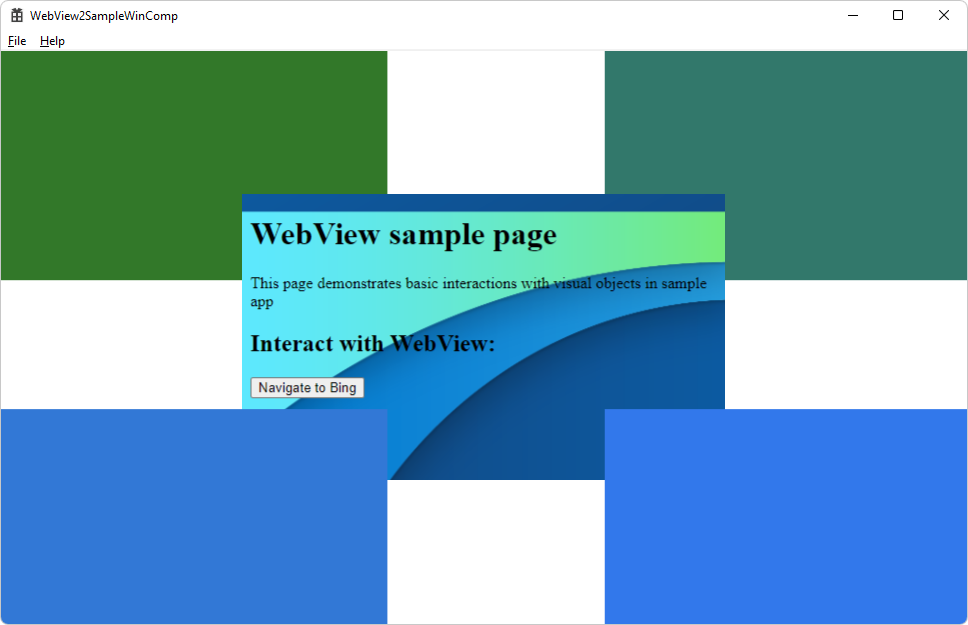
The sample app window opens:
In Visual Studio, select Debug > Stop Debugging. Visual Studio closes the app.
Step 7 - Update the installed packages
This step is optional. The sample has preinstalled:
- A version of the WebView2 prerelease SDK.
- A version of the Windows Implementation Libraries (WIL).
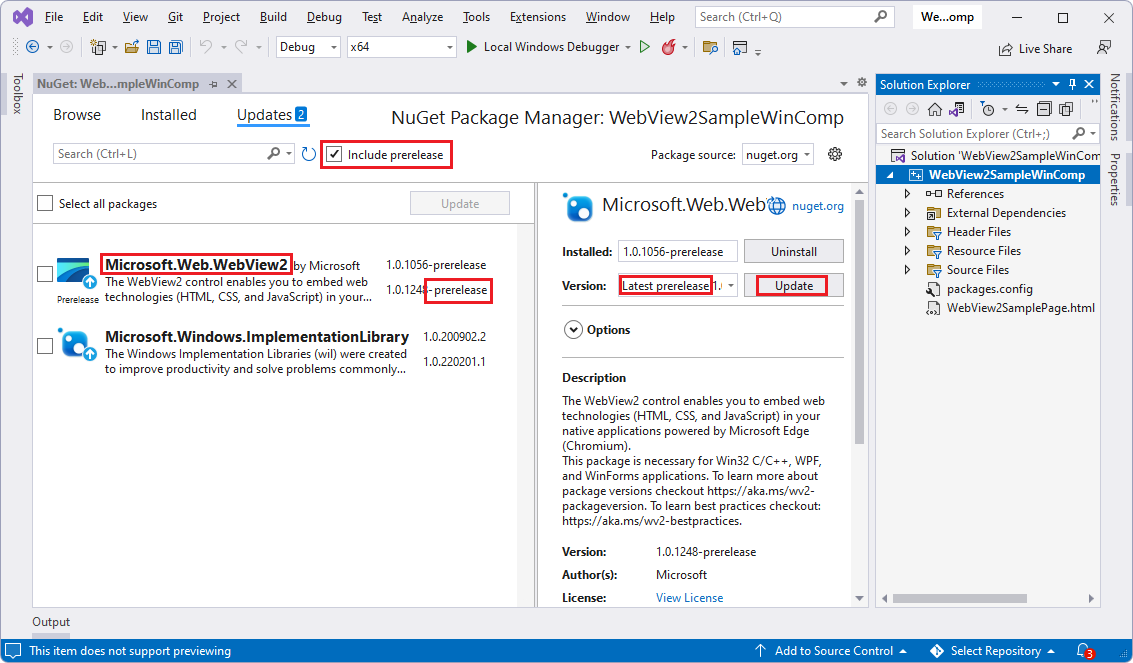
In Solution Explorer, right-click the WebView2SampleWinComp project (not the Solution node), and then select Manage NuGet Packages. The NuGet Package Manager tab opens.
Select the Include prerelease checkbox.
Click the Installed tab. For each package, note whether there are two versions listed (the current version and an available updated version number).
Click the Updates tab.
If a newer prerelease of the Microsoft.Web.WebView2 SDK is listed, you can optionally click the Update button. A prerelease has a "-prerelease" suffix, such as 1.0.1248-prerelease. If you want to see details about this step, in a separate window or tab, see Install or update the WebView2 SDK in Set up your Dev environment for WebView2. Follow the steps in that section, and then return to this page and continue below.
If a newer release of the Windows Implementation Libraries (WIL) is listed, you can optionally click the Update button.
Follow the prompts to continue updating the packages.
Build and run the project again, now using the updated packages.
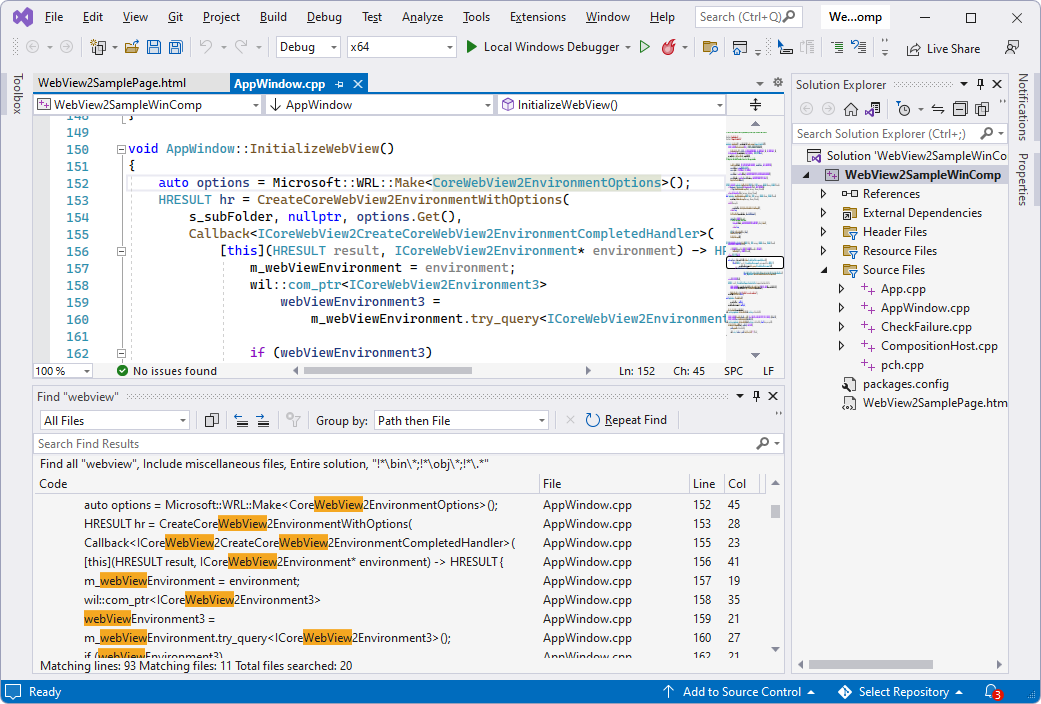
Step 8 - Inspect the code
In the Visual Studio code editor, inspect the code: