Note
Access to this page requires authorization. You can try signing in or changing directories.
Access to this page requires authorization. You can try changing directories.
This sample, WebView2WindowsFormsBrowser, demonstrates how to use the WebView2 control and WebView2 APIs to implement a web browser in a WinForms app.
- Sample name: WebView2WindowsFormsBrowser
- Repo directory: WebView2WindowsFormsBrowser
- Solution file:
WebView2WindowsFormsBrowser.sln
- The Control menu has toggle menuitems for Accelerator Keys and Allow External Drop.
- The View menu has Zoom and Background Color submenus.
- The Events button opens the EventMonitor window.
Step 1 - Install Visual Studio
Microsoft Visual Studio is required. Microsoft Visual Studio Code is not supported for this sample.
- If Visual Studio (minimum required version) is not already installed, in a separate window or tab, see Install Visual Studio in Set up your Dev environment for WebView2. Follow the steps in that section, and then return to this page and continue the steps below.
Step 2 - Clone or download the WebView2Samples repo
- If not done already, clone or download the
WebView2Samplesrepo to your local drive. In a separate window or tab, see Download the WebView2Samples repo in Set up your Dev environment for WebView2. Follow the steps in that section, and then return to this page and continue below.
Step 3 - Open .sln in Visual Studio
On your local drive, open the
.slnfile in Visual Studio, in the directory:<your-repos-directory>/WebView2Samples/SampleApps/WebView2WindowsFormsBrowser/WebView2WindowsFormsBrowser.sln
or:
<your-repos-directory>/WebView2Samples-main/SampleApps/WebView2WindowsFormsBrowser/WebView2WindowsFormsBrowser.sln
Step 4 - Install workloads if prompted
- If prompted, install any Visual Studio workloads that are requested. In a separate window or tab, see Install Visual Studio workloads in Set up your Dev environment for WebView2. Follow the steps in that section, and then return to this page and continue below.
Step 5 - Build and run the project
The WebView2WindowsFormsBrowser project is now open in Visual Studio, from doing the above steps. At the top of Visual Studio, set the build target, as follows:
In the Solution Configurations dropdown list, select Debug or Release.
In the Solution Platforms dropdown list, select Any CPU.
In Solution Explorer, right-click the WebView2WindowsFormsBrowser project, and then select Build.
This builds the project file
SampleApps/WebView2WindowsFormsBrowser/WebView2WindowsFormsBrowser.vcxproj. This might take a couple minutes.If you get error messages about missing .NET Framework 4.6.2 Developer Pack, follow the steps below. Otherwise, skip to the next major section below.
In Visual Studio, select Debug > Start Debugging (F5).
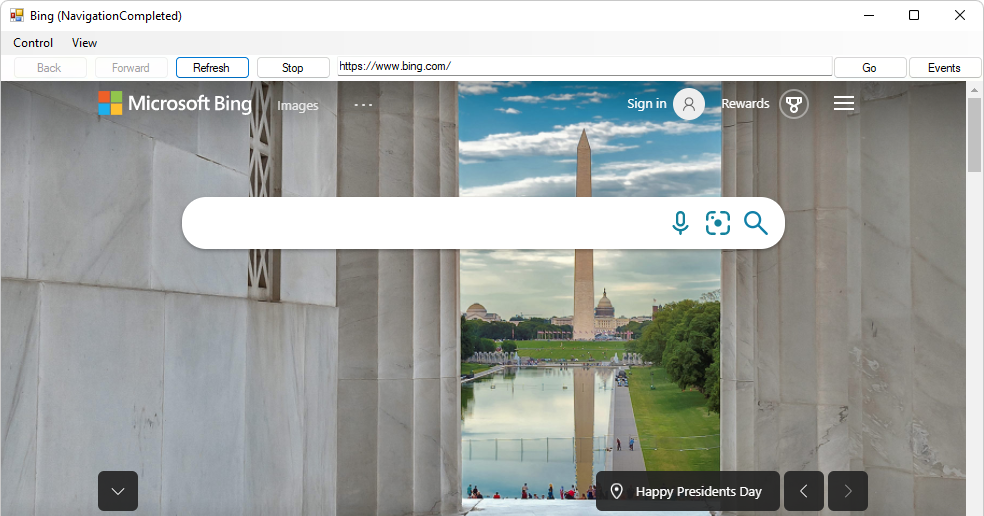
The sample app window opens:
Use the sample app; see README file for WebView2WindowsFormsBrowser.
In Visual Studio, select Debug > Stop Debugging. Visual Studio closes the app.
Step 6 - Install .NET Framework 4.6.2 Developer Pack
If you build the WebView2WindowsFormsBrowser project and get error messages about missing .NET Framework 4.6.2 Developer Pack, follow the steps below. Otherwise, skip to the next major section below.
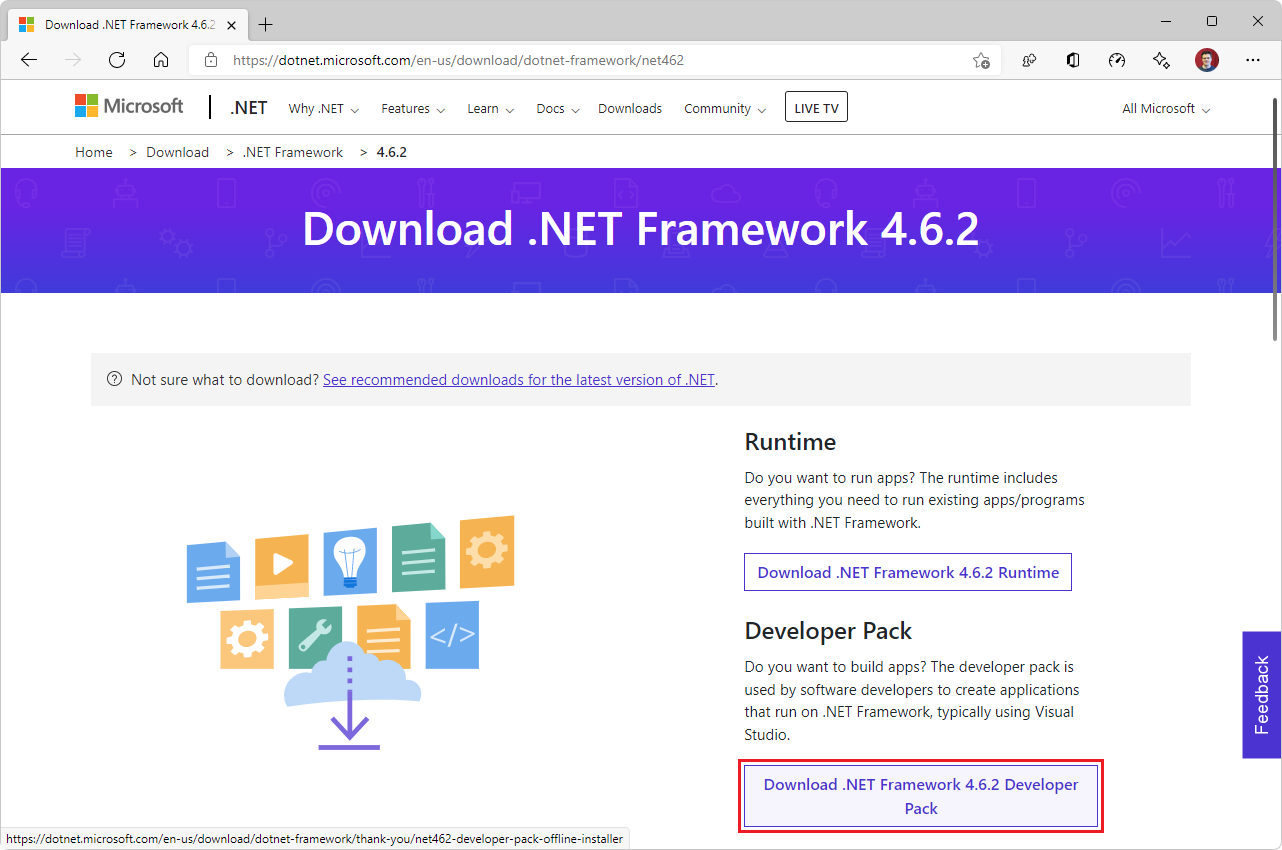
Go to Download .NET Framework, select v4.6.2, and then click the Download .NET Framework 4.6.2 Developer Pack button:
In Microsoft Edge, select Settings and more > Downloads > Show in folder icon:
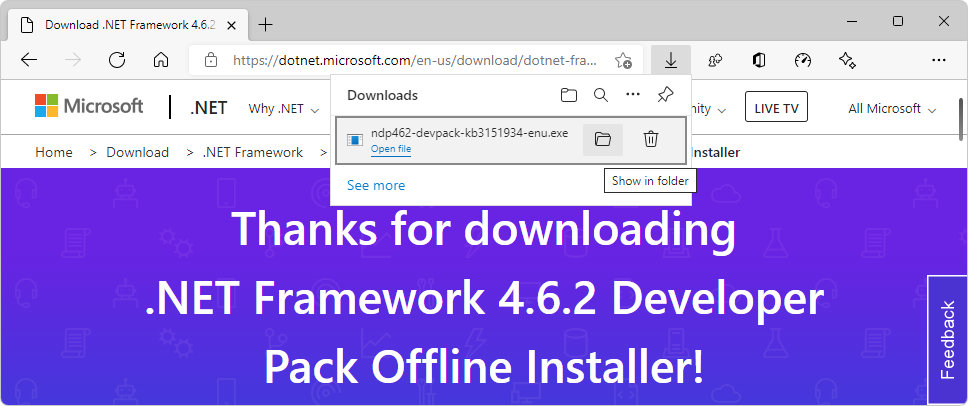
In the
Downloadsfolder, double-click the file, such asndp462-devpack-kb3151934-enu.exe.The Microsoft .NET Framework Developer Pack license agreement dialog appears:
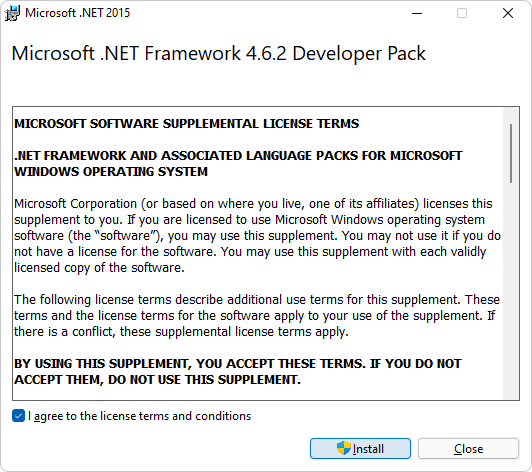
Select the I agree to the license terms and conditions checkbox, and then click the Install button.
A User Account Control window appears, asking "Do you want to allow this app to make changes to your device?"
Click the Yes button.
The Microsoft .NET Framework Developer Pack Setup Successful dialog appears:
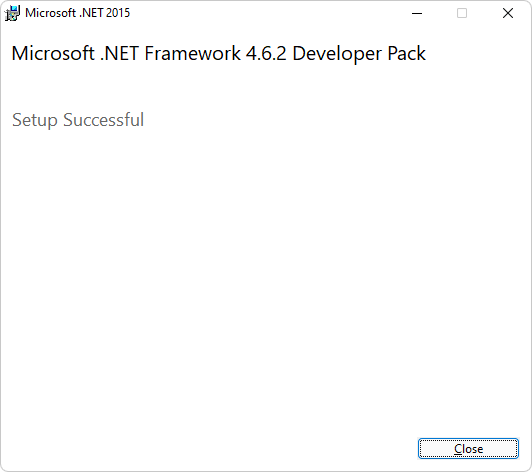
Click the Close button.
Microsoft .NET Framework 4.6.2 Developer Pack is now installed on your machine.
Step 7 - Update or install the WebView2 SDK
WebView2 SDK - Update or install the WebView2 SDK on the project node (not the solution node) in Solution Explorer. In a separate window or tab, see Install or update the WebView2 SDK in Set up your Dev environment for WebView2. Follow the steps in that section, and then return to this page and continue below.
Step 8 - Build and run the updated project
If you just now installed .NET Framework 4.6.2 Developer Pack above, close Visual Studio, and then open the solution file in Visual Studio again, from the directory:
<your-repos-directory>/WebView2Samples/SampleApps/WebView2WindowsFormsBrowser/WebView2WindowsFormsBrowser.sln
or:
<your-repos-directory>/WebView2Samples-main/SampleApps/WebView2WindowsFormsBrowser/WebView2WindowsFormsBrowser.sln
At the top of Visual Studio, set the build target, as follows:
In the Solution Configurations dropdown list, select Debug or Release.
In the Solution Platforms dropdown list, select Any CPU.
In Solution Explorer, right-click the WebView2WindowsFormsBrowser project, and then select Build.
This builds the project file
SampleApps/WebView2WindowsFormsBrowser/WebView2WindowsFormsBrowser.vcxproj.In Visual Studio, select Debug > Start Debugging (F5).
The sample app window opens:
- The Control menu has toggle menuitems for Accelerator Keys and Allow External Drop.
- The View menu has Zoom and Background Color submenus.
- The Events button opens the EventMonitor window.
In Visual Studio, select Debug > Stop Debugging. Visual Studio closes the app.
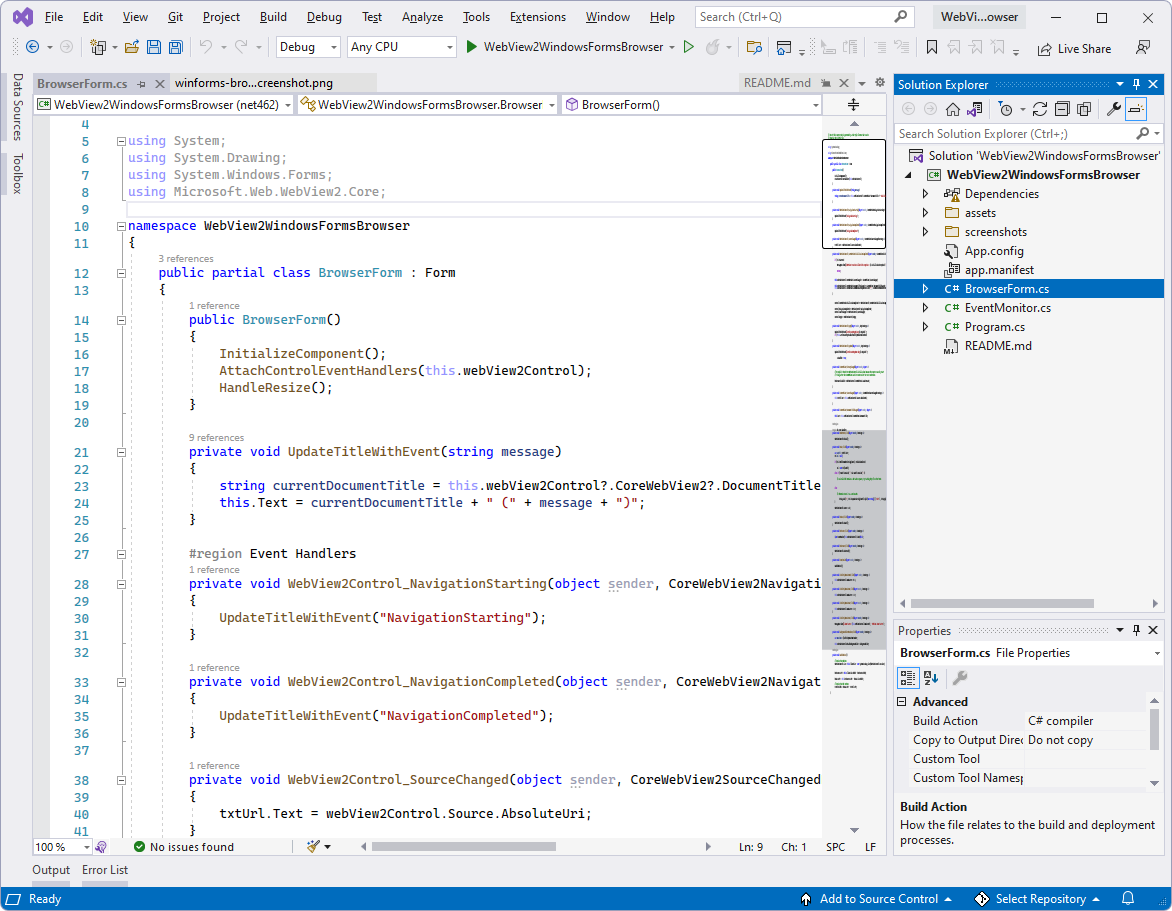
Step 9 - Inspect the code
In the Visual Studio code editor, inspect the code: