Note
Access to this page requires authorization. You can try signing in or changing directories.
Access to this page requires authorization. You can try changing directories.
Microsoft Teams provides single sign-on (SSO) function for an app to obtain signed in Teams user token to access Microsoft Graph and other APIs. Microsoft 365 Agents Toolkit (previously known as Teams Toolkit) facilitates the interaction by abstracting few of the Microsoft Entra ID flows and integrations behind simple APIs and enables you to add SSO features easily to your Teams app.
Add SSO to Teams app for Microsoft Visual Studio Code
For apps that interact with the user in a chat, Team, or channel, SSO manifests as an Adaptive Card, which the user can interact with to invoke the Microsoft Entra consent flow.
Enable SSO support
Agents Toolkit helps you to add SSO to the following Teams capabilities in Visual Studio Code:
- Tab
- Bot
- Notification bot: express server
- Command bot
- Workflow bot
- Message extension
Add SSO using Visual Studio Code
You can perform the following steps to add SSO using Agents Toolkit in Visual Studio Code:
Open Visual Studio Code.
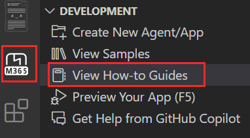
Select Microsoft 365 Agents Toolkit from the Visual Studio Code activity bar.
Select View How-to Guides in the DEVELOPMENT section.
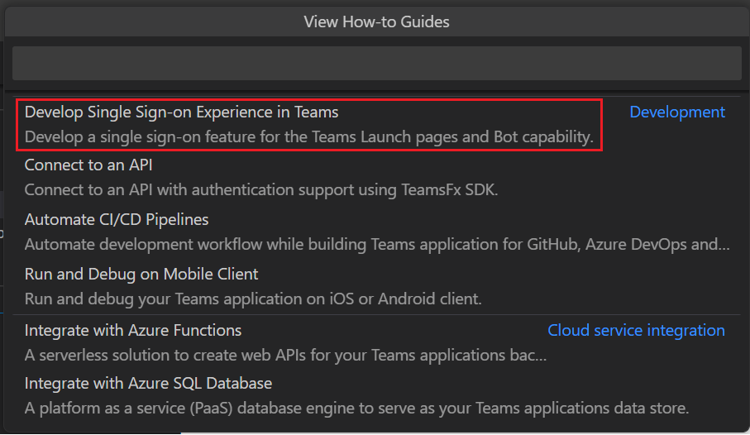
From the dropdown list, select Develop Single Sign-On Experience in Teams. You're redirected to the respective How-to guide.
Development How-to Guide Develop Single Sign-on Experience in Teams Enable single sign-on for tab app
Note
When SSO is enabled, Agents Toolkit by default provisions a single-tenant Microsoft Entra app, which means only user and guest accounts in the same directory as your M365 account can sign in to your Teams app. For more information on supporting multitenant to update your TeamsFx project, see Multi-tenancy support for Microsoft Entra app.
See also
Collaborate with us on GitHub
The source for this content can be found on GitHub, where you can also create and review issues and pull requests. For more information, see our contributor guide.
Platform Docs