Note
Access to this page requires authorization. You can try signing in or changing directories.
Access to this page requires authorization. You can try changing directories.
This article explains how to create a professional service offer for the commercial marketplace using Partner Center.
Prerequisites
To publish a professional service offer, you must:
- Have a commercial marketplace account in Partner Center and ensure your account is enrolled in the commercial marketplace program. See Create a commercial marketplace account in Partner Center and Verify your account information when you enroll in a new Partner Center program.
- Meet the eligibility requirements documented in Commercial marketplace general listing and offer policies.
If you haven't already done so, read Plan a professional service offer. It describes the prerequisites and assets you'll need to create a professional service offer in Partner Center.
Note
Professional services must be sold using a US, UK, or Canadian seller ID. To understand which market your seller ID is configured in, select Account settings, then Legal info, then the Developer tab. This documentation will be updated once the capability becomes available for partners outside of these 3 markets.
Create a professional Service offer
Sign in to Partner Center.
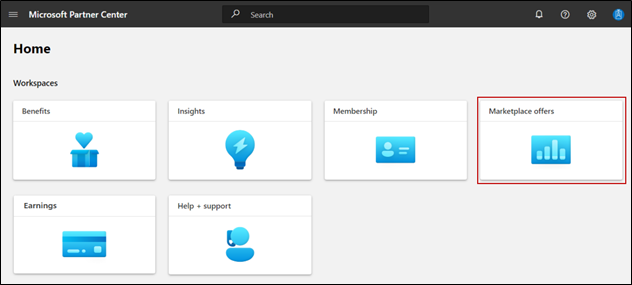
On the Home page, select the Marketplace offers tile.
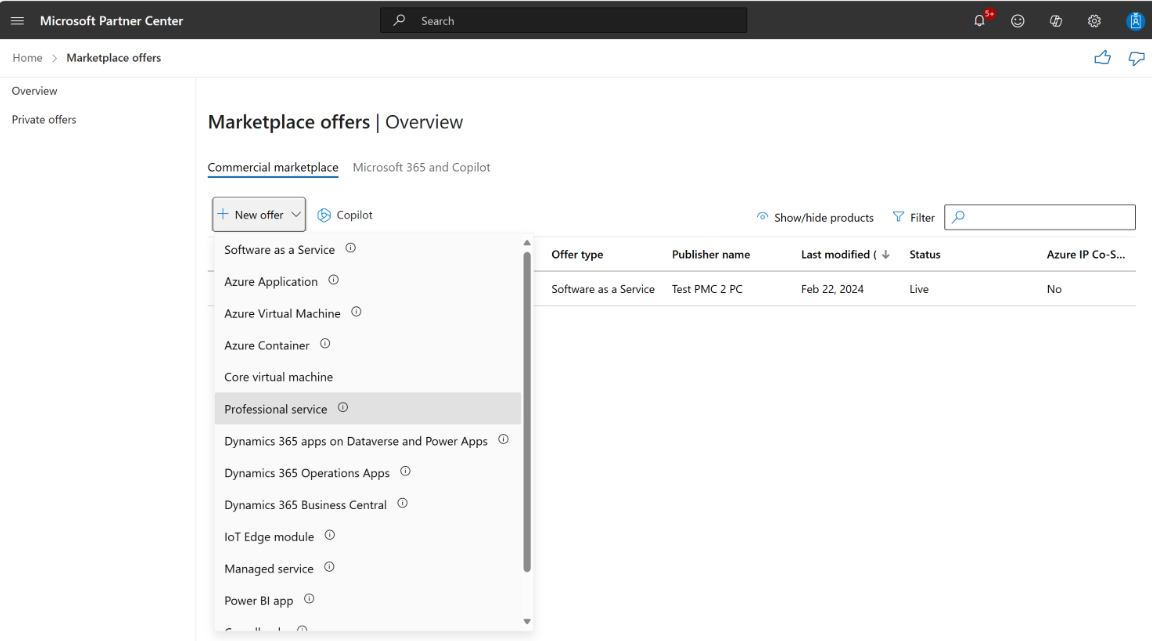
On the Marketplace offers page, select New offer > Professional service.
In the New Professional service dialog box, enter an Offer ID. This ID is visible in the URL of the commercial marketplace listing. For example, if you enter test-offer-1 in this box, the offer web address will be
https://azuremarketplace.microsoft.com/marketplace/../test-offer-1.- Each offer in your account must have a unique offer ID.
- Use only lowercase letters and numbers. The offer ID can include hyphens and underscores, but no spaces, and is limited to 50 characters.
- The offer ID can't be changed after you select Create.
Enter an Offer alias. This name is used for the offer in Partner Center. It isn't visible in the online stores and is different from the offer name shown to customers.
Select Create.

Configure your offer setup details
Specify which type of software product your service supports
You can offer professional services that support your own software, another partner's software, or Microsoft software.
If you're offering services for your own software or another partner's software (third-party software), the Properties page prompts you to specify the Marketplace software product that your service is related to. You'll also be prompted to provide a business justification for how your service supports that software product.
If you're offering services for Microsoft software (first-party software), the Properties page prompts you to select a primary product. An automated check verifies that you have attained the appropriate Solutions Partner Designation that demonstrates your expertise in that product.
Specify whether you want to sell through Marketplace or process transactions independently
If you would like to sell your Professional Services through Marketplace and have Microsoft process the transactions on your behalf, you can utilize the Private Offers capability to sell after you've finished publishing your offer. To learn more about Private Offers, visit ISV to customer private offers. Professional Services can't be sold outside of a Private Offer.
Configure lead management
Note
Today, transactable Professional Service listings are not visible on our storefronts and therefore will not generate customer leads. You may still choose to connect your CRM system to your offer for future use.
When a customer expresses interest or deploys your product, you'll receive a lead in the Referrals workspace in Partner Center.
You can also connect the product to your customer relationship management (CRM) system to handle leads there.
Note
Connecting to a CRM system is optional.
To configure the lead management in Partner Center:
In Partner Center, go to the Offer setup tab.
Under Customer leads, select the Connect link.
In the Connection details dialog box, select a lead destination from the list.
Complete the fields that appear. For detailed steps, see the following articles:
- Configure your offer to send leads to the Azure table
- Configure your offer to send leads to Dynamics 365 Customer Engagement (formerly Dynamics CRM Online)
- Configure your offer to send leads to HTTPS endpoint
- Configure your offer to send leads to Marketo
- Configure your offer to send leads to Salesforce
To validate the configuration you provided, select the Validate link.
When you've configured the connection details, select Connect.
Select Save draft.
After you submit your offer for publication in Partner Center, we'll validate the connection and send you a test lead. While you preview the offer before it goes live, test your lead connection by trying to purchase the offer yourself in the preview environment.