How to test and publish a SaaS offer to the commercial marketplace
This article explains how to use Partner Center to submit your SaaS offer for publishing, preview your offer, test it, and then publish it live to the commercial marketplace. You must have already created an offer that you want to publish.
Note
We recommend that you create a separate test and development (DEV) offer as a low-risk way to test before you publish your production (PROD) offer. Follow these steps to create and test the DEV offer before you publish your (PROD) offer.
Submit your offer for publishing
Sign in to Partner Center.
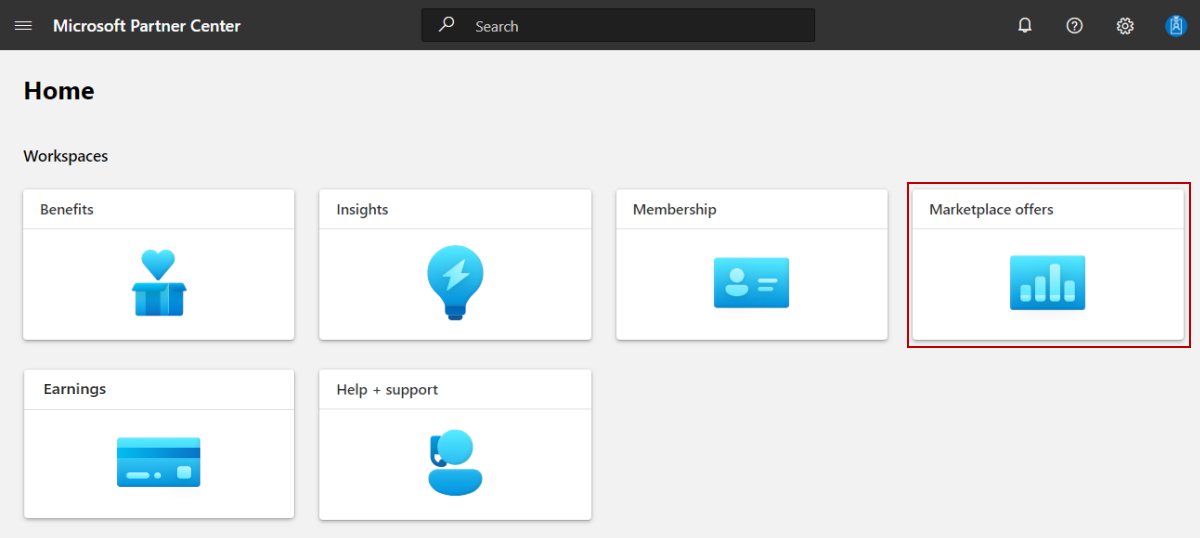
On the Home page, select the Marketplace offers tile.
On the Marketplace offers page, select the offer you want to publish.
In the upper-right corner of the portal, select Review and publish.
Make sure that the Status column for each page says Complete. The three possible statuses are as follows:
- Not started – The page is incomplete.
- Incomplete – The page is missing required information or has errors that need to be fixed. You'll need to go back to the page and update it.
- Complete – The page is complete. All required data has been provided and there are no errors.
If any of the pages have a status other than Complete, select the page name, correct the issue, save the page, and then select Review and publish again to return to this page.
After all the pages are complete, in the Notes for certification box, provide testing instructions to the certification team to ensure that your app is tested correctly. Provide any supplementary notes helpful for understanding your app.
To start the publishing process for your offer, select Publish. The Offer overview page appears and shows the offer's Publish status.

Your offer's publish status will change as it moves through the publication process. For detailed information on this process, see Validation and publishing steps.
Tip
After publishing an offer, the owner of your developer account is notified of the publishing status and required actions through email and the Action Center in Partner Center. For more information about Action Center, see Action Center Overview.
Preview and test your offer
When the offer is ready for your sign off, we'll send you an email to request that you review and approve your offer preview. You can also refresh the Offer overview page in your browser to see if your offer has reached the Publisher sign-off phase. If it has, the Go live button and preview links will be available. There will be a link for either Microsoft AppSource preview, Azure Marketplace preview, or both depending on the options you chose when creating your offer. If you chose to sell your offer through Microsoft, anyone who has been added to the preview audience can test the acquisition and deployment of your offer to ensure it meets your requirements during this stage.
The following screenshot shows the Offer overview page for a SaaS offer, with two preview links under the Go live button. The validation steps you'll see on this page vary depending on the selections you made when you created the offer.

Use the following steps to preview your offer.
On the Offer overview page, select a preview link under the Go live button.
To validate the end-to-end purchase flow, purchase plans using the preview URL generated during the Publisher Sign off phase of publishing. Note that the customer account used for the purchase will be billed and invoiced. Publisher Payout will occur when the criteria are met and will be paid out per the payout schedule with the agency fee deducted from the purchase price.
If your SaaS offer supports metered billing using the commercial marketplace metering service, review and follow the testing best practices detailed in Marketplace metered billing APIs.
Review and follow the testing instructions in SaaS fulfillment APIs version 2 in the Microsoft commercial marketplace to ensure your offer is successfully integrated with the APIs before you publish your offer live.
If the Offer validation step resulted in warnings, a View validation report link appears on the Offer overview page. Be sure to review the report and address the issues before you select the Go live button. Otherwise certification will most likely fail and delay your offer from going Live.
If you need to make changes after previewing and testing the offer, you can edit and resubmit to publish a new preview. For more information, see Update an existing offer in the commercial marketplace.
Publish your offer live
After completing all tests on your preview, select Go live to publish your offer live to the commercial marketplace. If your offer is already live in the commercial marketplace, any updates you make won't go live until you select Go live.
Important
Don't ever select Go live for a development/test offer.
Now that you've chosen to make your offer available in the commercial marketplace, we perform a series of final validation checks to ensure the live offer is configured just like the preview version of the offer. For details about these validation checks, see Publish phase.
After these validation checks are complete, your offer will be live in the marketplace.
Next steps
Feedback
Coming soon: Throughout 2024 we will be phasing out GitHub Issues as the feedback mechanism for content and replacing it with a new feedback system. For more information see: https://aka.ms/ContentUserFeedback.
Submit and view feedback for