Create and edit One-to-many or Many-to-one table relationships using Power Apps portal
The Power Apps portal provides an easy way to create and edit 1:N (one-to-many) or N:1 (many-to-one) relationships for Microsoft Dataverse.
The portal enables configuring the most common options, but certain options can only be set using solution explorer. More information:
- Create and edit 1:N (one-to-many) or N:1 (many-to-one) relationships
- Create and edit 1:N (one-to-many) or N:1 (many-to-one) table relationships using solution explorer.
View table relationships
- From the Power Apps portal, select either Model-driven or Canvas design mode.
- Select Tables and select the table that has the relationships you want to view. If the item isn’t in the side panel pane, select …More and then select the item you want.
- With the Relationships area selected, you can select the following views:
| View | Description |
|---|---|
| All | Shows all the relationships for the table |
| Custom | Shows only custom relationships for the table |
| Default | Shows only the standard relationships for the table |
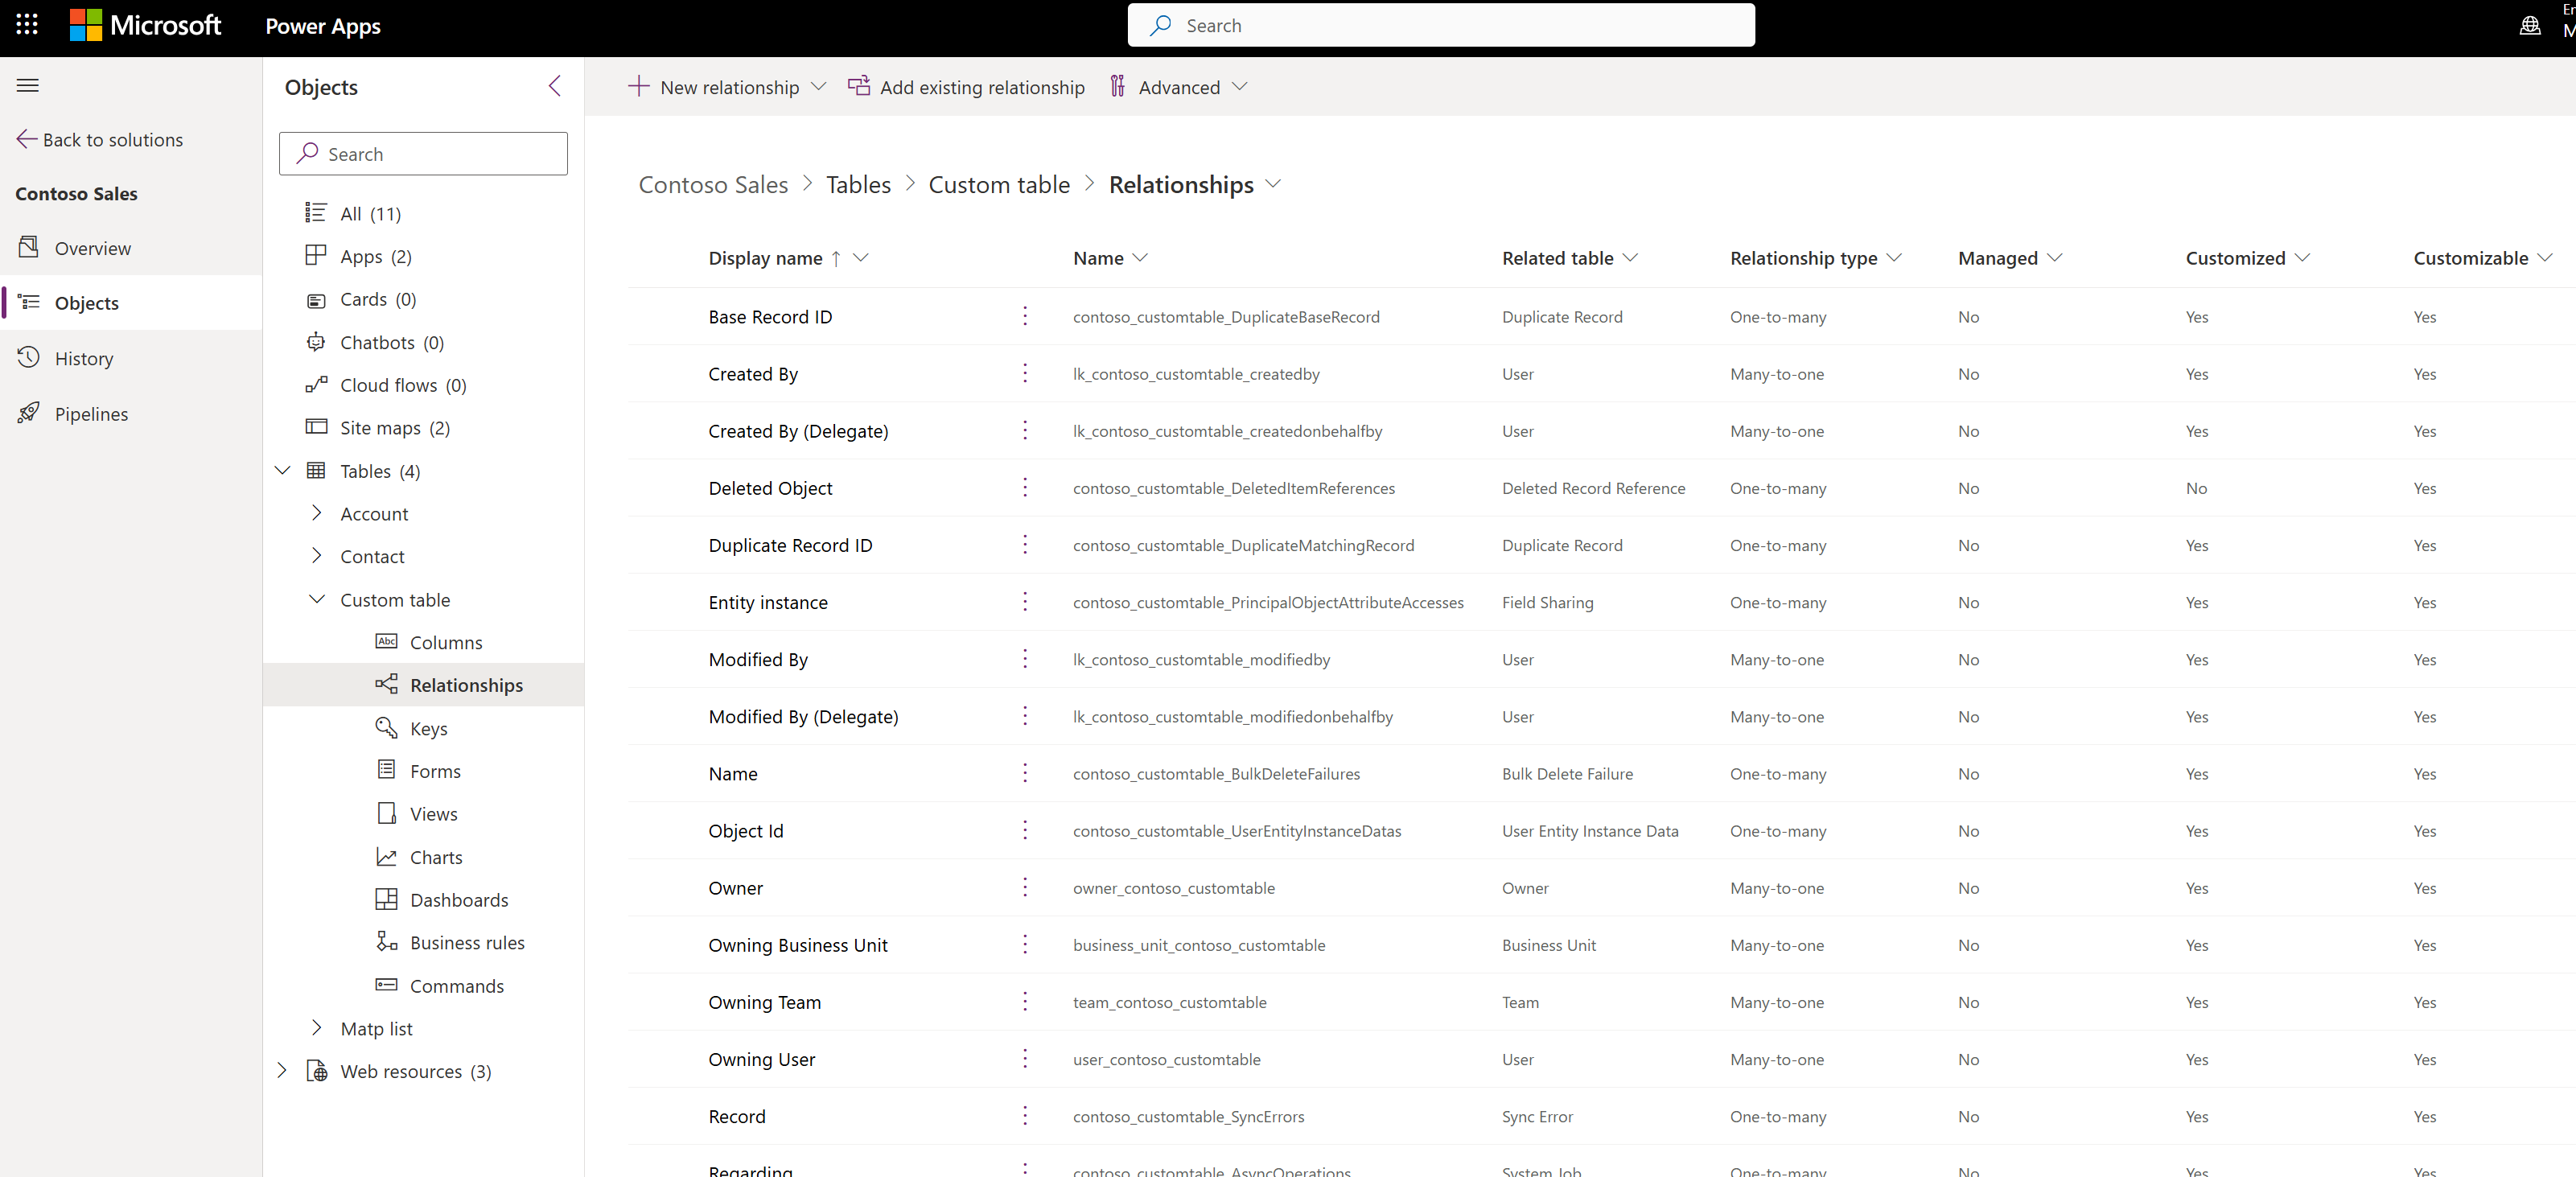
Create relationships
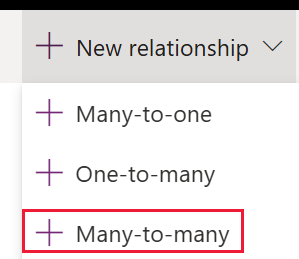
While viewing table relationships, in the command bar, select Add relationship and choose either Many-to-one or One-to-many.
Note
For information about Many-to-many relationships see Create N:N (many-to-many) relationships
Important
The portal uses different terminology than solution explorer. The solution explorer Primary table is the Current table in the portal.
Depending on your choice you will see either:
| Type | Panel |
|---|---|
| Many-to-one | 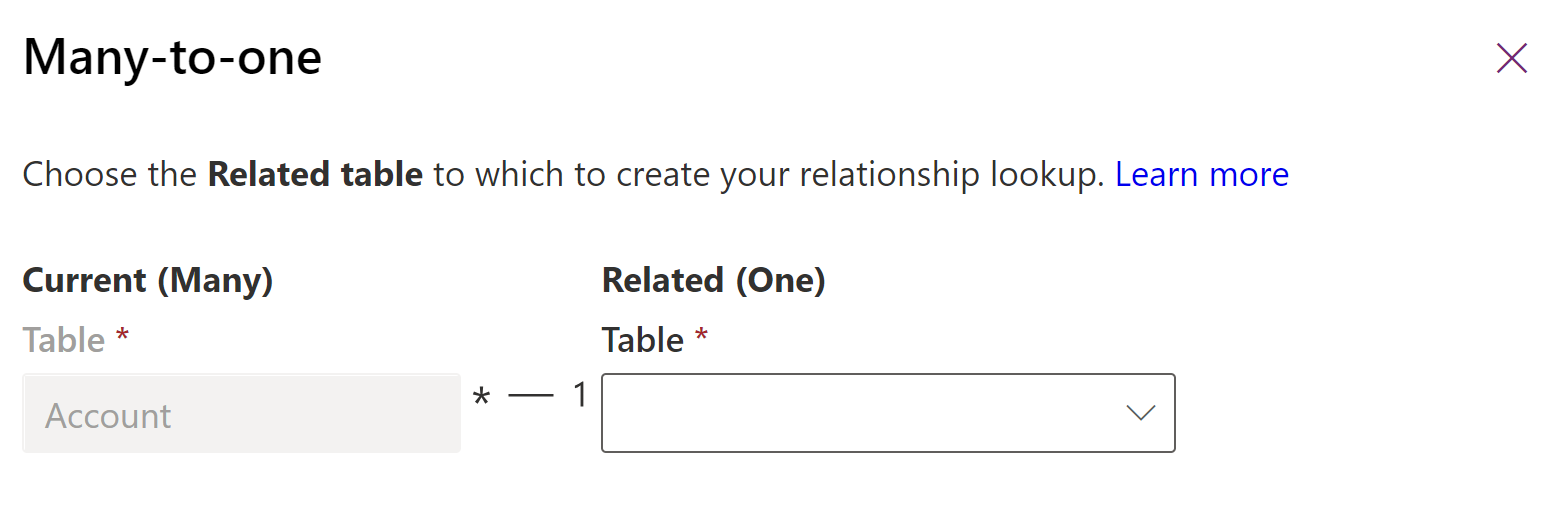 |
| One-to-many |  |
Choose the Related table for the relationship you want to create between the two tables.
Note
With either choice, a lookup column will be created on the current table.
Once you select the table you can edit the details of the relationship. In this example, multiple contact table rows can be associated with a single account.
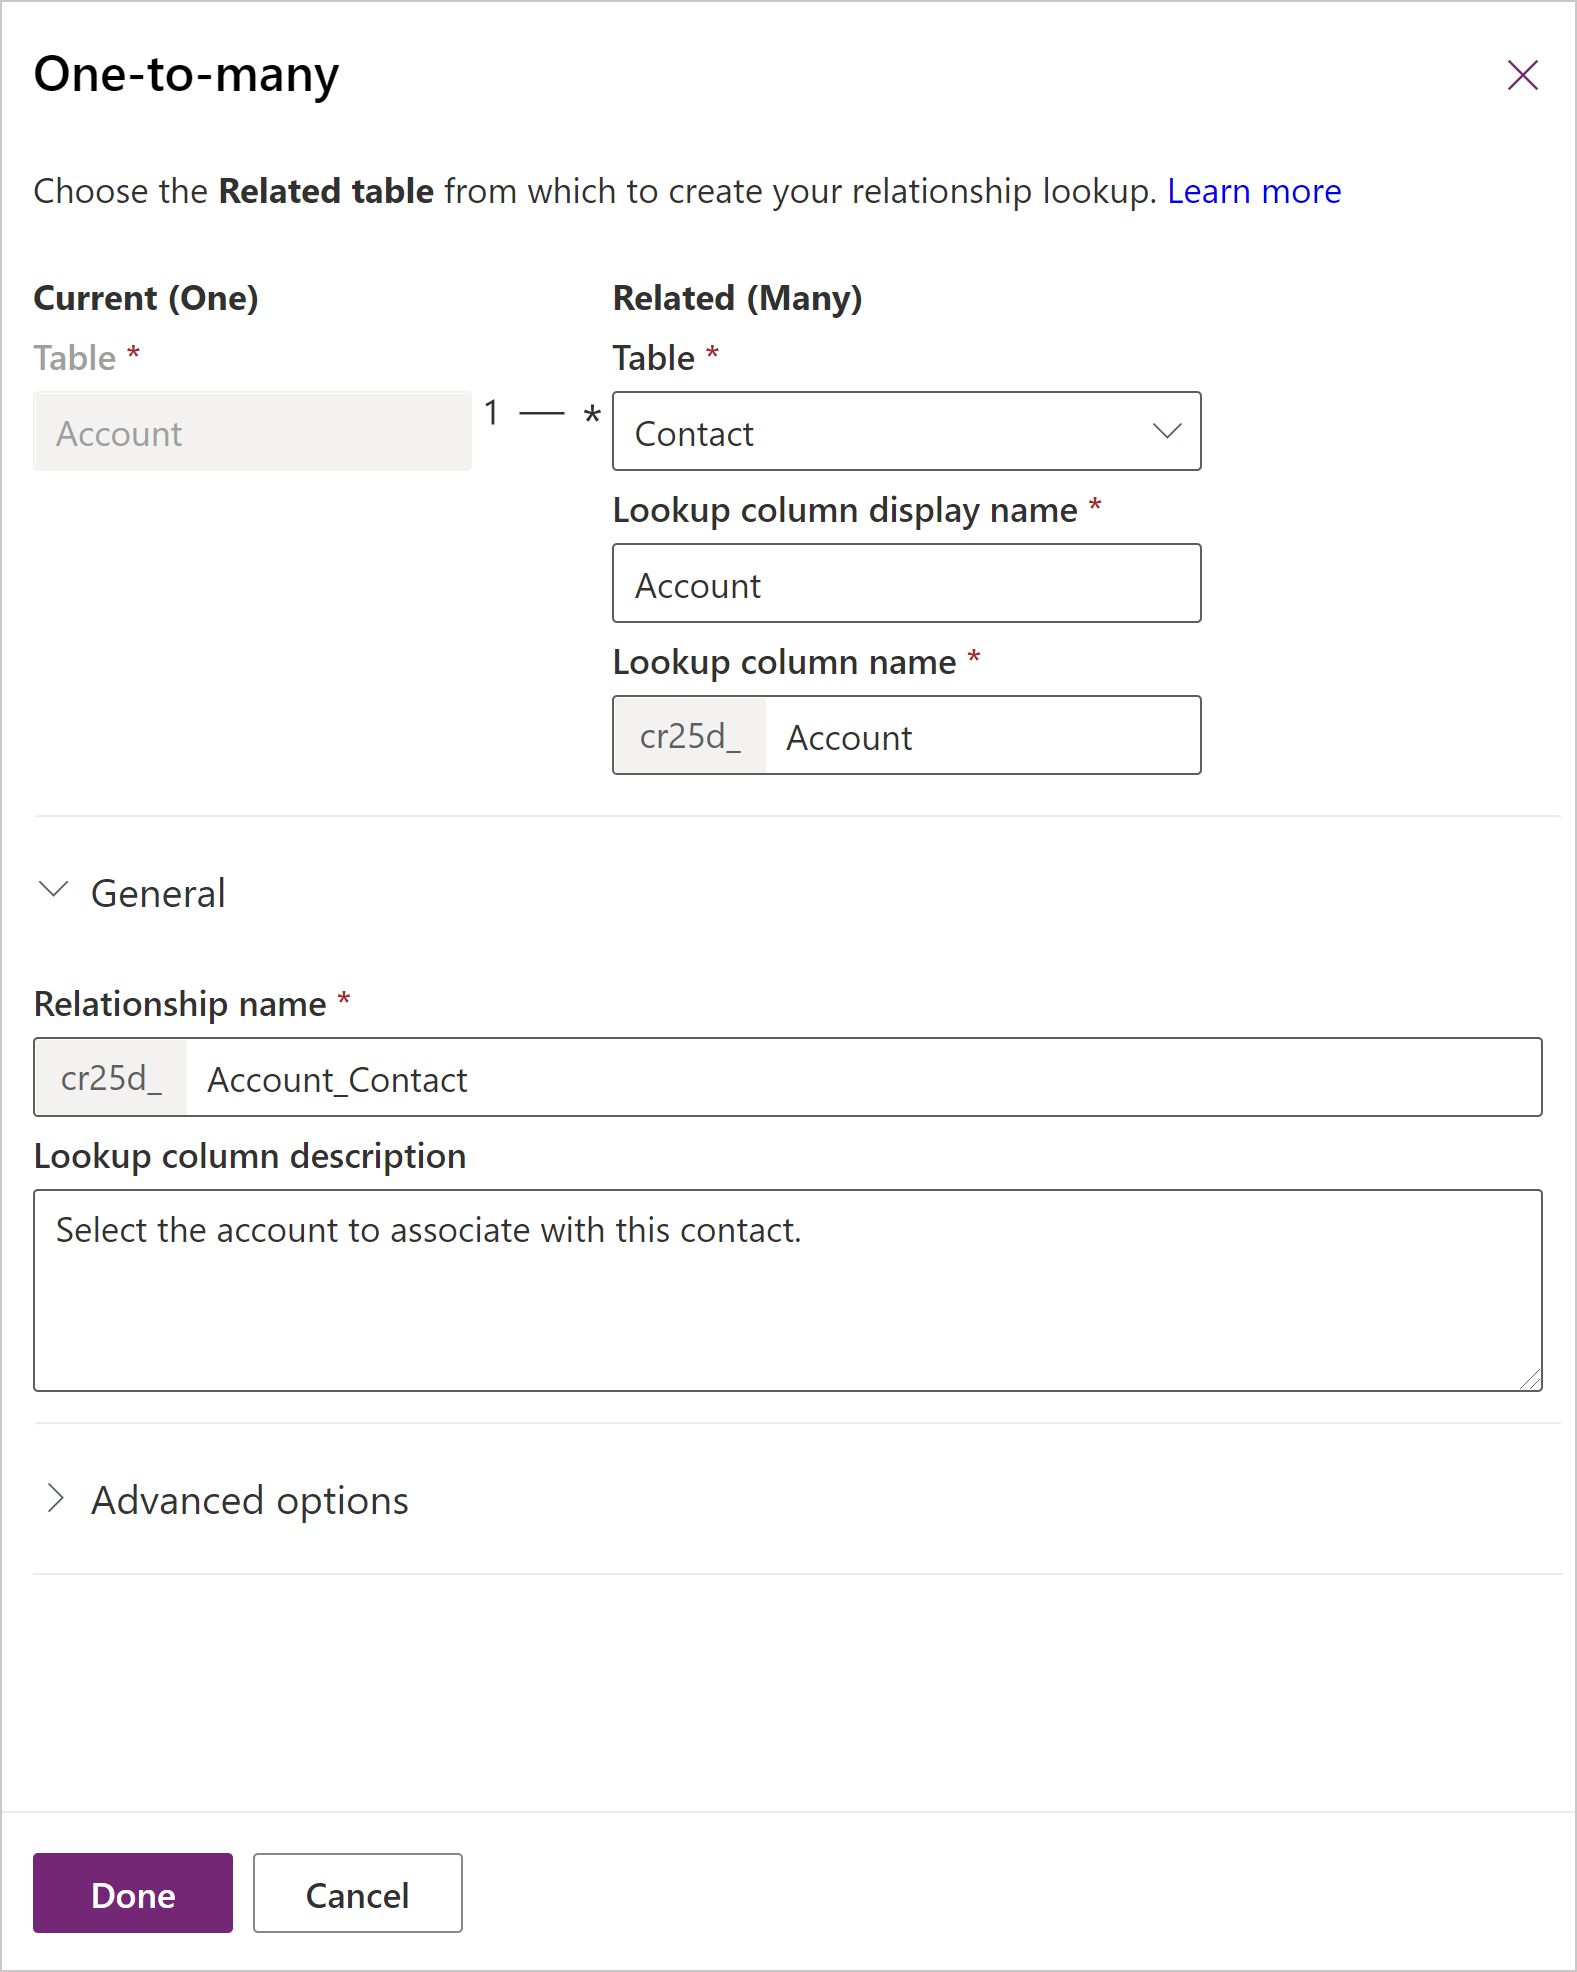
You can edit the default values provided before you save. Select More options to view the Relationship name and Lookup column description values
| Field | Description |
|---|---|
| Lookup column display name | The localizable text for the lookup column that will be created on the related table. This can be edited later. |
| Lookup column name | The name for the Lookup column that will be created on the related table. |
| Relationship name | The name for the relationship that will be created. |
| Lookup column description | The description for the lookup column. In model-driven apps this will appear as a tooltip when people hover their mouse over the column. This can be edited later. |
You can continue editing the table. Select Save table to create the relationship you have configured.
Edit relationships
While viewing table relationships, select the relationship you want to edit.
Note
Each relationship can be found within the primary table or the related table as a Many-to-one or One-to-many relationship. Although it can be edited in either place, it is the same relationship.
The publisher of a managed solution can prevent some customizations of relationships that are part of their solution.
The only columns you can edit are Lookup column display name and Lookup column description. These can also be edited in the properties of the lookup column in the related table. More information: Edit a column
Delete relationships
While viewing table relationships, select the relationship you want to delete.
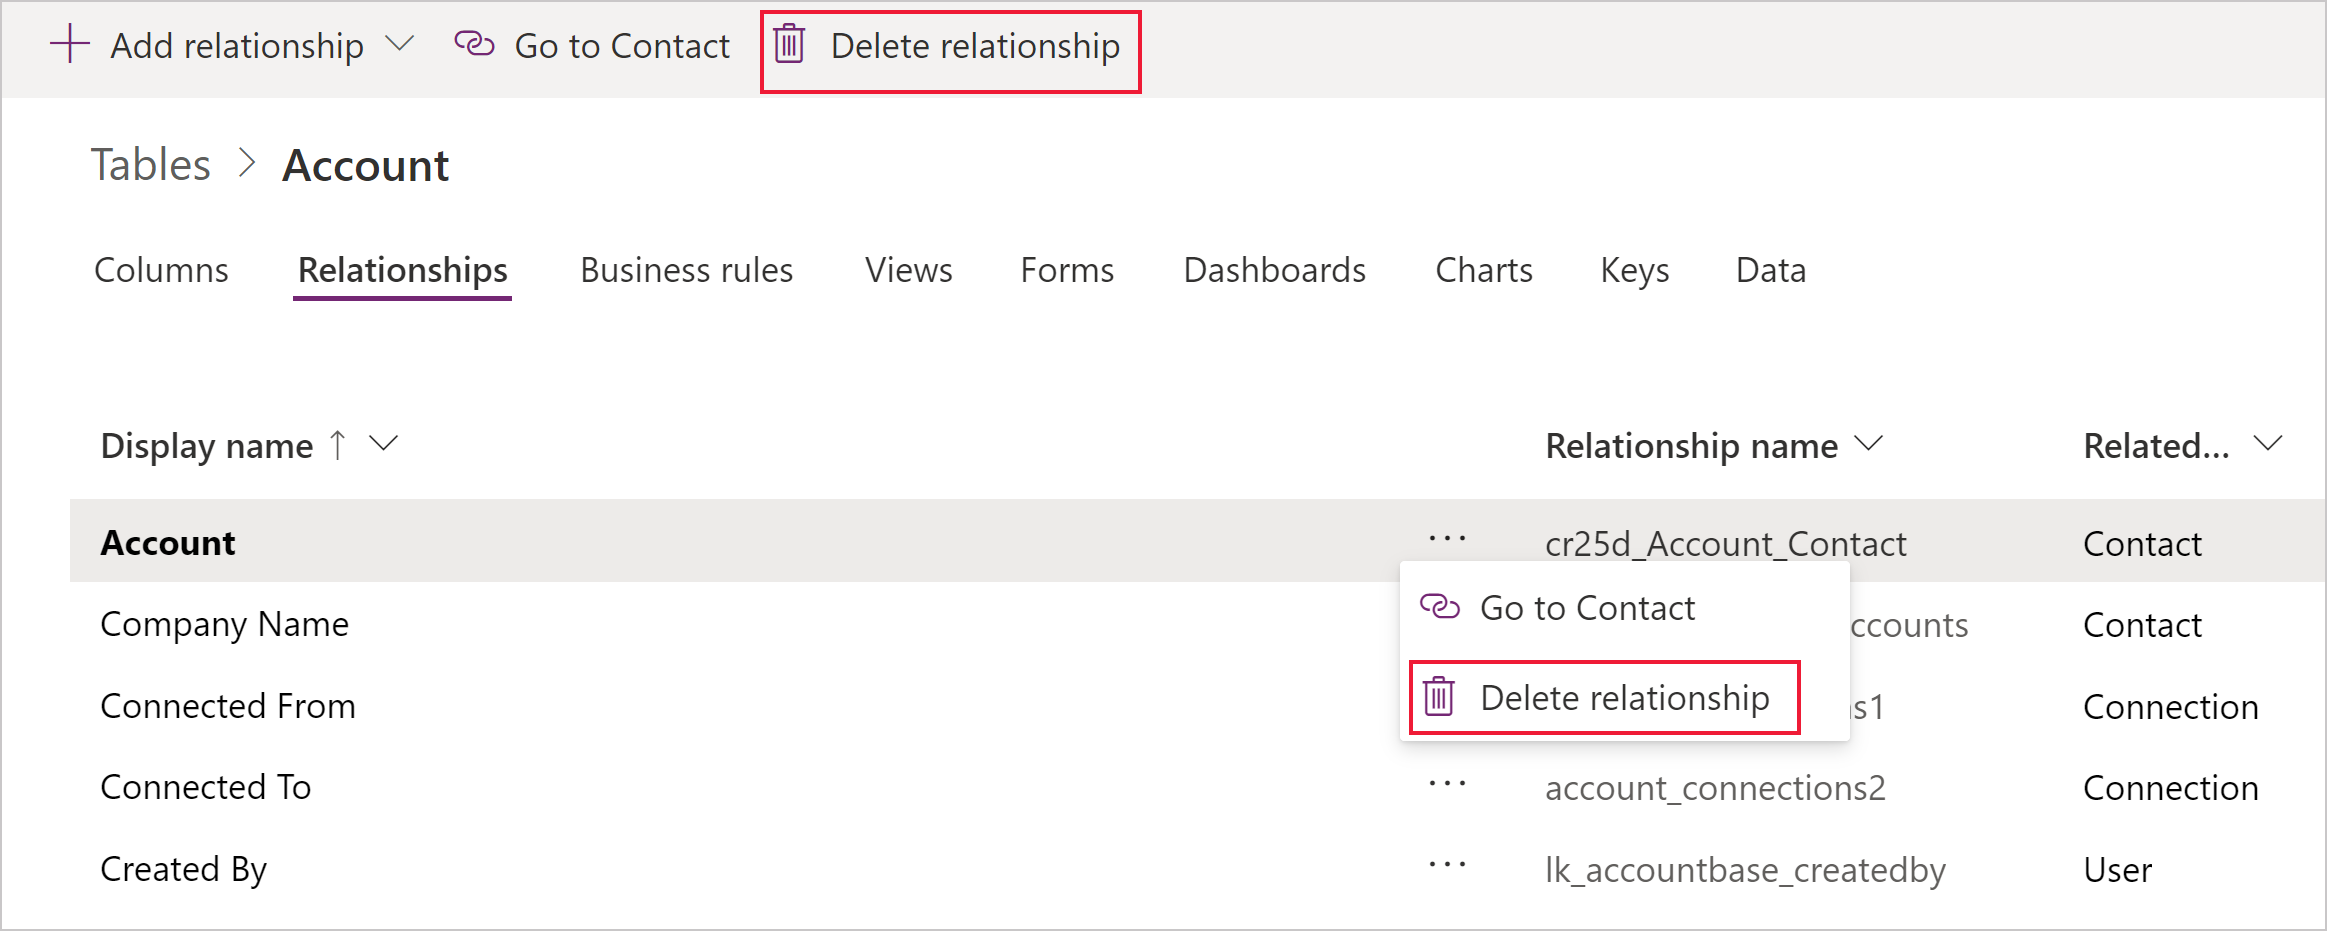
You can use the Delete relationship command from the command bar or from the row context menu when you click the ellipses (...).
Deleting the relationship will delete the lookup column on the related table.
Note
You will not be able to delete a relationship that has dependencies. For example, if you have added the lookup column to a form for the related table, you must remove the column from the form before you delete the relationship.
See also
Create and edit relationships between tables
Create and edit 1:N (one-to-many) or N:1 (many-to-one) relationships
Create and edit 1:N (one-to-many) or N:1 (many-to-one) table relationships using solution explorer
Edit a column
Feedback
Coming soon: Throughout 2024 we will be phasing out GitHub Issues as the feedback mechanism for content and replacing it with a new feedback system. For more information see: https://aka.ms/ContentUserFeedback.
Submit and view feedback for