Note
Access to this page requires authorization. You can try signing in or changing directories.
Access to this page requires authorization. You can try changing directories.
To get (import) data into Microsoft Dataverse tables, use an Excel worksheet file or a comma-separated values (CSV) file.
When you export Dataverse table data, it's exported as a CSV file.
Import from an Excel or CSV file
There are two ways to import data from Excel.
- Option 1: Import by creating and modifying a file template
- Option 2: Import by bringing your own source file
Important
- To import or export data, you must have the Environment Maker security role.
- Import from Excel or CSV file using the Import > Import data from Excel command isn’t available in GCC, GCC High, and DoD environments. To work around this limitation, from the Tables area in Power Apps select Import > Import data, and then choose a data source, such as Excel workbook or Text/CSV.
Option 1: Import by creating and modifying a file template
Every table has required columns that must exist in your input file. We recommend that you create a template. To do this, export data from the table. Then, use the same file and modify it with your data. Finally, import the modified file back into the table. Using a template can save you time because you won't have to specify the required columns for each table.
Prepare the file template
- Export the table data.
- Define a plan to make sure data is unique before you import it. Use either primary keys or alternate keys. More information: Ensure uniqueness when you import data into a table from Excel or CSV
Modify the file with your data
Copy data from your Excel or CSV file into the template that you created in the previous step.
Import the file
- On powerapps.com select Tables in the left navigation pane. If the item isn’t in the side panel pane, select …More and then select the item you want.
- Select Import > Import data from Excel.
- Select the tables where you want to import data, and then select Next.
- On the Import data page, select Upload, and choose your file. Follow the prompts to upload your file.
- After the file is uploaded and Mapping status indicates Mapping was successful, select Import from the top-right corner. Go to Troubleshoot mapping errors with Excel to navigate and fix any mapping errors.
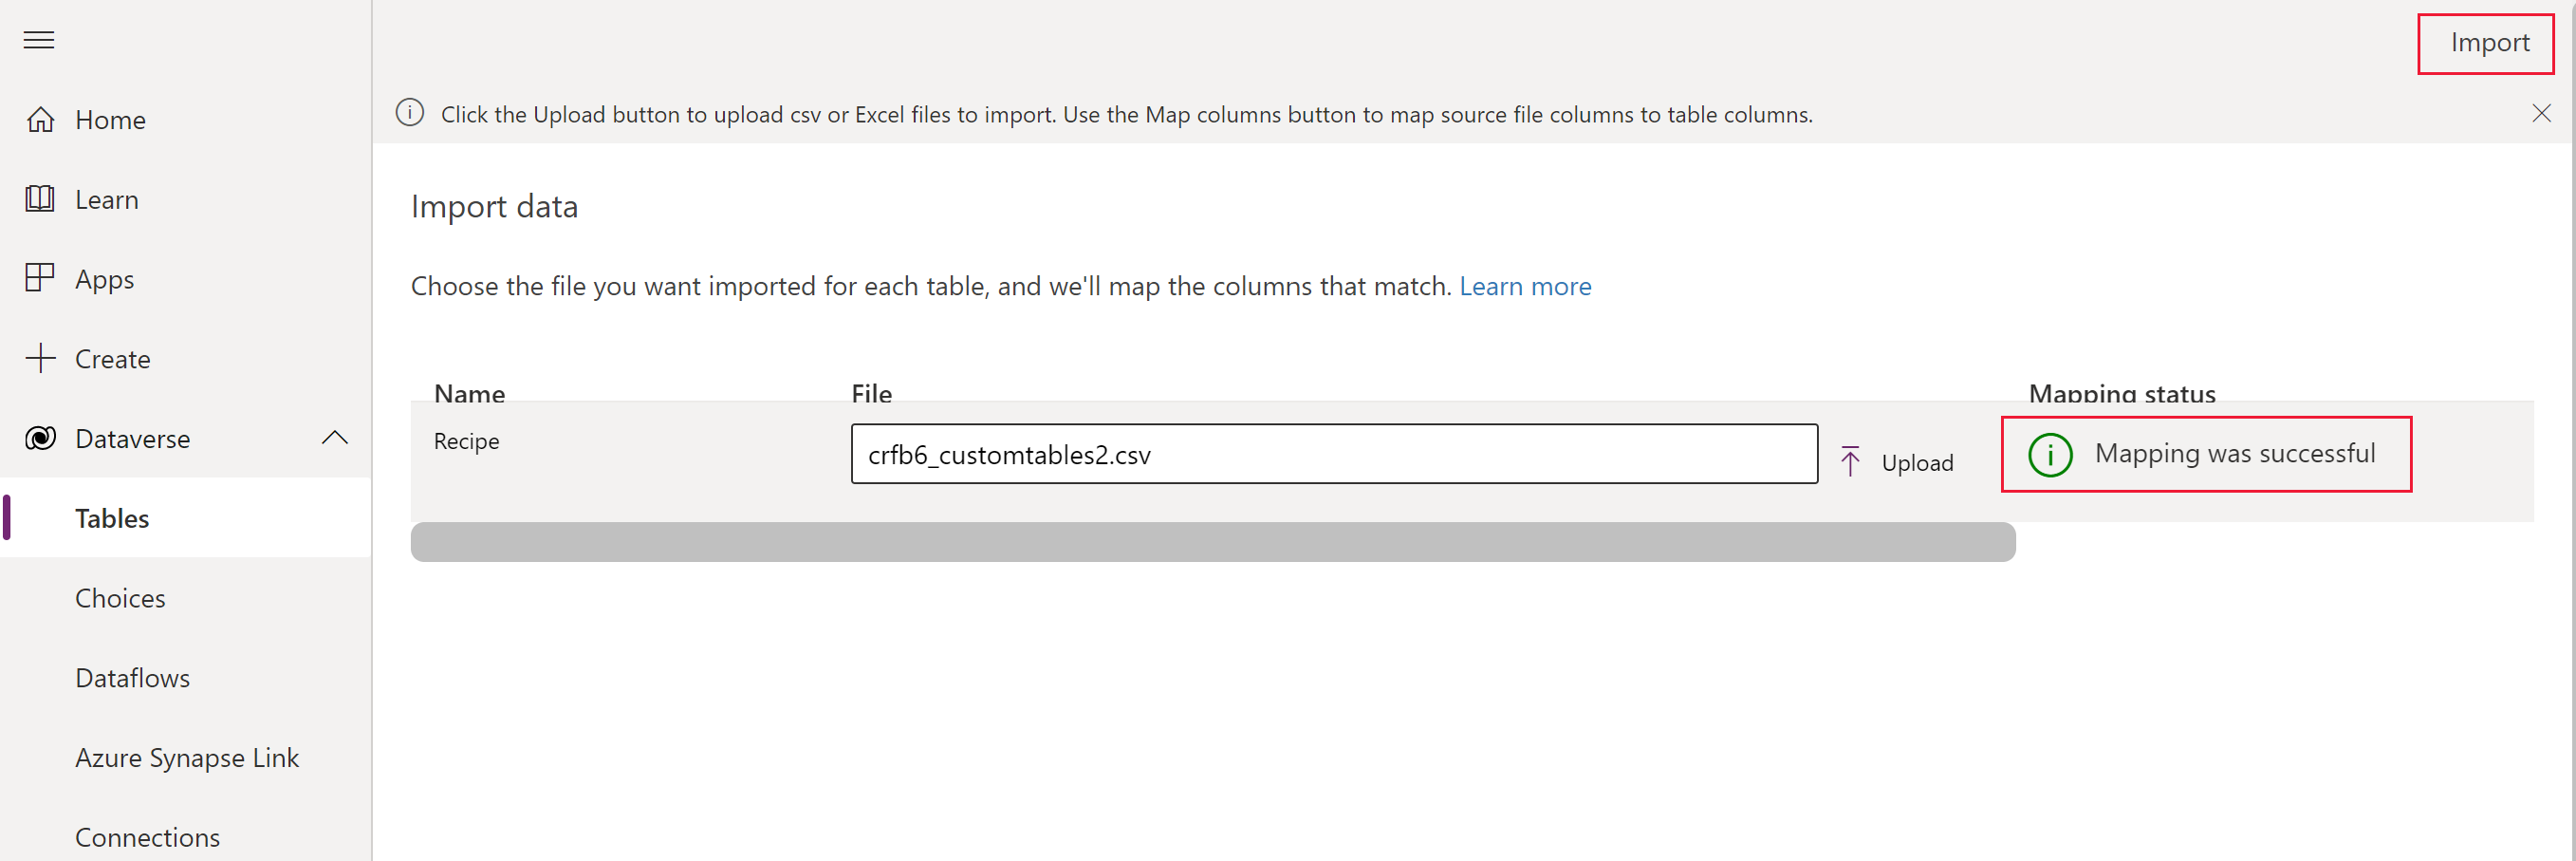 After the import finishes successfully, you'll see the total number of inserts and updates.
New import from Excel (preview)
[This topic is pre-release documentation and is subject to change.]
The new import experience lets users import data directly from an Excel file into existing Dataverse tables using a unified UI. This experience improves upon the original import method by offering:
- Assisted mapping: Uses vector-based search to provide more contextually relevant column mapping suggestions.
- Sheet selection: Users can choose which sheet to import from within a multi-sheet Excel file.
- Notifications: Real-time feedback on import status, including success, in-progress, and error states.
- Error logs: Downloadable logs to help users self-diagnose and resolve issues.
- Performance improvements: Asynchronous ingestion offers better reliability and speed for large files.
Important
- This is a preview feature.
- Preview features aren’t meant for production use and might have restricted functionality. These features are subject to supplemental terms of use, and are available before an official release so that customers can get early access and provide feedback.
Prerequisites
To use the feature a Power Platform admin must enable the "Import Excel to existing table with assisted mapping" environment setting in the Power Platform admin center. Select the environment, and then select Settings > Product > Features and enable the "Import Excel to existing table with assisted mapping" setting.
Note
The Import Excel to existing table with assisted mapping environment setting is being removed from the Power Platform admin center. This feature is currently being improved and that setting is no longer used.
Import from Excel (preview) steps
- Go to the table you want to import data to, and then on the command bar select Import > Import from Excel (Preview).
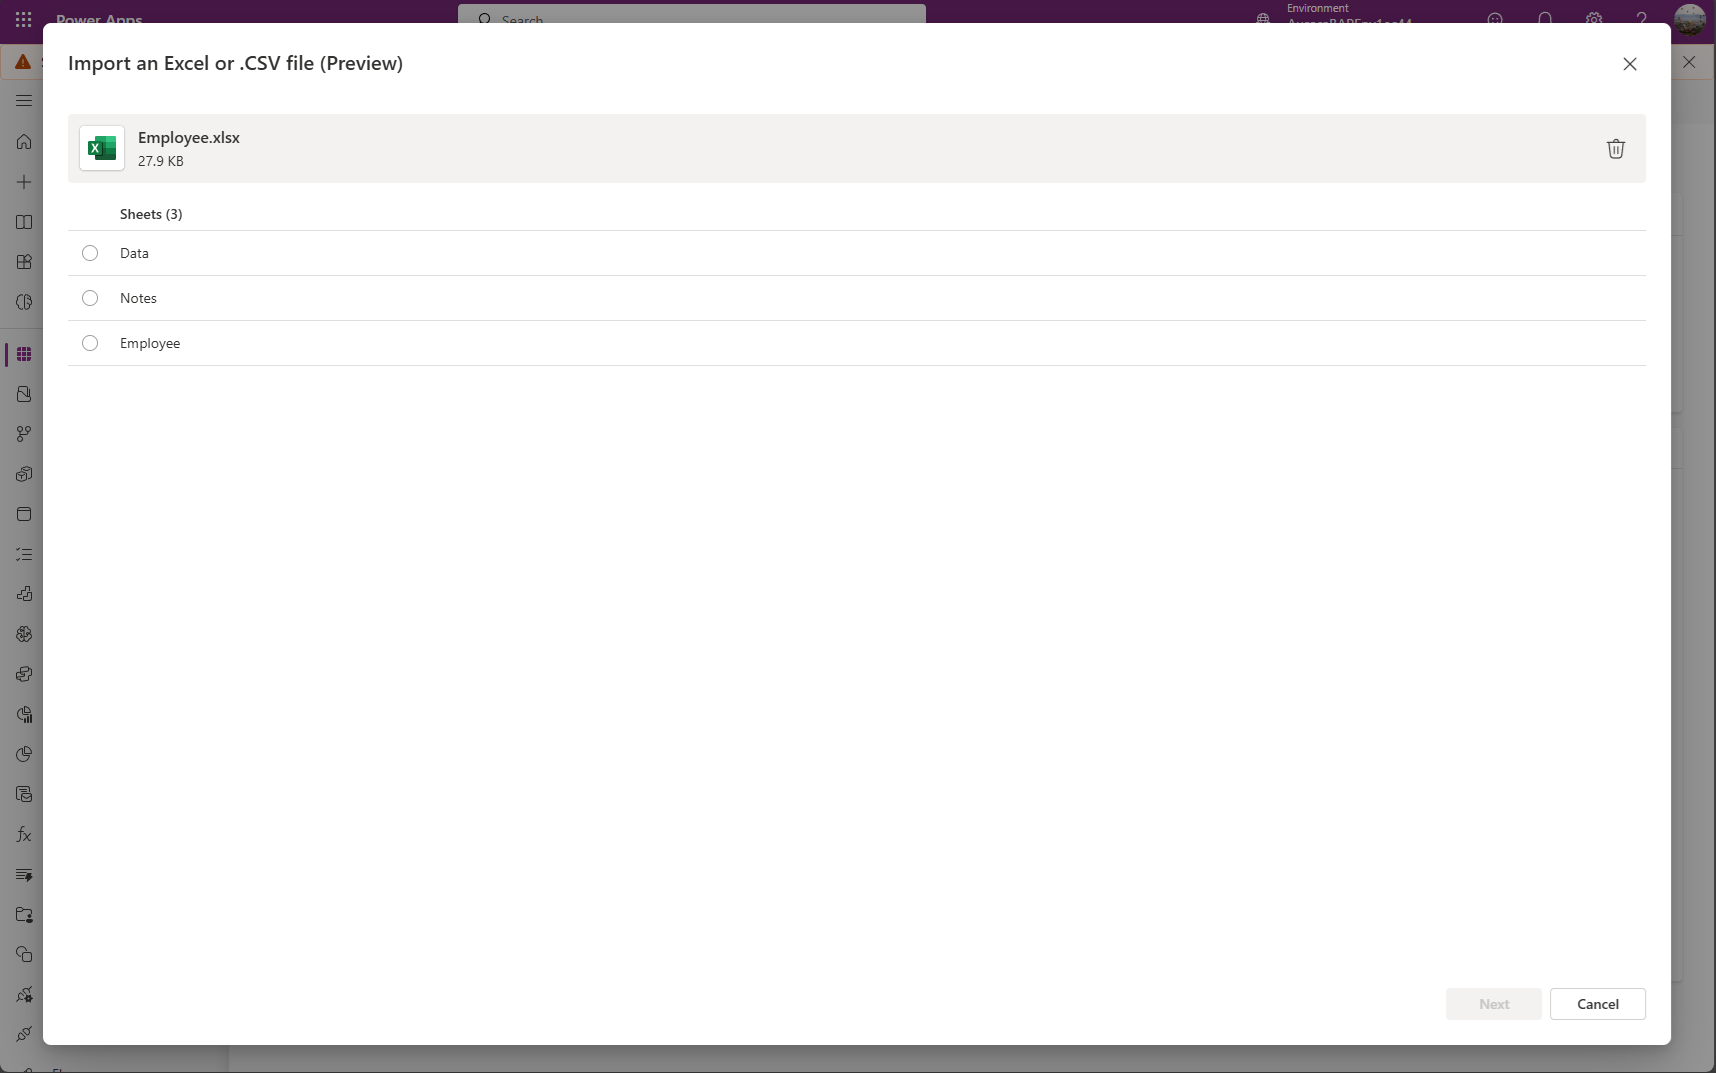
- Upload your Excel file and select the sheet to import.
- Map columns. A primary key is required if you want to update existing records in the table. If no primary key is selected ("None" option), then all records from the Excel sheet or CSV file are added as new records.
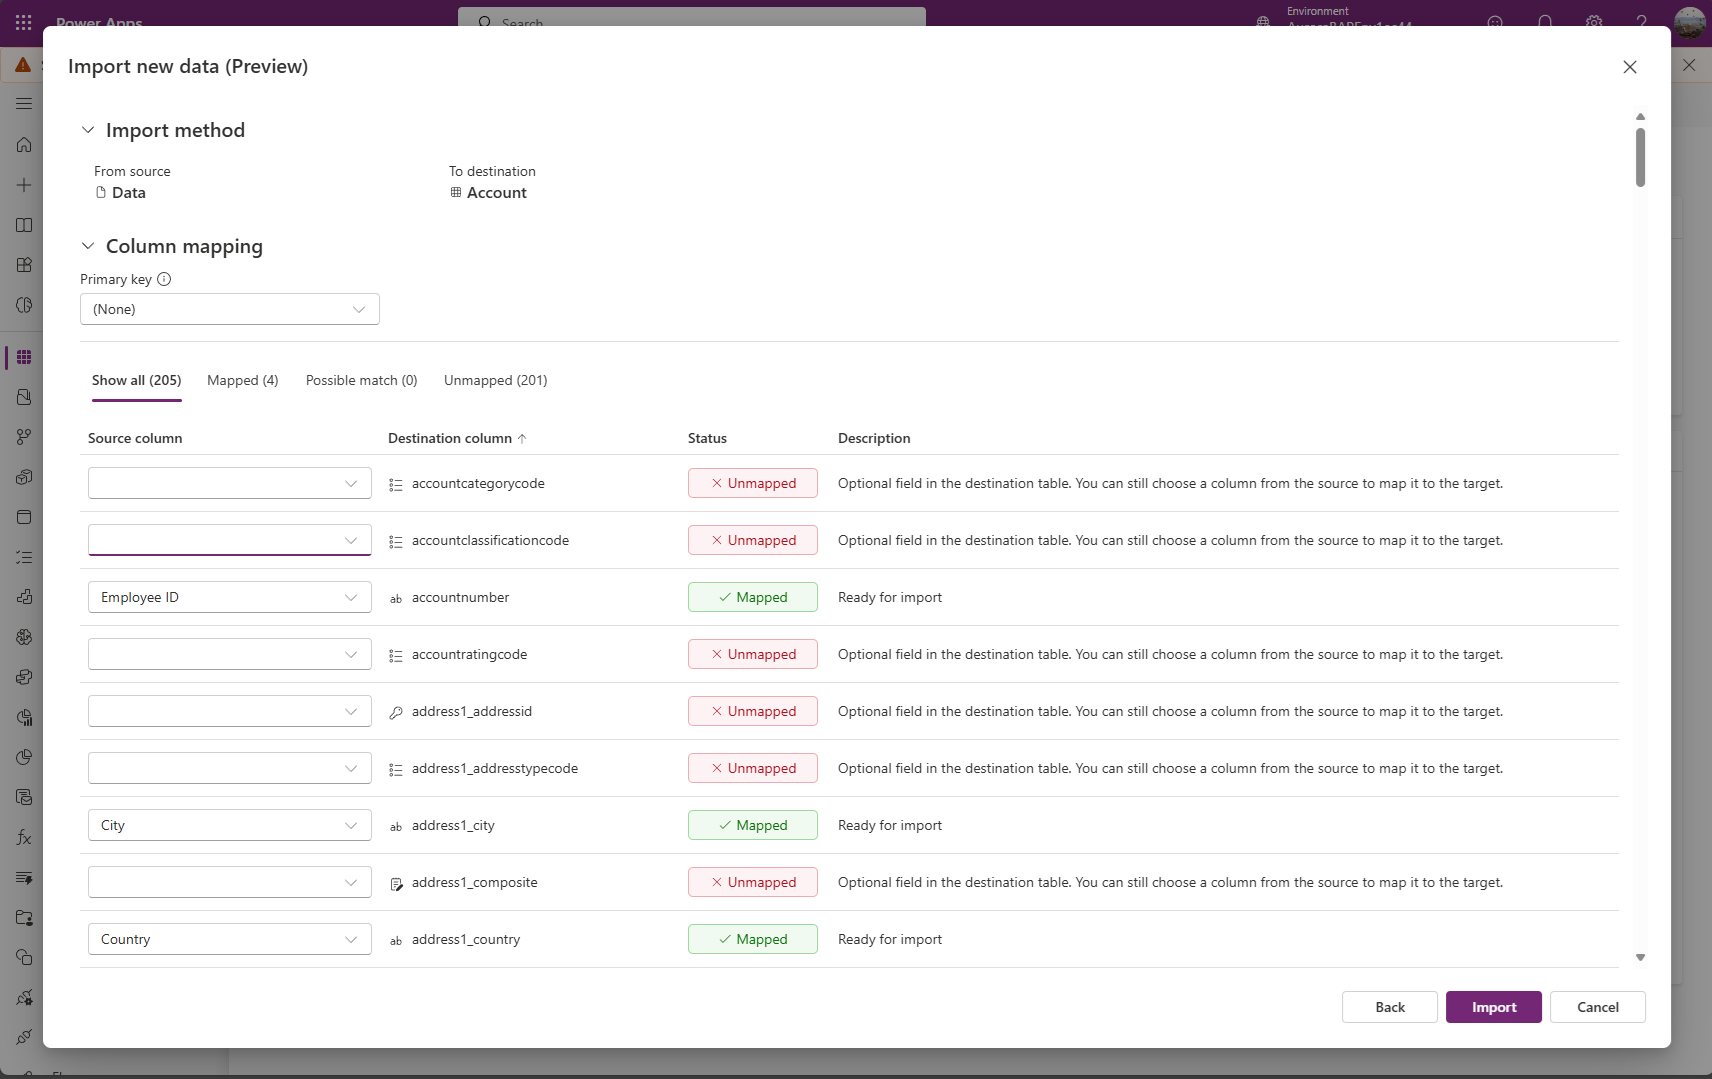
- Review the summary and select Import.
Monitor the import status from notifications:
- In progress: Ongoing import activity with the message Your data is importing displayed.
- Success: Data was processed or indexed with the message Upload completed displayed.
- Error: Upload completed with some errors displayed that includes a link to download logs for troubleshooting.
Option 2: Import by bringing your own source file
If you're an advanced user and know the required columns for a given table for Dataverse tables, define your own Excel or CSV source file. Follow the steps in Import the file.
Troubleshoot mapping errors with Excel
If you get mapping errors after you upload your file, select Map status. Take the following steps to inspect and rectify the column mapping errors.
Use the drop-down menu on the right, under Show, to walk through the Unmapped columns, Fields with error, or Required Fields.
Tip
- Depending on whether you get a Warning or an Error, inspect Unmapped columns or Fields with error through the drop-down menu in Column Mappings.
- Use the upsert (Update or Insert) logic to either update the row, if it already exists, or to insert a new row.
After you resolve all the errors and warnings, select Save Changes in the top-right corner. You'll go back to the Import Data screen.
When the Mapping status column shows Mapping was successful, select Import from the top-right corner.
When the Import completed successfully message appears, the total inserts and updates are displayed.
Ensure uniqueness when you import data into a table from Excel or CSV
Dataverse tables use a primary key to uniquely identify rows within a Dataverse table. The primary key for a Dataverse table is a globally unique identifier (GUID). It forms the default basis for row identification. Data operations, like importing data into Dataverse tables, surface the default primary keys.
Example:
The primary key for an Account table is accountid.

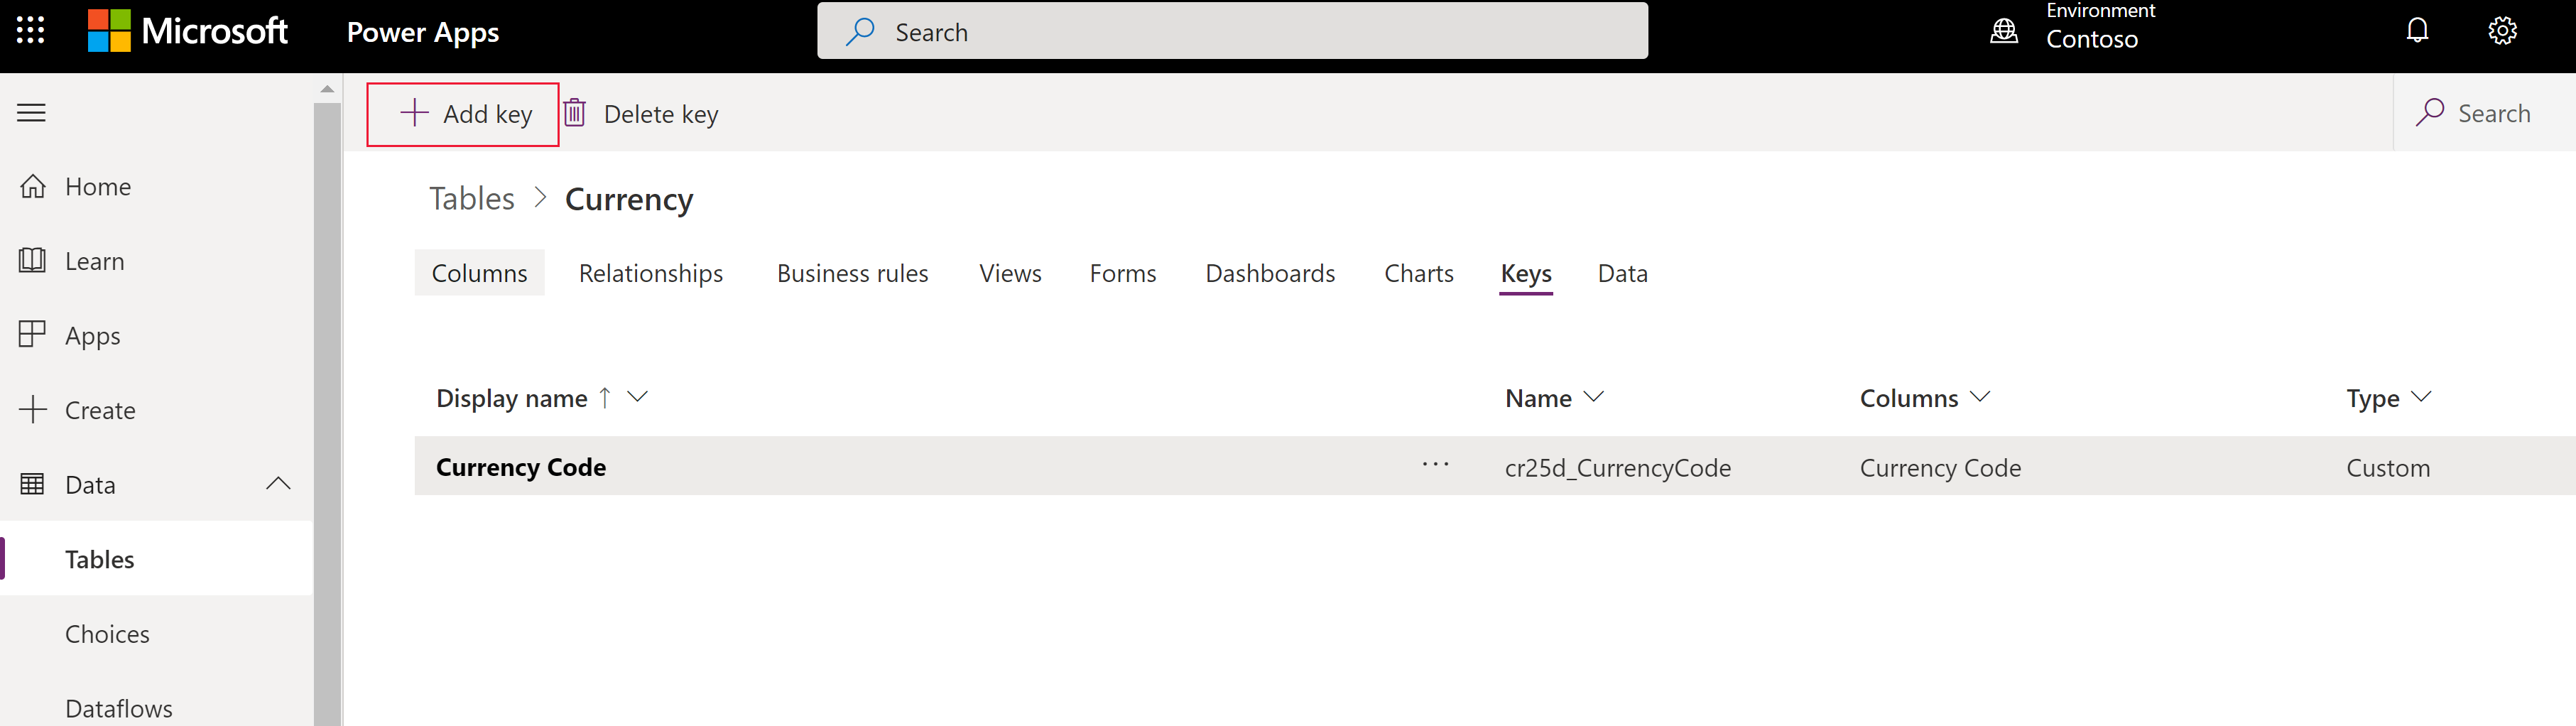
Sometimes, a primary key might not work when you integrate data from an external source. Use Dataverse to define alternate keys that uniquely identify a row in place of the primary key.
Example:
For an Account table, you might set transactioncurrencyid as an alternate key by using a natural key-based identification. For example, use US Dollar instead of the GUID value 88c6c893-5b45-e811-a953-000d3a33bcb9 shown previously. You can also choose currency symbol or currency name as keys. More information: Define alternate keys using Power Apps portal

You can still use primary keys as identifiers after you specify alternate keys. In the preceding sample, the first file is still valid if GUIDs are valid data.
Export data
Export data from a single table in a comma-separated value (CSV) format.
Sign into Power Apps, on the left navigation pane select Tables. If the item isn’t in the side panel pane, select …More and then select the item you want.
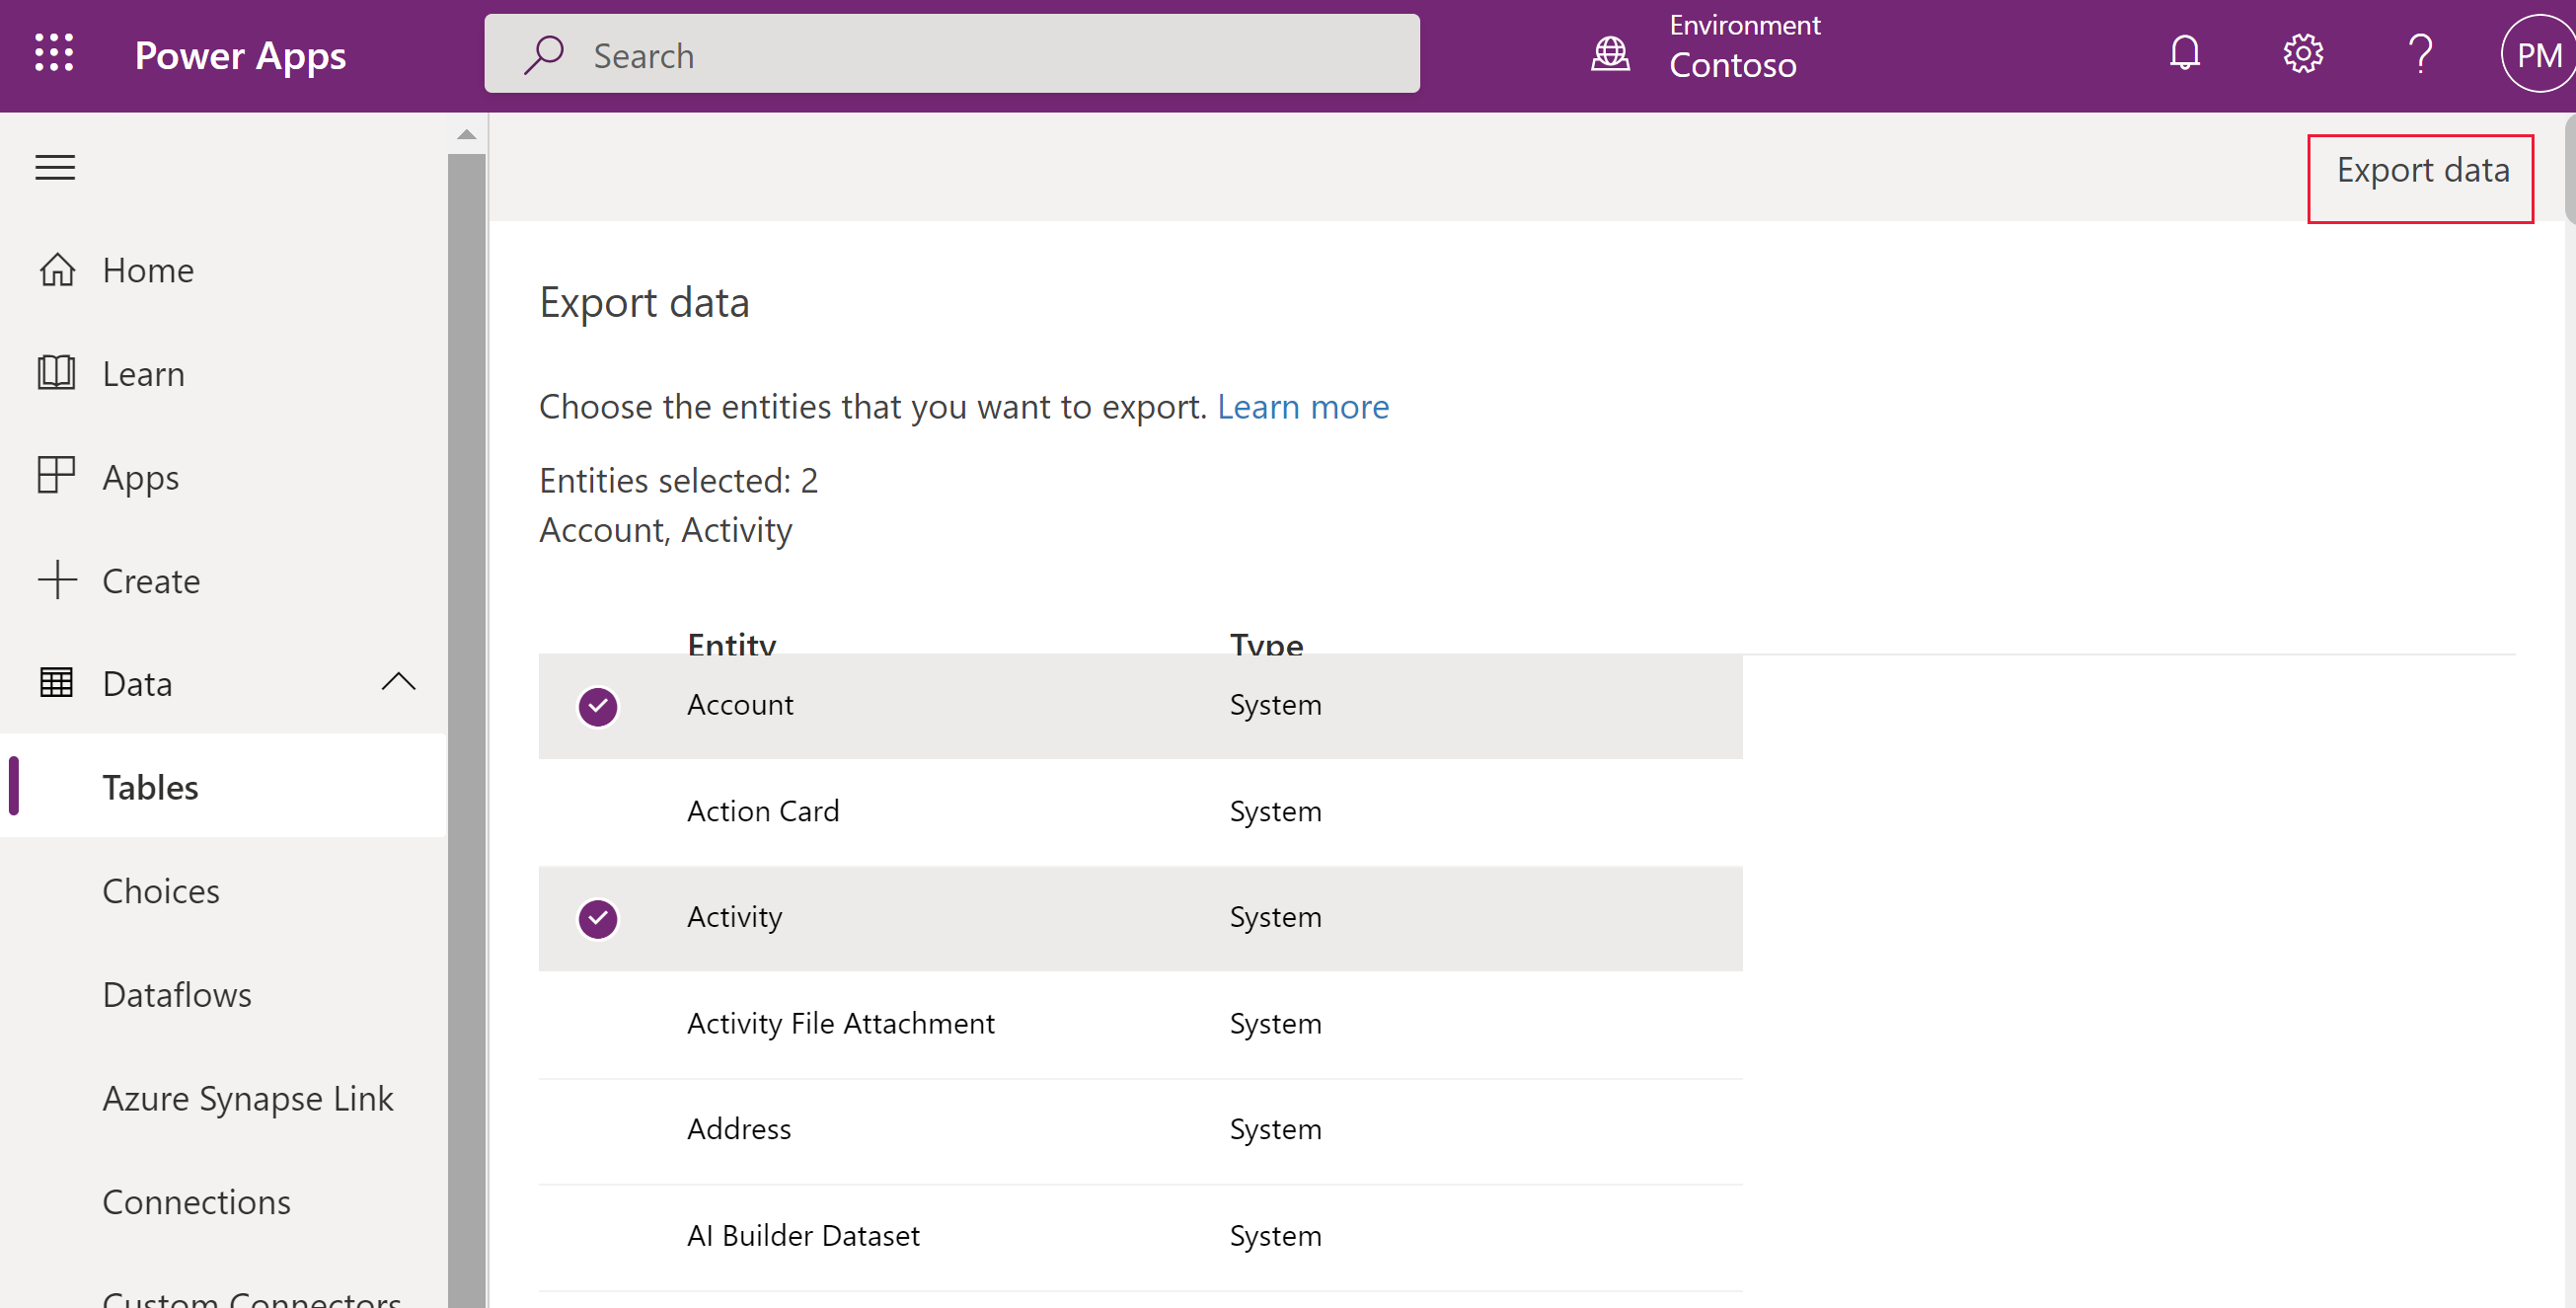
Select Export > Export data.
Select the table from which you want to export data, and then select Export data.
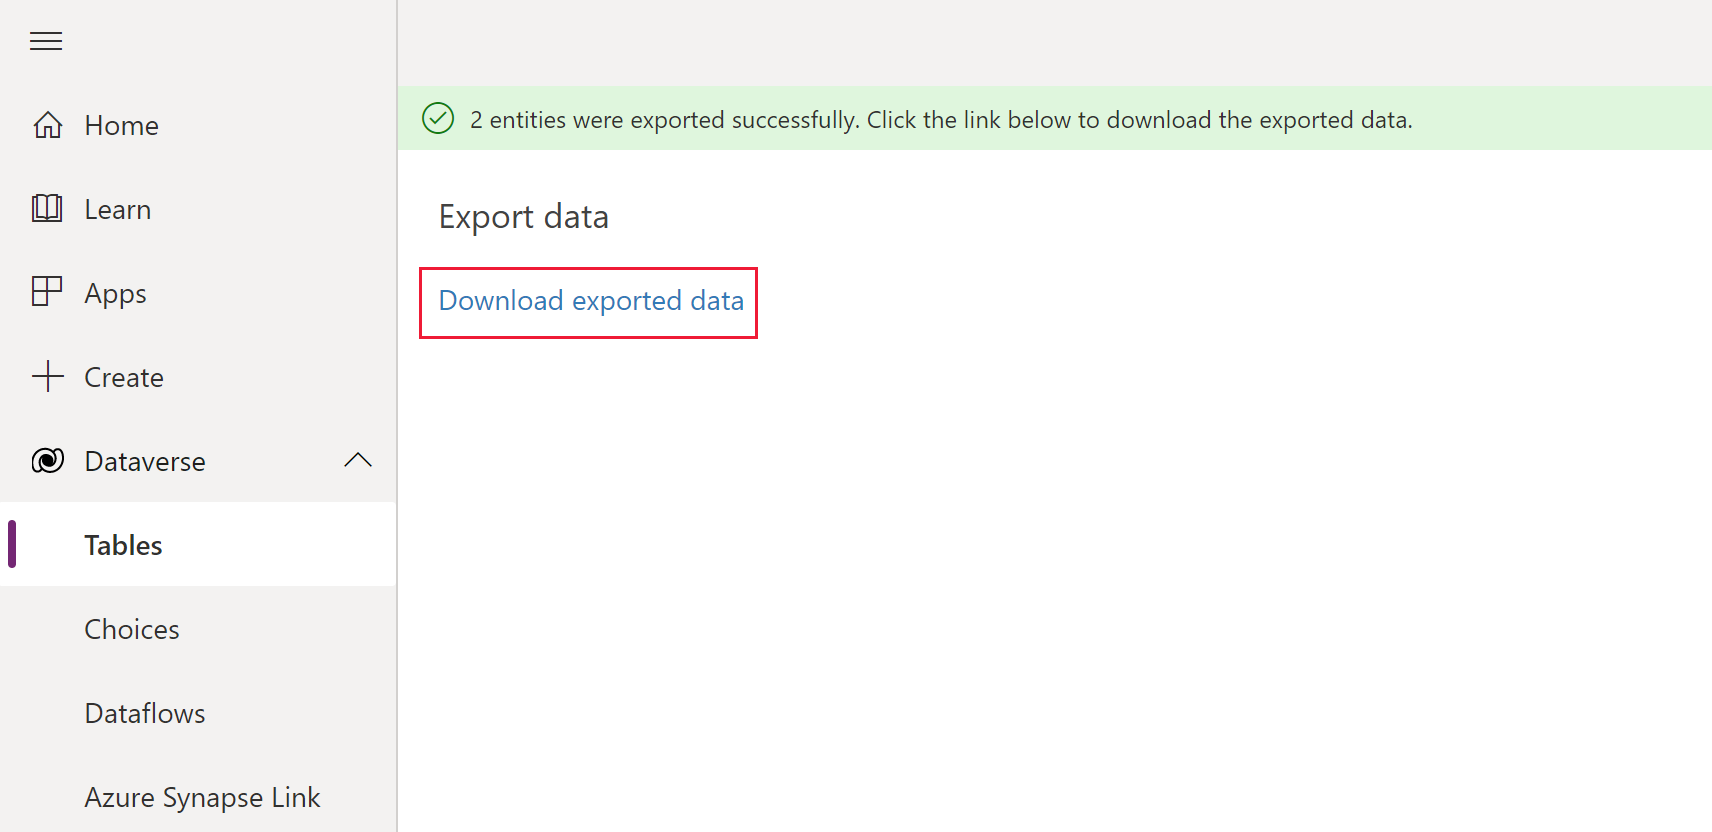
After the export finishes successfully, select Download exported data to download the CSV file to the download folder specified in your web browser.
Note
Exports have a 12 minute time limit. If the volume of data exported exceeds 12 minutes the export will fail. If this occurs, export data in smaller segments.
Unsupported data types and fields
The following data types aren't currently supported for import or export.
- Timezone
- Choices (multiselect)
- Image
- File
The following fields are system fields and aren't supported for import and export.
OwneridCreatedbyCreatedonbehalfbyCreatedonModifiedbyModifiedonbehalfbyModifiedonOverriddencreatedon
Note
Get Data from Excel and Export Data features are currently not included in the Power Apps Developer Plan.
Import using a connector
Use a connector to import data from a selection of many different sources, such as Azure, SQL Server database, SharePoint, Access, OData, and more. More information: Create and use dataflows in Power Apps