Events
Take the Microsoft Learn AI Skills Challenge
Sep 24, 11 PM - Nov 1, 11 PM
Elevate your skills in Microsoft Fabric and earn a digital badge by November 1.
Register nowThis browser is no longer supported.
Upgrade to Microsoft Edge to take advantage of the latest features, security updates, and technical support.
Model-driven app design is a component-focused approach to app development. Model-driven apps are especially well suited for process driven apps that are data dense and make it easy for users to move between related records. For example, if you are building an app to manage a complex process, such as onboarding new employees, managing a sales process, or member relationships in an organization like a bank, a model-driven app is a great choice. Model-driven apps also allow you to quickly build an app by combining components like forms, views, charts, and dashboards.
In this tutorial, you create a model-driven app by using one of the standard tables that is available in Microsoft Dataverse, the account table.
Sign in to Power Apps. If you don't already have a Power Apps account, select the Get started free link.
An environment in Power Apps is a space to store, manage, and share your organization’s business data, apps, chatbots, and flows. It also serves as a container to separate apps that might have different roles, security requirements, or target audiences.
Each environment can have one Dataverse database.
Select the environment you want, or go to the Power Platform admin center to create a new one. You can choose the environment by selecting Environment from the upper right.
We recommend creating your model-driven app from a solution. A solution is a package that can contain Dataverse tables, forms, views, apps, flows, and other components. By building your model driven-app in a solution, you can easily move it to other environments or preserve a copy in your source control repository.
Select Solutions on the left navigation pane. If the item isn’t in the side panel pane, select …More and then select the item you want.
Select New solution. More information: Create a solution.
Enter a Display name for your solution, such as Power Apps Training. Next, you add the account table that will be included in your model-driven app.
In your solution, select Add existing, and then select Table.
Under Add existing tables screen, select the Account table, and then select Next.
Select Include all components, and then select Add.
Now that you have a solution and have added the account table to it, you're ready to create a model-driven app.
In your solution, select New, select App, and then select Model-driven app.
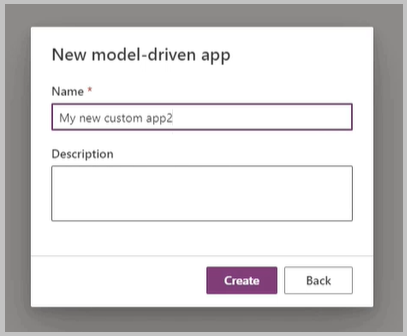
Enter a name for the app, such as My new custom app2, and then select Create.
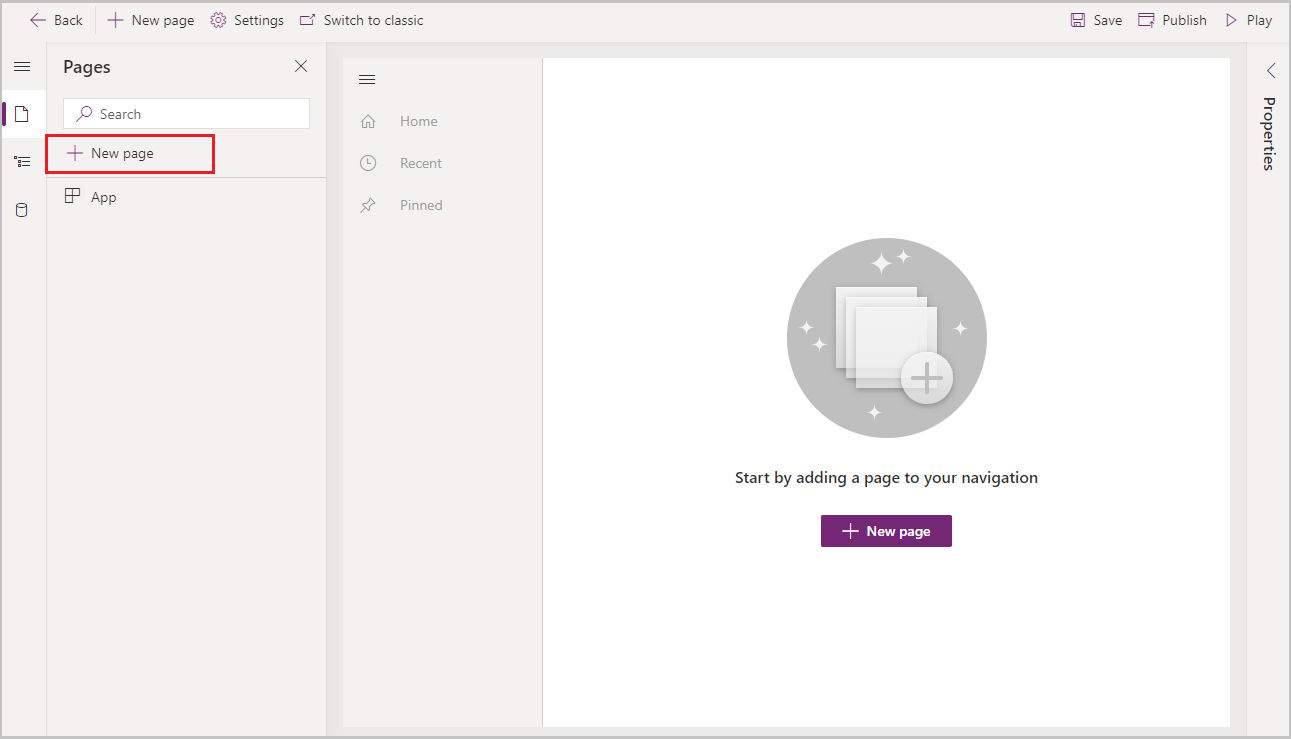
Next, you add a new page to the model-driven app.
Select New page from the Pages menu.
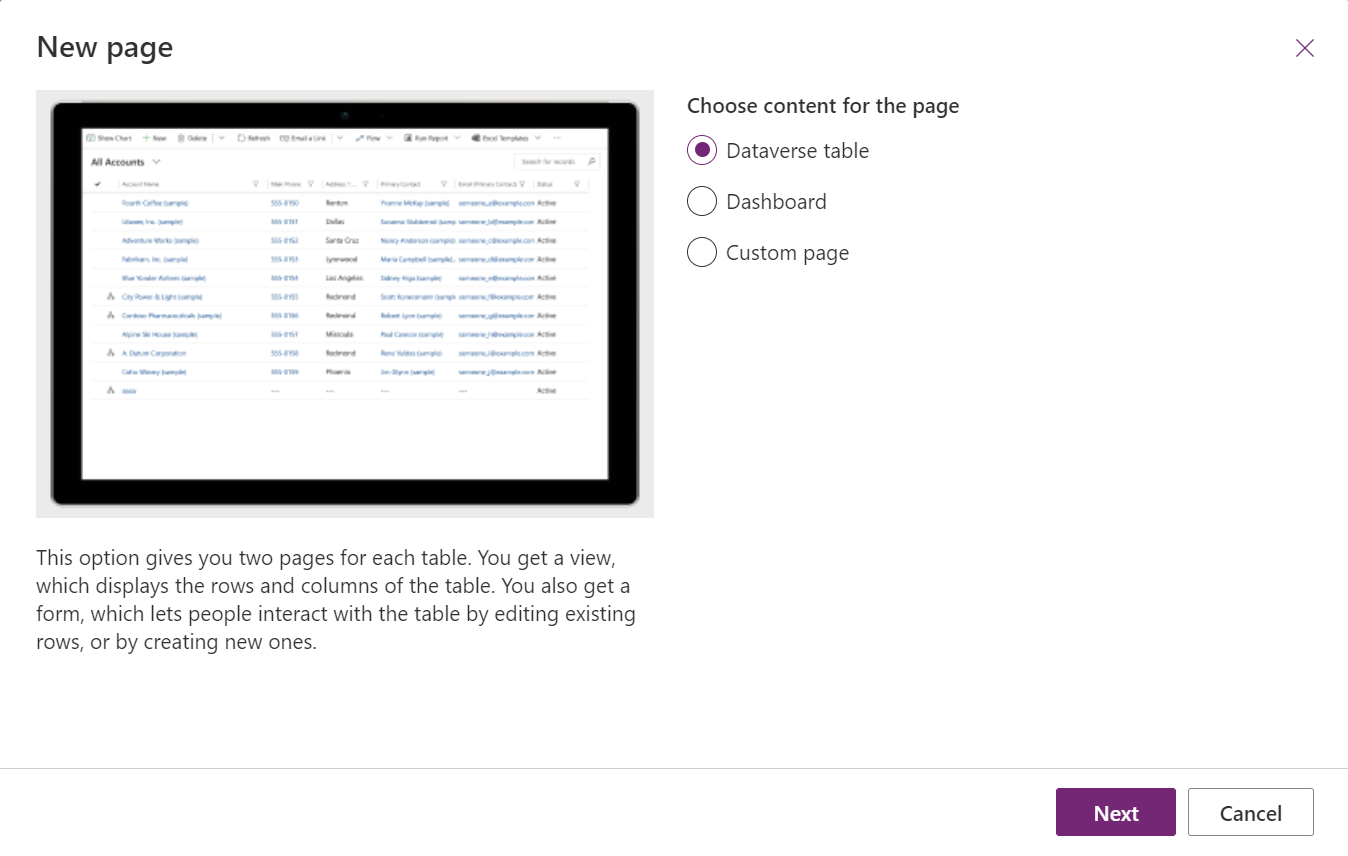
Select Table based view and form, and then select Next.
Select table such as Contact, and then select Add.
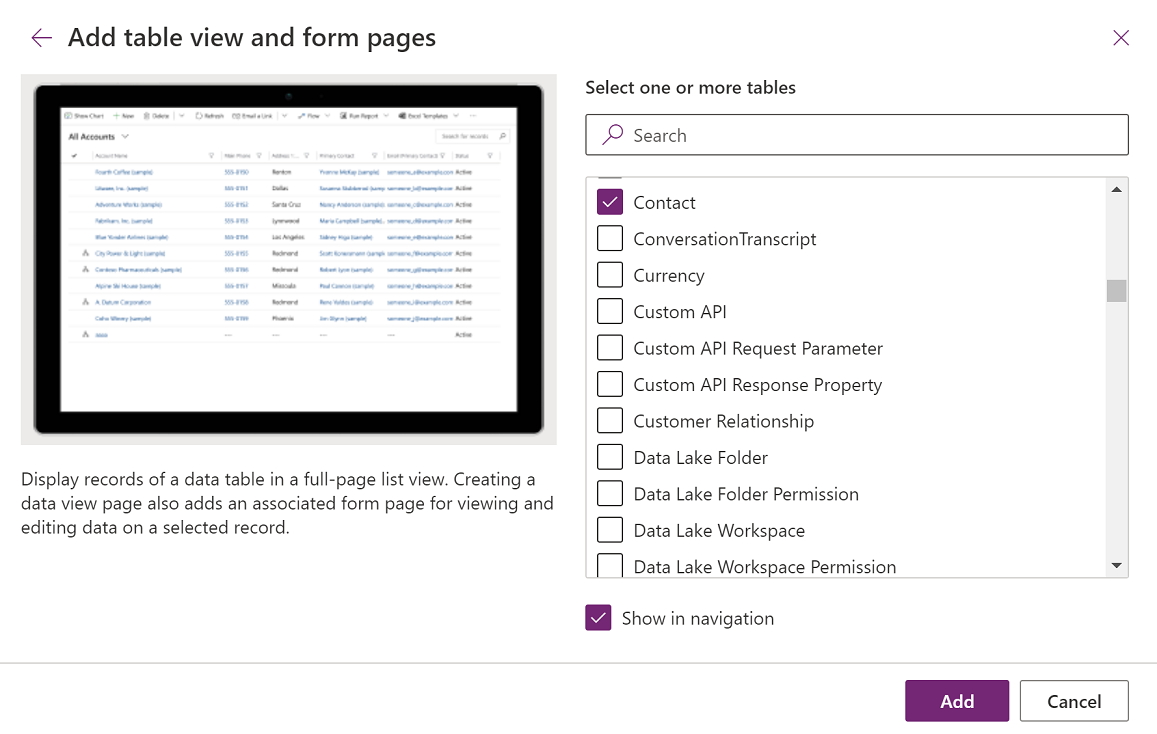
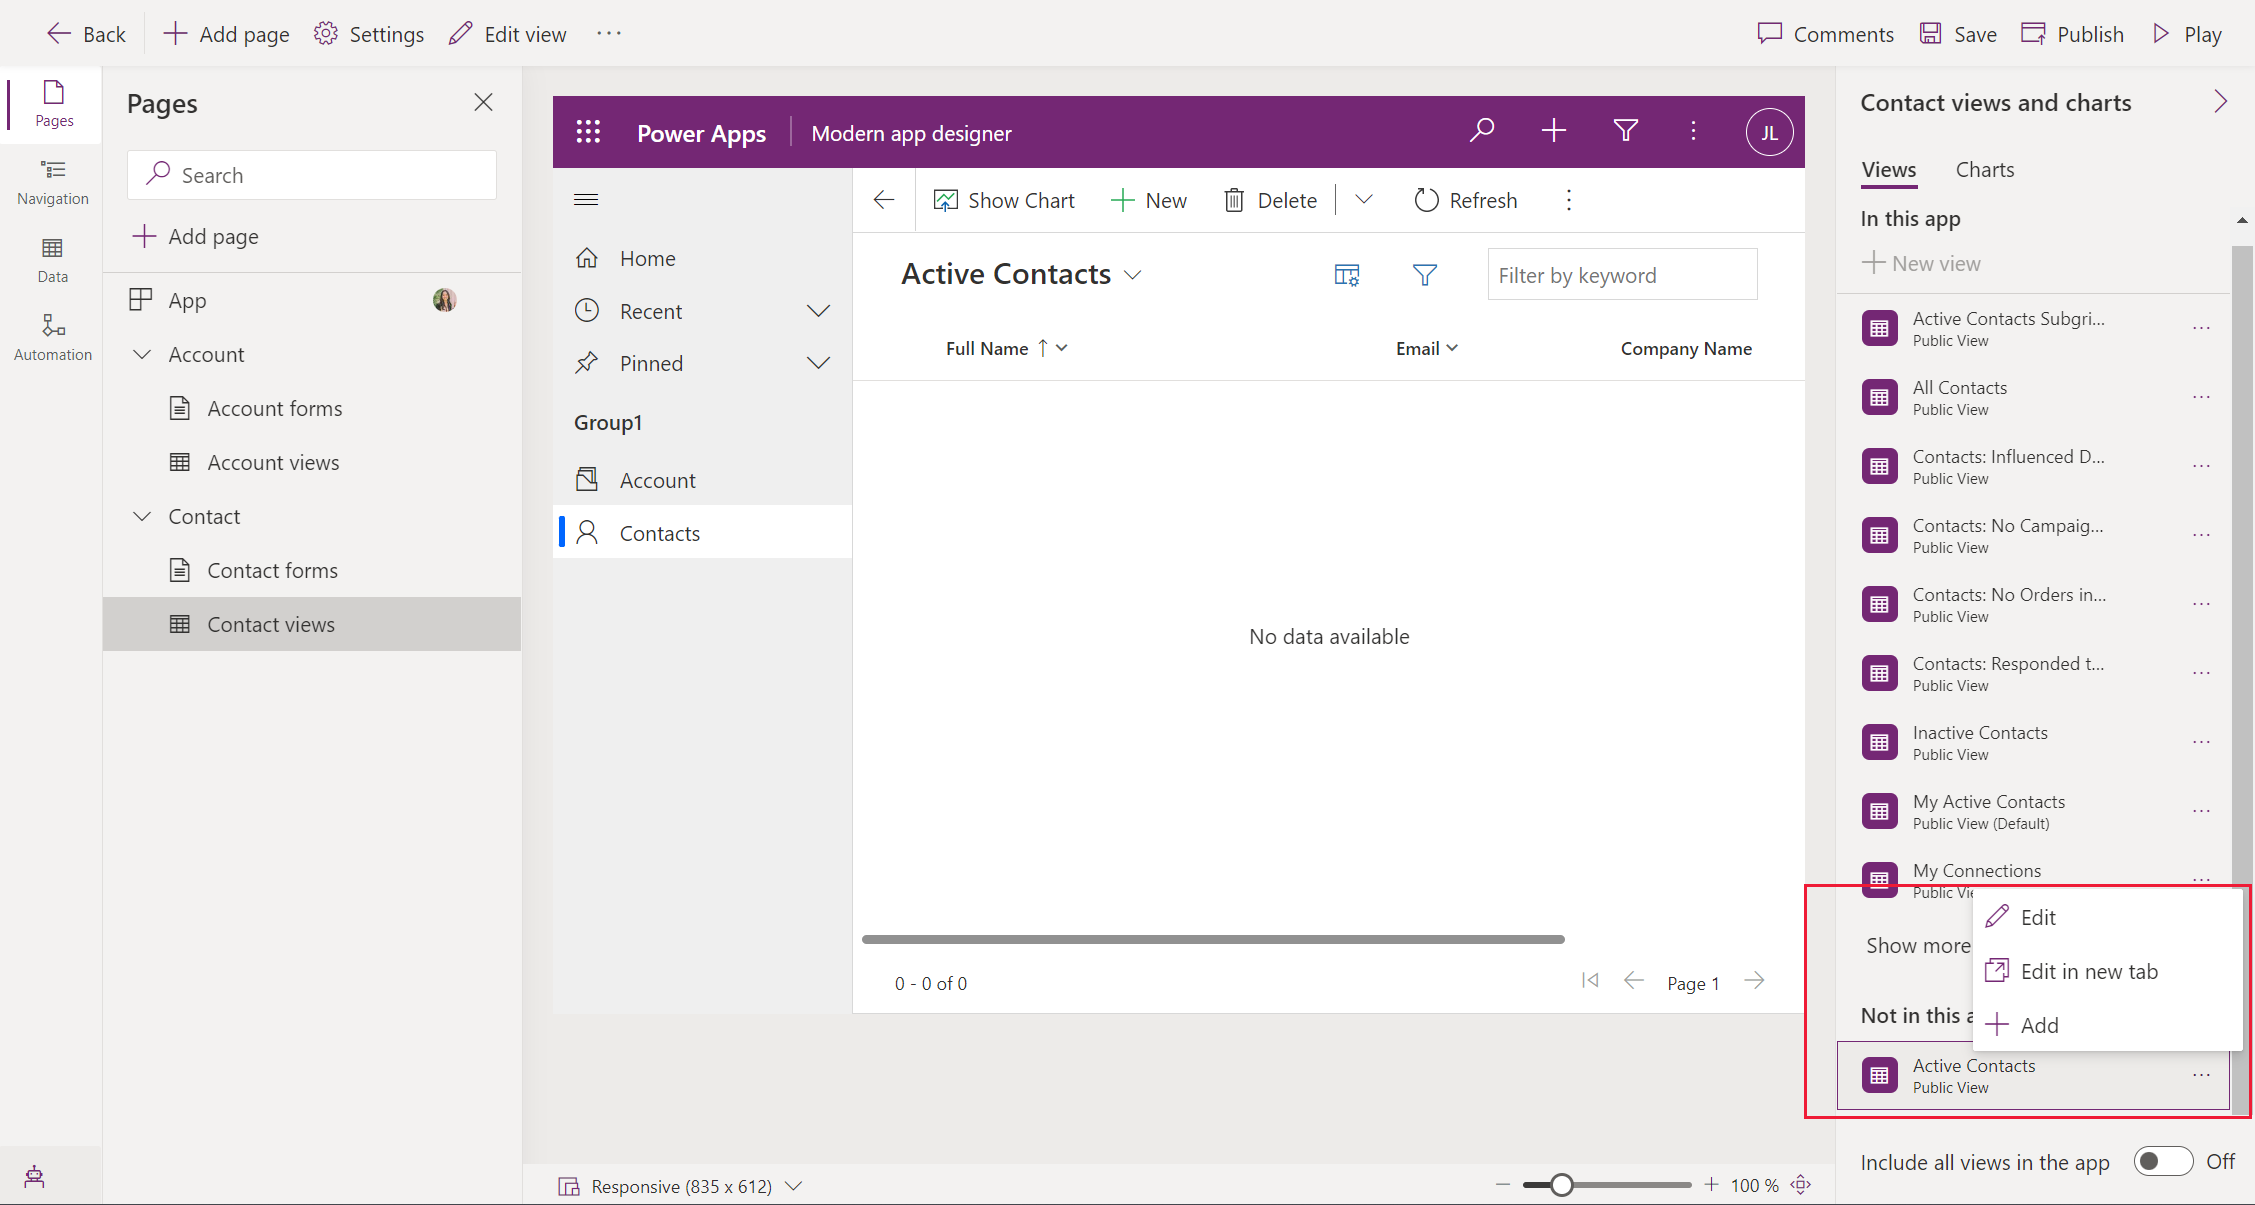
The contact form and view appear in the pages menu.
Select Contact views to display the table views and charts right pane:
On the app designer command bar, select Save.
On the app designer command bar, select Publish.
After publishing the app, it's ready for you to run or share with others.
[This section is prerelease documentation and is subject to change.]
Important
If your app is in a managed environment, you can use AI to help you create a description for your app.
When you save and publish your app, on the Publish dialog box select, Create descriptions using AI if you want to replace your current description or, if you do not have a description, Copilot will generate one for you.
You can also generate an app description by going to, Settings > General. Under Description select, Create descriptions using AI.
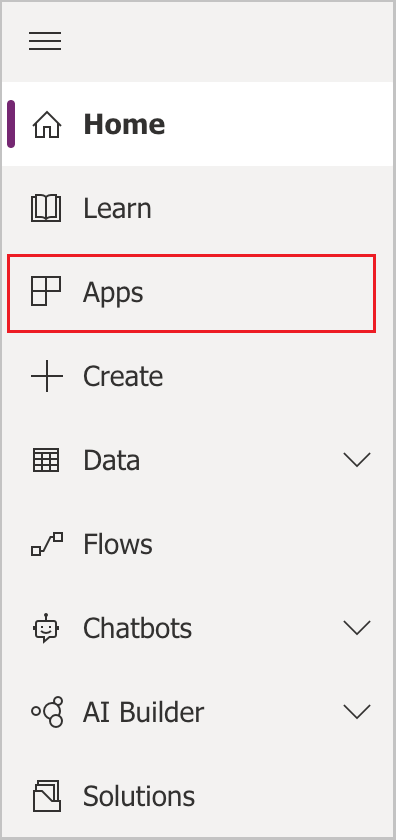
To run your app, sign in to Power Apps, and on the left navigation pane, select Apps.
Select the app from the app list. The app opens in your browser.

To run your app on your mobile device, follow these steps:
Download the app from your device's mobile app store:
Open the app, tap Sign in, and then enter your Microsoft work or school account.
Select your app from the list to run it.
Events
Take the Microsoft Learn AI Skills Challenge
Sep 24, 11 PM - Nov 1, 11 PM
Elevate your skills in Microsoft Fabric and earn a digital badge by November 1.
Register nowTraining
Module
Get started with model-driven apps in Power Apps - Training
Model-driven app design is an approach that focuses on quickly adding components to your apps. These components include dashboards, forms, views, and charts. With little to no code, you can make apps that are simple or complex. Unlike in canvas app development, where the designer has total control over the app layout, much of the layout in model-driven apps is determined by the components you add. In other words, the emphasis is more on quickly viewing your business data and making decisions than on intrica
Certification
Microsoft Certified: Power Platform Fundamentals - Certifications
Demonstrate the business value and product capabilities of Microsoft Power Platform, such as Power Apps, data connections with Dataverse, and Power Automate.