Manage the flow designer workspace
The central pane of the flow designer is called the workspace. Workspace is the component where the series of actions that make up the flow is assembled:
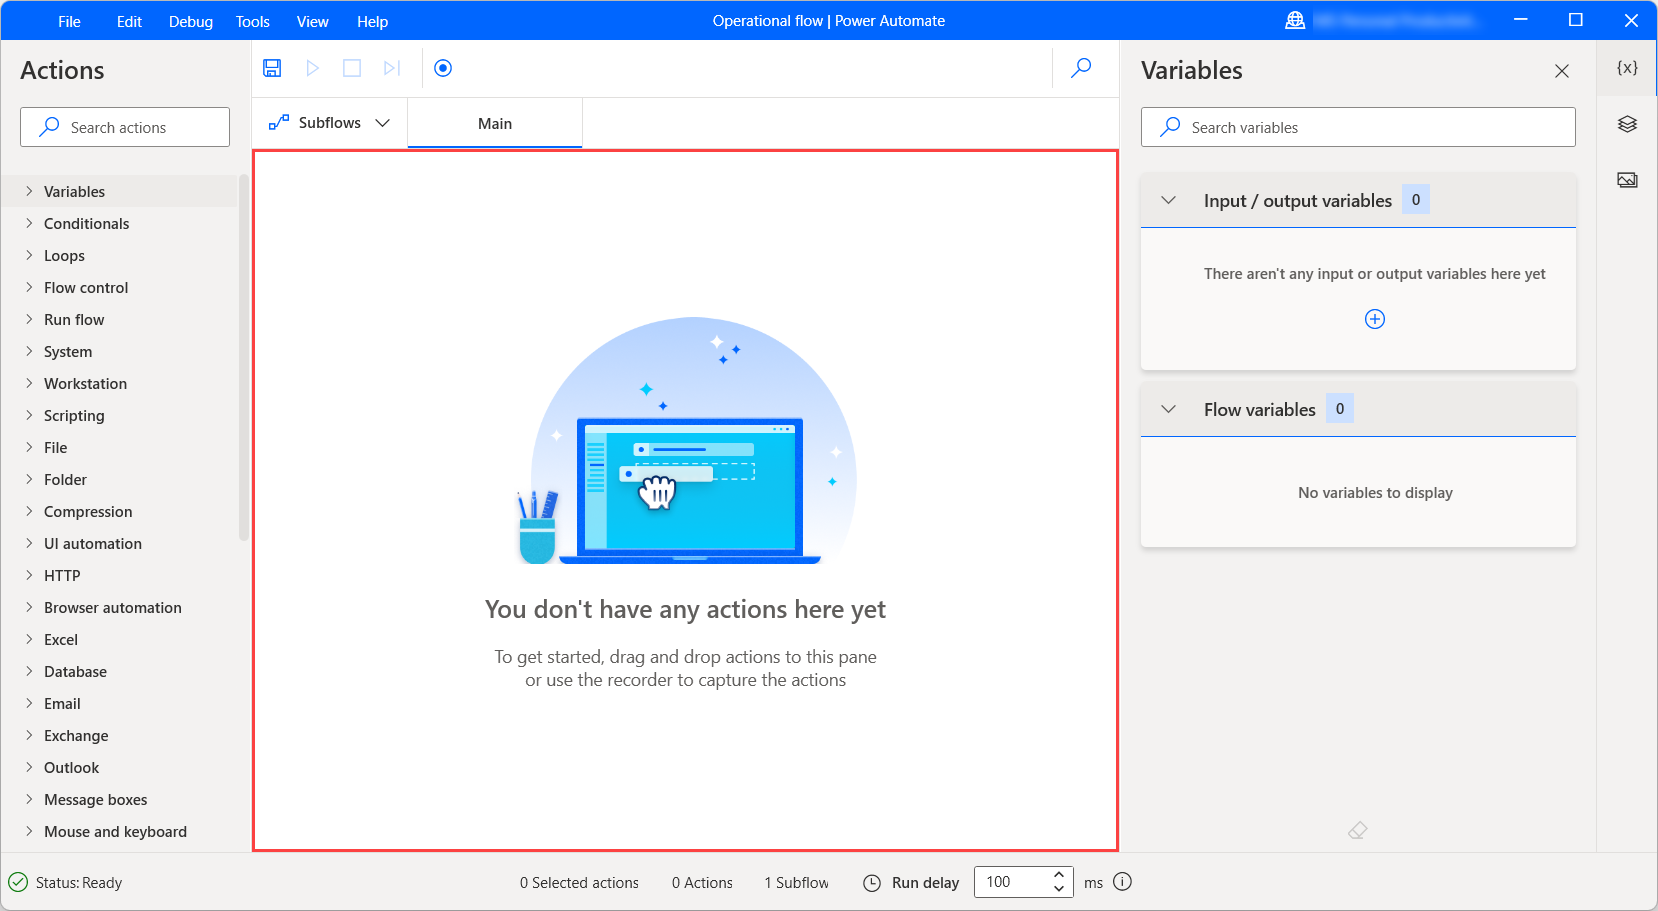
During development, users may add, edit, and delete actions in the workspace.
Drag actions to rearrange them and change the order in which they run. Right-click an action and select Enable action or Disable action to enable or disable an action respectively; while running, the flow skips any disabled actions.
Copy and paste any selected actions in the workspace. You can copy and paste actions within the same subflow, among different subflows, or other open instances of flow designer.
Setting up subflows
Subflows are groups of actions, which may be referenced as a group within a desktop flow.
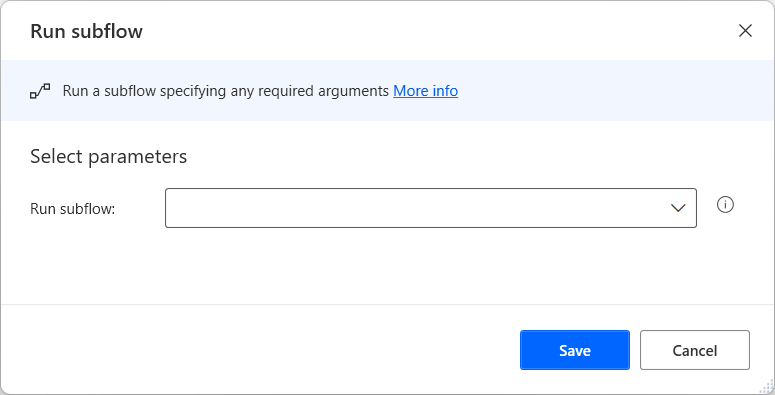
Every flow contains the Main subflow that runs when a desktop flow starts. Any other subflows may be invoked through the Run subflow action:
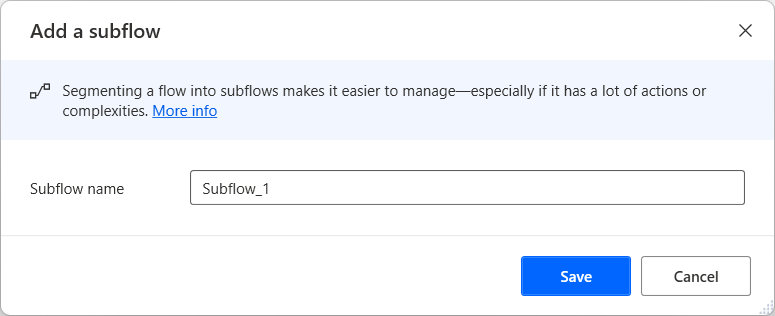
Subflows are shown in tabs, directly over the main workspace. To add a new subflow, select the subflows tab, select +, and enter the subflow name.
Select a subflow tab to edit the respective subflow.
Saving flows
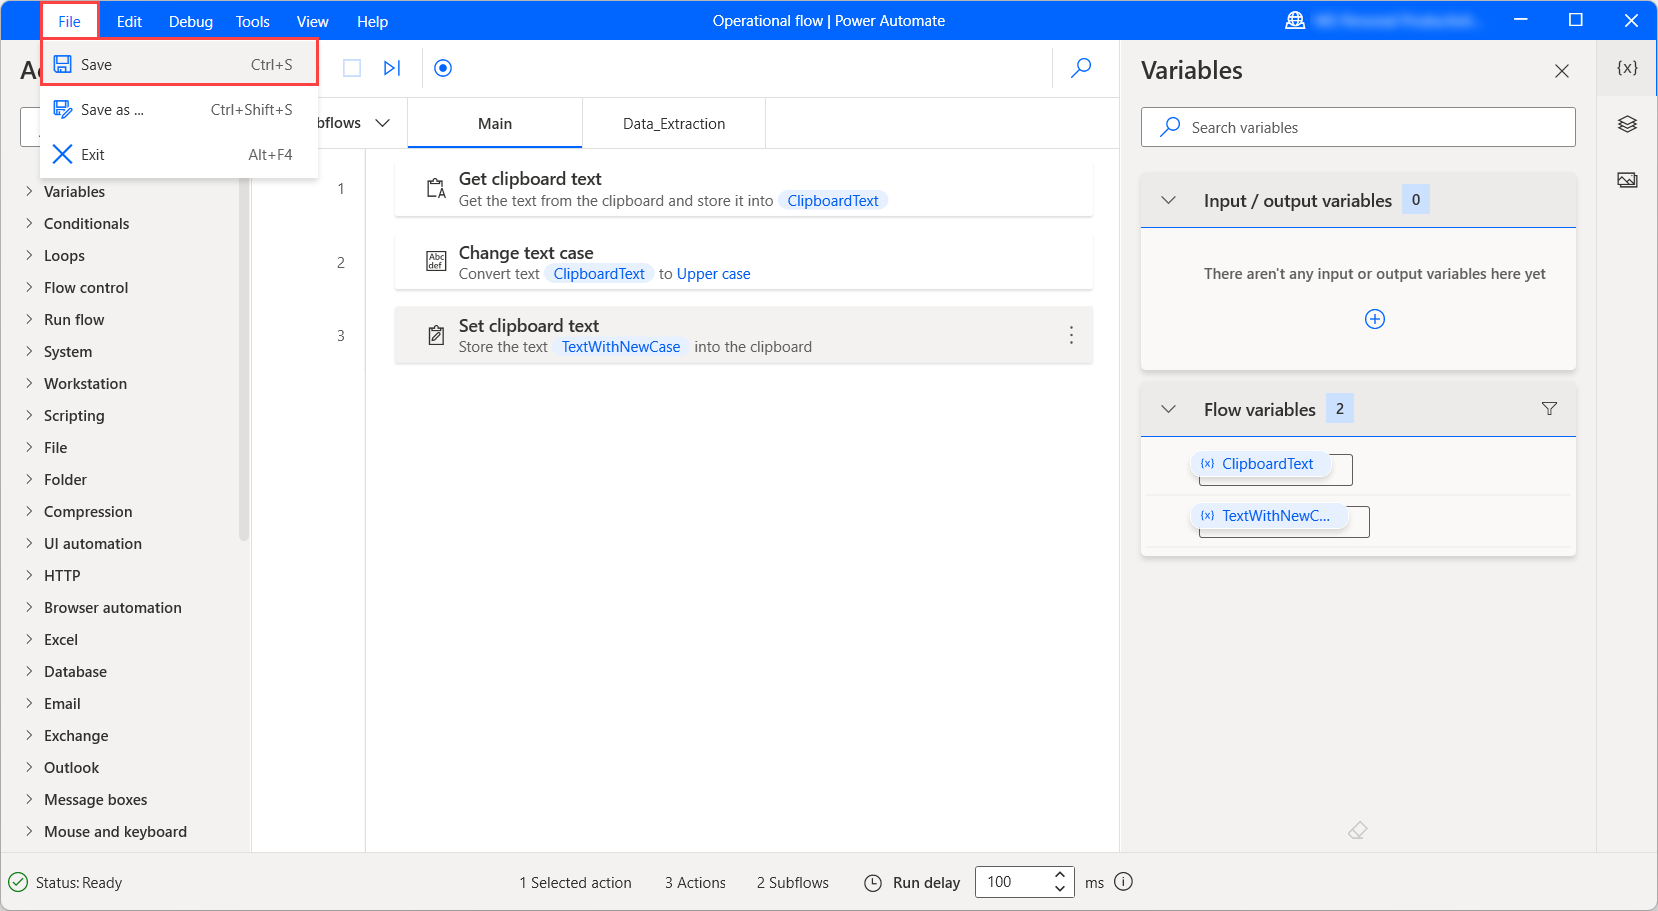
To save a flow, select File in the flow designer's menu bar and then pick Save. Alternatively, you can press the keyboard shortcut Ctrl +S.
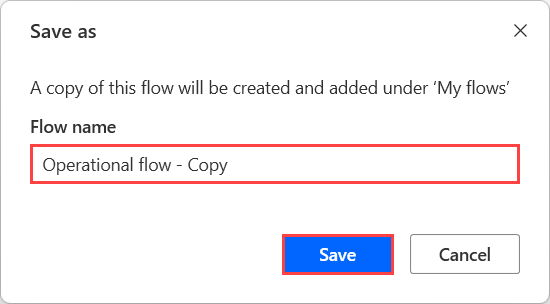
To save the flow's current state as a new flow, select Save as in the File menu and populate a name for the new flow in the displayed dialog.
Managing the workspace toolbar
Drag actions to rearrange them and change the order in which they run. Right-click an action and select Enable action or Disable action to enable or disable an action respectively. While running, the flow skips any disabled actions.
Hold down Ctrl to select multiple actions. Hold down Shift and select the first and last actions to select a range of actions. Copy and paste any selected actions in the workspace.
When copying actions, all their parameters, images, and UI elements are copied as well. You can copy and paste actions within the same subflow, among different subflows, or other flow designer instances. Apart from flows, you can paste actions in other applications in a text format, such as a text editor, to share flows' sections with others.
Note
As the underlying schema of an action or the UI elements or images repository might change from one version of Power Automate for desktop to another, make sure when copying flows's sections that the source and target flow designers are on the same version. If the schema is updated on a new version and a different version's flow contents are pasted, the action or the associated UI elements or images might not be recognized.
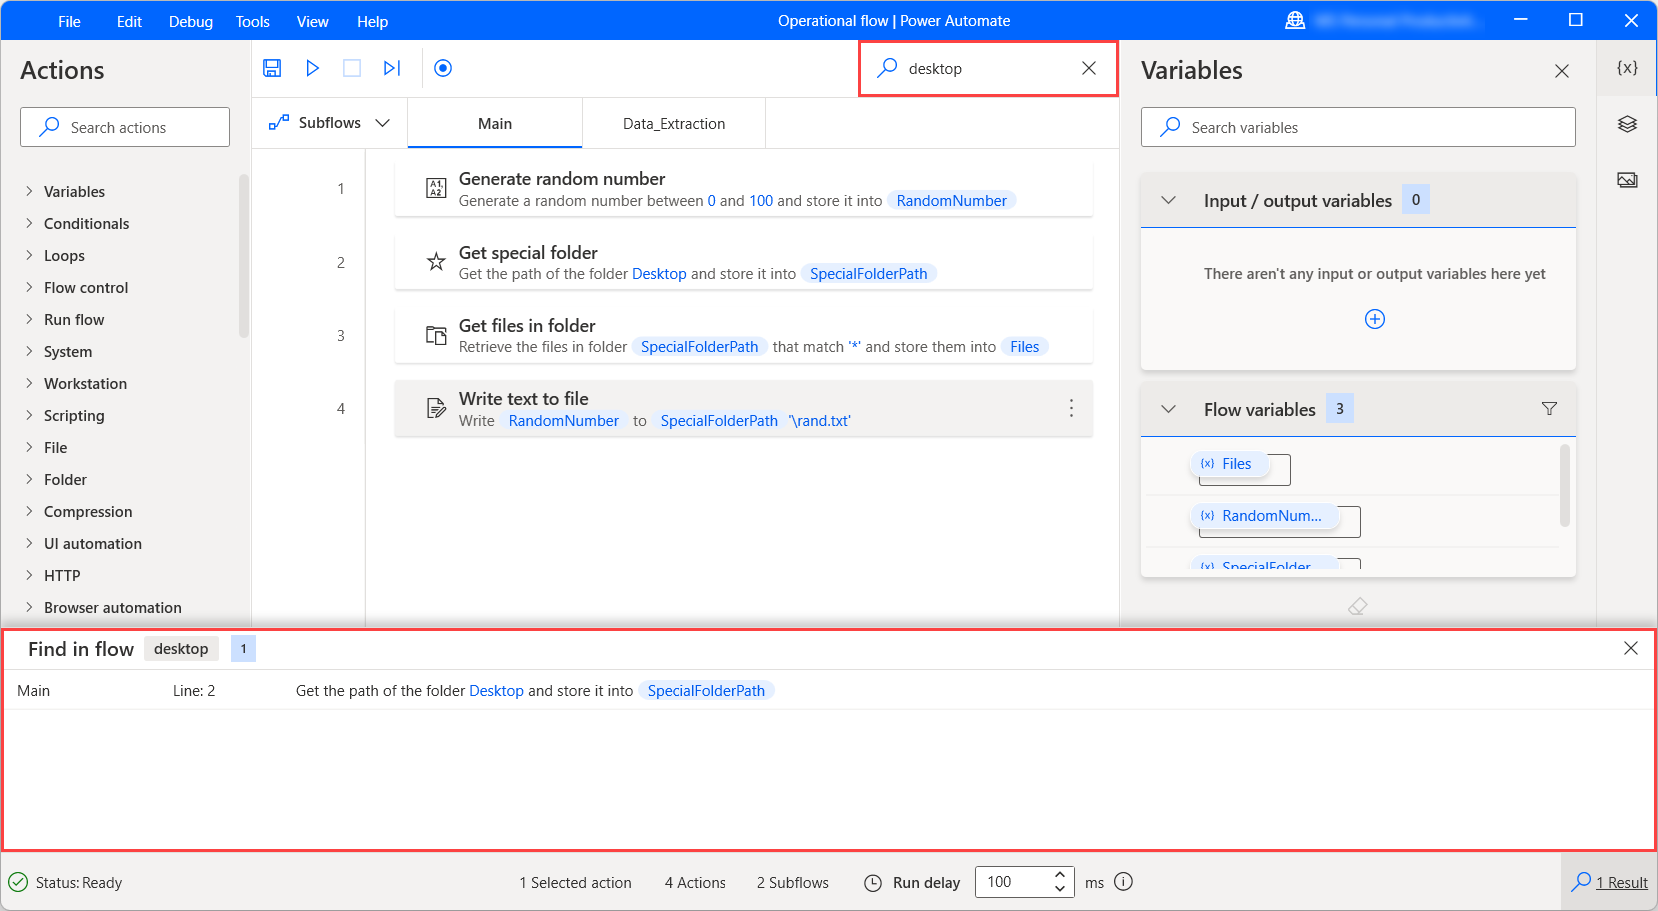
Searching in the flow
To search for a text string, an action or variable within the flow, use the search field at the top right of the flow designer window. The results pane will show all occurrences of text string by action and subflow. Double-click on a result to highlight the action that contains it.
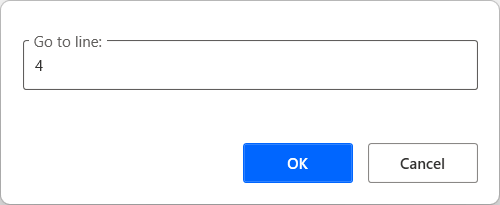
Using the Go to line option
The Go to line function navigates to a specific line within the current subflow. It can be helpful in subflows that contain a large number of actions.
Select Edit, then Go to line and enter a line. The corresponding action will be highlighted.
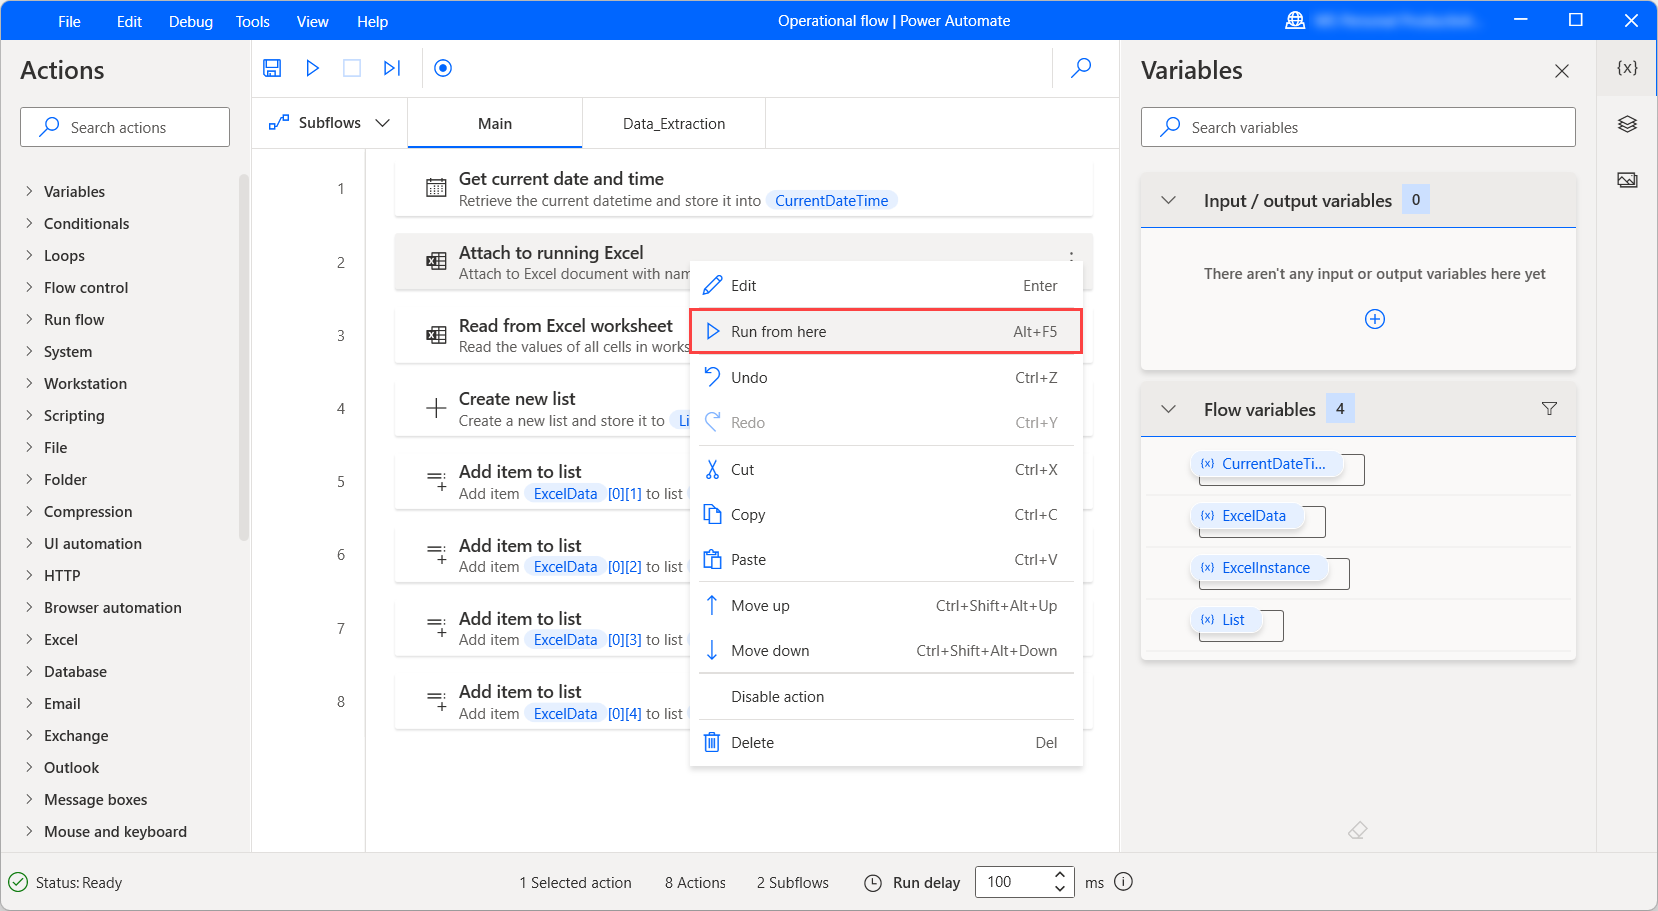
Using the Run from here option
To run the flow starting from a specific action, right-click the action and select Run from here. Power Automate will ignore all the previous actions and run the flow from the selected action onwards.
Note
The Run from here option isn't available for actions located in loops, conditionals, or the On block error action.
Record desktop flows
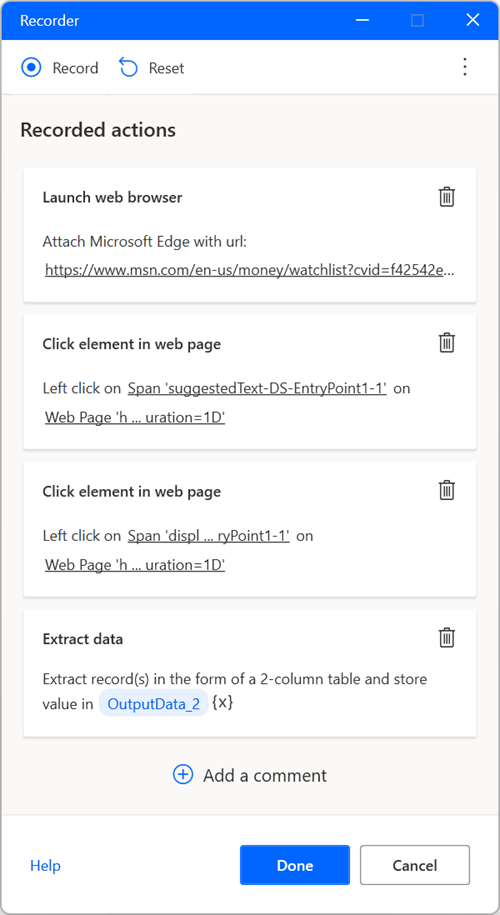
Power Automate enables you to record desktop flows in real time through the built-in recorder. The recorder keeps track of mouse and keyboard activity in relation to UI elements, and records each action separately. The recorder can be used to automate desktop and web applications.
To record a flow, select Recorder in the toolbar of the flow designer. When the recorder dialog is launched, select Record to start recording. To suspend the recording, select Pause. To add a comment to the recorded actions, select Add a comment.
Select the bin icon to remove individual actions, or select Reset to delete all the actions recorded so far. When the recording is completed, select Done to convert the recorded steps to desktop flow actions.
You can find more information regarding the built-in recorder in Record desktop flows.
Feedback
Coming soon: Throughout 2024 we will be phasing out GitHub Issues as the feedback mechanism for content and replacing it with a new feedback system. For more information see: https://aka.ms/ContentUserFeedback.
Submit and view feedback for