Note
Access to this page requires authorization. You can try signing in or changing directories.
Access to this page requires authorization. You can try changing directories.
APPLIES TO: ![]() Power BI Desktop
Power BI Desktop ![]() Power BI service
Power BI service
Metrics in Power BI let customers curate their metrics and track them against key business objectives, in a single pane. In this article, you complete the following steps:
- Create your first scorecard.
- Create a manual metric.
- Edit a metric.
- Share the scorecard with others.
You can also connect metrics to an existing report visual in Power BI. See Create connected metrics for details.

Prerequisites
You need a Power BI Pro license to author and share metrics in standard workspaces. You also need:
- Admin, Member, or Contributor role in a workspace. Read more about roles in workspaces.
- Build permission for a semantic model.
Step 1: Create a scorecard
Sign in to the Power BI service (app.powerbi.com) in your browser.
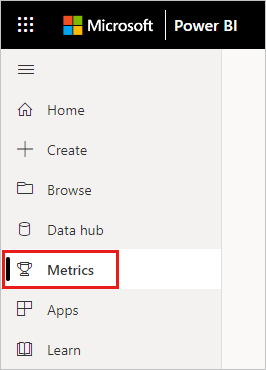
Select Metrics in the navigation pane to open the Metrics hub.
In the Metrics hub, select New metric set.
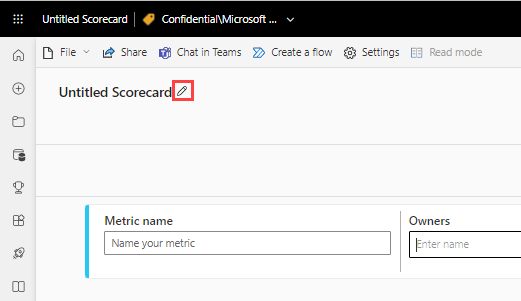
A new scorecard opens, which you can start populating with metrics.
Select the edit pencil next to Untitled Scorecard and give your new scorecard a name and destination workspace.
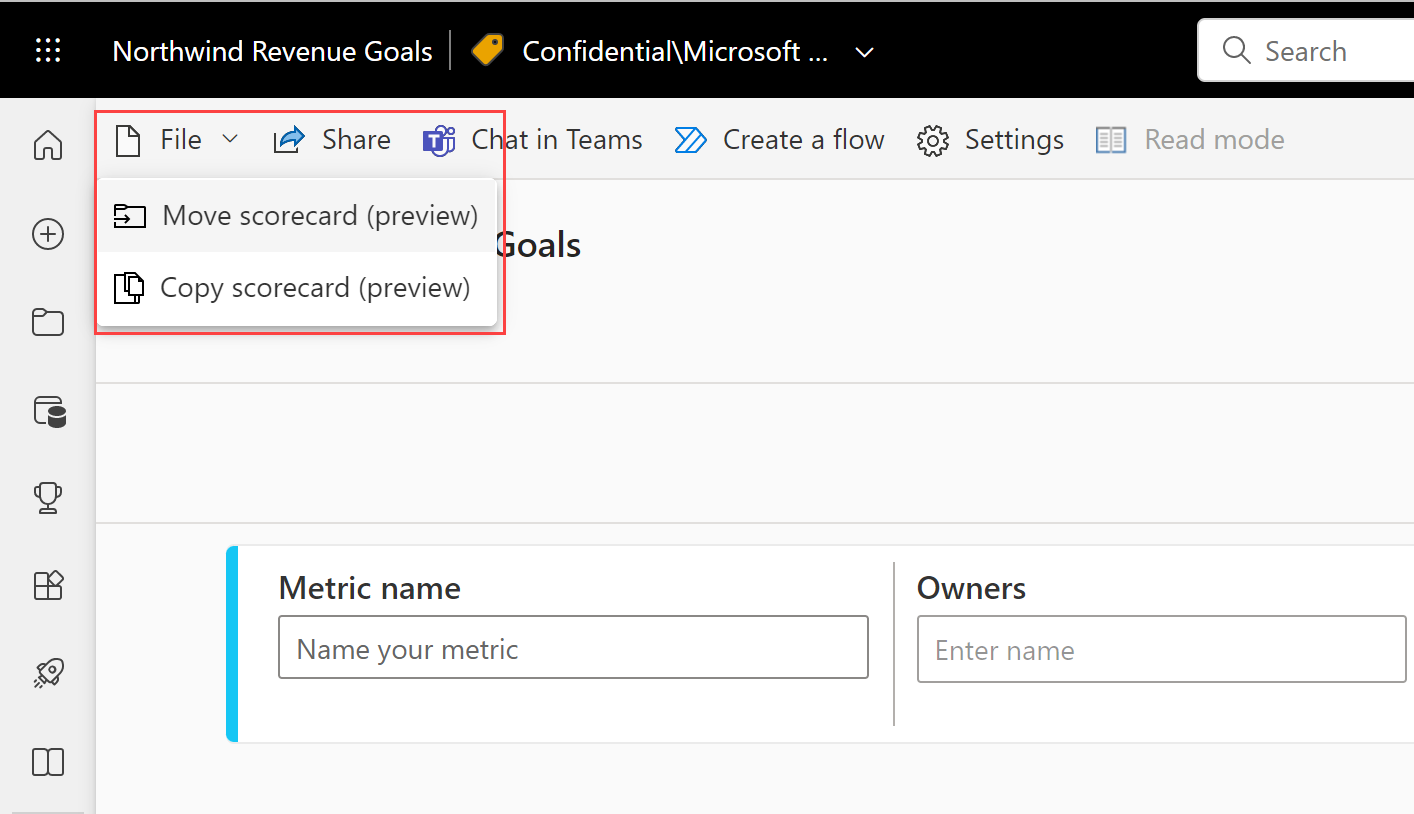
Power BI automatically saves the scorecard to My Workspace, but you can move it to another workspace. Select File > Move Scorecard.
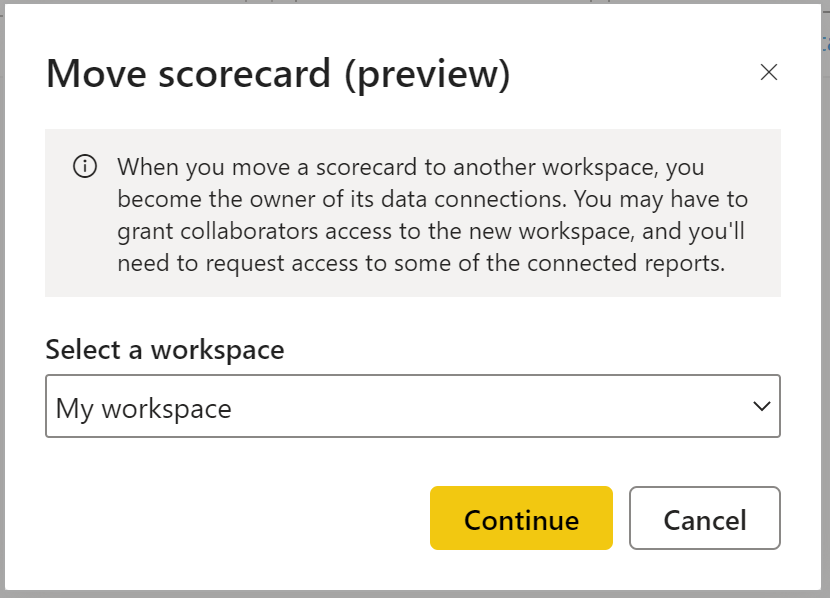
In the Move scorecard dialog, select any available workspace. If you don’t have another workspace, you need to create one first. See Create a workspace in Power BI for details.
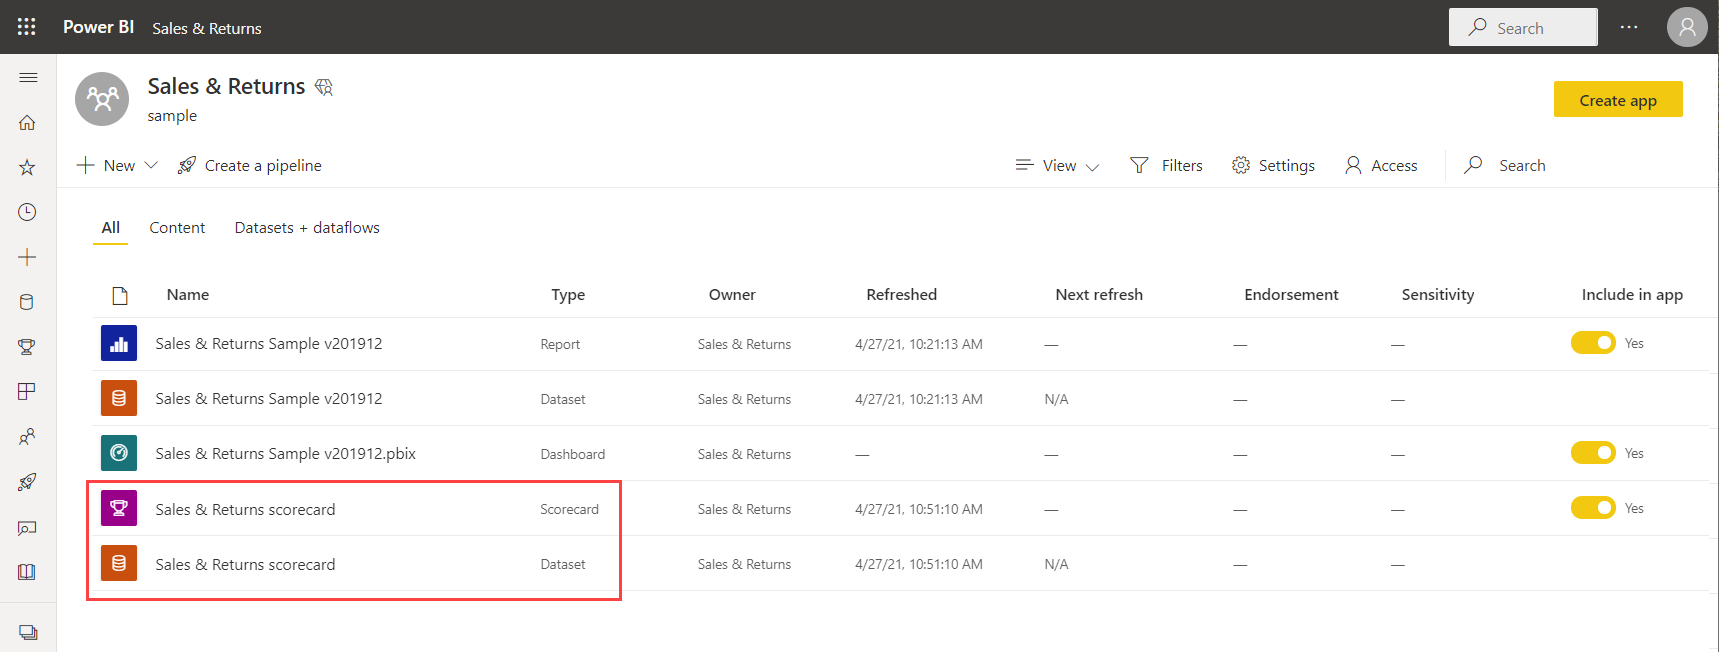
Power BI saves these items in the workspace: the scorecard itself, and a semantic model associated with your scorecard that houses all the metrics data.
Step 2: Create a manual metric
In the scorecard, select Add metric.
Decide on a Metric name and an Owner.
Owners can be individuals or distribution groups within your organization’s Microsoft Entra ID.
Set Current and Target values for your metrics. In this article, you enter the number manually. You can also connect it to an existing report visual in Power BI. See Create connected metrics for details.
Set the format for your values, and choose a Status, Start date, and End date.
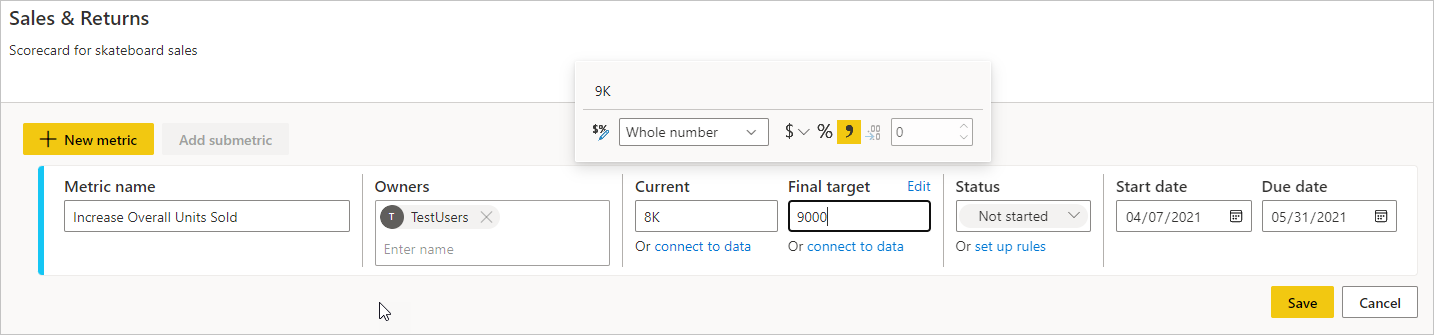
Power BI automatically represents values in numeric notation. For example, 2044 is represented as 2 K.
Select Save.
Metric name is the only required field for your metric. You can leave the remaining fields blank and come back to edit it after defining all your metrics.
Step 3 (Optional): Create submetrics
You can also define one or more submetrics for your metric. Like their parent metrics, submetrics can be either connected or set manually. See Create submetrics for details.
Step 4 (Optional): Update the metric tracking cycle
All new metrics created within scorecards have a default daily tracking cycle, which means that the data and progress are calculated on a day-to-day basis. However, many metrics and metrics demand to be tracked on a different cadence. In those cases, you can change the default tracking cycle on the metric through metric settings. The tracking cycle doesn't impact data refresh.
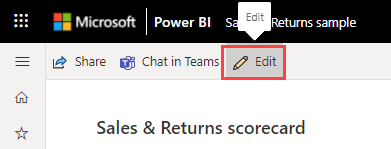
Open a scorecard and select Edit.
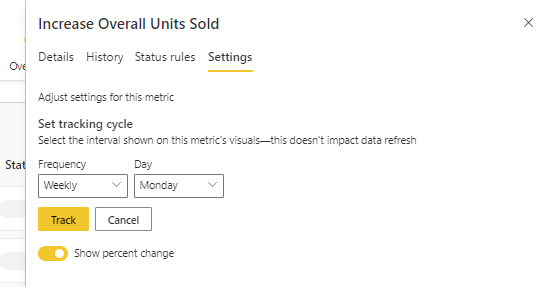
Select the name of any metric or submetric. Power BI opens the Details pane.
Select the Settings tab.
Set the tracking cycle frequency for your metric, and select Track.
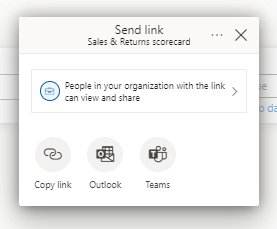
Step 5 (Optional): Share your scorecard
Sharing is the easiest way to give people access to your scorecard in the Power BI service. You can share with people inside or outside your organization.
When you share a scorecard, the people you share it with can view and interact with it. They can also edit it if they have an Admin, Member, or Contributor role in the workspace. Users that have access to the scorecard see the same data you see in the scorecard. The coworkers you share with can also share with their coworkers, if you allow them to. The people outside your organization can view and interact with the scorecard, but can't share it.
To share, select the Share button in the scorecard action bar and follow the steps outlined in the experience. It's the same as sharing a dashboard.
When you share scorecards, whether inside or outside your organization, your recipients need Power BI Pro licenses, unless the content is in a Power BI Premium capacity.
Related content
- Get started with metrics in Power BI
- Create connected metrics in Power BI
- Stay on top of your metrics in Power BI
More questions? Try the Power BI Community.