Note
Access to this page requires authorization. You can try signing in or changing directories.
Access to this page requires authorization. You can try changing directories.
Certificate-based authentication enables you to be authenticated by Microsoft Entra ID with a client certificate. The client certificate can be on a Windows, Android, or iOS device, or the client certificate can be kept in an Azure Key Vault.
Using this method of authentication allows managing certificates from a central place using the certificate authority (CA) for rotation or revocation.
You can learn more about certificates in Microsoft Entra ID in the Client credential flows page.
Method
Step 1 - Embed your content with service principal
To embed your content with a service principal, follow the instructions in Embed Power BI content with service principal and an application secret.
Note
If you already have content that's embedded using a service principal, skip this step and advance to step 2.
Step 2 - Create a certificate
You can procure a certificate from a trusted Certificate Authority, or generate a certificate yourself.
This section describes creating a certificate using Azure Key Vault, and downloading the .cer file, which contains the public key.
Log into Microsoft Azure.
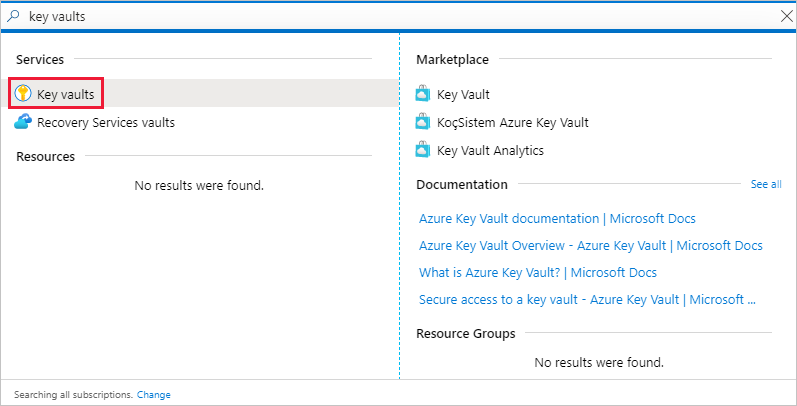
Search for and select the Key vaults link.
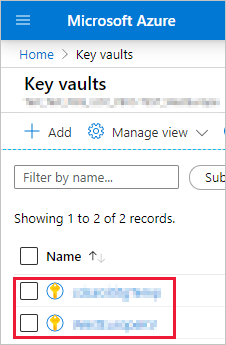
Select the key vault you want to add a certificate to.
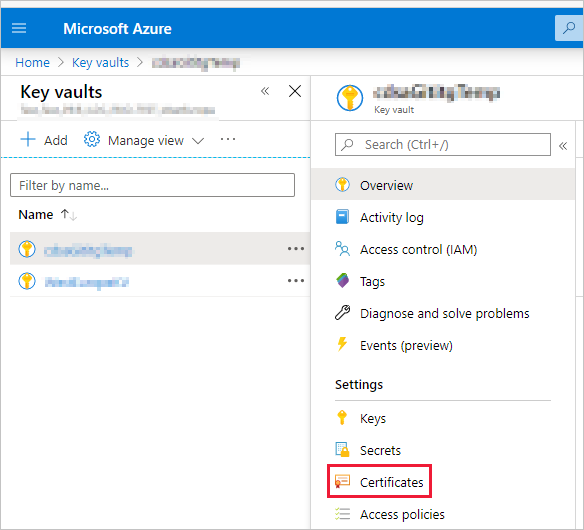
Select Certificates.
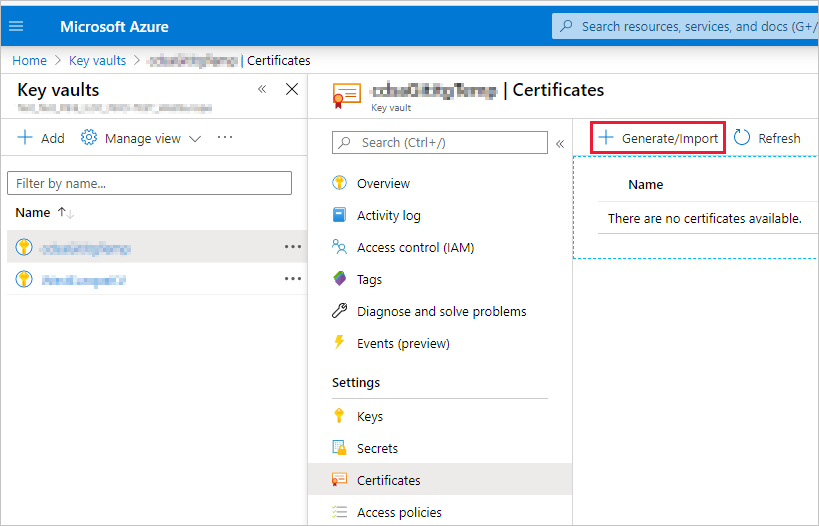
Select Generate/Import.
Configure the Create a certificate fields as follows:
Method of Certificate Creation - General
Certificate Name - Enter a name for your certificate
Type of Certificate Authority (CA) - Self-signed certificate
Subject - An X.500 distinguished name
DNS Names - 0 DNS names
Validity Period (in months) - Enter the certificate's validity duration
Content Type - PKCS #12
Lifetime Action Type - Automatically renew at a given percentage lifetime
Percentage Lifetime - 80
Advanced Policy Configuration - Not configured
Select Create. The newly created certificate is disabled by default. It can take up to five minutes to become enabled.
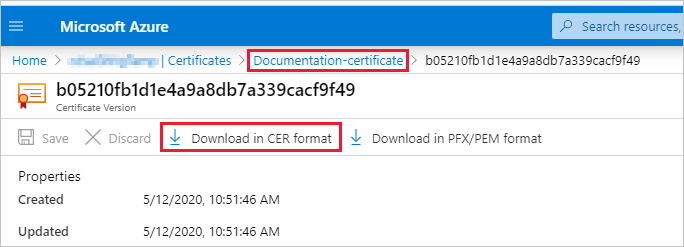
Select the certificate you created.
Select Download in CER format. The downloaded file contains the public key.
Step 3 - Set up certificate authentication
In your Microsoft Entra application, select the Certificates & secrets tab.
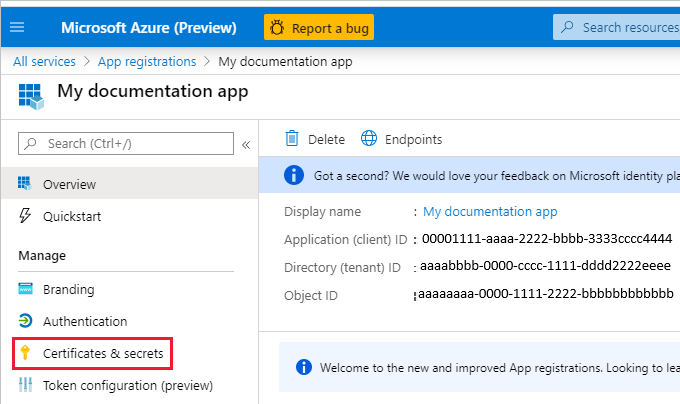
Select Upload certificate and upload the .cer file you created and downloaded in step 2 of this tutorial. The .cer file contains the public key.
Step 4 - Get the certificate from Azure Key Vault
Use Managed Service Identity (MSI) to get the certificate from Azure Key Vault. This process involves getting the .pfx certificate that contains both the public and private keys.
Refer to the code example for reading the certificate from Azure Key Vault. If you want to use Visual Studio, refer to Configure Visual Studio to use MSI.
private X509Certificate2 ReadCertificateFromVault(string certName)
{
    var serviceTokenProvider = new AzureServiceTokenProvider();
    var keyVaultClient = new KeyVaultClient(new KeyVaultClient.AuthenticationCallback(serviceTokenProvider.KeyVaultTokenCallback));
    CertificateBundle certificate = null;
    SecretBundle secret = null;

    certificate = keyVaultClient.GetCertificateAsync($"https://{KeyVaultName}.vault.azure.net/", certName).Result;
    secret = keyVaultClient.GetSecretAsync(certificate.SecretIdentifier.Identifier).Result;

    return new X509Certificate2(Convert.FromBase64String(secret.Value));
}
Step 5 - Authenticate using service principal and a certificate
You can authenticate your app that uses a service principal and a certificate that's stored in Azure Key Vault by connecting to Azure Key Vault.
To connect and read the certificate from Azure Key Vault, refer to the following code sample.
Note
If you already have a certificate created by your organization, upload the .pfx file to Azure Key Vault.
// Preparing needed variables
var Scope = "https://analysis.windows.net/powerbi/api/.default"
var ApplicationId = "{YourApplicationId}"
var tenantSpecificURL = "https://login.microsoftonline.com/{YourTenantId}/"
X509Certificate2 certificate = ReadCertificateFromVault(CertificateName);

// Authenticating with a SP and a certificate
public async Task<AuthenticationResult> DoAuthentication(){
    IConfidentialClientApplication clientApp = null;
    clientApp = ConfidentialClientApplicationBuilder.Create(ApplicationId)
                                                    .WithCertificate(certificate)
                                                    .WithAuthority(tenantSpecificURL)
                                                    .Build();
    return await clientApp.AcquireTokenForClient(Scope).ExecuteAsync();
}
Configure Visual Studio to use MSI
When you create an embedded solution, it might be useful to configure Visual Studio to use Managed Service Identity (MSI). MSI is a feature that enables you to manage your Microsoft Entra identity. Once configured, it will let Visual Studio authenticate against your Azure Key Vault.
Note
The user that signs into Visual Studio requires Azure Key Vault permissions to get the certificate.
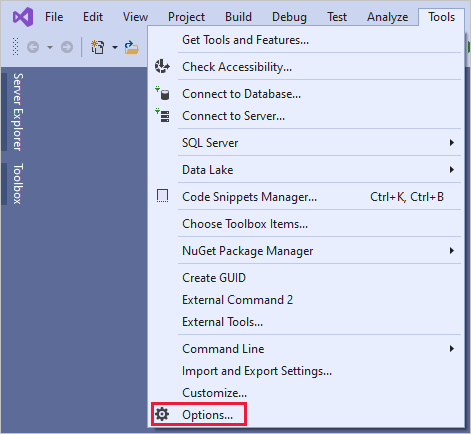
Open your project in Visual Studio.
Select Tools > Options.
Search for and select Account Selection.
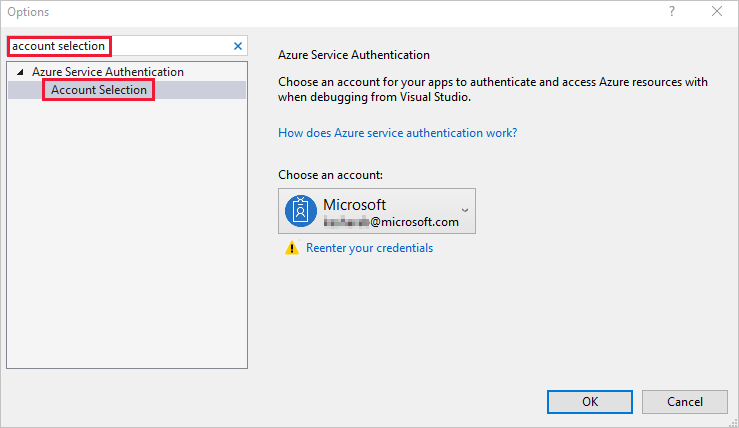
Add the account that has access to your Azure Key Vault.