Note
Access to this page requires authorization. You can try signing in or changing directories.
Access to this page requires authorization. You can try changing directories.
Power BI comes with many out-of-the-box visuals that are available in the Visualizations pane of both Power BI Desktop and Power BI Service.
Many more certified Power BI visuals are available from AppSource. These visuals are created by Microsoft and Microsoft partners, and are validated by the AppSource validation team. You can download these visuals directly to your Visualizations pane.
You can also develop your own Power BI visual, or get one from a trusted friend or coworker.
If you download or receive a Power BI visual file, you have to import it to the Visualizations pane before you can use it to create Power BI content.
Import a Power BI visual directly from AppSource
Open your report in Power BI Desktop or Power BI service.
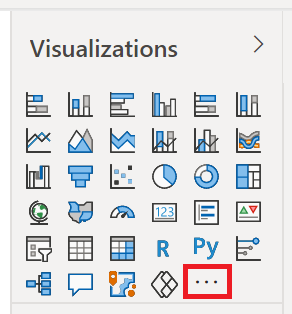
Select the ellipsis from the Visualizations pane.
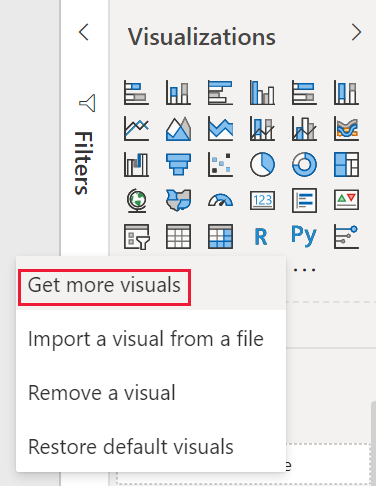
Select Get more visuals from the menu.
Select AppSource visuals and choose the visual you want to import.
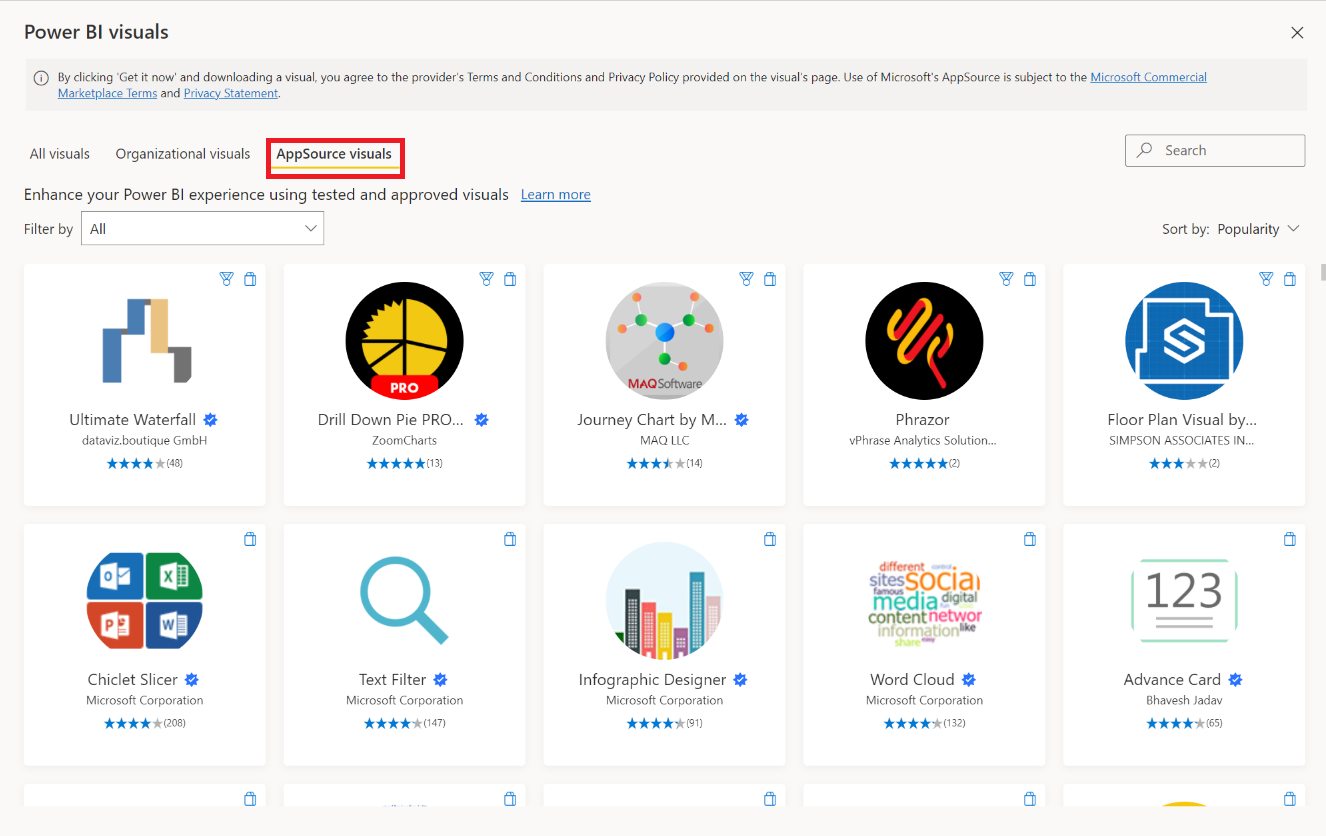
Select Add to add the visual to your report.
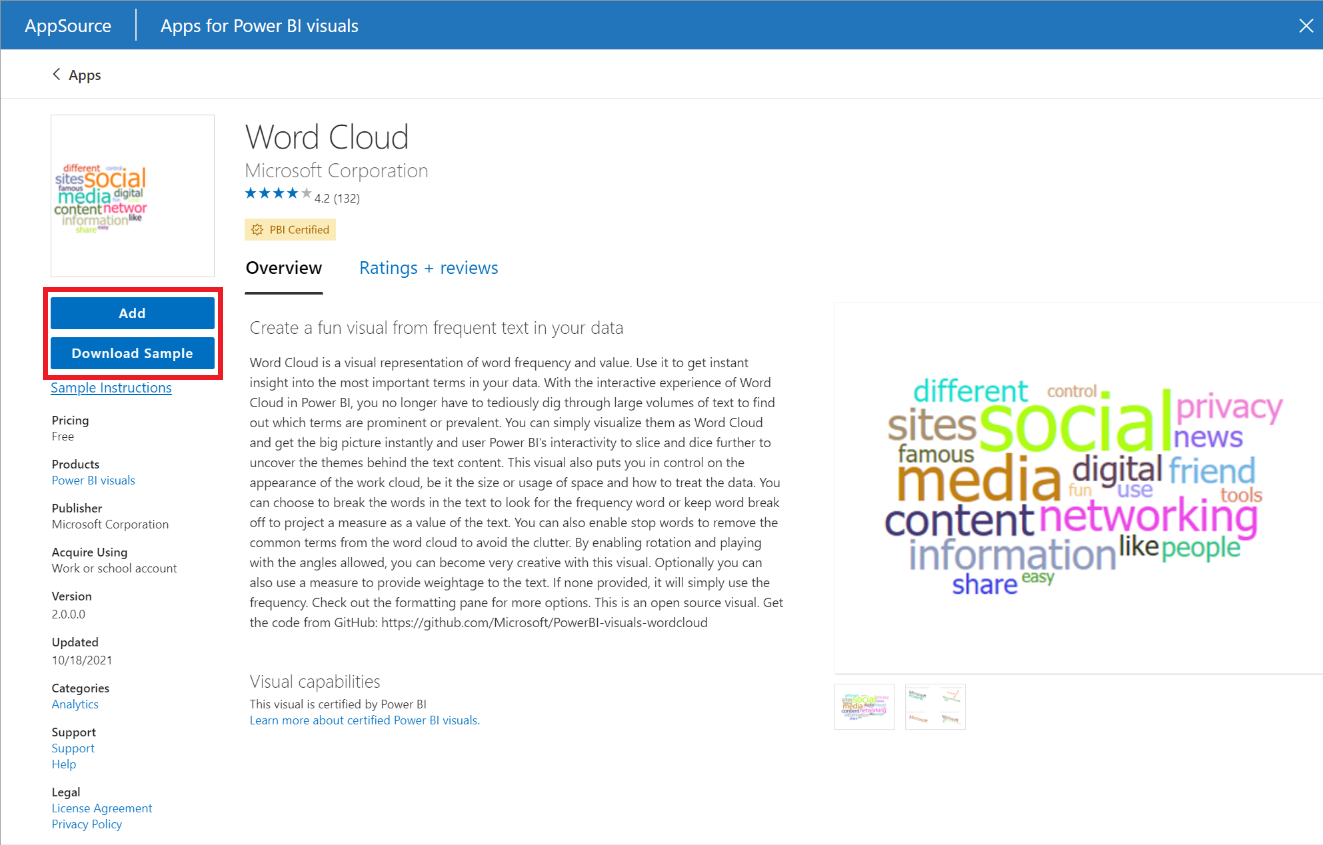
Tip
Select Download Sample to download a sample Power BI semantic model and report created by the visual publisher. The sample report demonstrates what the visual looks like and how it can be used. It can also include useful comments, tips, and tricks from the publisher.
When the visual is successfully imported, select OK.
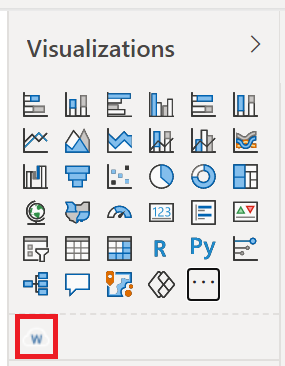
The visual now appears as a new icon on the bottom of the visualizations pane of the current report. Select the new visual icon to use this visual in the report.
If you want the visual to remain on the Visualizations pane so you can use it in future reports, right-click the visual's icon and select Pin to visualization pane.
Import a visual file from your local computer into Power BI
Power BI visuals are packaged as .pbiviz files that can be stored on your computer. You can share these files with other Power BI users. You can download visual files from AppSource onto your computer, but you can also get custom visuals from a trusted friend or colleague. Custom visuals that come from sources other than official Microsoft sources should be imported only if you trust the source.
Open your report in Power BI Desktop or Power BI service.
Enable developer mode for Power BI Desktop. This setting stays enabled for the current session only and must be repeated every time you import a visual from a file.
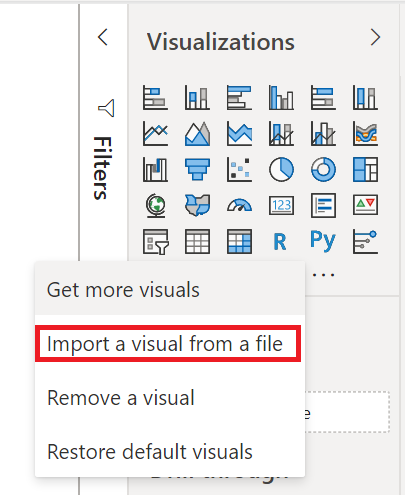
Select the ellipsis from the visualizations pane.
Select Import a visual from a file from the menu.
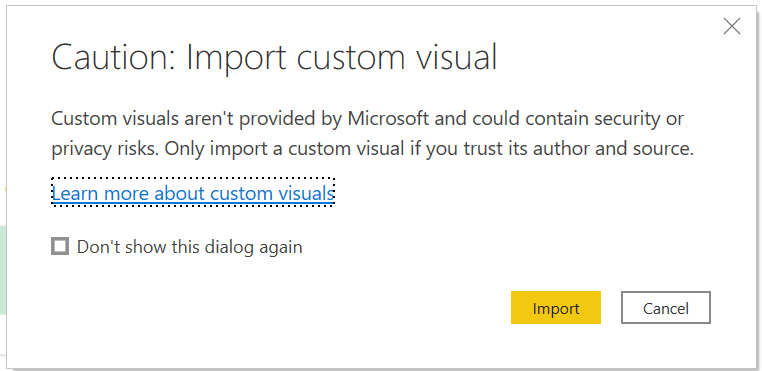
If you get a message cautioning you about importing custom files, select Import if you trust the source of the file.
Navigate to the folder that has the custom visual file (.pbiviz) and open it.
When the visual is successfully imported, select OK.
The visual now appears as a new icon on the bottom of the visualizations pane of the current report. Select the new visual icon to use this visual in the report.
If you want the visual to remain on the Visualizations pane so you can use it in future reports, right-click the visual's icon and select Pin to visualization pane.
Related content
More questions? Try asking the Power BI Community