Sign up for Power BI with a new Microsoft 365 trial
This article describes an alternative way to sign up for the Power BI service if you don't already have a work or school email account and don't already have an account that works with Microsoft 365.
You're unable to sign up for Power BI with your personal email address. You can still try out Power BI and Fabric with either an Office 365 or a Microsoft 365 trial. During the sign-up process, you create an "onmicrosoft" email work account. Use that new work account to sign up for the Power BI service and get a Fabric free or Power BI Pro license. Continue to use that work account even after you cancel your Office 365 or Microsoft 365 trial.
Note
You must use a credit or debit card when you sign up for the Microsoft 365 free trial. At the end of your free trial period, your trial subscription is automatically converted to a paid subscription. Your card isn't billed until the trial period ends. If you don't want to be charged, cancel your trial before you reach 30 days.
Sign up for a Microsoft 365 or an Office 365 trial
There are many trials available on the Microsoft 365 site at any time. Look for the Try free for one month buttons.
To follow along, sign up for an Office 365 E5 trial on the Microsoft 365 web site. If you don't already have an account, Microsoft walks you through the steps to create a new onmicrosoft work account.
On the Office 365 E5 option, select Try for free.
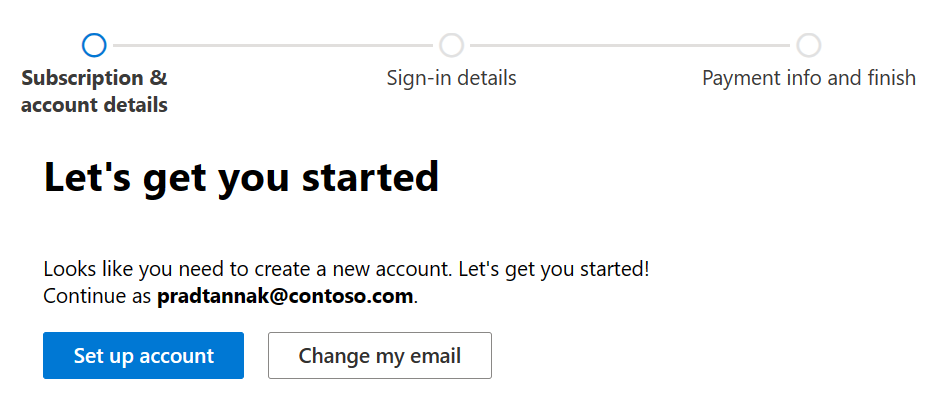
Follow the prompts to set up your trial. Enter a non-work and non-school email address, and select Next > Set up account.
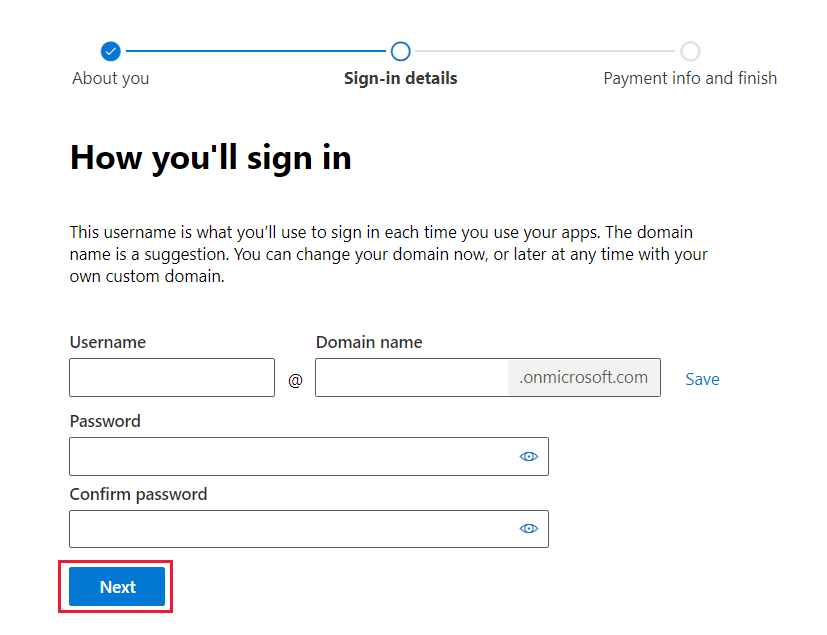
After completing the sign-up process, Microsoft displays your new user name and domain, for example, pradtannak@yourcompany.onmicrosoft.com. Create a password, and then select Next.
You created a new onmicrosoft.com business account and started a free trial of Office 365. Your trial includes Power BI Pro.
A different way to try Power BI is to sign up for a trial of Microsoft 365. During the sign-up process, create an onmicrosoft.com account. Use the onmicrosoft.com account to sign up for a trial of the Power BI service as an individual.
Important considerations
If you have any issues when you sign in with the new account credentials, try using a private browser session.
When you use this sign-up method, you create a new organizational tenant, and you become the User and Billing administrator of the tenant. For more information, see What is Power BI administration. You can add new users to your tenant, then share with them, as described in the Microsoft 365 admin documentation.
If you'd like to use email with this new business account, enable email for your new account in Outlook. Alternatively, you can access your onmicrosoft email by going to the Microsoft account sign-in page and entering your email address and password. Use the Microsoft 365 portal and select Admin to update the email or add an alternate email address.
Related content
- Try or buy a Microsoft 365 for business subscription
- What is Power BI administration?
- Power BI licensing in your organization
- Signing up for Power BI as an individual
More questions? Ask the Power BI Community