Note
Access to this page requires authorization. You can try signing in or changing directories.
Access to this page requires authorization. You can try changing directories.
An organization's data is critical to its success. It needs to be readily available for decision making but also protected to prevent it from being shared with any audiences who aren't authorized.
To protect this data, you can use Power Apps to create and enforce data policies that define the consumer connectors that specific business data can be shared with. For example, an organization that uses Power Apps might not want the business data stored in SharePoint to be automatically published to its Twitter feed.
To create, edit, or delete data policies, you must have either Environment Admin or Power Platform admin permissions.
Prerequisites
Tenant-level policies
Tenant-level policies can be defined to include or exclude specific environments. To follow the steps described in this article for tenant-level policies, sign in as a user with the Power Platform Administrator role. Learn more about the Power Platform Administrator role at Use service admin roles to manage your tenant.
Environment-level policies
To follow the steps for environment-level policies, you need to have Power Apps Environment Admin permissions. For environments with a Dataverse database, you need to be assigned the System Administrator role instead.
Note
If using the SingleEnvironment EnvironmentType parameter when using PowerShell to create a data policy, the user account used to create the policy MUST have Environment-level and MUST NOT have Tenant-level permissions as described earlier, or a Bad Request error is returned and the policy isn't created.
Data policy process
To create a data policy, complete the following steps:
- Assign the policy a name.
- Classify connectors.
- Define the scope of the policy. This step doesn't apply to environment-level policies.
- Select environments.
- Review settings.
These steps are explained in the following section.
Walkthrough: Create a data policy
Use this example walkthrough to create a tenant-level data policy. In this walkthrough, you complete the following tasks:
- Add SharePoint and Salesforce to the Business data group of a data policy.
- Add Facebook and Twitter to the Blocked data group.
- Leave the remaining connectors in the Non-Business data group.
- Exclude test environments from the scope of this policy and apply the policy to the remaining environments, such as the default environment and production environments in the tenant.
After this policy is saved, any Power Apps or Power Automate maker, who is part of the data policy's environment, can create an app or a flow that shares data between SharePoint or Salesforce. Any Power Apps or Power Automate resource that includes an existing connection with a connector in the Non-business data group, isn't allowed to establish connections with SharePoint or Salesforce connectors. These makers can't add Facebook or Twitter connectors to any Power Apps or Power Automate resource.
Sign in to the Power Platform admin center.
Select Security in the navigation pane.
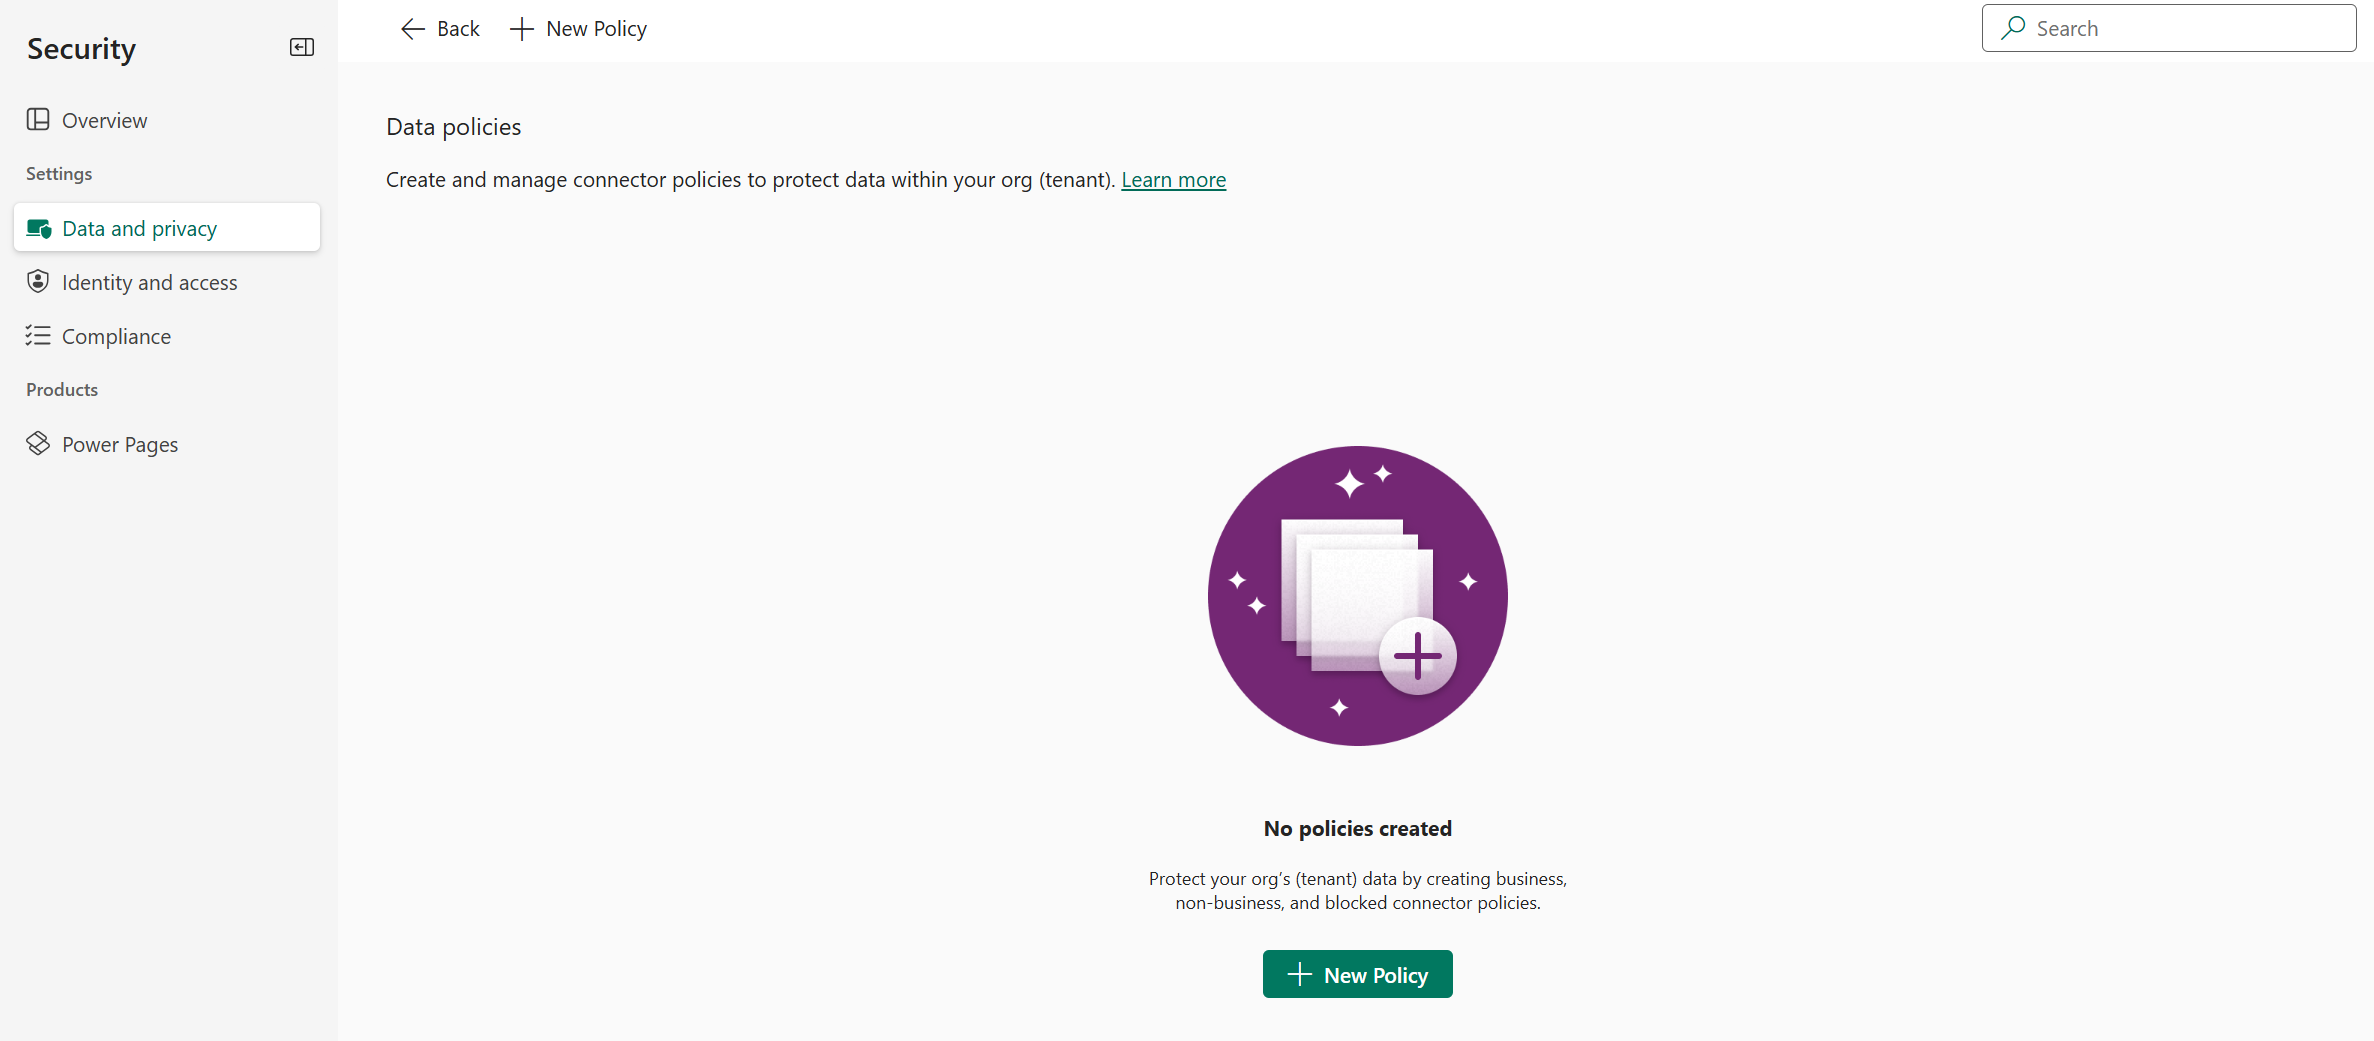
In the Security pane, under Settings, select Data and privacy.
In the Data protection and privacy screen, select the Data policy section. Select + New Policy.
If no policies exist in the tenant, you see the following page.
In the Policy name page, enter a policy name, and then select Next.
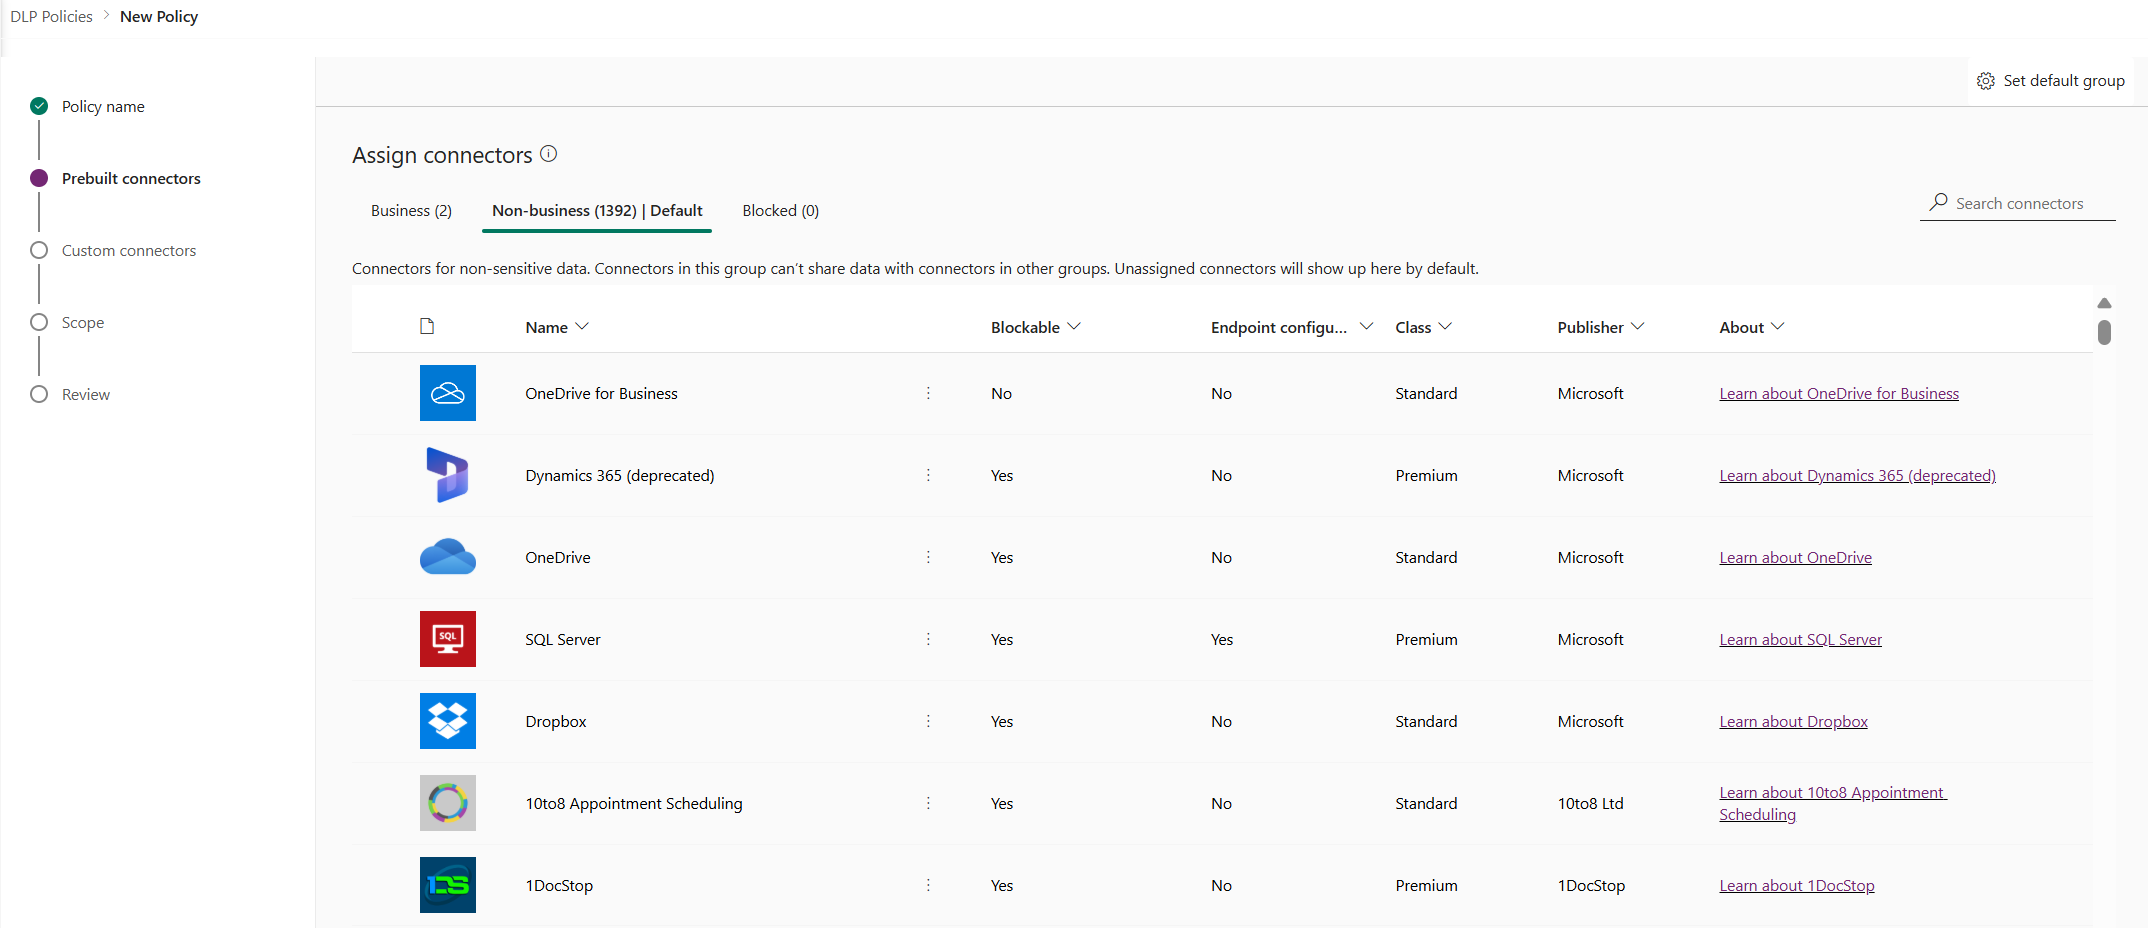
In the Pre-built connectors page, review the various attributes and settings you can make on the Assign connectors screen.
Attributes
Lists
Pivot Description Business Connectors for sensitive data. Connectors in this group can't share data with connectors in other groups. Non-business/
DefaultConnectors for non-sensitive data. Connectors in this group can't share data with connectors in other groups. Unassigned connectors show up here by default. Blocked Blocked connectors can't be used where this policy is applied. Unblockable connectors are in Non-business by default. Actions
Action Description Set default group The group that maps any new connectors added by Power Platform after your data policy is created. Learn more: Default data group for new connectors Search connectors Search a long list of connectors to find specific connectors to classify. You can search on any field in the connector list view, such as Name, Blockable, Type, or Publisher. Select one or more pre-built connectors. For this walkthrough, select the Salesforce and SharePoint connectors, and then select Move to Business from the top menu bar. You can also use the ellipsis (
 ) to the right of the connector name. The connectors now appear in the Business data group.
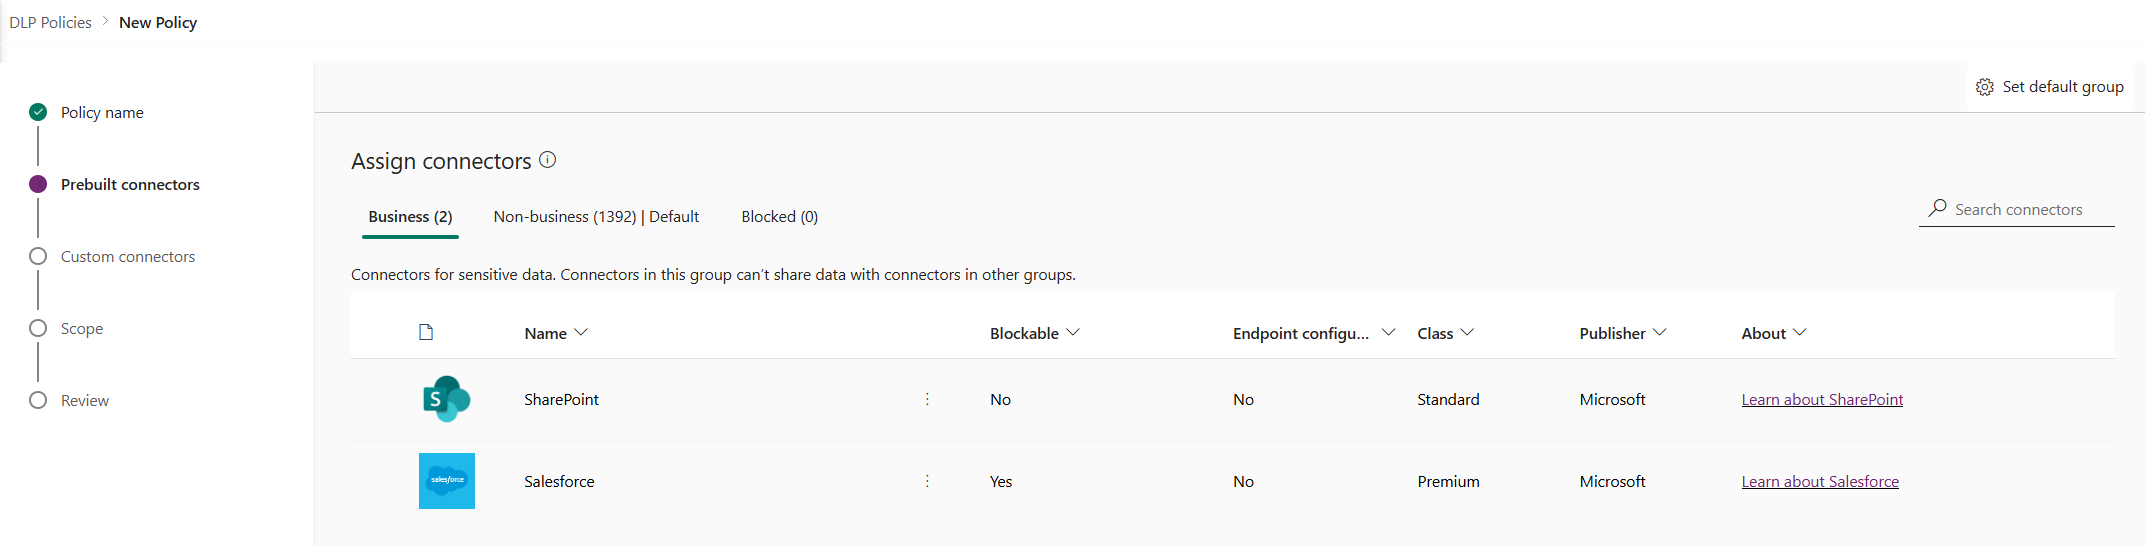
Connectors can reside in only one data group at a time. By moving the Salesforce and SharePoint connectors to the Business data group, you're preventing users from creating flows and apps that combine these two connectors with any of the connectors in the Non-business or Blocked groups.
For connectors like SharePoint that aren't blockable, the Block action isn't available and a warning appears.
Review and change the default group setting for new connectors, if needed. We recommend keeping the default setting as Non-business to map any new connectors added to Power Platform by default. Non-business connectors can be manually assigned to Business or Blocked later by editing the data policy, after you had a chance to review and assign them. If the new connector setting is Blocked, any new connectors that are blockable are mapped to Blocked, as expected. However, any new connectors that are unblockable are mapped to Non-business because by design they can't be blocked.
In the upper-right corner, select Set default group.

After you complete all the connector assignments across the Business/Non-Business/Blocked groups and set the default group for new connectors, select Next.
In the Custom connectors page, select the custom connectors to include in the policy. Select Next to continue.
In the Scope page, choose the scope of the data policy. This step isn't available for environment-level policies, because they're always meant for a single environment.
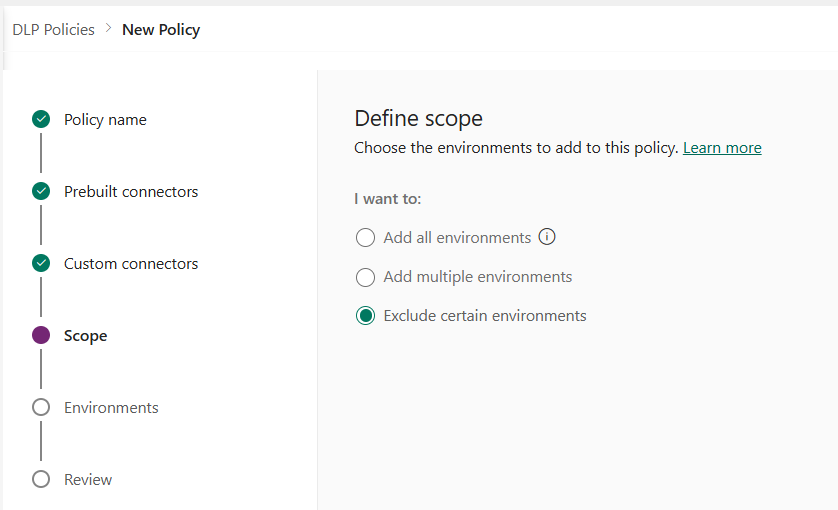
For this walkthrough, you exclude test environments from this policy. Select Exclude certain environments and select Next.
In the Environments page, review the various attributes and settings on the Exclude environments screen. For tenant-level policies, this list shows the tenant-level admin all the environments in the tenant. For environment-level policies, this list only shows the subset of environments in the tenant managed by the user who signed in as an Environment Admin or as a System Administrator for environments with Dataverse database.
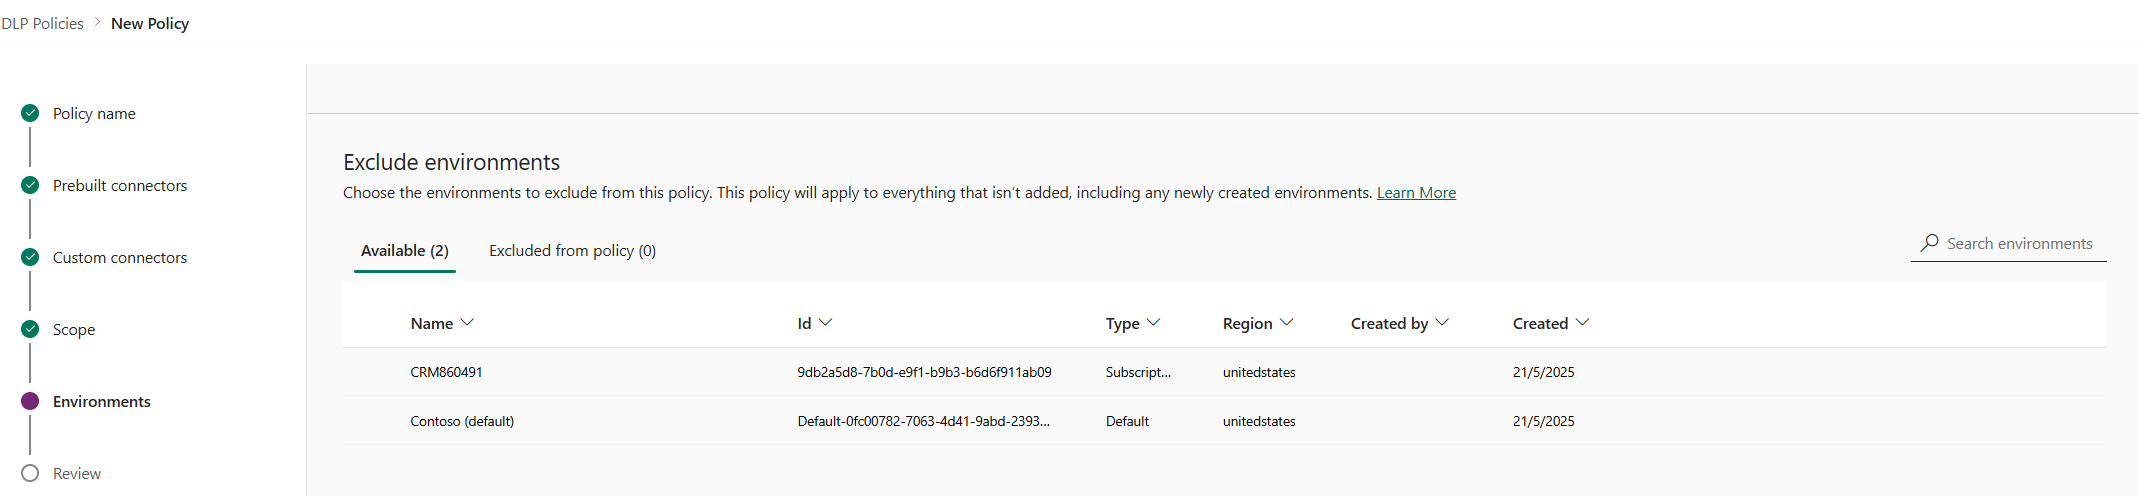
Attributes
Attribute Description Name The name of the environment. ID The ID of the environment. Type The type of the environment: trial, production, sandbox, default Region The region associated with the environment. Created by The user who created the environment. Created (On) The date on which the environment was created. Lists
Pivot Description Available Environments that aren't explicitly included or excluded in the policy scope. For environment-level policy and tenant-level policies with scope defined as Add multiple environments, this list represents the subset of environments that aren't included in the policy scope. For tenant-level policies with scope defined as Exclude certain environments, this pivot represents the set of environments that are included within the policy scope. Excluded from policy For environment-level policy and tenant-level policies with scope defined as Add multiple environments, this pivot represents the subset of environments that are excluded from the policy scope. For tenant-level policies with scope defined as Exclude certain environments, this pivot represents the subset of environments that are excluded from the policy scope Actions
Action Description Add to policy Environments in the Available category can be moved to the Excluded from policy category by using this action. Remove from policy Environments in the Excluded from policy category can be moved to the Available category by using this action. Select one or more environments. You can use the search bar to quickly find the environments of interest. For this walkthrough, search for test environments - type sandbox. After we select the sandbox environments, we assign them to the policy scope by using Exclude from policy from the top menu bar.

Because the policy scope was initially selected as Exclude certain environments, these test environments are now excluded from the policy scope, and the data policy settings are applied to all the remaining (Available) environments. For environment-level policy, you can only select a single environment from the list of available environments. After making selections for environments, select Next.
In the Review page, review the policy settings, and then select Create policy.

The policy is created and appears in the list of data policies. As a result of this policy, SharePoint and Salesforce apps can share data in non-test environments—such as production environments—because they're both part of the same Business data group. However, any connector that resides in the Non-Business data group—such as Outlook.com—doesn't share data with apps and flows by using SharePoint or Salesforce connectors. Facebook and Twitter connectors are altogether blocked from being used in any app or flow in non-test environments such as production or default environments.
It's good practice for admins to share the list of data policies with their organization so that users are aware of the policies before they create apps.
This table describes how the data policy you created affects data connections in apps and flows.
| Connector matrix | SharePoint (Business) | Salesforce (Business) | Outlook.com (Non-Business) | Facebook (Blocked) | Twitter (Blocked) |
|---|---|---|---|---|---|
| SharePoint (Business) | Allowed | Allowed | Denied | Denied | Denied |
| Salesforce (Business) | Allowed | Allowed | Denied | Denied | Denied |
| Outlook.com (Non-Business) | Denied | Denied | Allowed | Denied | Denied |
| Facebook (Blocked) | Denied | Denied | Denied | Denied | Denied |
| Twitter (Blocked) | Denied | Denied | Denied | Denied | Denied |
Because no data policy is applied to test environments, apps and flows can use any set of connectors together in these environments.
Find and view data policies
Sign in to the Power Platform admin center.
In the Data protection and privacy screen, select Data policy. If you have a long list of policies, use the Search box to find specific data policies.

The list view shows the following attributes:
Attribute Description Name The name of the policy. Scope The type of policy, such as environment-level or tenant-level. Applied to The environment scope associated with the policy.
For an environment-level policy, this attribute is the single environment name associated with the policy.
For a tenant-level policy, it can be one of the following values:
- All environments
- All environments, except (n)
- (n) environments
- A single environment nameCreated by The user who created the policy. Created (On) The date on which the policy was created. Modified by The user who modified the policy. Modified (On) The date on which the policy was modified.
Edit a data policy
Sign in to the Power Platform admin center.
From the list of data policies, select a policy, and then select Edit Policy. If you have a long list of policies, use the Search box to find specific data policies.

Note
Environment admins can't edit policies created by the tenant admin.
Proceed through the steps described in Walkthrough: Create a data policy, and then select Update Policy.
Note
Environment-level data policies can't override tenant-wide data policies.
(Optional) If necessary, consider enforcing data policies on connections. Learn more: Enforce data policy for violating connections
Note
Enforcing data policies disable existing connections that violate any data policies and enable any previously disabled connections that no longer violate any data policies.
Delete a data policy
Sign in to the Power Platform admin center.
From the list of data policies, select a policy, and then select Delete Policy. If you have a long list of policies, use the Search box to find specific data policies.

Note
Environment admins can't delete policies created by the tenant admin.
In the confirmation dialog box, select Delete.
Change the default data group
Sign in to the Power Platform admin center as a Power Platform admin.
From the list of data policies, select a policy, and then select Edit Policy. If you have a long list of policies, use the Search box to find specific environments.
Note
Environment admins can't edit policies created by the tenant admin.
Select the Prebuilt connectors step in the Edit Policy process.
In the upper-right corner, select Set default group.
Choose a default group, and then select Apply. Learn more: Connector classification and Default data group for new connectors
Select Next as needed to close the Edit Policy process.
The data group you chose will be the default group to automatically classify any new connectors added to Power Platform after your policy is created.
Use PowerShell commands
See data policies policy commands.
See also
Data policies
data policies policy commands
Power Platform data policies SDK