Note
Access to this page requires authorization. You can try signing in or changing directories.
Access to this page requires authorization. You can try changing directories.
Summary
| Item | Description |
|---|---|
| Release State | Beta |
| Products | Power BI (Semantic models) Fabric (Dataflow Gen2) |
| Authentication types | Organizational account |
Prerequisites
You must already have an existing Lakehouse - Create a Lakehouse in Microsoft Fabric.
Capabilities supported
- Import
Connect to a Lakehouse in Power BI Desktop
To get data from a Lakehouse in Power BI Desktop:
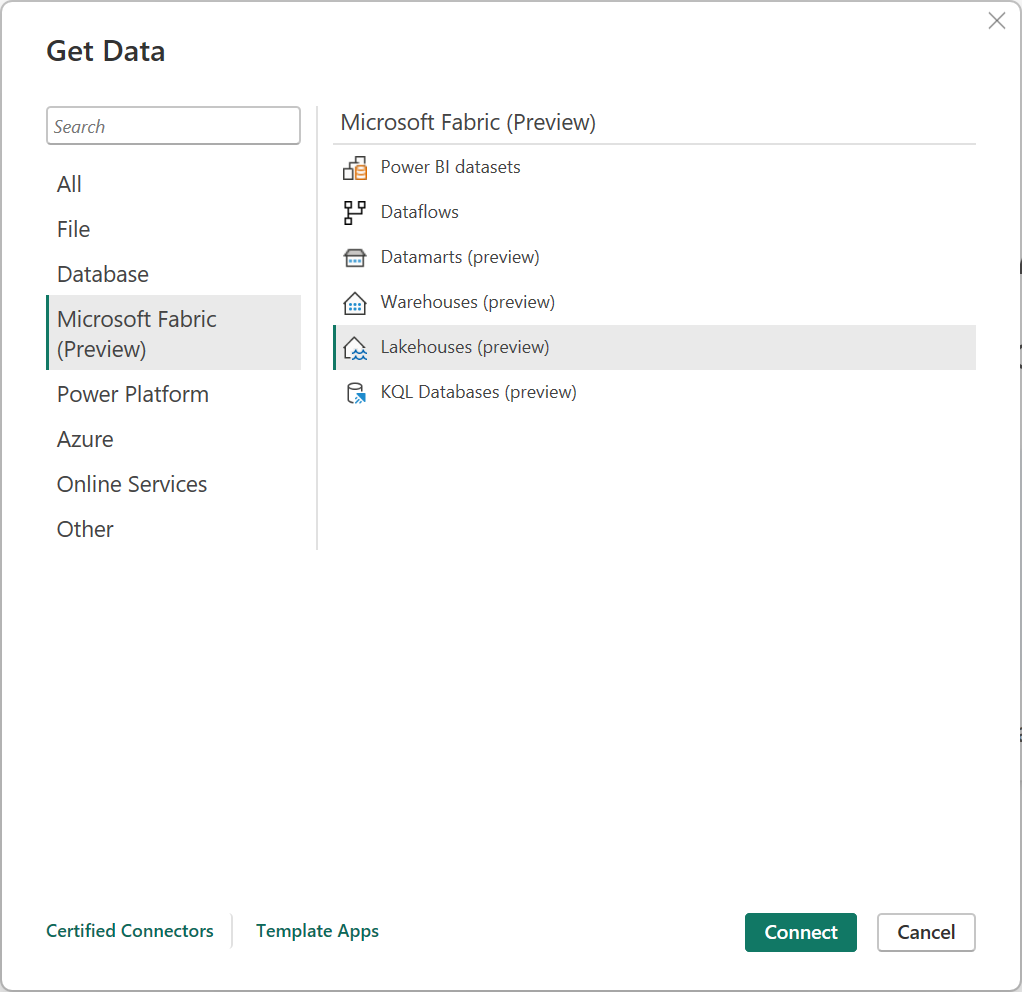
Select the Lakehouses connector in the connector selection, and then select Connect. More information: Where to get data
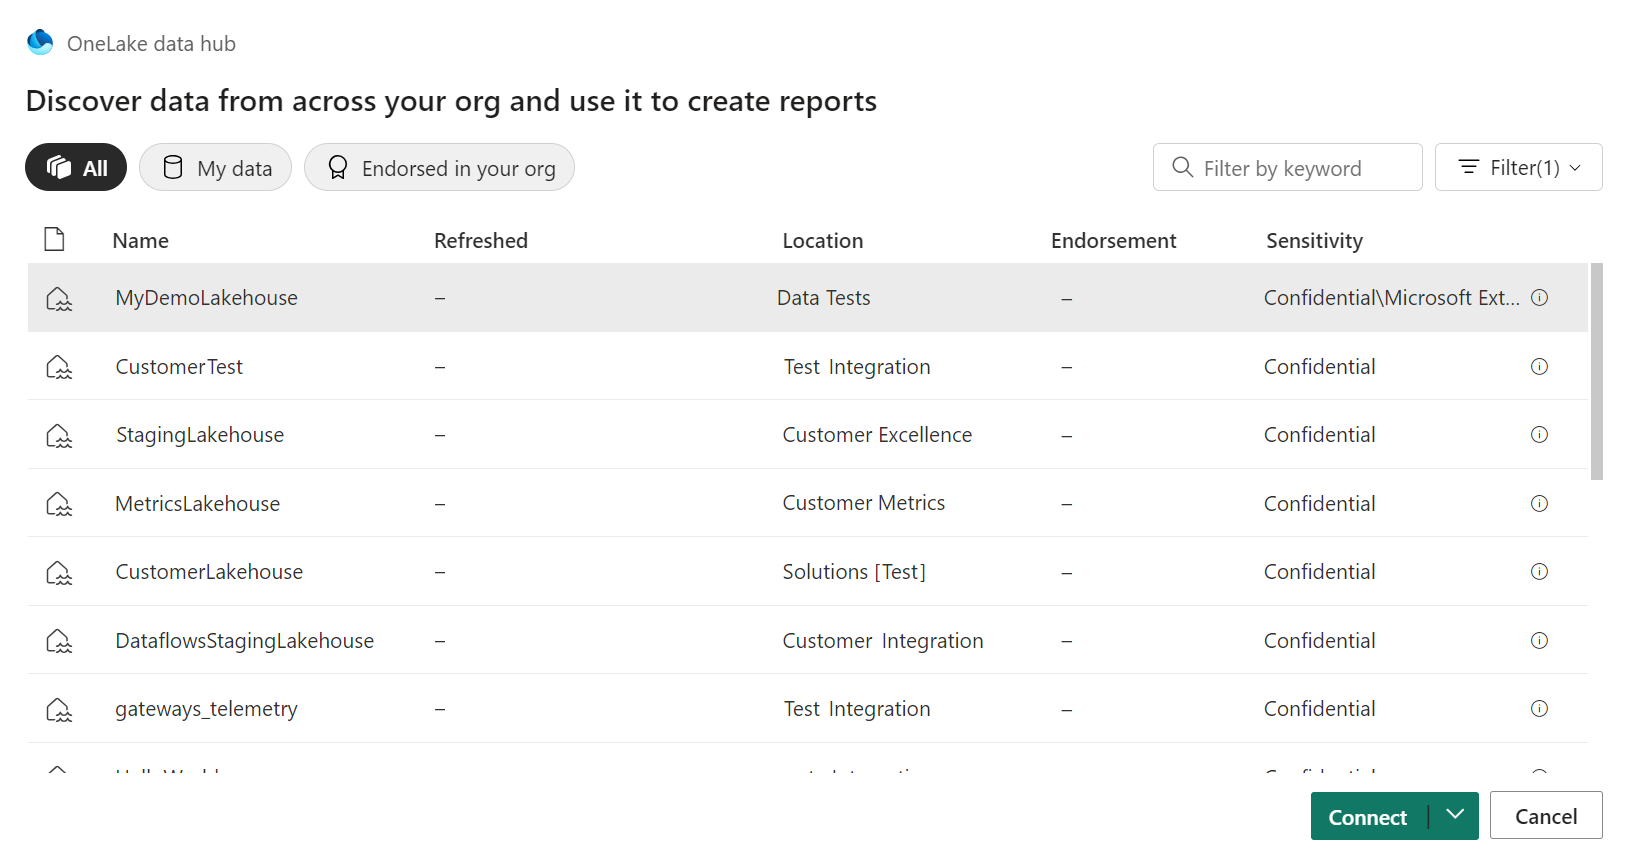
In the OneLake data hub, select the lakehouse you want to connect to. Optionally, you can use the All, My data, or Endorsed in your org buttons to filter the Lakehouses displayed in the dialog. Then select Connect.
Note
You can also select Choose SQL endpoint to select the SQL endpoint of the Lakehouse.
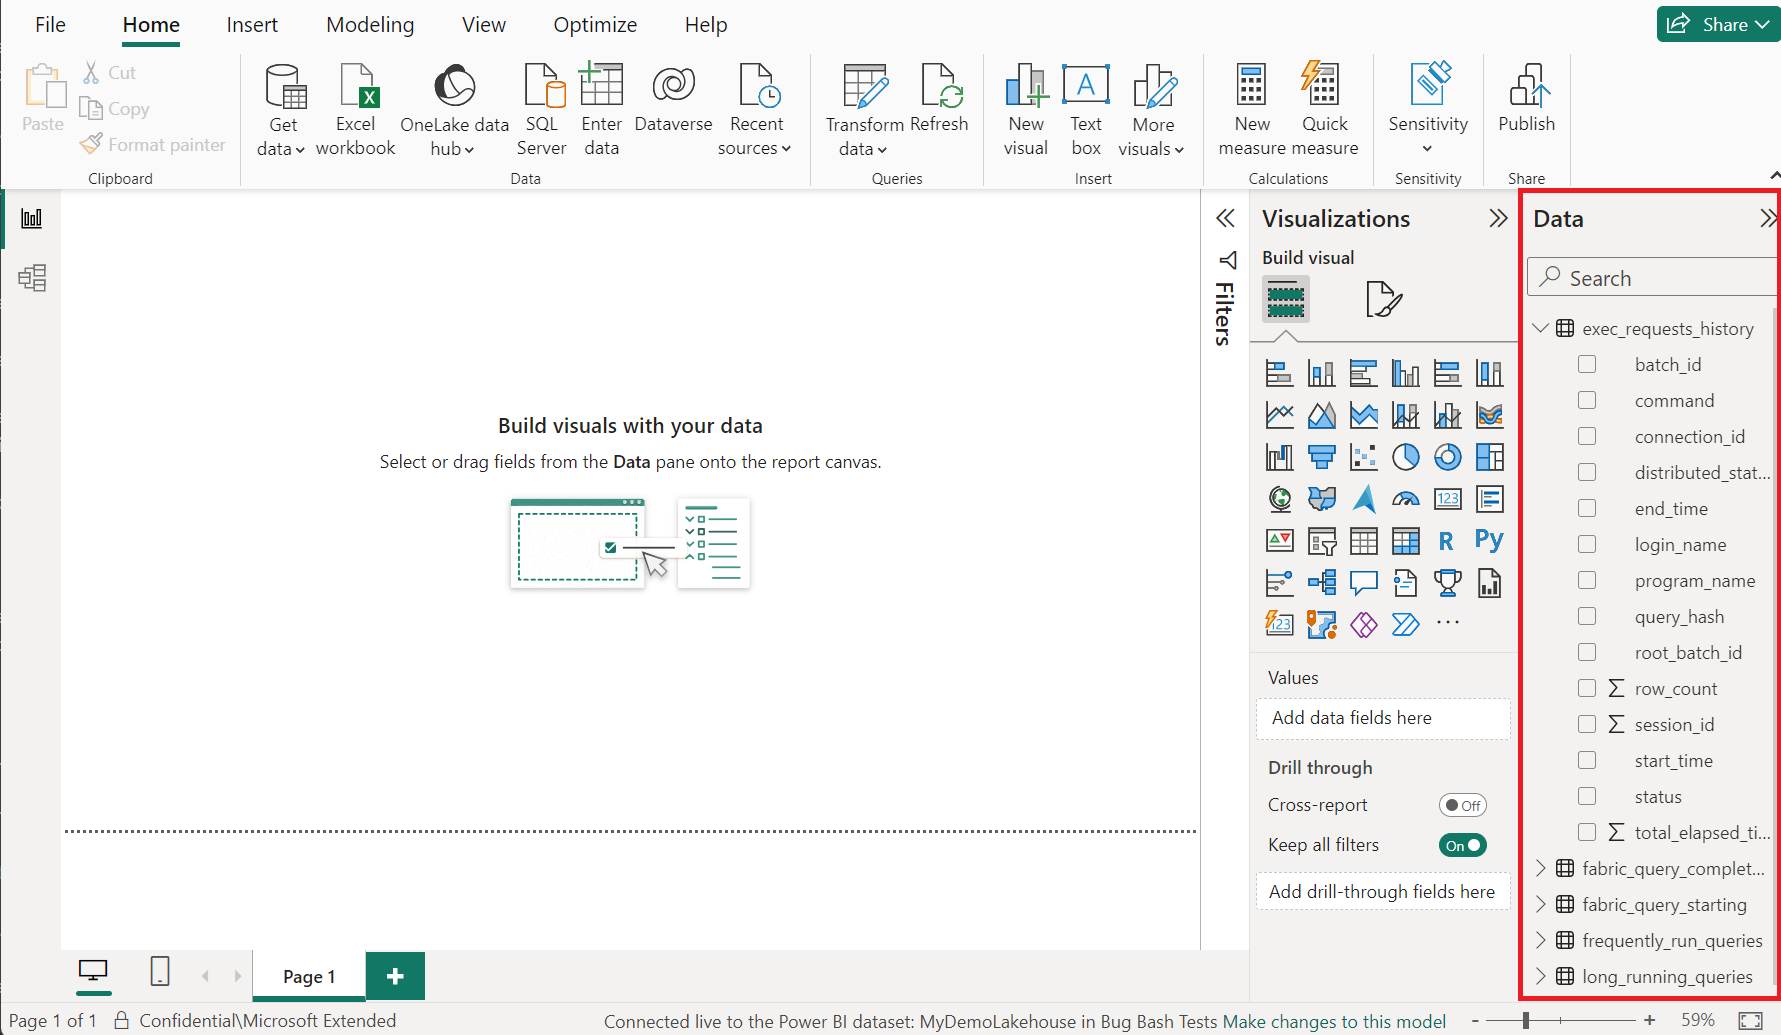
Select the data you want to build visuals with from the Data pane in Power BI Desktop.


Connect to a Lakehouse from Power Query Online
To get data from a Lakehouse in Power Query Online:
Select the Lakehouse option in the get data experience. Different apps have different ways of getting to the Power Query Online get data experience. For more information about how to get to the Power Query Online get data experience from your app, go to Where to get data.

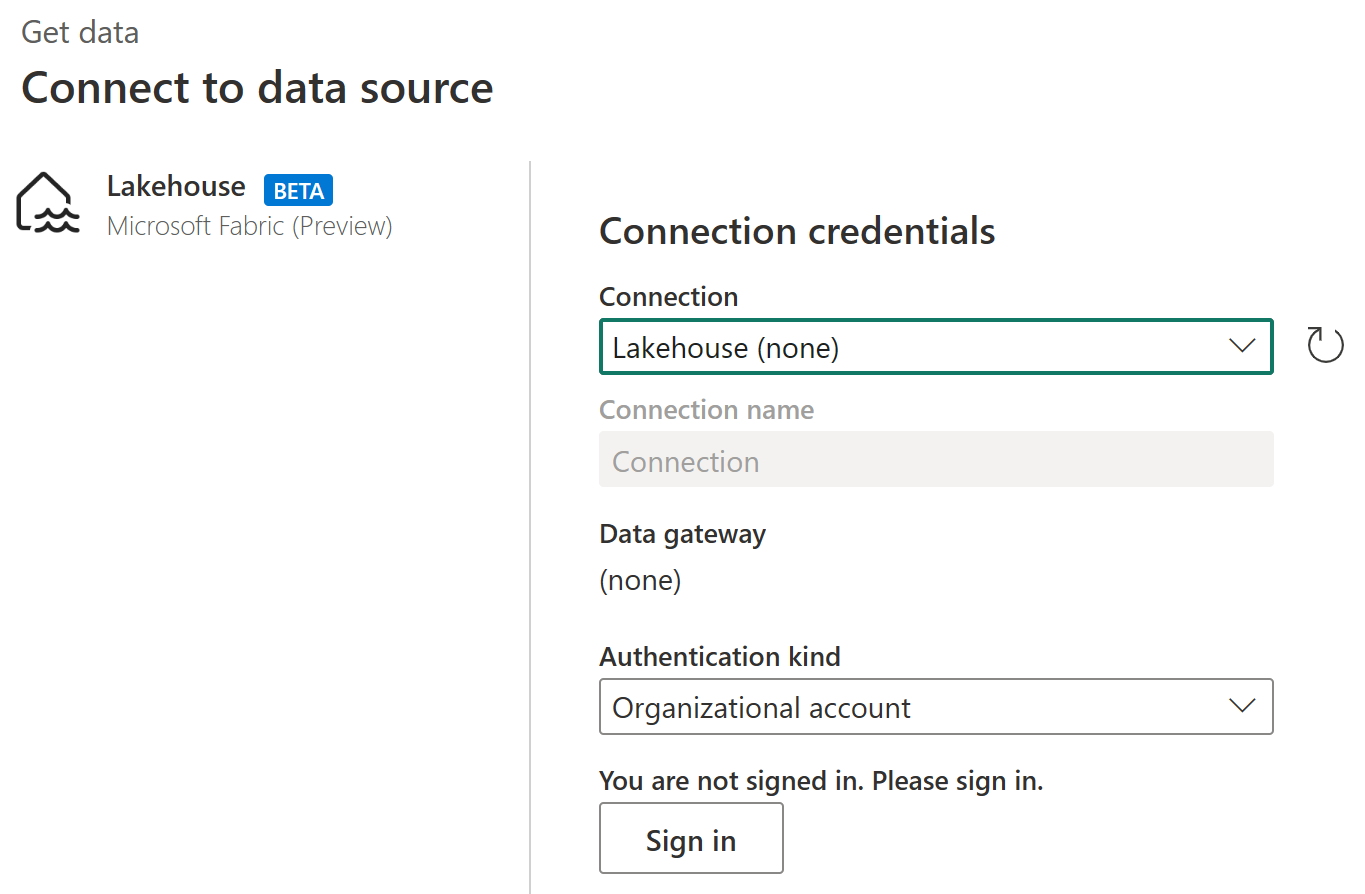
In Connect to data source, select Sign in to sign in to your organizational account.
Once you've signed in, select Next.
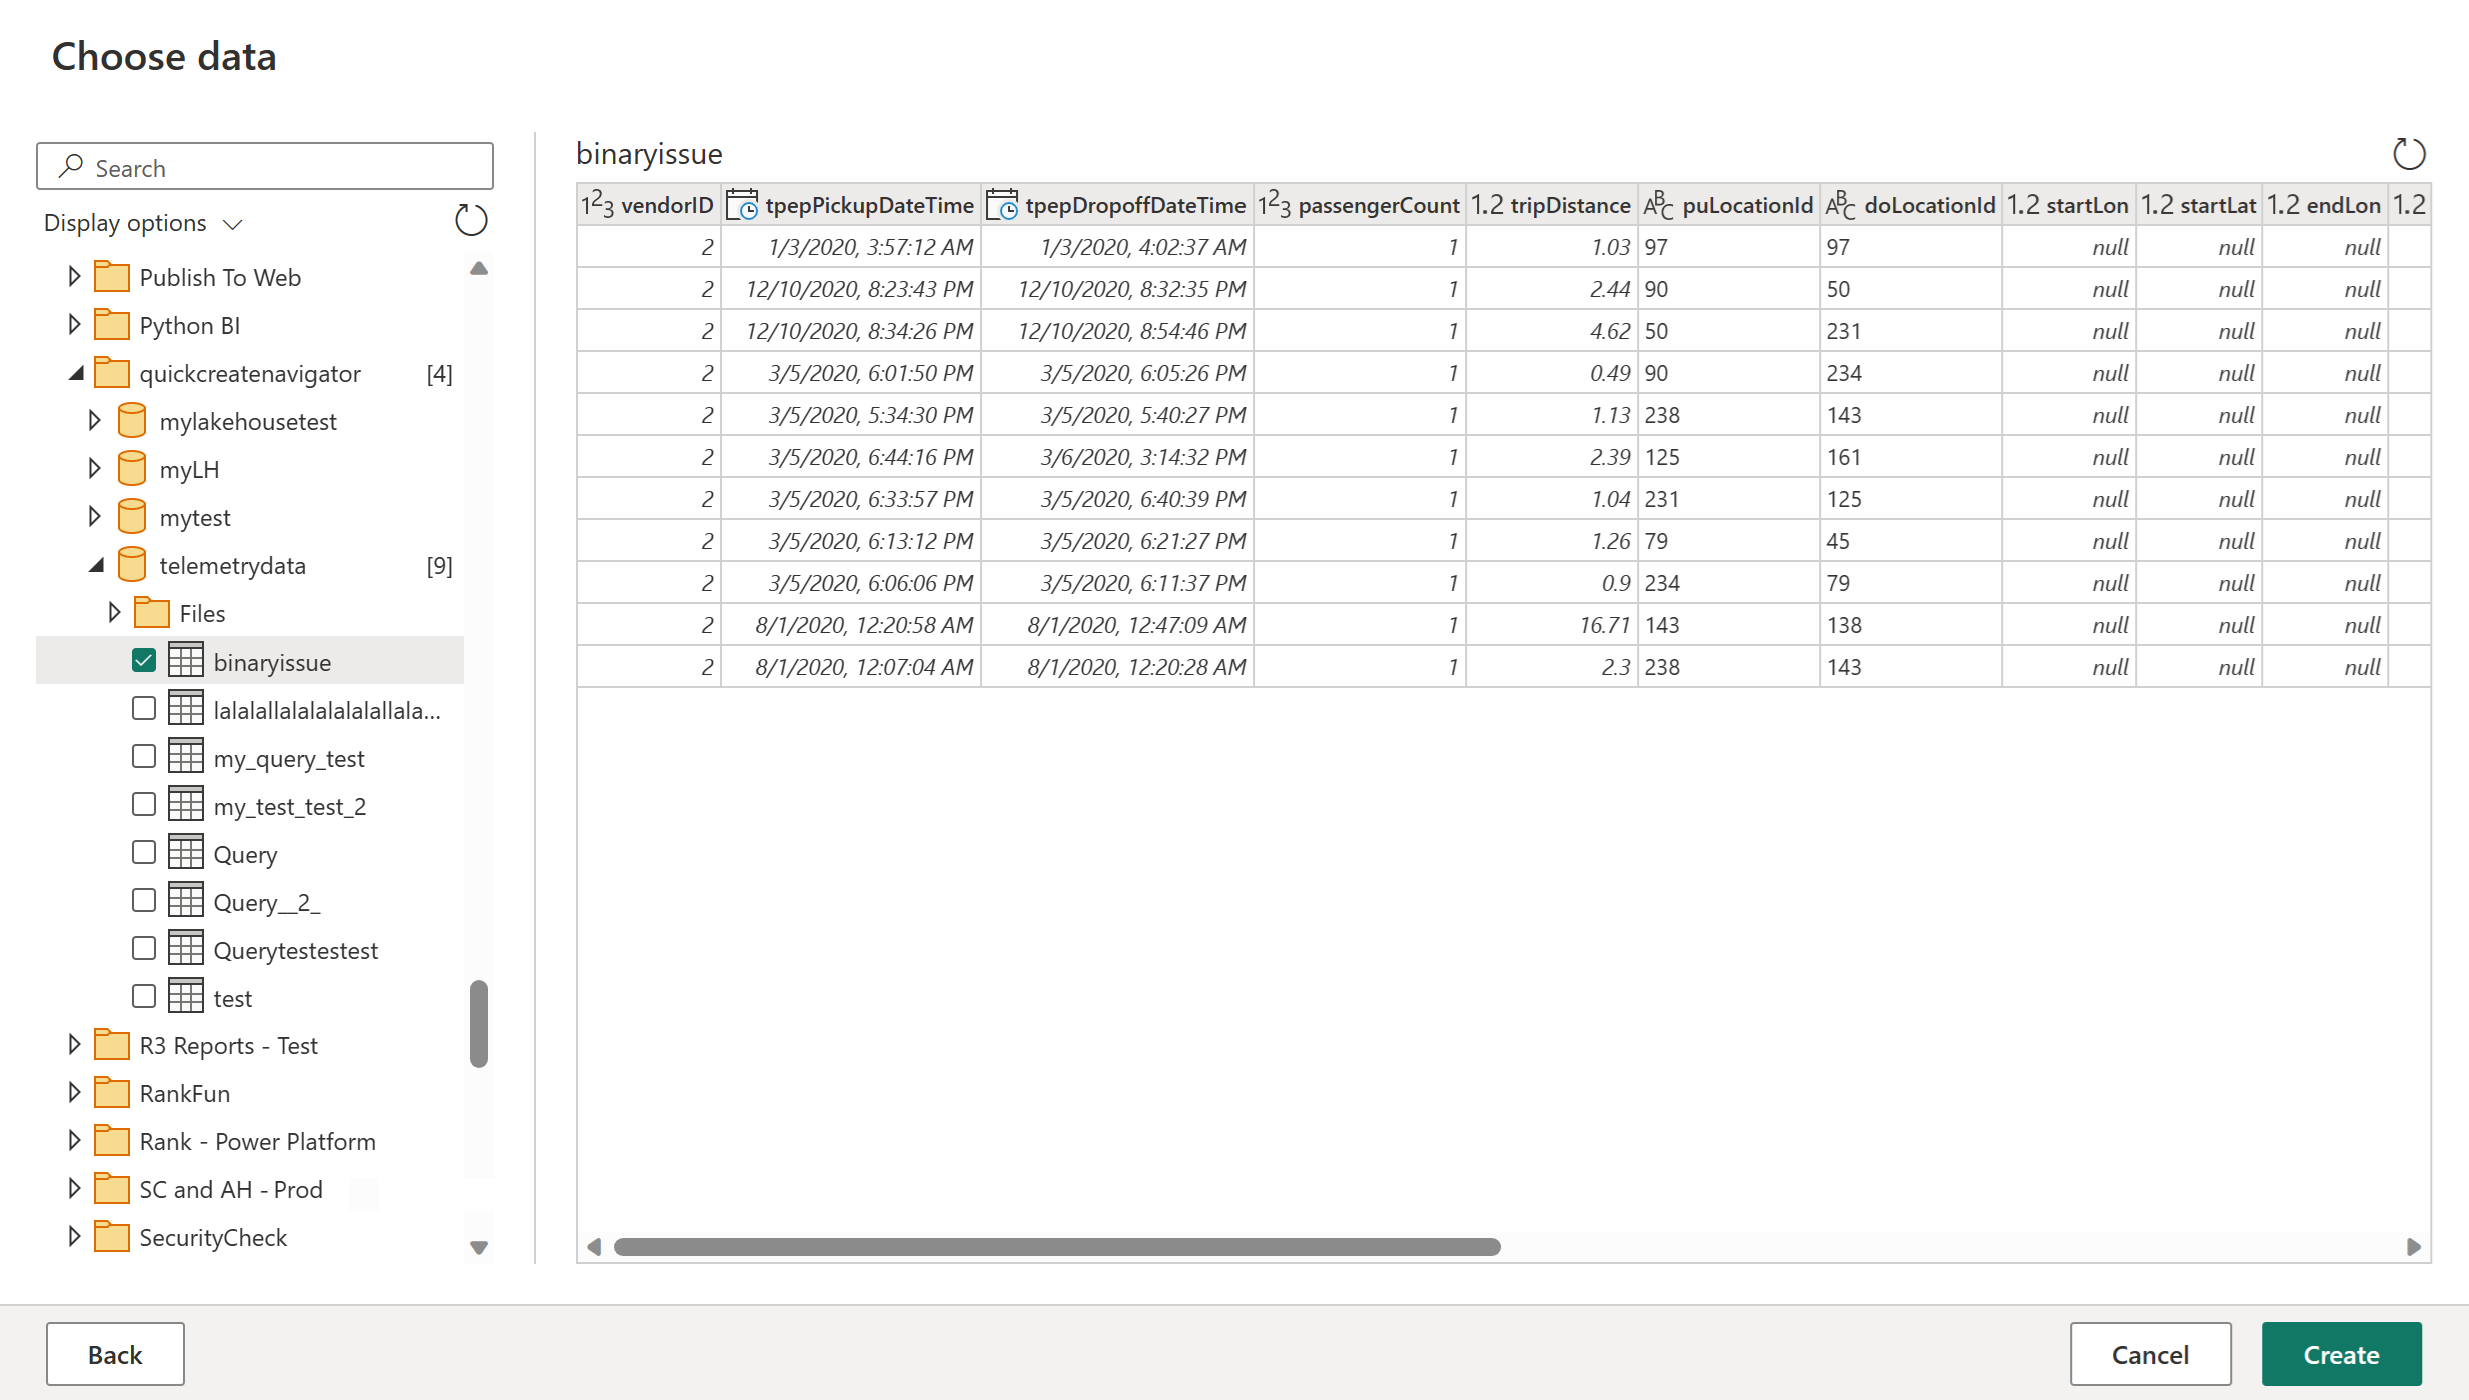
In Choose data, select the data items that you want to transform, and then select Create.