Note
Access to this page requires authorization. You can try signing in or changing directories.
Access to this page requires authorization. You can try changing directories.
The Offset command shifts every value in a Date, Time, or Date/Time column forward or backward by a duration that you specify, without you having to write an #duration(...) expression by hand. For example, you can use Offset to add a "previous day" column, or to shift a timestamp three hours earlier.
Offset adds a signed duration to the selected column. A positive value moves the result later, and a negative value moves it earlier.
The Offset command is located on the Add column tab, under the Date, Time, and Date/Time menus.
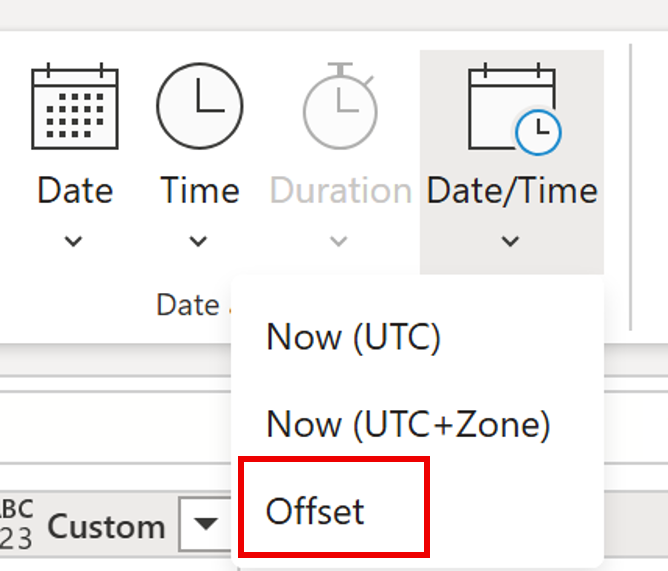
Add an offset column
In this example, you start with a table that has an OrderDate column, and you want to add a column with each order's previous day.
Select the OrderDate column.
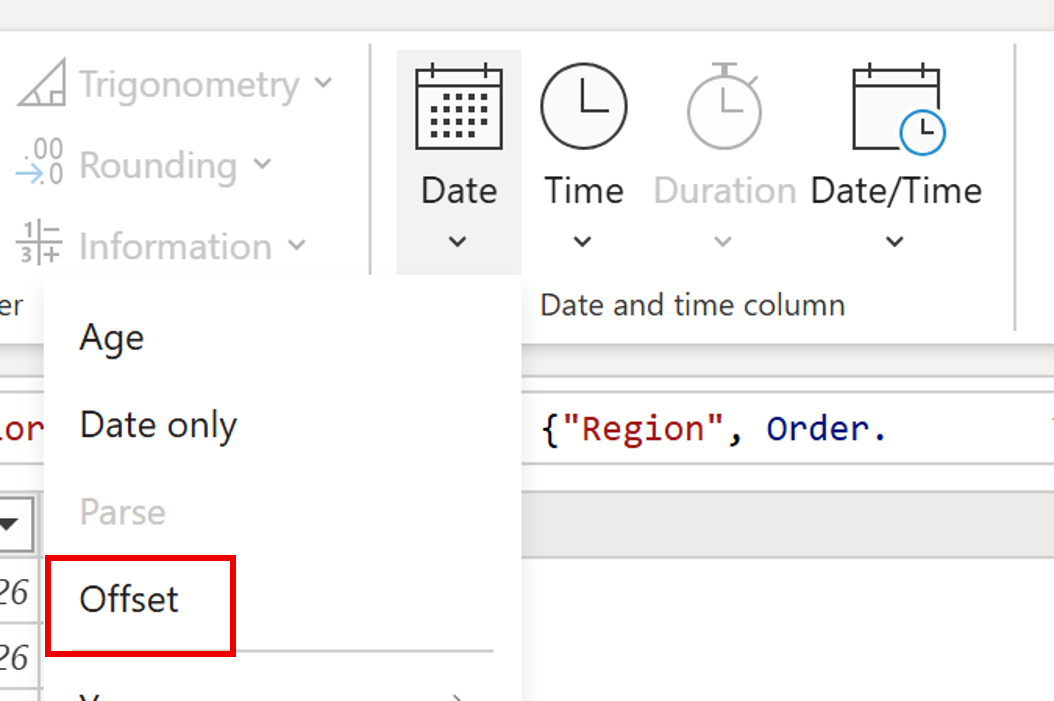
On the Add column tab, select Date > Offset.
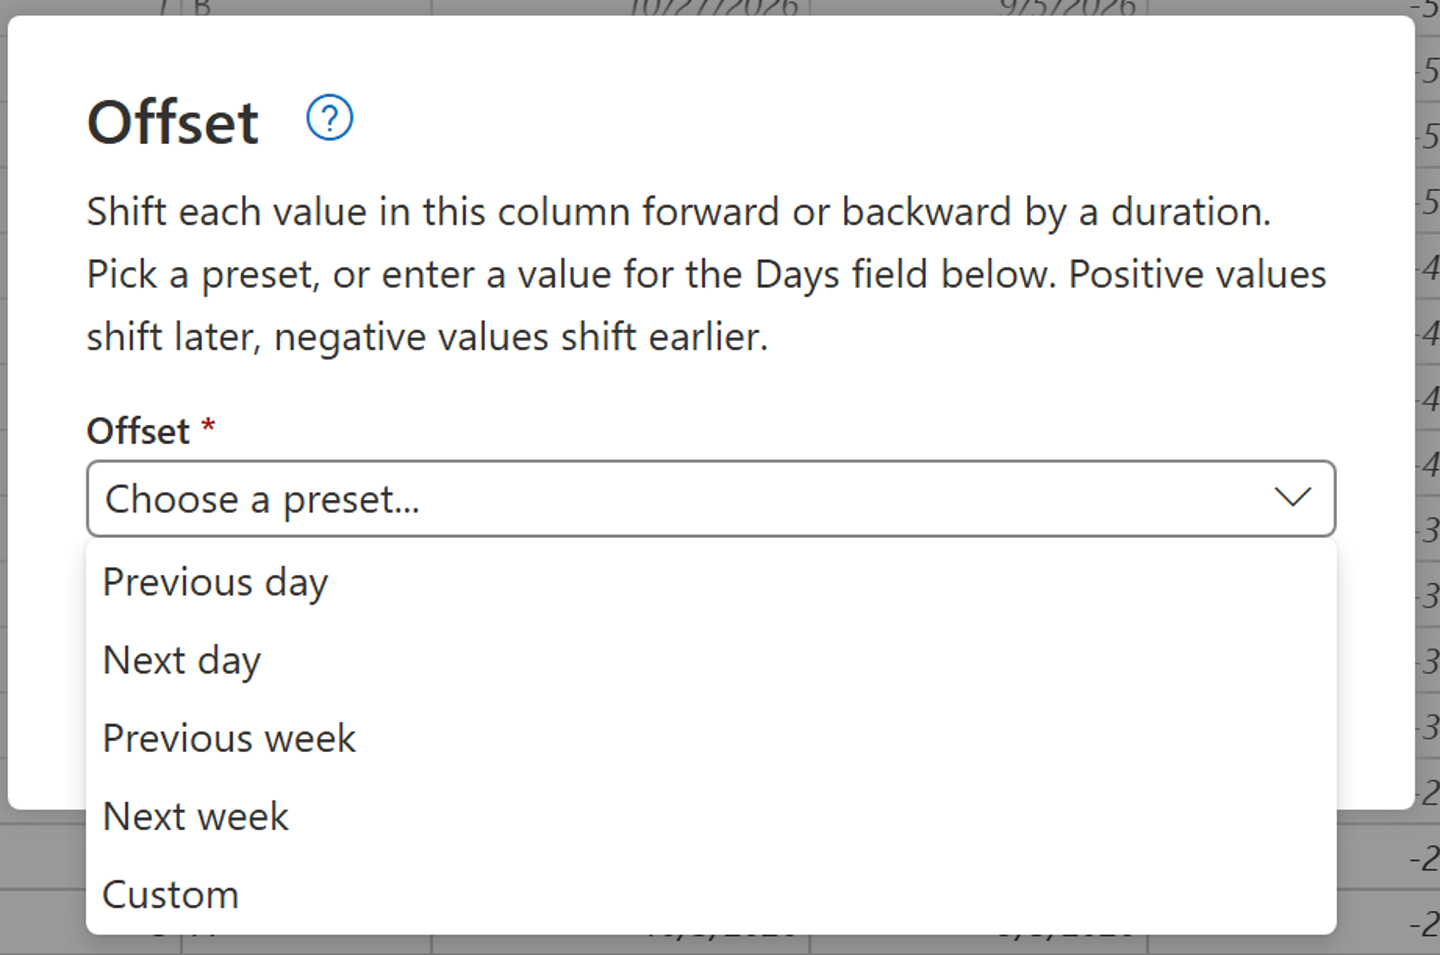
In the Offset dialog box, select Previous day from the Offset dropdown list.
Select OK.
Power Query adds a new Previous day of OrderDate column, with each value one day earlier than the corresponding value in OrderDate.
Offset dialog box
The Offset dialog box adapts to the data type of the column you selected:
- A Date column shows only a Days field.
- A Time, Date/Time, or Date/Time/Zone column shows Days, Hours, Minutes, and Seconds fields, so you can combine multiple units in the same offset. A Time column doesn't show a Days field, because a time value has no date component.
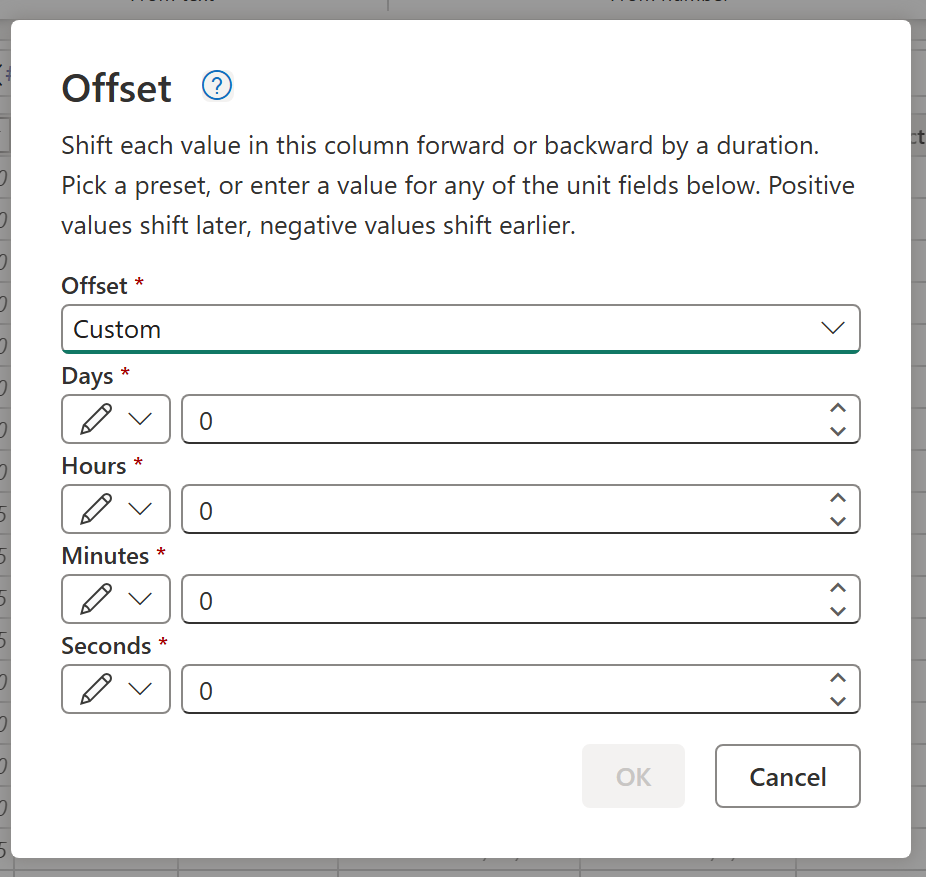
The dialog box has an Offset dropdown list with four presets, plus a Custom option:
| Preset | Effect |
|---|---|
| Previous day | Subtracts one day |
| Next day | Adds one day |
| Previous week | Subtracts seven days |
| Next week | Adds seven days |
| Custom | Lets you enter your own value for each field |
Note
Previous week and Next week always shift by a fixed seven days. They don't align to the start or end of a calendar week.
Selecting a preset fills in the field values for you. If you select Custom, or if you edit any field so its value no longer matches the selected preset, you can enter your own whole number in each field:
- A positive value shifts the result later.
- A negative value shifts the result earlier.
- A value of 0 leaves that unit unchanged.
For example, on a Date/Time column, entering 1 for Days and -2 for Hours shifts a value forward one day and back two hours.
Only whole numbers are allowed in each field. Decimal values, such as 1.5, and non-numeric input aren't allowed.
OK is unavailable until the dialog box has a valid offset to apply. Select a preset, or enter a nonzero value or bind at least one field to a column or parameter, as described in the next section.
Use values from a column, a parameter, or a query
Instead of typing a fixed number into a field, use the values from another column in your query, from a query parameter, or from another query that resolves to a single whole number. Select the icon on the left side of a field to choose the value's source.
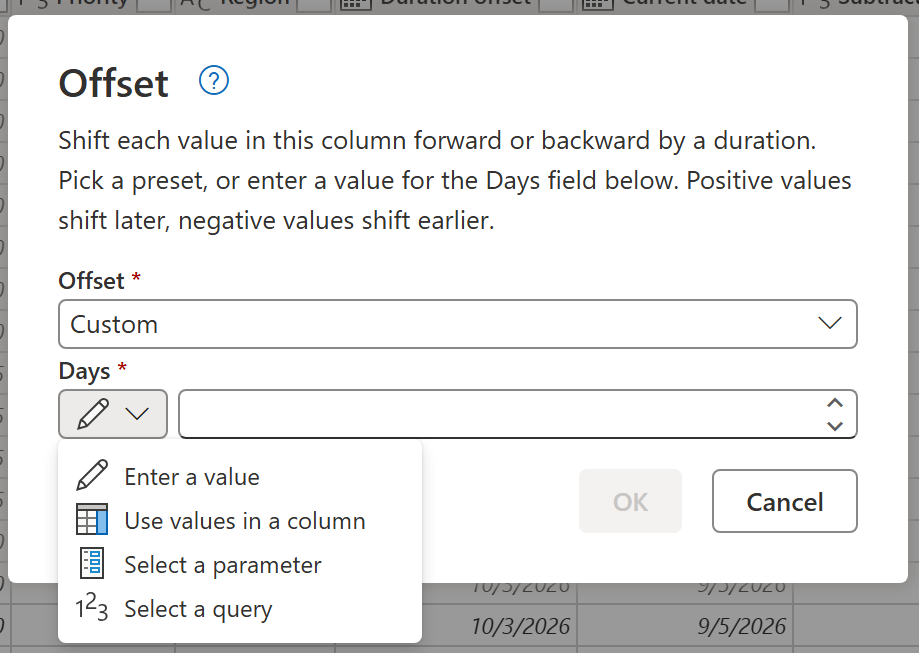
- Enter a value: Type a fixed whole number directly into the field. This option is selected by default.
- Use values in a column: Select a whole number column from the current query. Power Query reads the offset for that unit from the corresponding row, instead of using a fixed value.
- Select a parameter: Bind the field to a query parameter.
- Select a query: Bind the field to another query that resolves to a single whole number.
Selecting a column, parameter, or query for any field automatically changes the Offset dropdown list to Custom.
If a row's value in a bound column is null, the offset result for that row is also null.
Effect on null and error values
- If a source value is null, the offset result for that row is null.
- If a source value is an error, the offset result for that row is the same error, following standard Power Query error propagation.
- For a Date/Time/Zone column, the original time zone offset is preserved in the result.
How Power Query calculates the offset
The Offset command adds a single #duration value to the selected column, using the values you provide for Days, Hours, Minutes, and Seconds:
[Column] + #duration(Days, Hours, Minutes, Seconds)
For example, applying the Previous day preset to the Date column OrderDate produces the following formula:
= Table.AddColumn(#"Previous step", "Previous day of OrderDate", each [OrderDate] + #duration(-1, 0, 0, 0), type date)
A custom offset of Days = 1, Hours = 2, and Minutes = 30 on the Date/Time column Timestamp produces the following formula:
= Table.AddColumn(#"Previous step", "Offset of Timestamp", each [Timestamp] + #duration(1, 2, 30, 0), type datetime)