Get started with conversational language understanding integration
Important
Power Virtual Agents capabilities and features are now part of Microsoft Copilot Studio following significant investments in generative AI and enhanced integrations across Microsoft Copilot.
Some articles and screenshots may refer to Power Virtual Agents while we update documentation and training content.
This article includes the step-by-step procedures you need to get started with conversational language understanding (CLU) integration. Let's get started.
To create a copilot using an existing CLU model:
Map CLU intents and entities.
Prepare your environment
Before you begin, make sure that you have your CLU model project name, deployment name, Cognitive Services account key, and site URL for Azure Cognitive Service for Language.
Create a Copilot Studio copilot.
Note
Ensure the environment for your copilot has been created in a region supported by Copilot Studio with an equivalent CLU region.
Not all regions supported by Copilot Studio have an equivalent CLU region.
With your copilot open, select Settings on the top menu bar.
Select Language understanding.
If you you see the following, then your environment isn't connected to Azure Cognitive Service for Language. Select Manage connections in Power Apps, to create a CLU connection.

In the Natural language understanding area of the Language settings page, Microsoft Copilot Studio NLU is selected by default.
Select the desired CLU connection from the NLU Resource list and select Save.

A window appears, prompting you to save a snapshot of your copilot.
Select Save snapshot, and save the resulting ZIP archive, named botContent.zip by default, to the desired location. The ZIP archive contains a single YML file named botContent.yml with your copilot content, including trigger phrases and messages.
Select Yes, delete my trigger phrase and then select Continue.
Enter the name and model deployment information for the appropriate Azure Cognitive Service for Language project, and select Save.
Note
Changing the NLU configuration for your copilot back to back to Microsoft Copilot Studio NLU removes the Analyze Text system topic. It also requires you to manually add example phrases for topics currently mapped to external intents.
Now that you're done preparing your environment, you're ready to map intents and entities to CLU model data.
Prepare your conversational language understanding project
If you don't have an Azure subscription, create a free account before you begin.
Create a language resource in Language Studio, with the conversational language understanding feature enabled.
To ensure Copilot Studio functions correctly, you need to create intents for Copilot Studio system topics and for any custom topics you want to create.
Author any custom entities you want to use in your Copilot Studio project.
Train and deploy the project in the same region as your Copilot Studio resource.
Map CLU intents and entities to Copilot Studio prebuilt data types
You create a new Copilot Studio copilot by mapping existing topics to CLU intents. You can manually map intents and entities, or for bulk mapping, see Use the Bulk tool wizard.
Manually map intents
Open your Copilot Studio copilot.
From the left navigation, select Topics and plugins and select an intent.
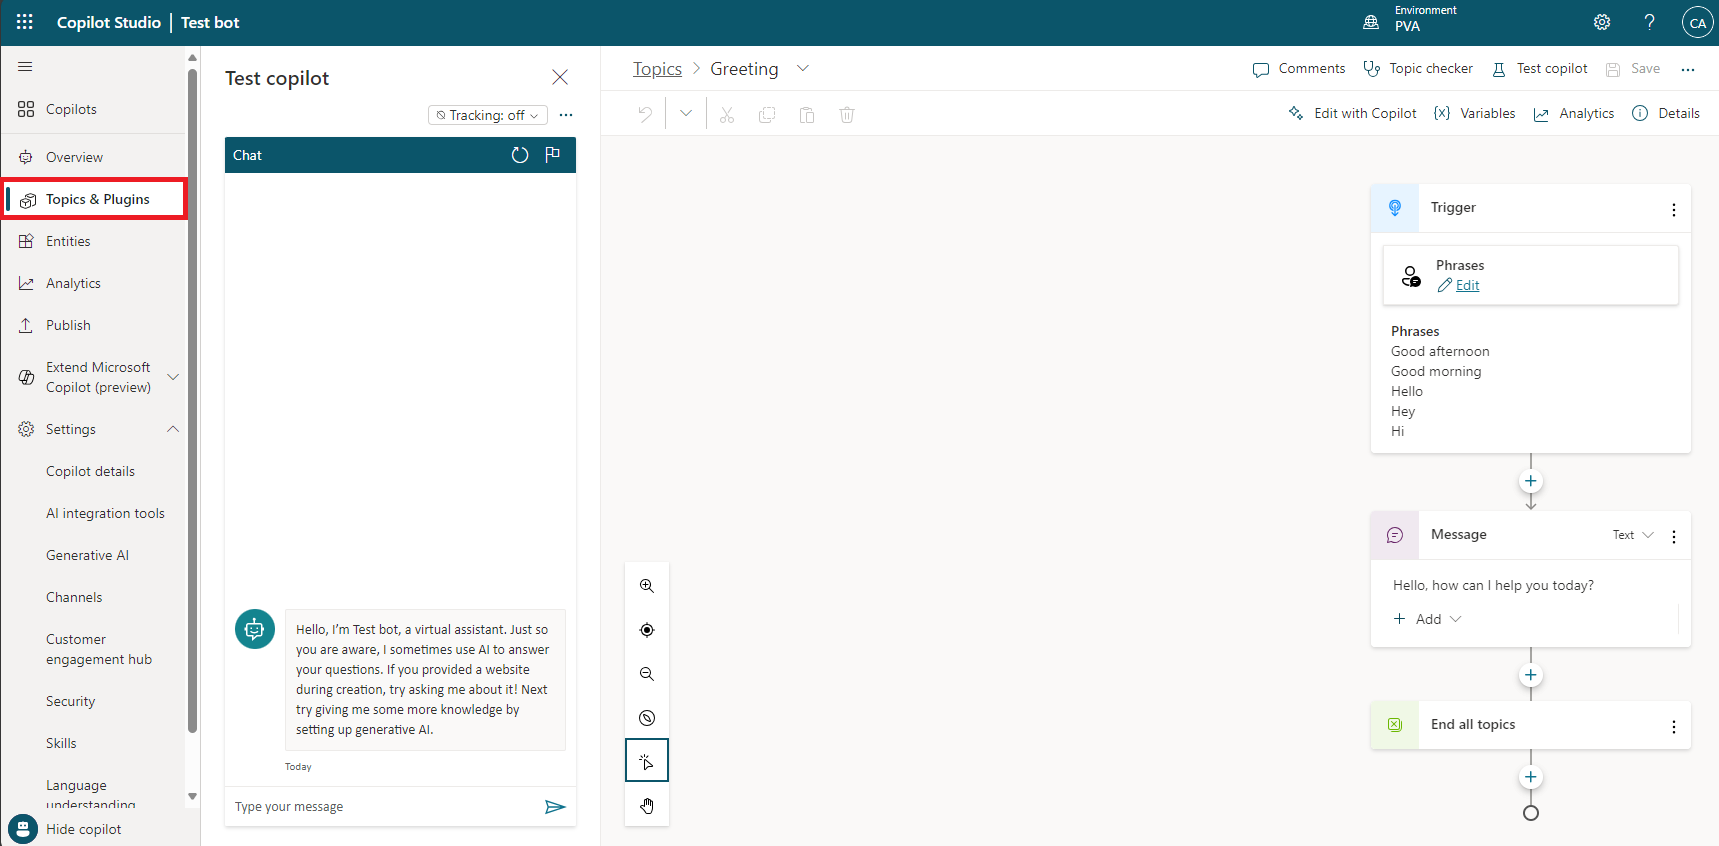
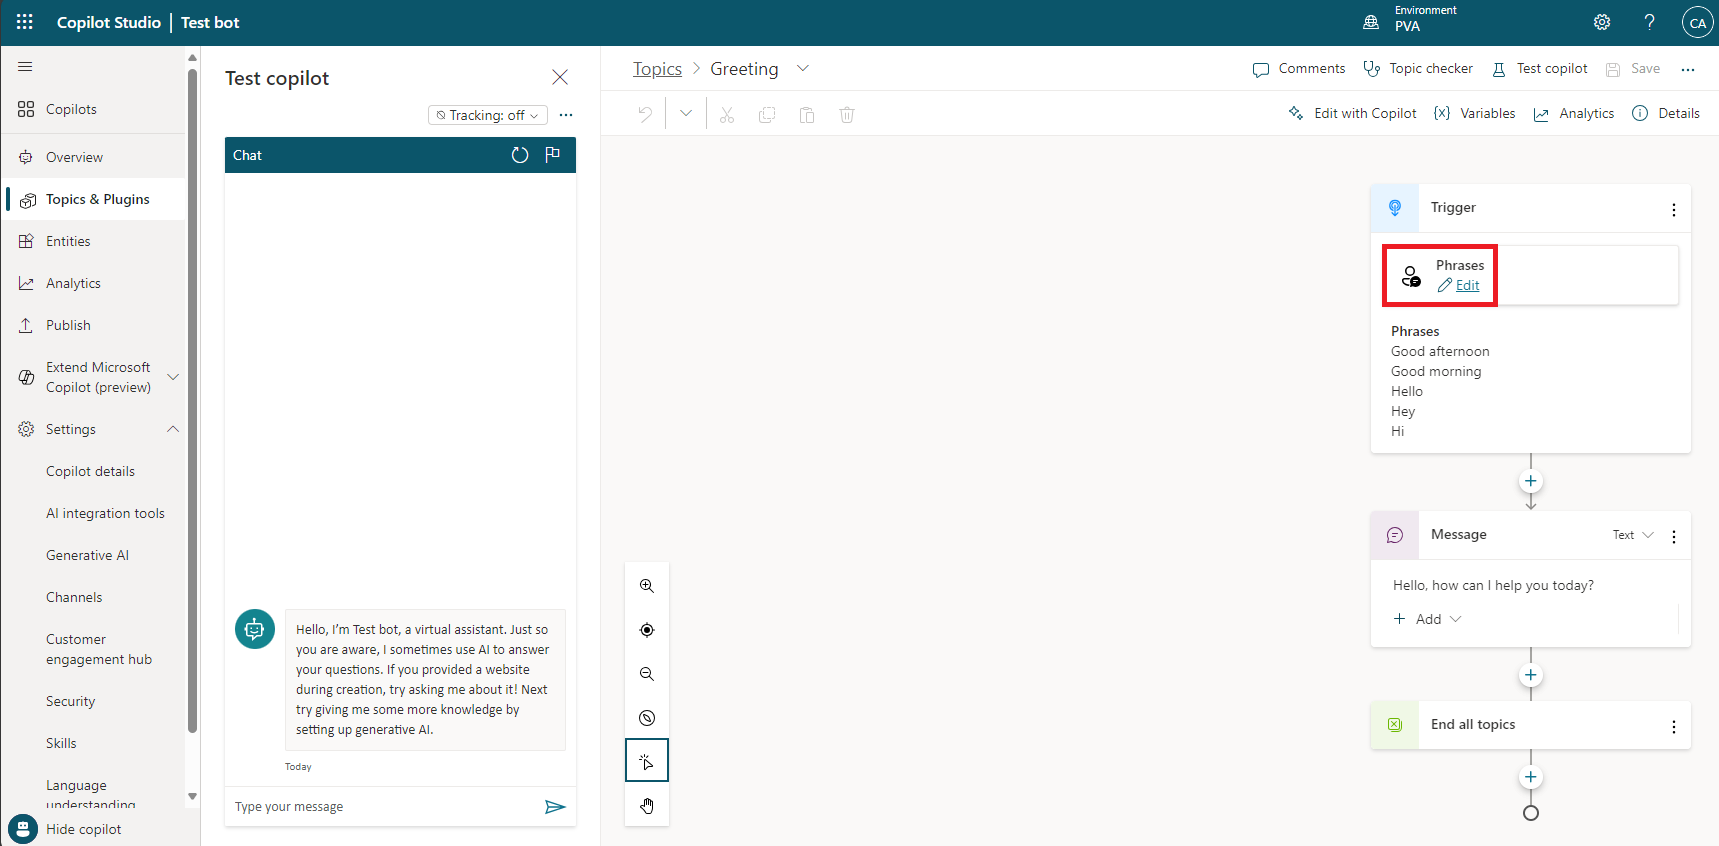
In the Phrases section of the Trigger node for the intent, select the Edit link.
In the Add phrases box, enter the name of the CLU intent that you want to map to.
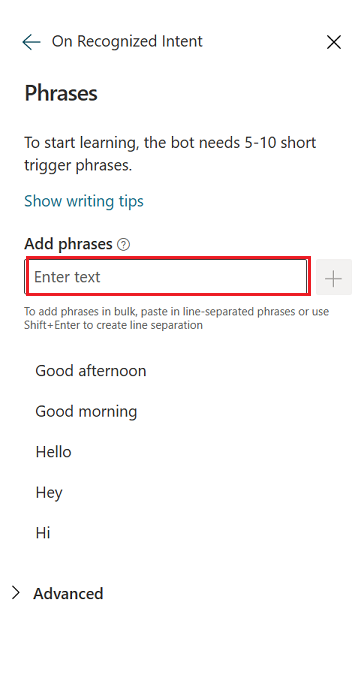
Note
The CLU intent name must be typed exactly as stored in the CLU model, including matching case as uppercase and lowercase characters.
To save the intent, click the + (plus) sign to the right of the Add phrases box.
Repeat for the other intents.
Manually map entities
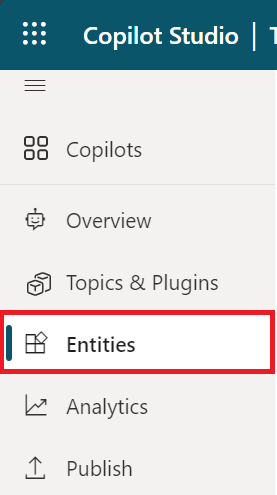
Open your copilot.
From the left navigation, select Entities.
Select New entity on the Entities page.
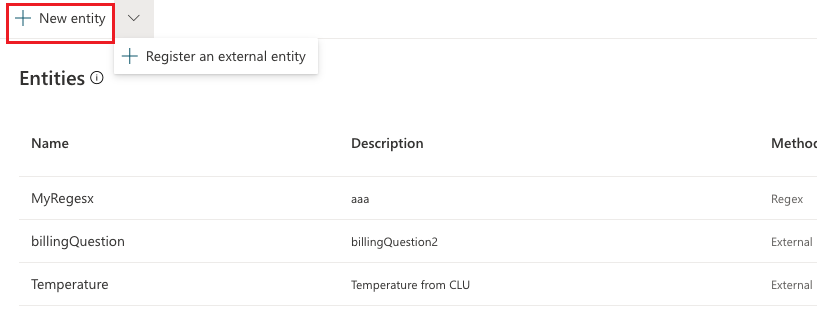
In the New entity pane, Add a name, description (optional), and Data Type for your entity.

To access CLU prebuilt entities, from the Data Type drop-down menu, select From sample data, and select one of the CLU prebuilt JSON code snippets.
(Optional) If you want to import JSON schema from a sample file, select Get schema from sample JSON to access the external file.
Use the Bulk tool wizard
You create a new copilot by bulk mapping existing topics to CLU intents using the Map intents and entities wizard. With the wizard, your copilot can automatically utilize existing intents from your CLU model rather than trigger phrases to determine which topic to map to.
Begin by uploading your CLU model data file and automatically map CLU intents to your Copilot Studio copilot.
From the left navigation, select Language, then Add topics and entities from model data.
In the File name option, select Choose file to select the data file from which you want to upload your CLU model.
Your model data file appears in the Preview window.
Select Next to continue.
select Add intents and entities.
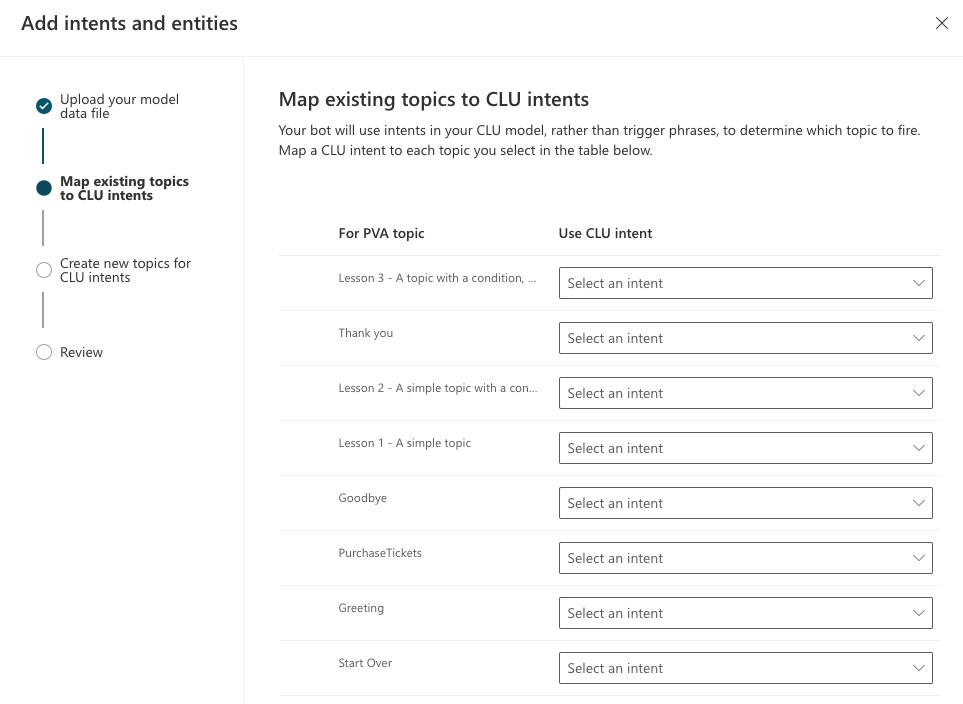
In the Map existing topics to CLU intents screen, select a CLU intent to map to the corresponding topic.
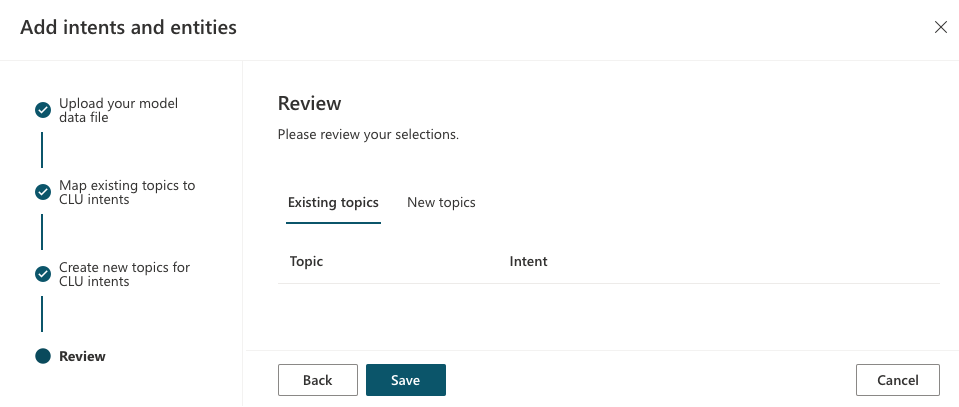
Review your selections, then select Save.
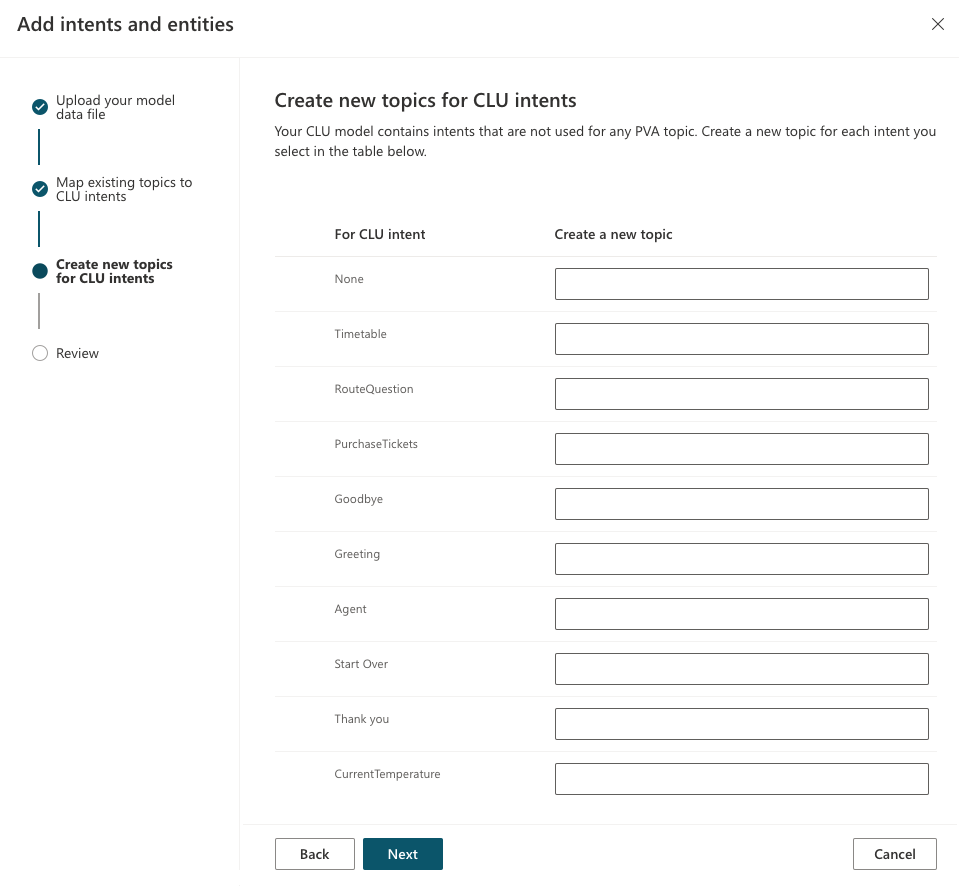
(Optional) For those intents that aren't mapped to an existing topic, you can create new topics for each intent.
In the wizard, you can see a list of CLU intents that are not yet mapped to a topic. In the field Create a new topic, enter a name for each of the topics that you want to create, and then select Next.
Note
Any fields that you leave blank are ignored by the wizard.
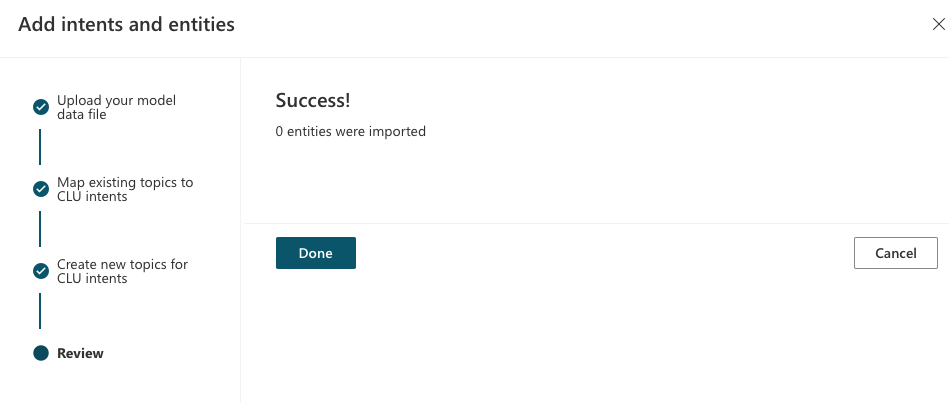
Once all CLU intents and entities are mapped to topics, select Done.
Once you are done with this procedure, your copilot topics now appear in the Topics page. For more information, see Manage topics in Copilot Studio.
Create a CLU connection in Power Apps
In Power Apps, if the Connections page isn't already in focus, select Connections in the side navigation pane.
Select New connection.
Select Azure Cognitive Service for Language (use the search field to narrow down the list if needed). A window appears prompting you for authentication information.
For the authentication type, select Api Key, and enter the required account key.
Enter the appropriate root site URL, if any.
Select Create. The new connection, with the default name "Azure Cognitive Service for Language," appears in the list of connections for your environment.
Select the More commands icon (…) next to this connection and select Edit.
In the window that appears, replace the default display name with something else, to distinguish this connector from other CLU connectors, and select Save.
Related content
Feedback
Coming soon: Throughout 2024 we will be phasing out GitHub Issues as the feedback mechanism for content and replacing it with a new feedback system. For more information see: https://aka.ms/ContentUserFeedback.
Submit and view feedback for