Visual Studio 2019 | Visual Studio 2017 | Visual Studio 2015
Copy commits from one branch to another using cherry-pick. Unlike a merge or rebase, cherry-pick only brings the changes from the commits you select, instead of all the changes in a branch.
Cherry-pick is a great way to tackle these common problems:
Accidentally committing on the wrong branch. Cherry-pick the change(s) over to the correct branch and then reset the original branch to the previous commit.
Pulling out a set of commits made in a feature branch so you merge them back to your main branch sooner.
Porting in specific commits from the main branch without rebasing your branch.
In a completed PR in your Azure DevOps project, select Cherry-pick. In an active PR, select Cherry-pick from the ... menu. This action creates a new branch with the copied changes.
In the Cherry-pick pull request pane:
Under Target branch, select the branch where you want to copy the PR changes.
Under Topic branch name required, change the cherry-pick PR branch name if you want.
Choose whether to Cherry-pick as a single commit.
Select Cherry-pick.
On the New pull request screen, select Create.
Merge the new PR to complete the cherry-pick.
Note
Visual Studio 2019 version 16.8 and later versions provide a new Git menu for managing the Git workflow with less context switching than Team Explorer. Procedures provided in this article under the Visual Studio 2019 tab provide information for using the Git experience as well as Team Explorer. To learn more, see Side-by-side comparison of Git and Team Explorer.
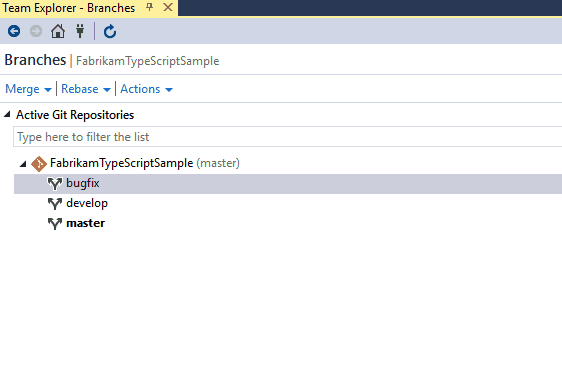
Open up Team Explorer and check out the branch you want to cherry-pick changes into using the Branches view.
Right-click the branch containing the changes you want and select View History....
Right-click the commit you want to cherry-pick and select Cherry-pick.
Visual Studio copies the changes made in that commit into a new one on your current branch.
Repeat this process for each commit you need to bring over to your current branch.
Use git log to find the commit ID of the commit whose changes you want to copy.