iOS and OS X setup
Important
Versions of the Microsoft Rights Management Service SDK released prior to March 2020 are deprecated; applications using earlier versions must be updated to use the March 2020 release. For full details, see the deprecation notice.
No further enhancements are planned for the Microsoft Rights Management Service SDK. We strongly recommend adoption of the Microsoft Information Protection SDK for classification, labeling, and protection services.
iOS and OS X applications can use the Microsoft Rights Management SDK 4.2 to enable integrated information protection in their application by using the Azure Rights Management (Azure RMS).
This topic will guide you through setting up your environment for creating your own new apps.
Note This SDK does not support iPod Touch.
Prerequisites
We recommend the following software on your development system:
OS X is required for all iOS development.
Xcode version 6.0 and later
Xcode is available through the Mac App Store.
The MS RMS SDK 4.2 package for iOS and OS X. For more information see, Get started.
This SDK can be used to develop for iOS 7.0 and OS X 10.8 and later.
Authentication library: We recommend that you use the Azure AD Authentication Library (ADAL). However, other authentication libraries that support OAuth 2.0 can be used as well.
For more information see, ADAL for iOS or ADAL for OS X
Optional
Our UI library provides re-usable UI for consumption and protection operations for developers who don’t want to create their own custom UI - UI Library and Sample app for iOS.
Configuring your development environment
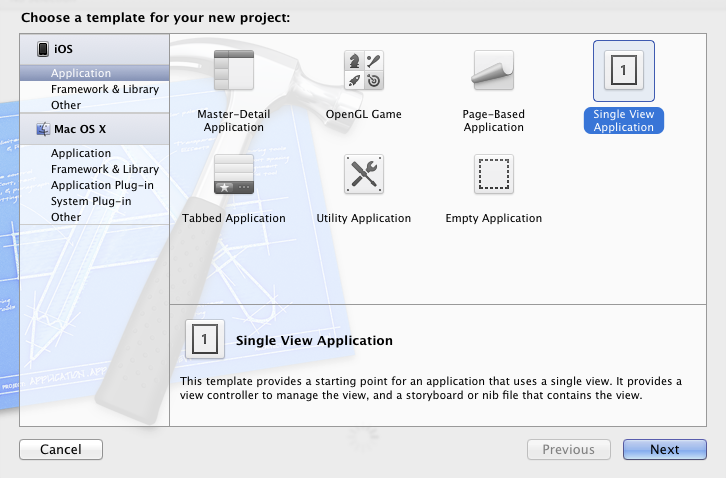
To create a new project, on the File menu, click New, and then click Project.
Select Single View Application.
Enter a name and identifier for your new project.
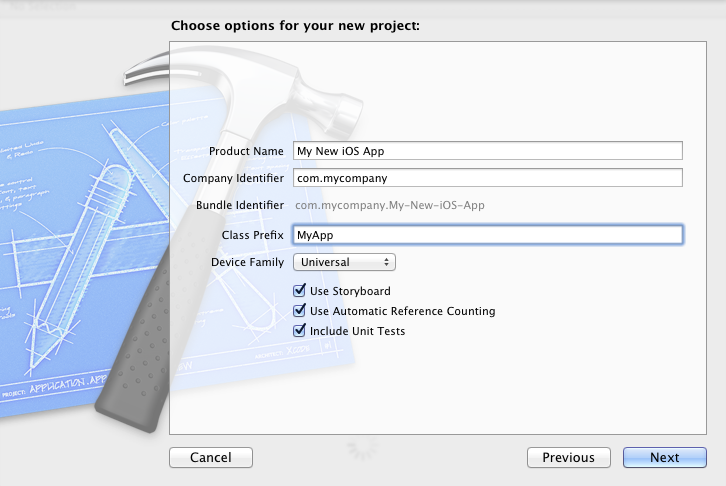
Click Next and select the location for your project.
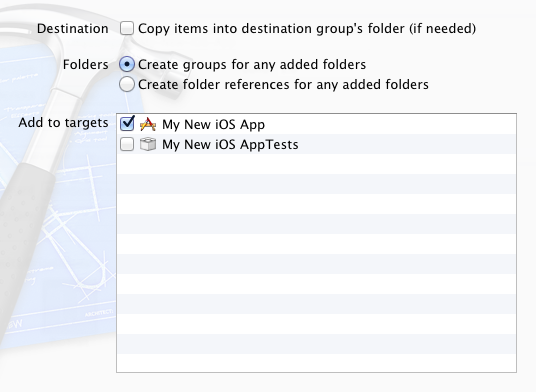
To add the MSRightsManagement framework for iOS Frameworks, drag the .framework folder from the SDK installation folder into the Frameworks section of your Project Navigator.
Select Create groups for any added folders option button and clear the Copy items into destination group's folder (if needed) check box.
This action maintains the reference to the SDK installation folder instead of creating a copy.
To add the MS RMS SDK 4.2 for the resource bundle, drag the MSRightsManagementResources.bundle file from the MSRightsManagement.framework/Resources folder into the Frameworks section of your Project Navigator.
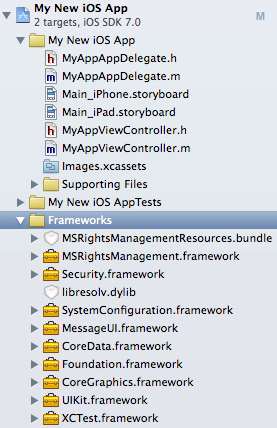
As you did when you copied the Framework, select Create groups for any added folders option button and clear the Copy items into destination group's folder (if needed) check box.
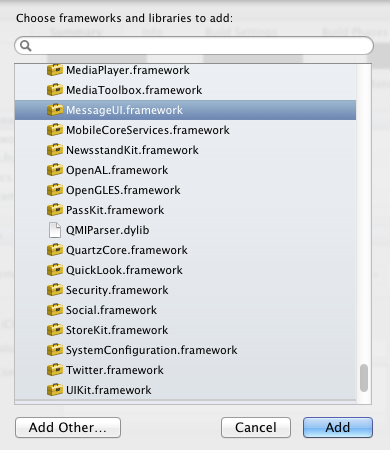
The SDK relies on other frameworks including: CoreData, MessageUI, SystemConfiguration, Libresolv and Security. To add these frameworks, navigate to the Linked Frameworks and Libraries section of the target's Summary pane, and expand that section to add them.
The UIKit and Foundation frameworks are required and generally present by default.
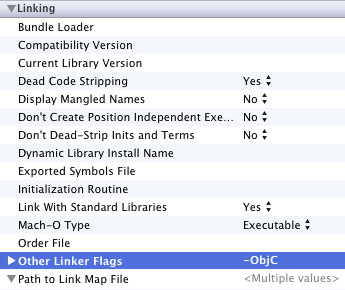
Add the -ObjC flag to Other Linker Flags in your target Build Settings.
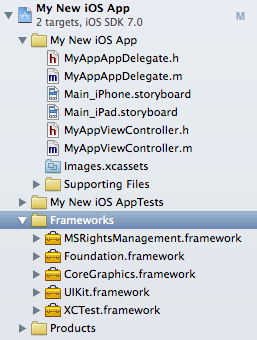
Now your Project Navigator should look something like this tree.
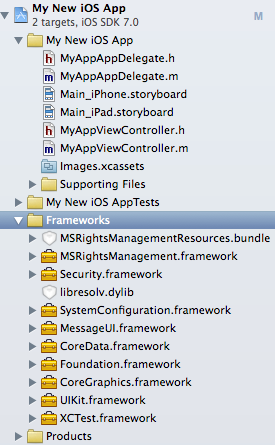
You are now ready to create your own new iOS/OS X apps.