Note
Access to this page requires authorization. You can try signing in or changing directories.
Access to this page requires authorization. You can try changing directories.
This article describes the following tasks:
Edit the Dataverse tables
To edit the Dataverse tables, perform the following steps:
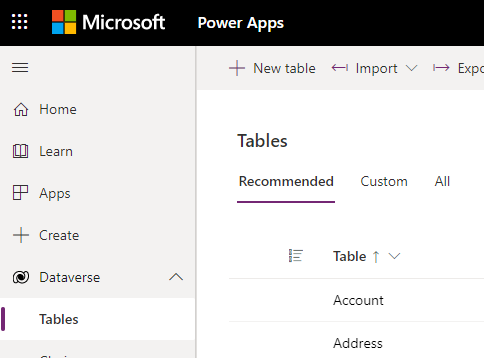
Sign in to https://powerapps.microsoft.com, and select the environment in which you've deployed the Dataverse tables.
Select Dataverse > Tables.
Find and open the Yume Cards. The page containing information about the Yume Cards is displayed.
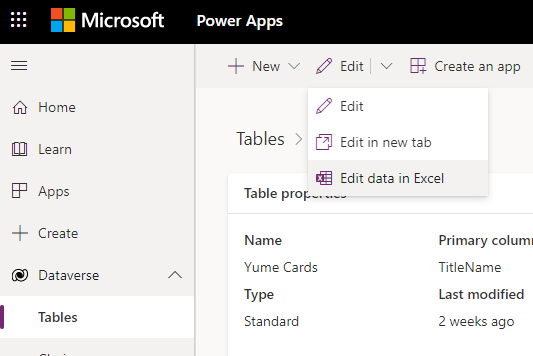
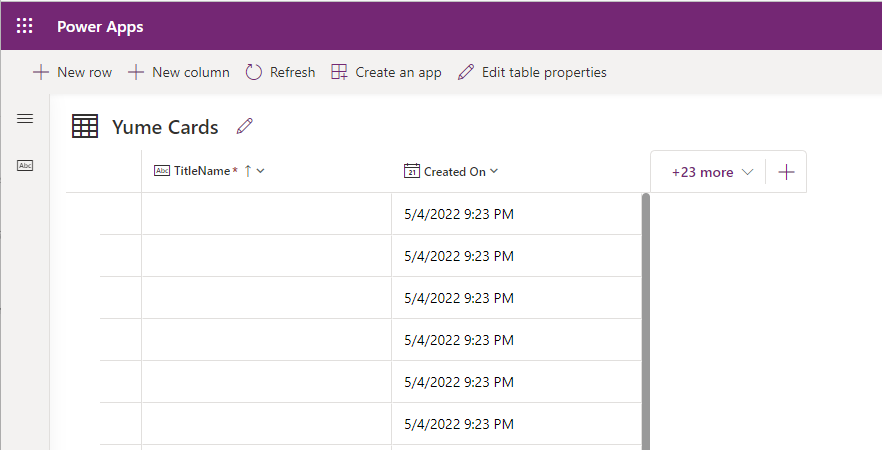
Select Edit > Edit in new tab. The page as shown in the following screenshot is displayed.
Select the drop-down list.
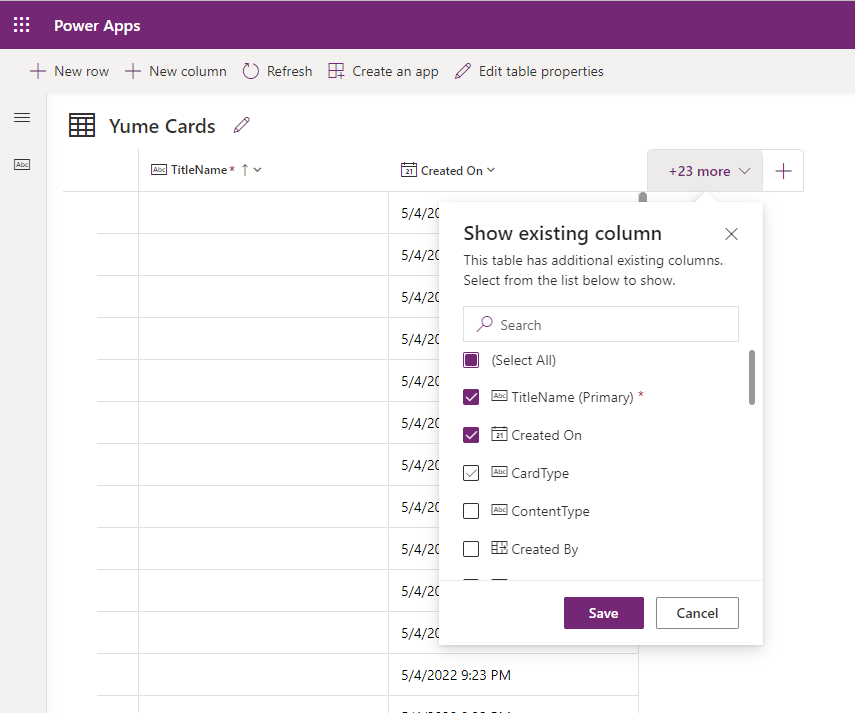
Select and save all the fields defined in the schema for Yume Cards. The page containing the schema selected from the drop-down list is displayed.
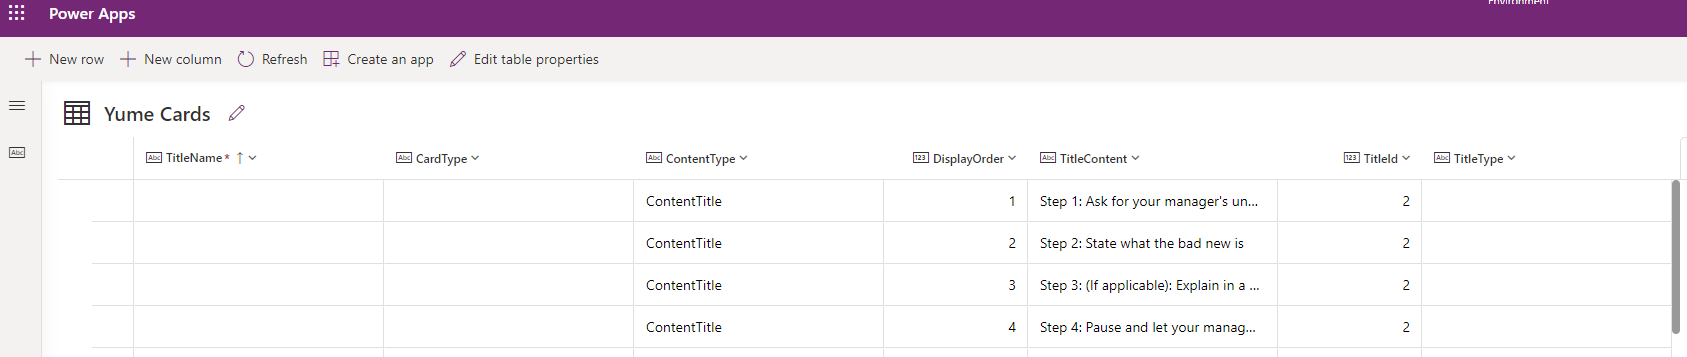
Update the content that you want to, from the cells of the table.

Create new Yume Cards content based on edit to table
Creating or adding new Yume cards content occurs every time you edit/update the Dataverse table.
To create new content for the Yume Cards, perform the following steps:
Add a new row by selecting + New row on the page containing information of the Yume Cards.
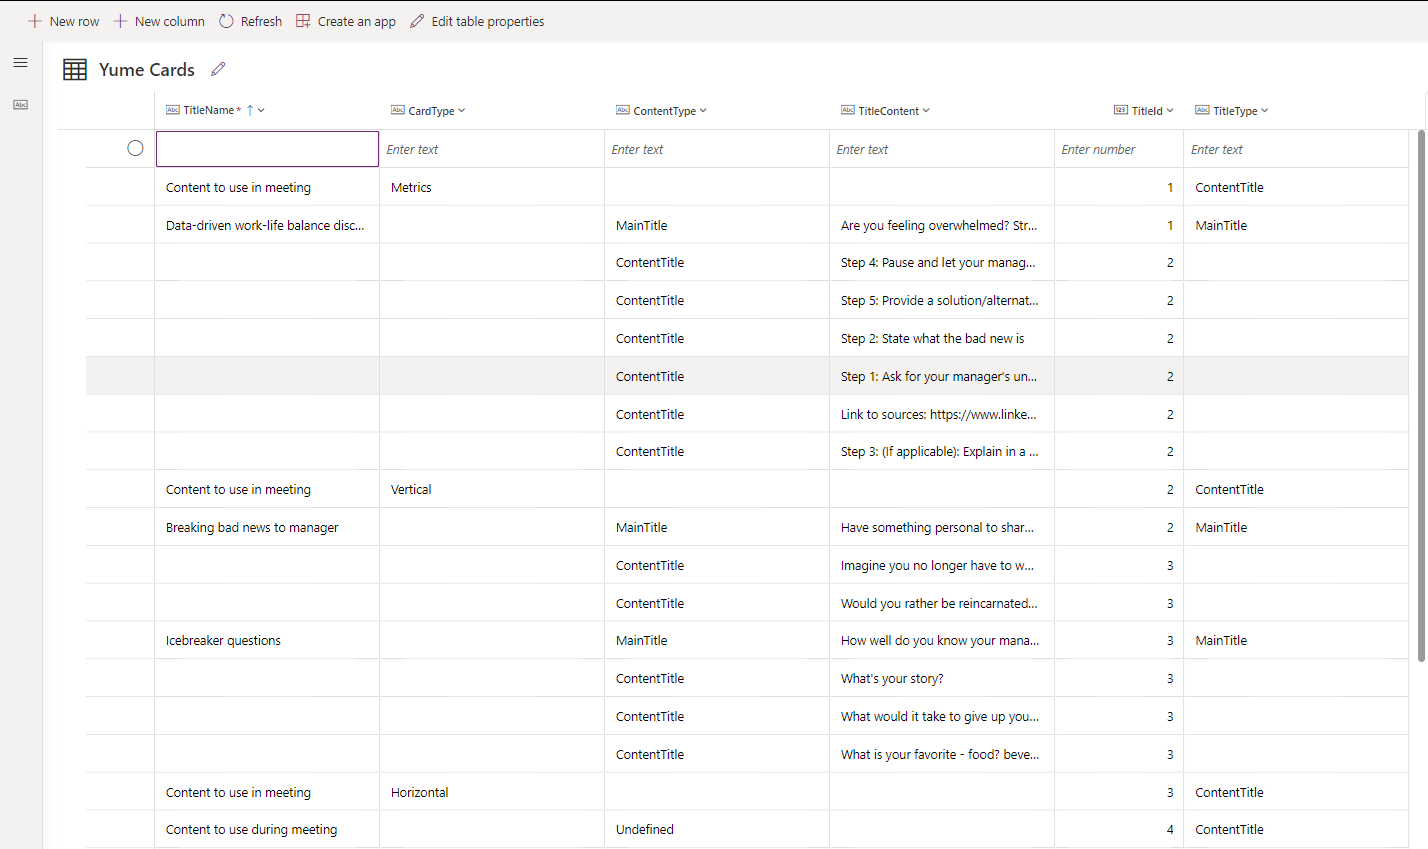

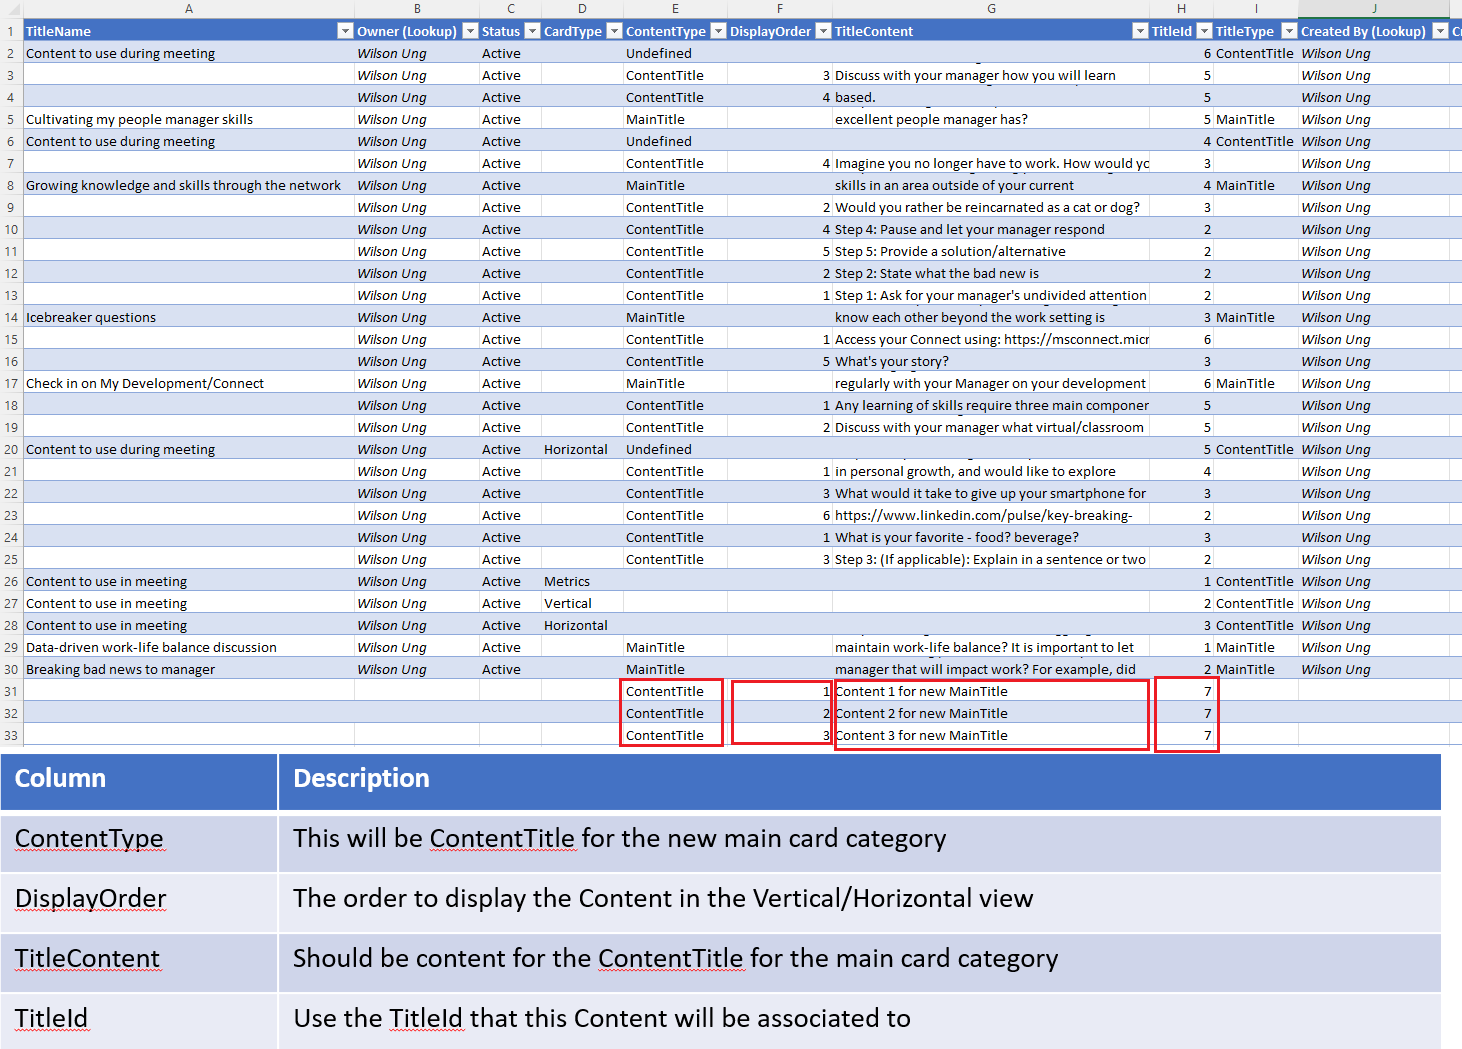
Examples of the content that can be added are described below:

Examples of how the cards can be updated are described below:
In the following screenshot:
Example A describes the process of adding a new TitleName for the main category.
Example C describes the process of adding a new Title Description for the main category.
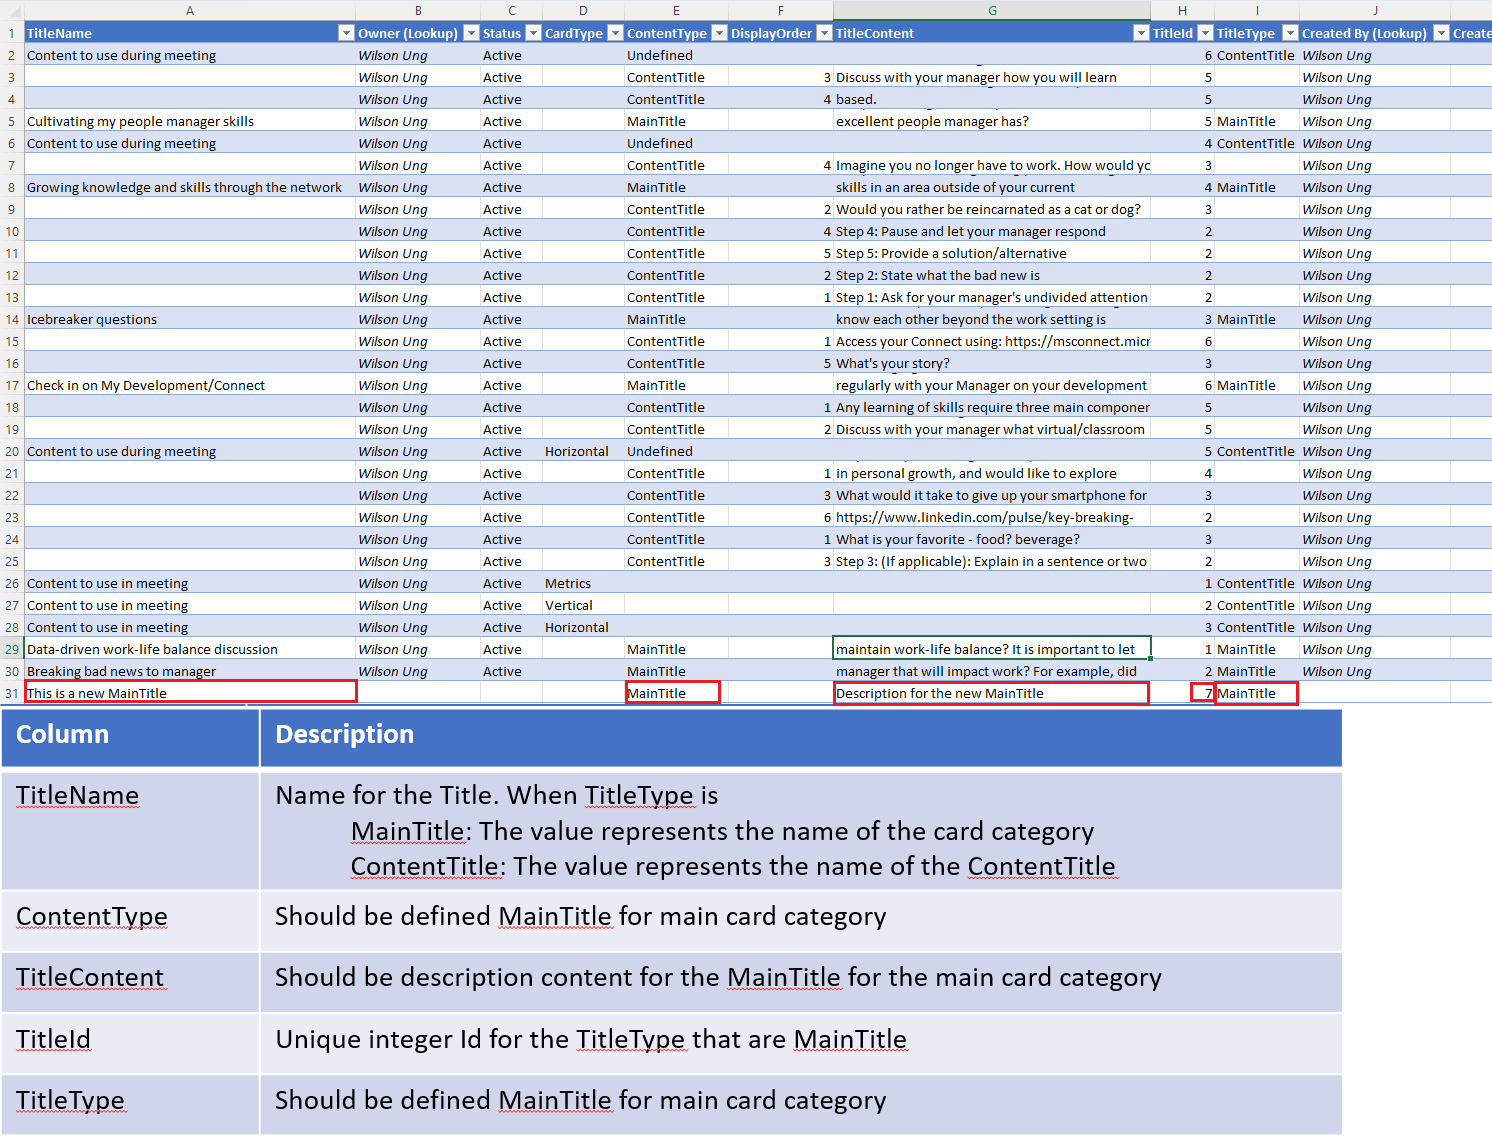
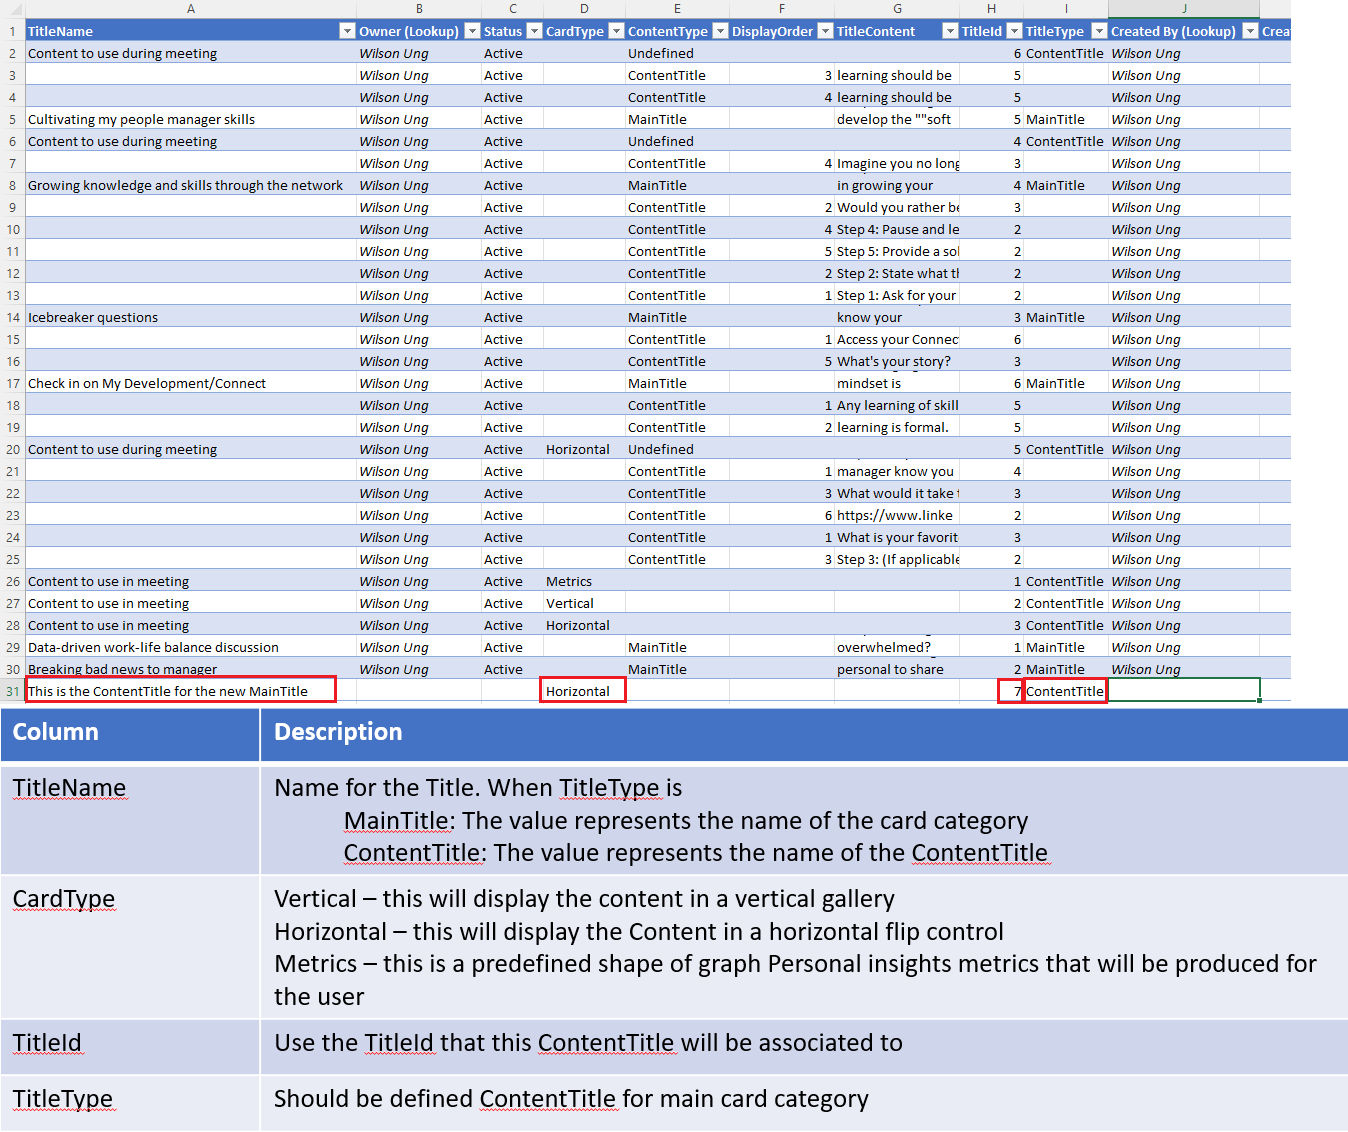
The following screenshot describes Example B, that is, the process of adding the Content Title for the new main card category.
The following screenshot describes Example D, that is, the process of adding the Content for the new main card category.