Meeting Token Generator
The Meeting Token Generator app is a sample Microsoft Teams app that extends meetings in Teams. Through this app, meeting participants can request a "token", which is generated sequentially so that each participant has a fair opportunity to interact. This can be useful in situations like scrum meetings, Q&A sessions, etc. This application also shows the implementation of Live Share SDK to update the data in real-time for all participants in meeting.
Included Features
- Meeting Chat
- Meeting Details
- Meeting SidePanel
- Live Share SDK
- RSC Permissions
- Theme Handler
NOTE: This capability is currently available in developer preview only.
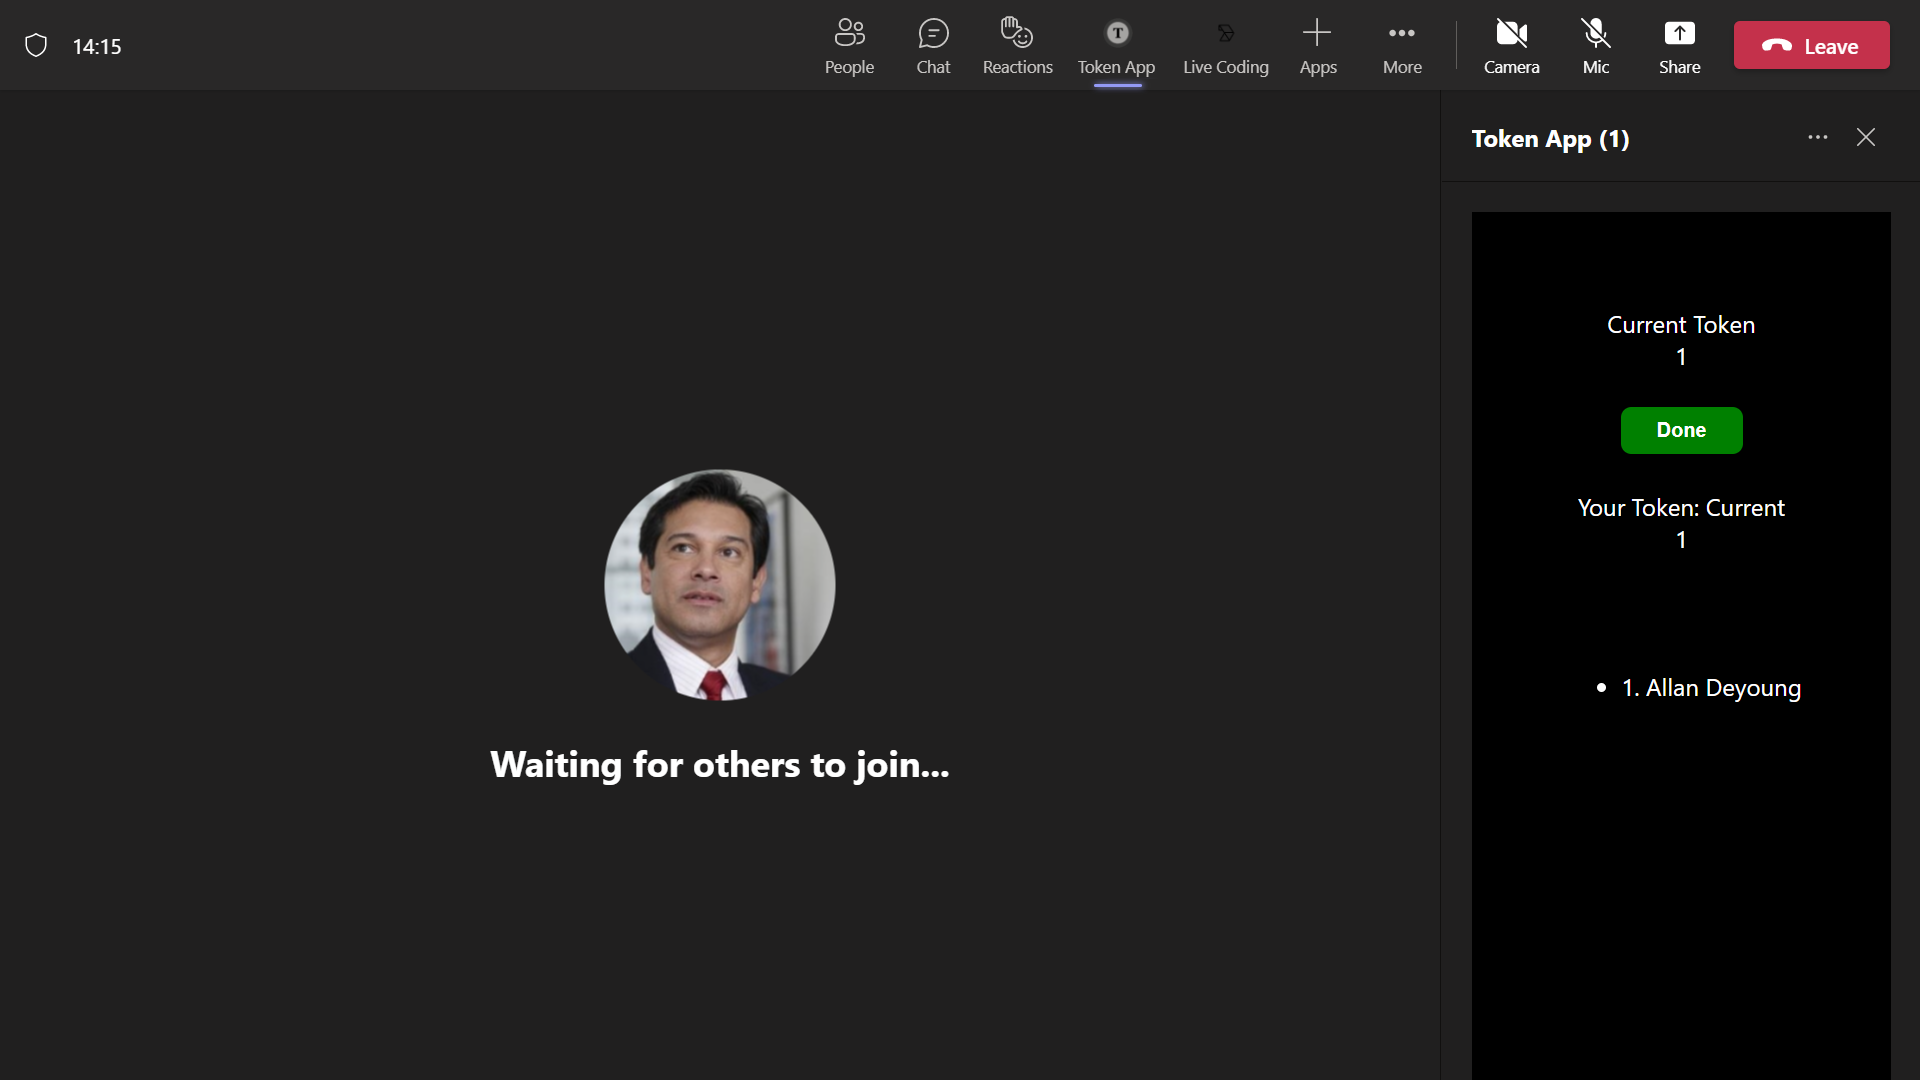
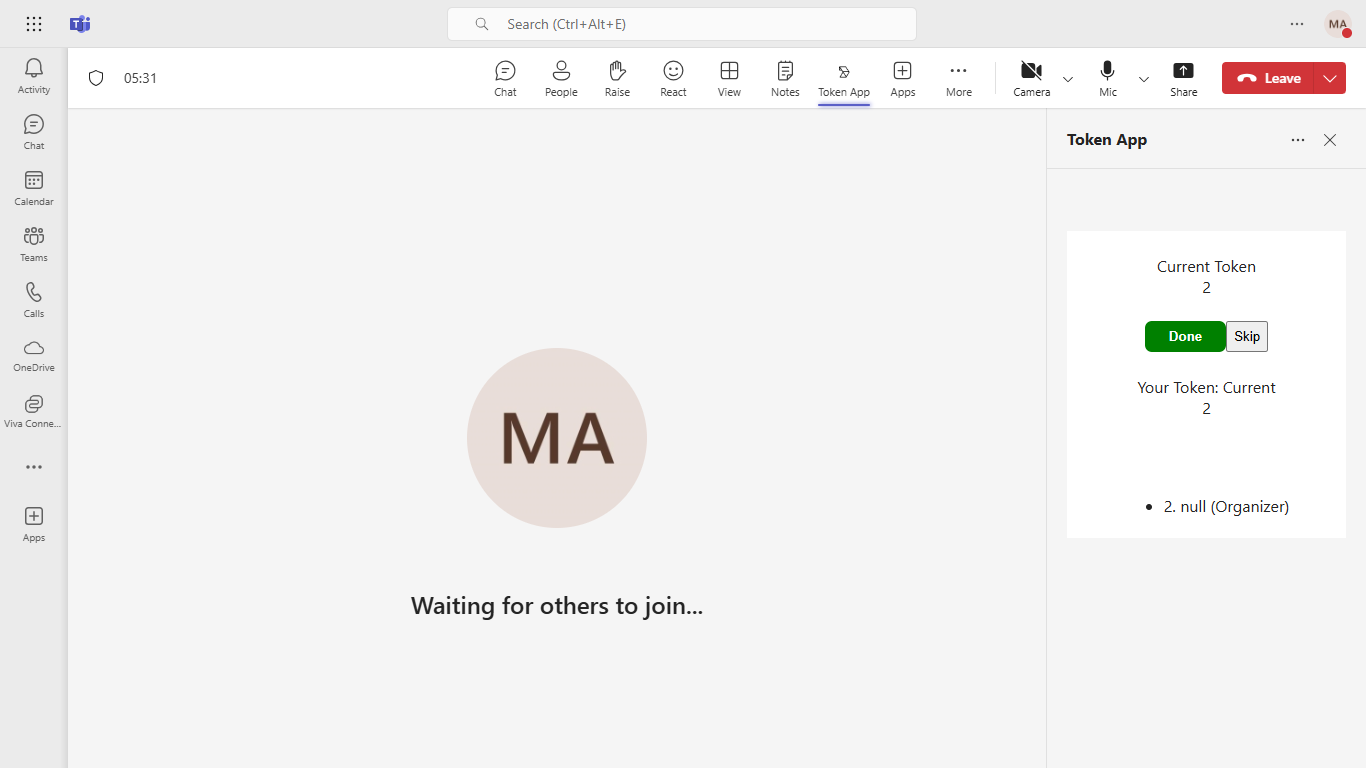
Interaction with app
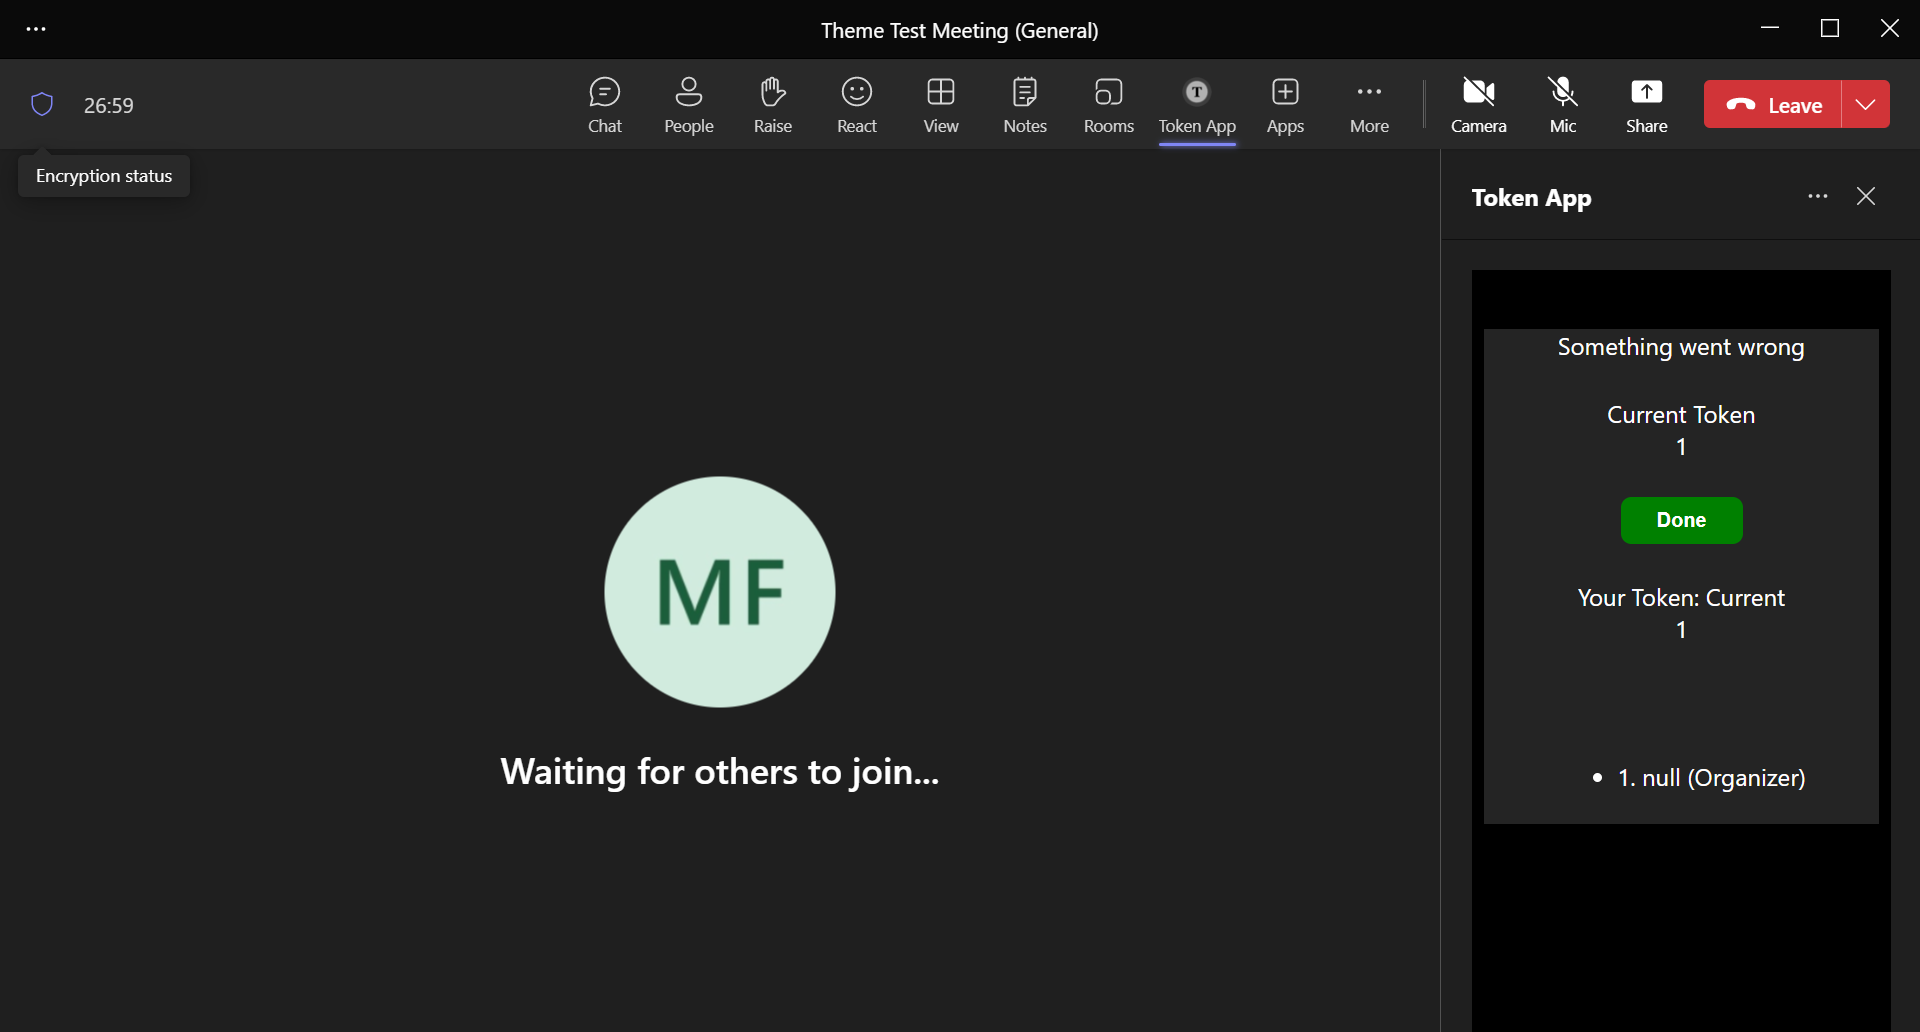
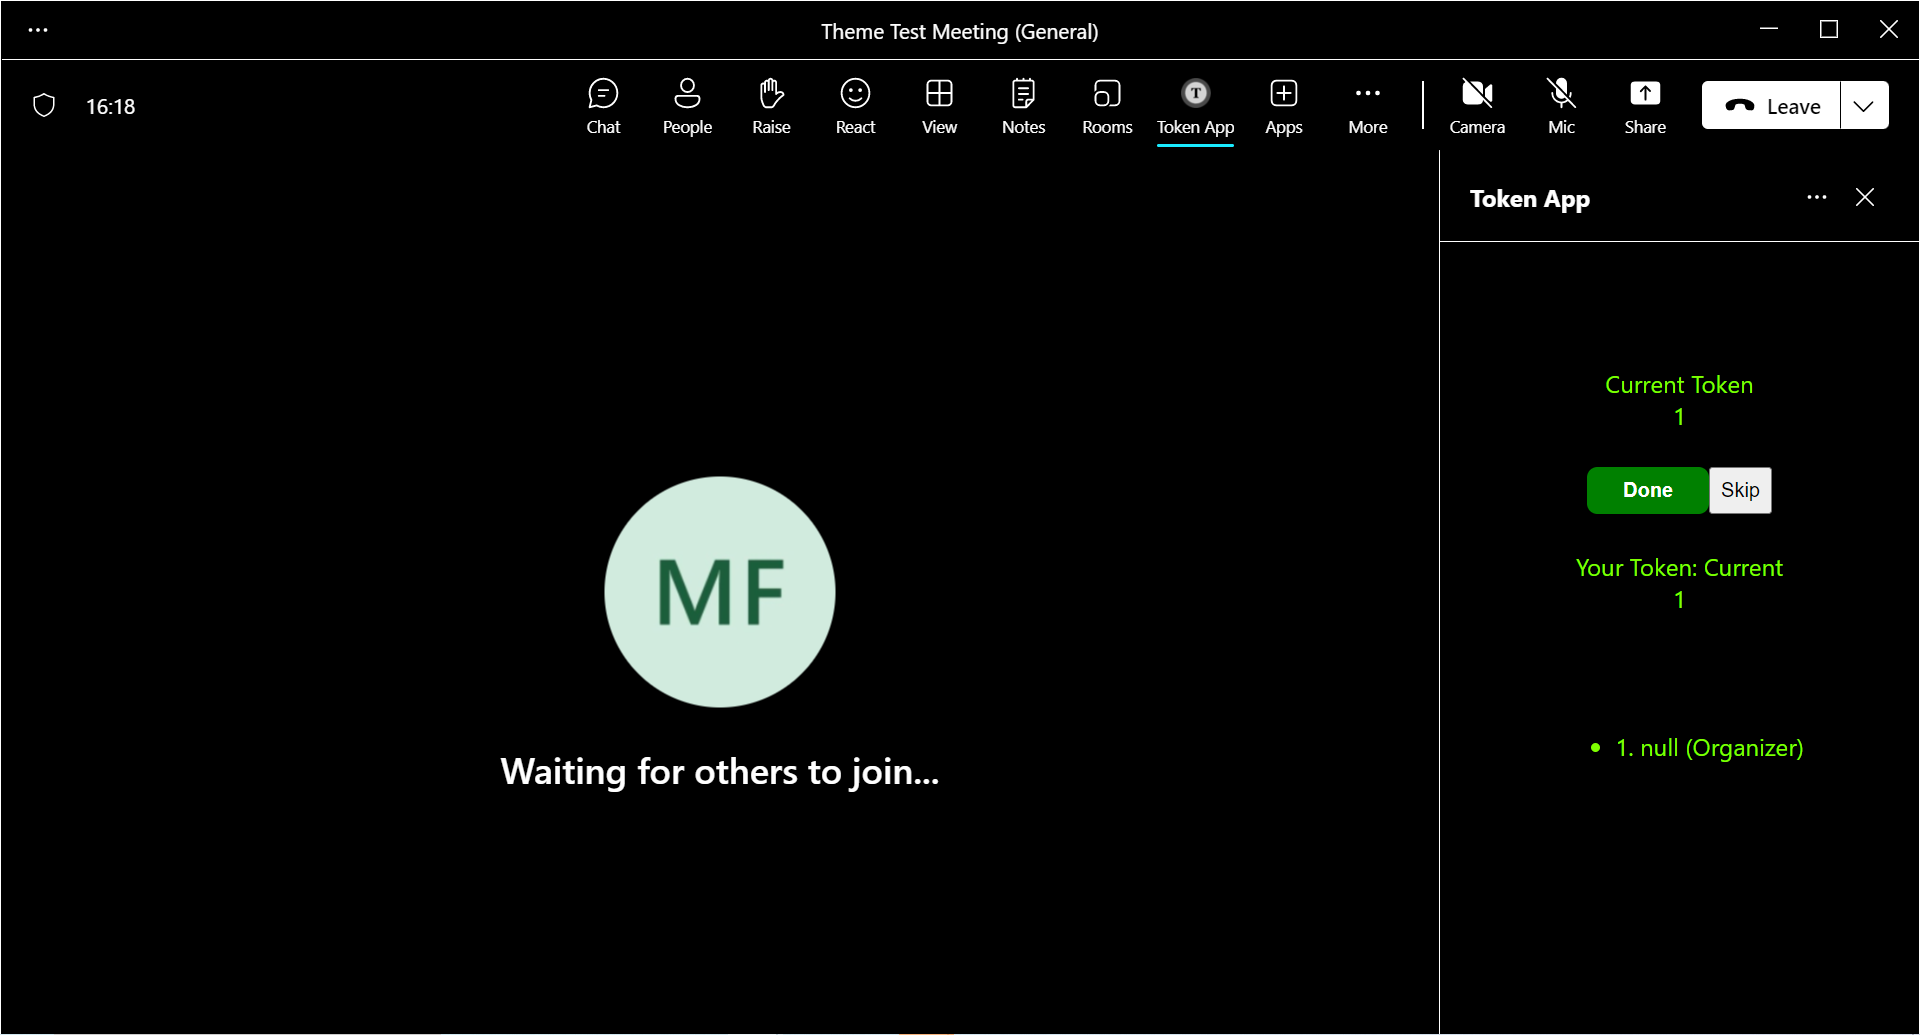
Interaction with app theme

Try it yourself - experience the App in your Microsoft Teams client
Please find below demo manifest which is deployed on Microsoft Azure and you can try it yourself by uploading the app manifest (.zip file link below) to your teams and/or as a personal app. (Sideloading must be enabled for your tenant, see steps here).
Meetings Token App: Manifest
Prerequisites
.NET Core SDK version 6.0
determine dotnet version
dotnet --versiondev tunnel or Ngrok (For local environment testing) latest version (any other tunneling software can also be used)
Teams Microsoft Teams is installed and you have an account
Technologies
We assume working knowledge of the following technologies to gain full understanding of the app
- C#
- ECMAScript6
- Asp.NET core version 3.1
- React.JS version 16+
The app uses the Teams extensibility features described on the following pages:
- Apps in Teams meetings
- Create apps for Teams meetings
- Tab single sign-on to get the identity of the user accessing the tab, in a way that can be verified in the server APIs
Setup
This app will work in developer preview only
Register a new application in the Microsoft Entra ID App Registrations portal.
Setup for Bot
Register a AAD aap registration in Azure portal.
Also, register a bot with Azure Bot Service, following the instructions here.
Ensure that you've enabled the Teams Channel
While registering the bot, use
https://<your_tunnel_domain>/api/messagesas the messaging endpoint.NOTE: When you create your app registration, you will create an App ID and App password - make sure you keep these for later.
- Setup NGROK
- Run ngrok - point to port 3978
# ngrok http 3978 --host-header="localhost:3978"
- Setup for code
Clone the repository
git clone https://github.com/OfficeDev/Microsoft-Teams-Samples.gitSet up the appsettings.json with the following keys:
"MicrosoftAppId": Application (client) ID of the bot's Azure AD application"MicrosoftAppPassword": client secret of the bot's Azure AD application"AzureAd"."TenantId": Tenant ID of the tenant where the app will be used. Note that the sample will only work in this tenant."AzureAd"."ApplicationIdURI ": Set to the same value asapi://[WebAppDomain]/MicrosoftAppId."ContentBubbleUrl ": Content bubble iframe url (default.https://[WebAppDomain]/contentBubble.html). Remember that[WebAppDomain]will be your tunnel domain, so the content bubble URL will be similar tohttps://f631****.ngrok-free.app/contentBubble.html.
Build and run the service You can build and run the project from the command line or an IDE:
A) From a command line:
 ```bash
 # run the server
 cd TokenApp
 dotnet run
 ```
B) From an IDE:
Launch Visual Studio
File > Open > Project/Solution
Navigate to the
TokenAppfolderSelect
TokenApp.csprojfilePress
F5to run the projectSet
manifestVersionto "devPreview"Add your bot configuration, with the app id of the bot generated from the previous steps
Fill-in the following
webApplicationInfosection, usingMicrosoftAppIdandWebAppDomainvalues from the previous section."webApplicationInfo": { "id": "[MicrosoftAppId]", "resource": "api://[WebAppDomainName]/[MicrosoftAppId]" }
```
- Setup Manifest for Teams
This step is specific to Teams.
- Edit the
manifest.jsoncontained in the ./AppManifest folder to replace your Microsoft App Id (that was created when you registered your app registration earlier) everywhere you see the place holder string{{Microsoft-App-Id}}(depending on the scenario the Microsoft App Id may occur multiple times in themanifest.json) - Edit the
manifest.jsonforvalidDomainsand replace{{domain-name}}with base Url of your domain. E.g. if you are using ngrok it would behttps://1234.ngrok-free.appthen your domain-name will be1234.ngrok-free.appand if you are using dev tunnels then your domain will be like:12345.devtunnels.ms. - Zip up the contents of the
AppManifestfolder to create amanifest.zip(Make sure that zip file does not contains any subfolder otherwise you will get error while uploading your .zip package)
- Edit the
Upload the manifest.zip to Teams (in the Apps view click "Upload a custom app")
- Go to Microsoft Teams. From the lower left corner, select Apps
- From the lower left corner, choose Upload a custom App
- Go to your project directory, the ./AppManifest folder, select the zip folder, and choose Open.
- Select Add in the pop-up dialog box. Your app is uploaded to Teams.
Enable developer preview in your desktop Teams client Follow these instructions to enable developer preview. Note that Developer preview mode must be enabled on each Teams client app or browser.
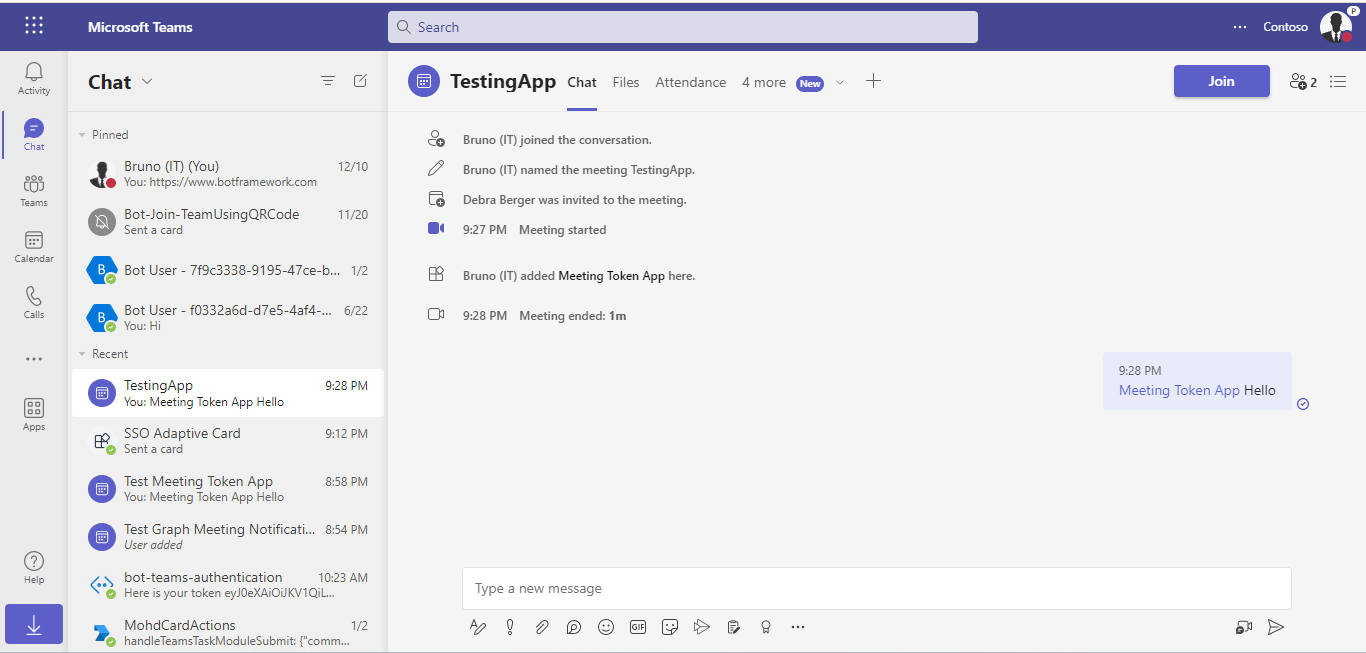
Note: Open the meeting chat section and type @MeetingTokenApp Hello (It will send back the required information to you).
In-meeting tabs are only available in the Teams desktop client. They will not be visible when you run Teams in a web browser.
Note: If you are facing any issue in your app, please uncomment this line and put your debugger for local debug.
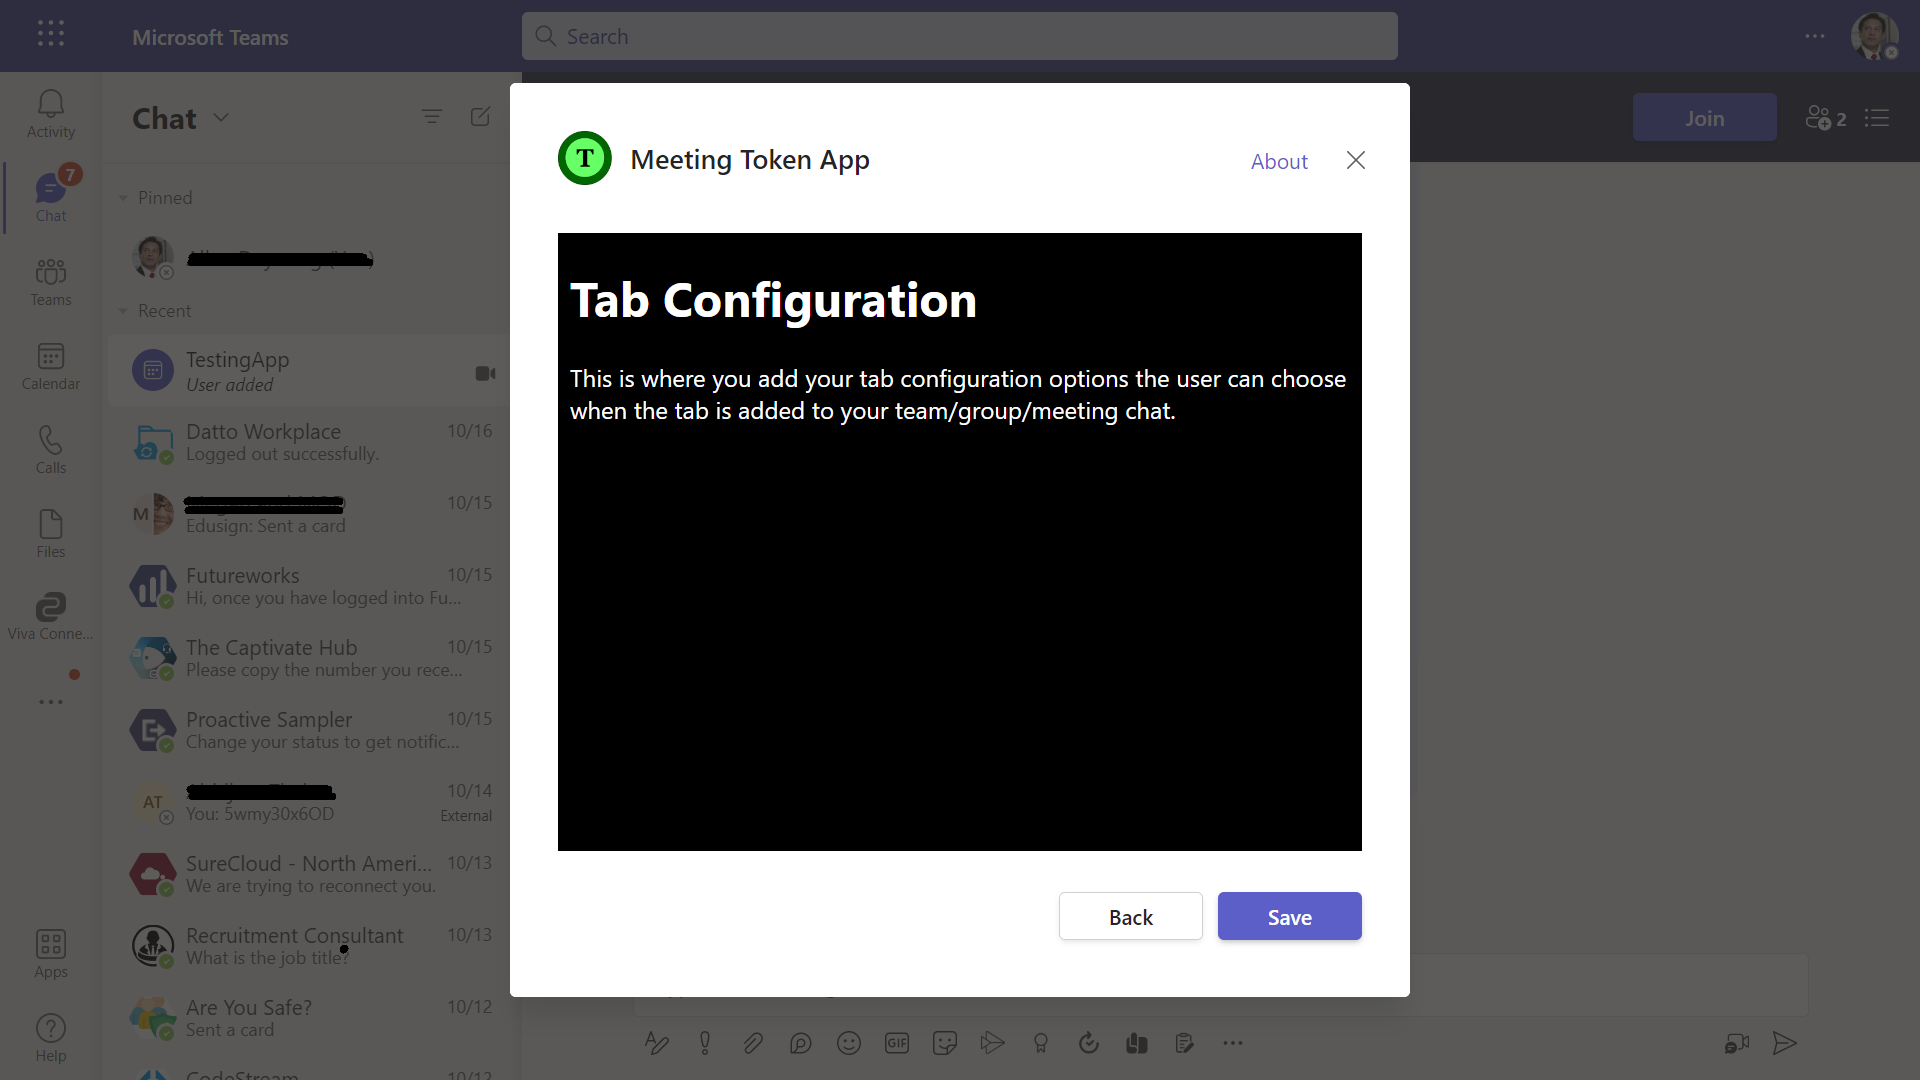
-- Sideload the app in a Teams desktop client 1. Create a meeting with few test participants, ideally with a mix of Presenters and Attendees. 1. Once meeting is created, go to the meeting details page and click on the "Add tab" (+) button. 1. In the pop-up that opens, click on "Manage apps". 1. Click on "Upload a custom app" and upload the .zip file that was created in the previous steps. This adds the app to the meeting. 1. Click on the "Add tab" button again. Now in the app selection page, the app should be visible as a "Meeting optimized tab". 1. Select the Meeting Token app. 1. Now the app will be visible in the meeting chat. 1. Start the meeting and the icon should be visible in the meeting control bar.
Running the sample
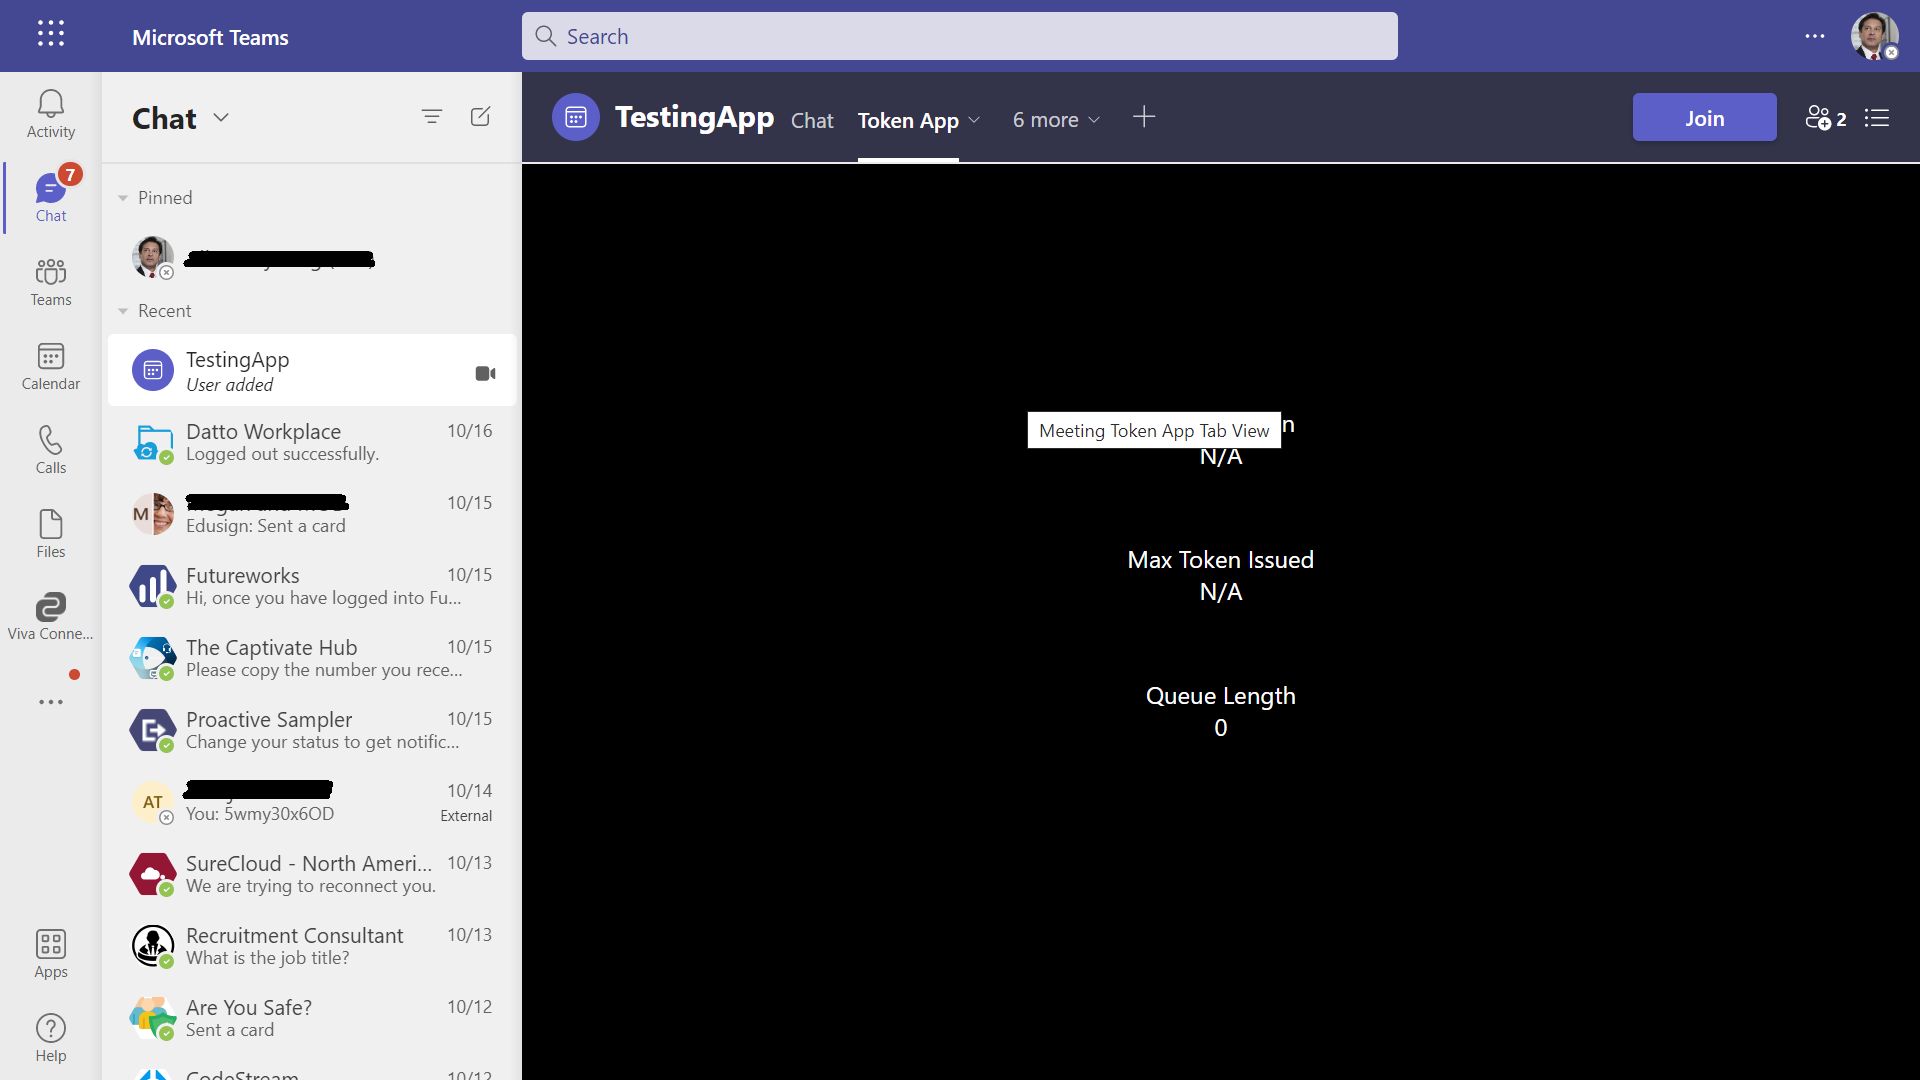
- Display the current token that is being serviced in the meeting
- Display the user list sorted by the token number in ascending order
- Generate a token for the user upon request
- Display the current user's token number
- Mark a token as done by the user
- Skip the current token for the organizer of the meeting
Interactions with app theme
User interactions
- Token - Requests a token for the user
- Done - Acknowledges that the user is done with the token
- Skip - Skips the current user and moves on to the next person in line for a token. This button is only shown to users with the meeting Organizer role.
Troubleshooting
The sample app uses an in-memory store to maintain token information and the service URL for the tenant. If you restart the project, you must run the following command to recapture the service URL: @[BotName] reset
In your own projects, please use a durable storage mechanism to store the service URL for the tenant.
Further reading
- Meeting apps APIs
- Build tabs for meeting
- Teams Tabs experience
- Tabs SSO
- Azure Bot Service Introduction
- Azure Bot Service Documentation
- Azure Portal
- Handle theme change
Contributing
This project welcomes contributions and suggestions. Most contributions require you to agree to a Contributor License Agreement (CLA) declaring that you have the right to, and actually do, grant us the rights to use your contribution. For details, visit https://cla.opensource.microsoft.com.
When you submit a pull request, a CLA bot will automatically determine whether you need to provide a CLA and decorate the PR appropriately (e.g., status check, comment). Simply follow the instructions provided by the bot. You will only need to do this once across all repos using our CLA.
This project has adopted the Microsoft Open Source Code of Conduct. For more information see the Code of Conduct FAQ or contact opencode@microsoft.com with any additional questions or comments.