Discount Offers
This sample combines, into a single app with a single manifest, an Outlook Add-in with a Teams Tab to make and manage discounts offers. The Outlook add-in is used to insert discount offers into e-mails. These offers are recorded in a mock customer relation management (CRM) system that is implemented with a simple JSON database. The aggregated data from the CRM is viewed in a Teams tab.
The sample illustrates a prime use case for combining a Teams Tab and an Office Add-in: Users take discrete actions on an Office document and analyze data about these discrete actions in a Teams tab.
Note: As of 6/20/2023, Teams apps that include an Office Add-in capability are in preview and can run only on a Windows computer. You should be working on a Windows computer to run this sample.
Included Features
- Tabs
- Office Add-ins
Interaction with app
Interaction with the add-in:
Interaction with the tab:
Try it yourself - experience the App in your Microsoft Teams client
Please find below demo manifest which is deployed on Microsoft Azure and you can try it yourself by uploading the app package (.zip file link below) to your teams and/or as a personal app. (Sideloading must be enabled for your tenant, see steps here).
Tab-add-in-combined: Manifest
Prerequisites
NodeJS, version 16.x.x or 18.x.x.
npm (installed with NodeJS)
Note: This sample was developed with NodeJS version 16.13.2 and npm version 8.1.2. It should work with most NodeJS versions in the 16.x.x or 18.x.x ranges, but there are some exceptions to this. It does not work on NodeJS 16.16.0.
Teams Microsoft Teams is installed and you have an account.
M365 developer account or access to a Teams account with the appropriate permissions to install an app.
Microsoft Office for Windows
Note: The add-in capability in a Teams app is only supported on Windows computers.
Your Microsoft 365 account has been added as an account in desktop Outlook. See Add an email account to Outlook
Mockoon or another database that can accept HTTP GET and POST requests with JSON payloads.
Setup
Setup the project.
- Clone the repository:
git clone https://github.com/OfficeDev/Microsoft-Teams-Samples.git- In a terminal, navigate to
samples/tab-add-in-combined/nodejs. - Install modules:
npm install- In a terminal, navigate to
samples/tab-add-in-combined/nodejs/add-in. - Install modules:
npm install- In a terminal, navigate to
samples/tab-add-in-combined/nodejs/tab. - Install modules:
npm installInstall a mock customer relations management (CRM) system.
Instructions for installing and configuring a local Mockoon database are in: Setup Mockoon Database.
If you prefer, you can use any database, either on localhost or remotely, that can (1) send a JSON payload in response to a GET request and (2) update in response to a POST request that contains a JSON payload. Read the article that is linked to in the preceding bullet to find out what CORS headers and starter data should be used. You can use any domain and port you like (except ports 3000 and 53000 which are used by other parts of the sample), but if you use anything other than
localhost:3001, you will need to edit the calls offetchin the following two files to pass the correct domain and/or port:samples/tab-add-in-combined/nodejs/add-in/src/taskpane/components/App.tsxsamples/tab-add-in-combined/nodejs/tab/src/components/App.tsx
Build for production
npm run build
Running the sample
Be sure your mock CRM server is running.
Before running the Teams tab and Outlook add-in at the same time, it is best to run each separately so that certain "first run only" tasks are carried out.
Run the Outlook add-in for the first time
Open the folder
samples/tab-add-in-combined/nodejsin Visual Studio Code.First, make sure Outlook desktop is closed.
In Visual Studio Code, open the Teams Toolkit.
In the ACCOUNTS section, verify that you're signed into Microsoft 365.
Select View | Run in Visual Studio Code. In the RUN AND DEBUG drop down menu, select the option Launch Add-in Outlook Desktop (Edge Chromium) and then press F5. The project builds and a Node dev-server window opens. This process may take a couple of minutes and then Outlook desktop opens.
You can now work with your add-in. If your Outlook application has more than one account, be sure you're working in the Inbox of your Microsoft 365 account identity.
Open an Outlook message compose window by either starting a new message or selecting Reply on a message.
Be sure there is an email address in the To and From lines.
Find the Offer Discount button on the ribbon and select it.

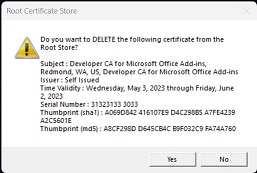
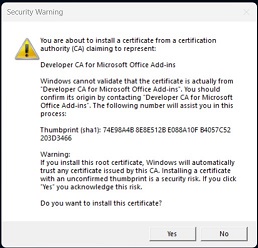
If this is the first time that you've developed an Office add-in on your computer, or the first time in more than a month, you may see one or both of the following prompts. Select Yes for both. Doing so ensures that there is an SSL certificate for the localhost domain that hosts the add-in. You won't see these prompts again for another month.
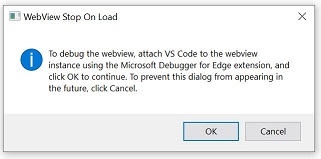
You will next see the following prompt. Select OK This prompt appears whenever the add-in is run in debugging mode.
A Discounts task pane opens.
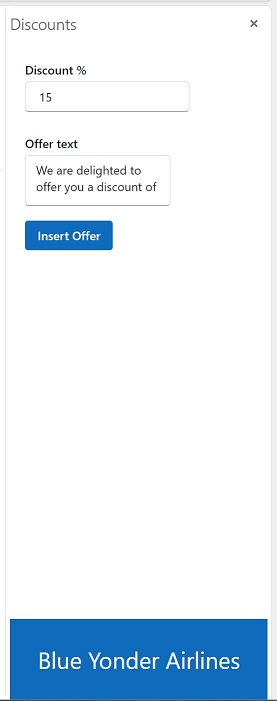
Optionally, edit the discount percentage and offer text. (The percentage will be appended to the end of the offer text.)
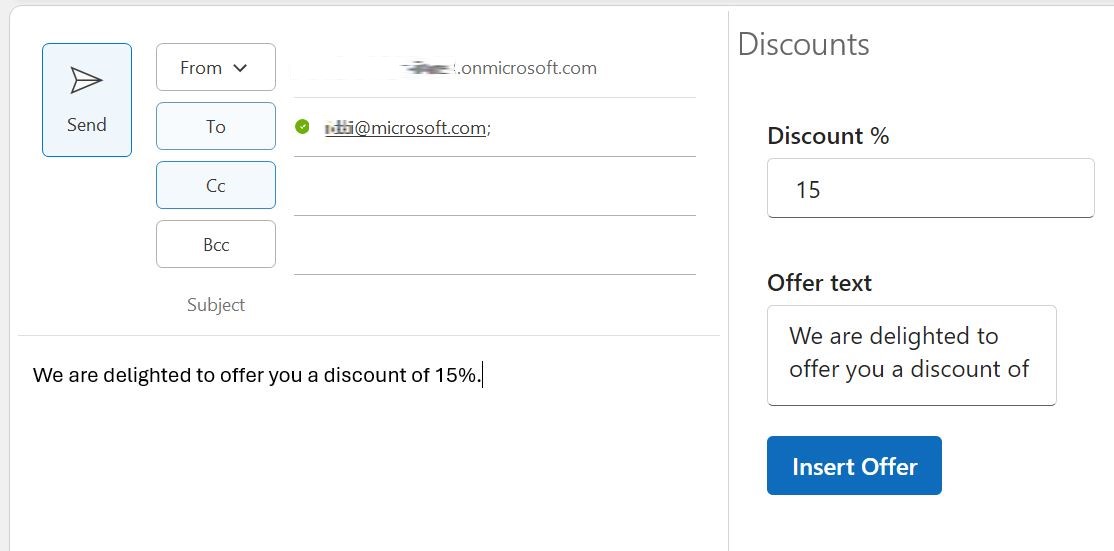
Click anywhere in the message body and then select the Make Offer button.
The offer text and discount percentage are entered in the email body. They are also added to a mock CRM database (see below).
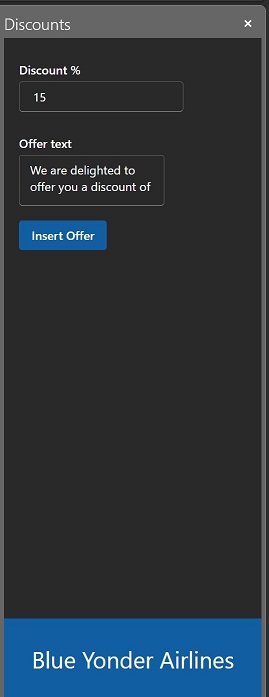
To see the task pane match the current Office theme, change the Office theme and then open a new message compose window and start the add-in. It will open in the new theme. The following shows the task pane in the Office dark gray theme.
Note: There isn't currently an API in the Office JavaScript Library to detect the theme changed event in Office, so the task pane cannot dynamically change to the new theme.
IMPORTANT: To end a localhost session with the add-in, open a command prompt, bash shell, or Visual Studio Code TERMINAL, and run the commamd npm stop. Closing the server window doesn't reliably stop the server and closing the Office application doesn't reliably cause Office to unacquire the add-in.
Run the Teams tab for the first time
In Visual Studio Code, open the Teams Toolkit.
In the ACCOUNTS section, verify that you're signed into Microsoft 365 and that sideloading is enabled.
Select View | Run in Visual Studio Code.
In the RUN AND DEBUG drop down menu, select the option, Launch App Debug (Edge), and then press F5. The project will build and run. This process may take a couple of minutes. Eventually, Teams opens in a browser with a prompt to add the tab app.
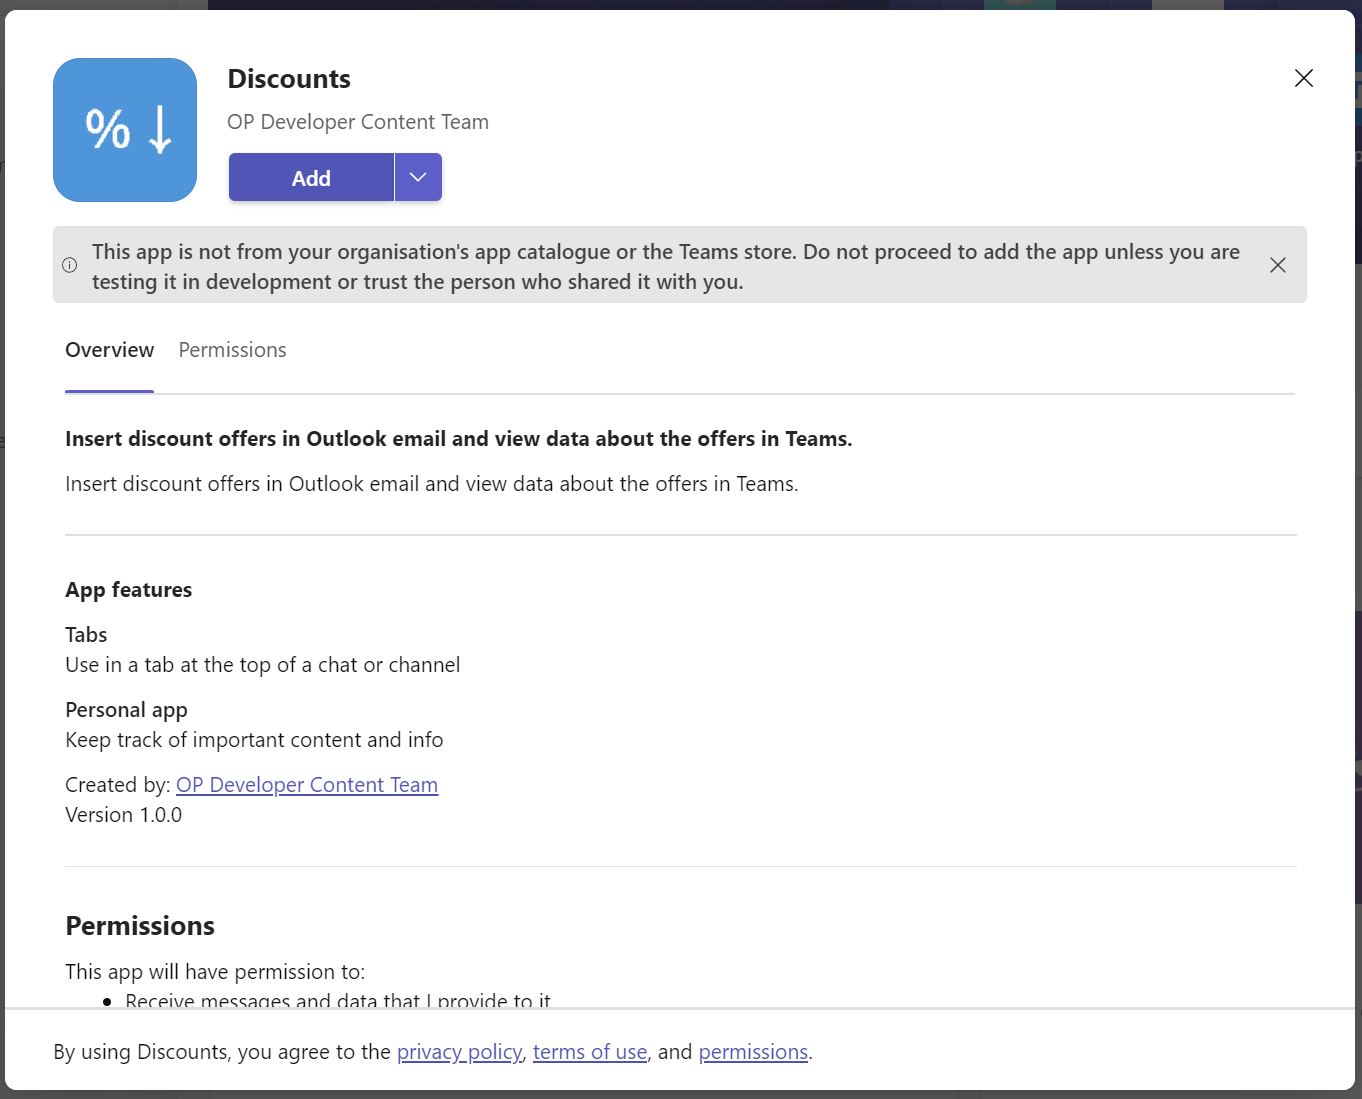
Select Add
When the tab opens, data about discounts that have already been offered is fetched from the mock CRM database and displayed.
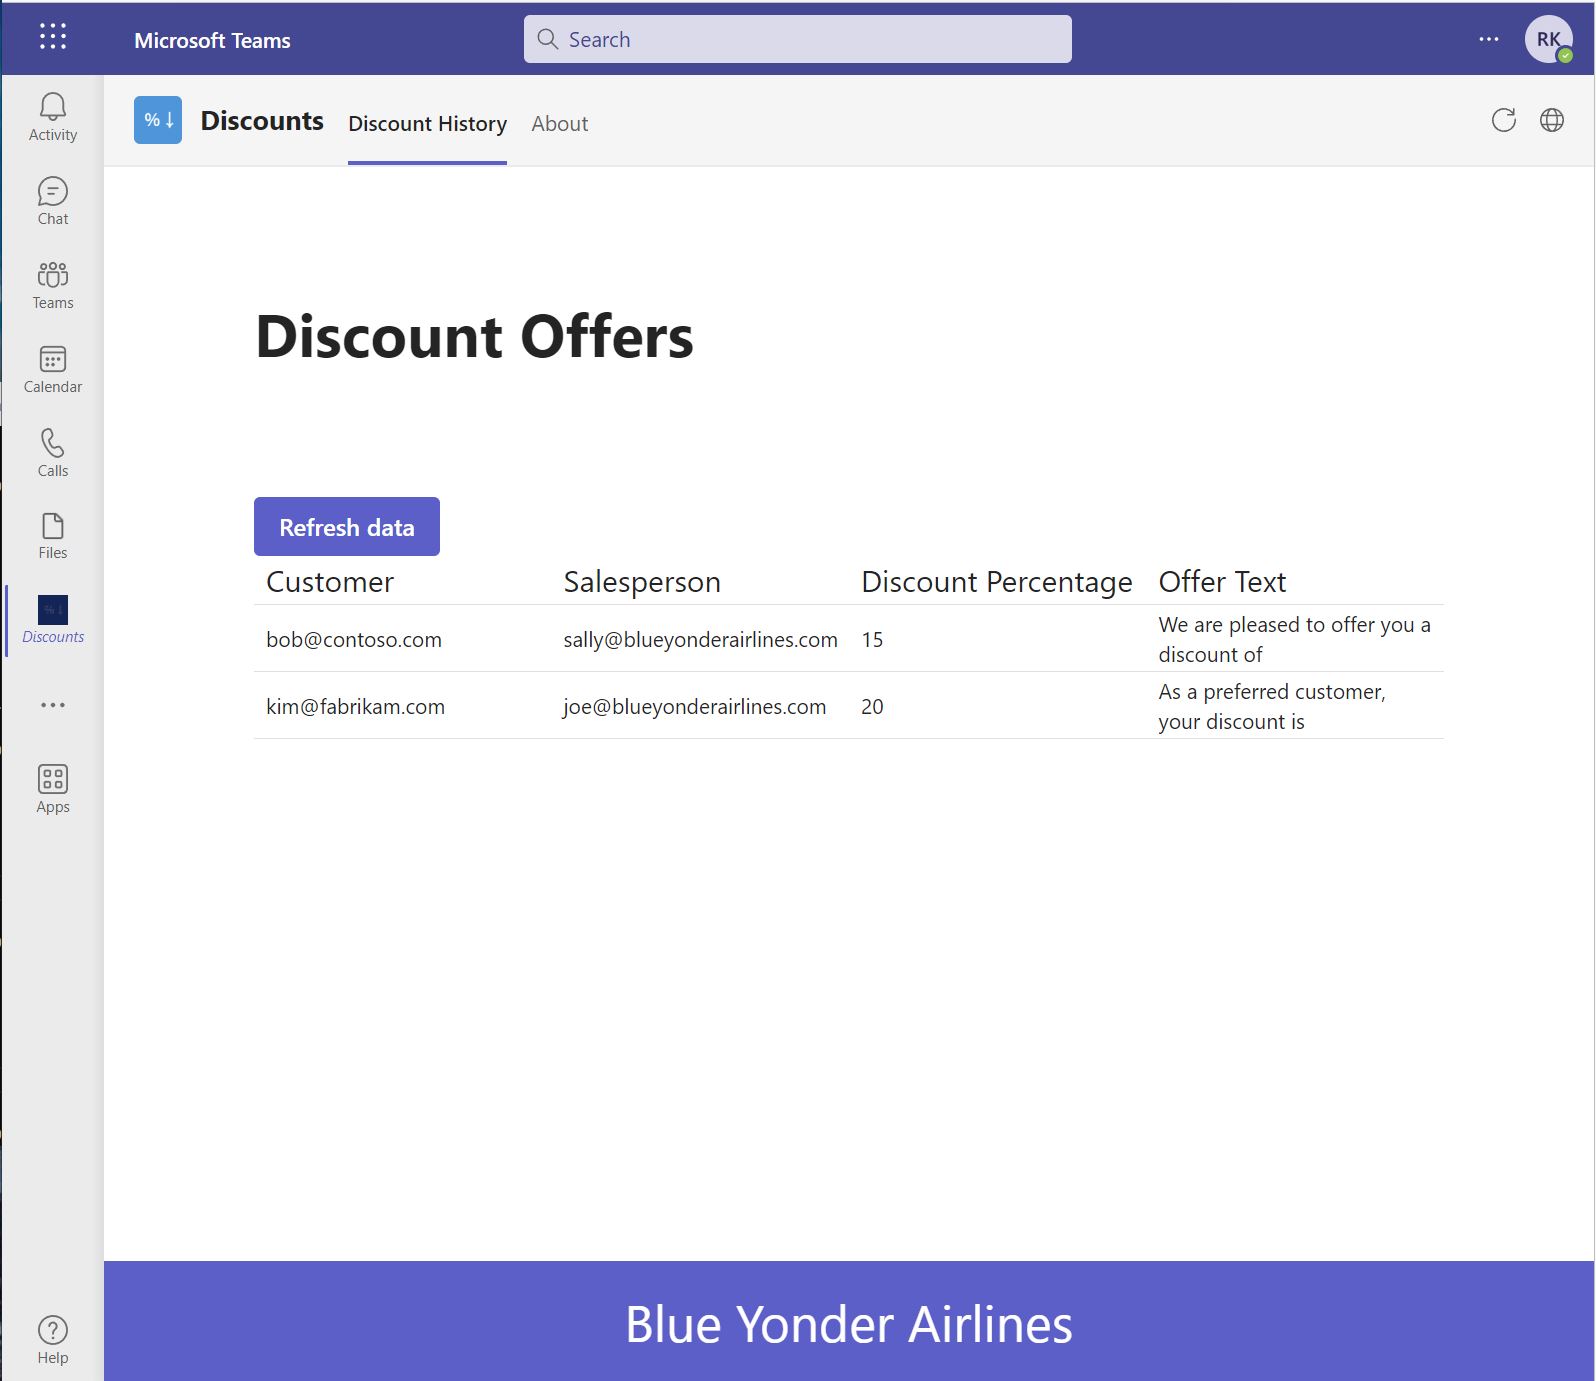
If the Outlook add-in is open in Outlook desktop, create another discount in a message.
On the Teams tab, select the Refresh Data button. The new discount you created appears at the end of the grid.
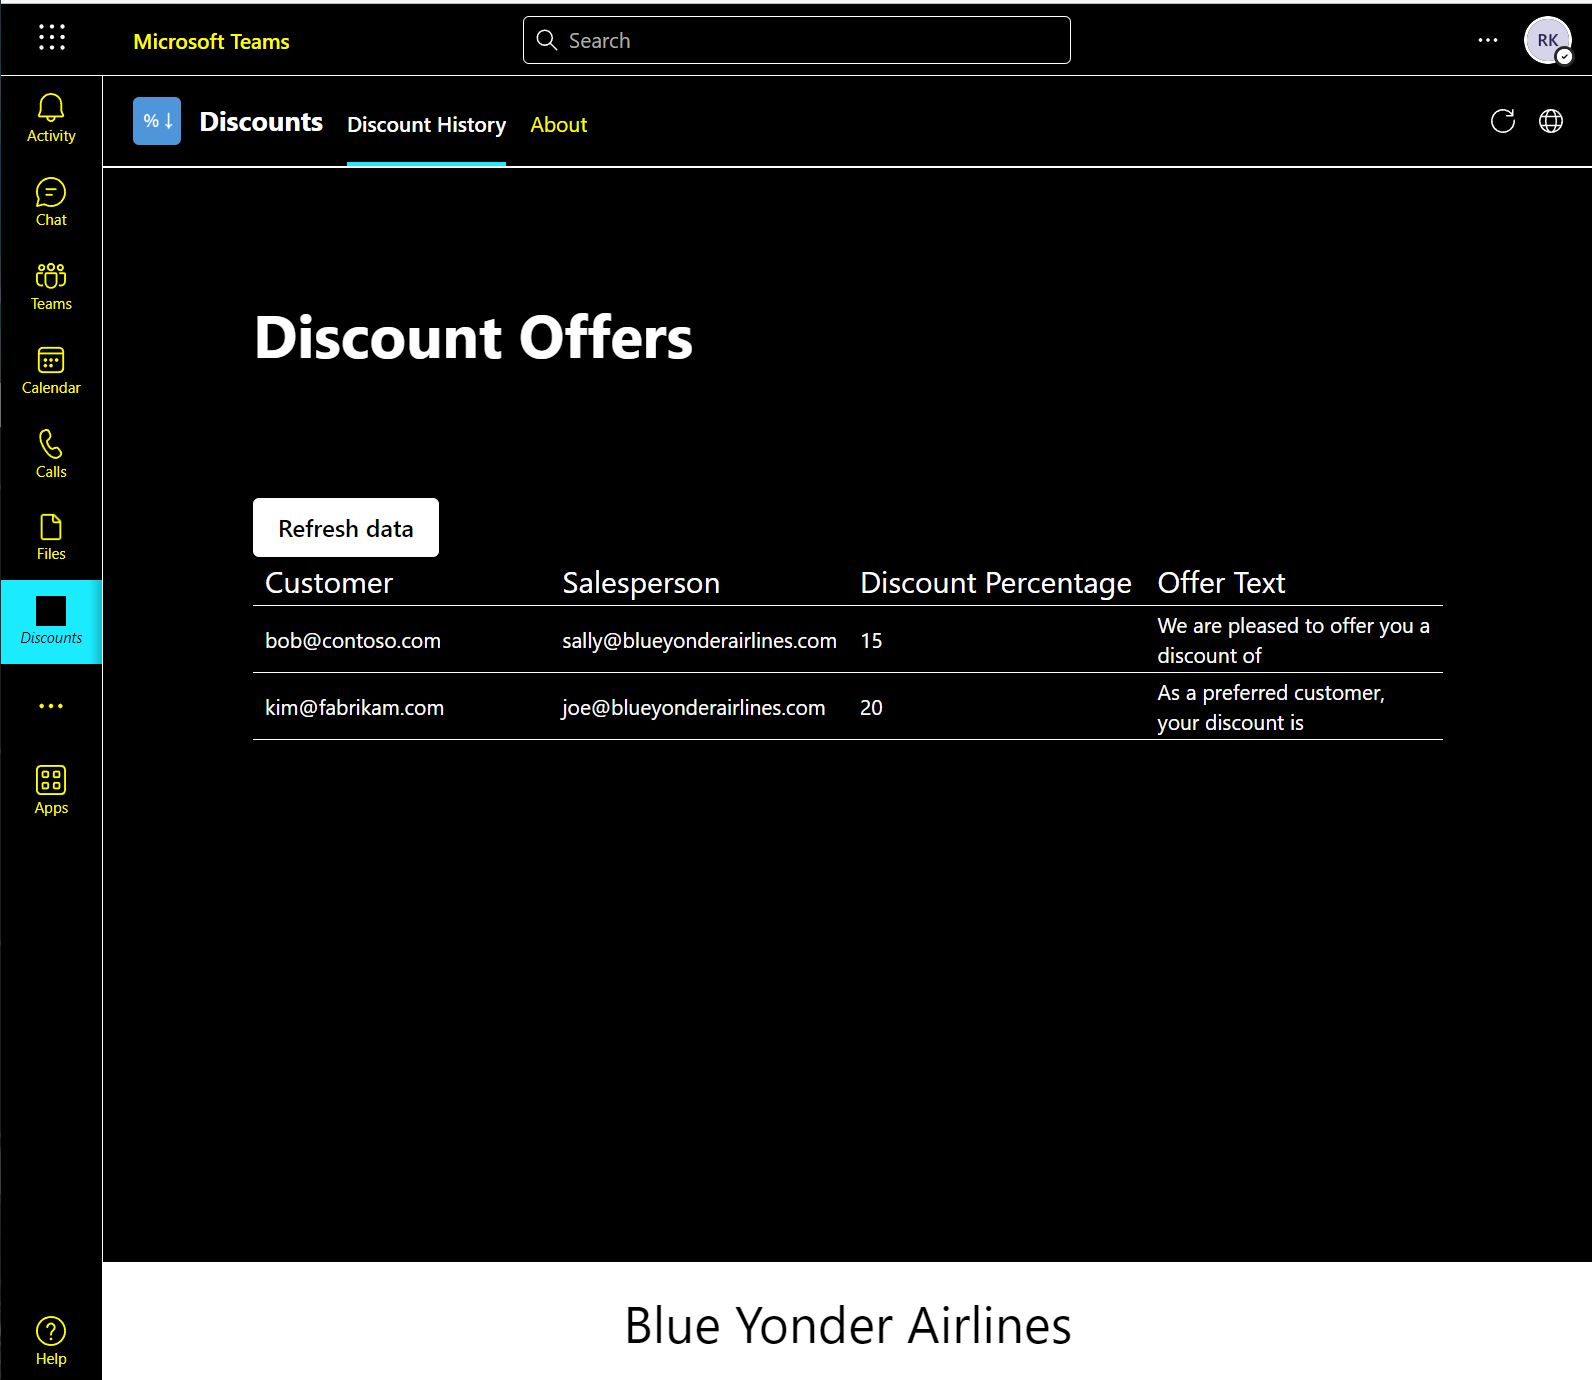
To see the tab match the current Teams theme, change the Teams theme. The tab appearance will automatically change to match. The following image shows the app in the Teams high contrast theme.
IMPORTANT: To stop debugging and uninstall the app, select Run | Stop Debugging in Visual Studio Code.
Run both the Teams tab and the Outlook add-in at the same time
First, make sure Outlook desktop is closed.
In Visual Studio Code, open the Teams Toolkit.
In the ACCOUNTS section, verify that you're signed into Microsoft 365.
Select View | Run in Visual Studio Code. In the RUN AND DEBUG drop down menu, select the option Launch App and Add-in Outlook Desktop (Edge Chromium) and then press F5. The project builds and a Node dev-server window opens to host the add-in. The tab app is hosted in the Visual Studio Code terminal. This process may take a couple of minutes. Eventually, both of the following will happen:
- Teams opens in a browser with a prompt to add your tab app. If Teams has not opened by the time Outlook desktop opens, then automatic sideloading has failed. You can manually sideload it to see both the app and the add-in running at the same time. For sideloading instructions, see Upload your app in Teams.
- Outlook desktop opens.
In the Teams prompt, select Add and the tab will open.
In Outlook, open an Outlook message compose window by either starting a new message or selecting Reply on a message.
Be sure there is an email address in the To and From lines.
Find the Offer Discount button on the ribbon and select it. You will next see the following prompt. Select OK. This prompt appears whenever the add-in is run in debugging mode.
A Discounts task pane opens.
Create another discount in a message.
On the Teams tab, select the Refresh data button. The new discount you created appears at the end of the grid.