Data ingestion with SDS (Classic) sync profiles
Important
If you're still using SDS (Classic) for provisioning SIS / SMS data to Microsoft 365 and Microsoft Entra ID to managing users and classes you will ONLY be able to set up Insights & Analytics scenarios.
Also refer to Data Handling for SDS (Classic) sync profiles for Insights & Analytics scenarios.
Set up SDS for Microsoft 365 Education Tenant
- Microsoft 365 Education tenant
- Need Global Administrator Permissions
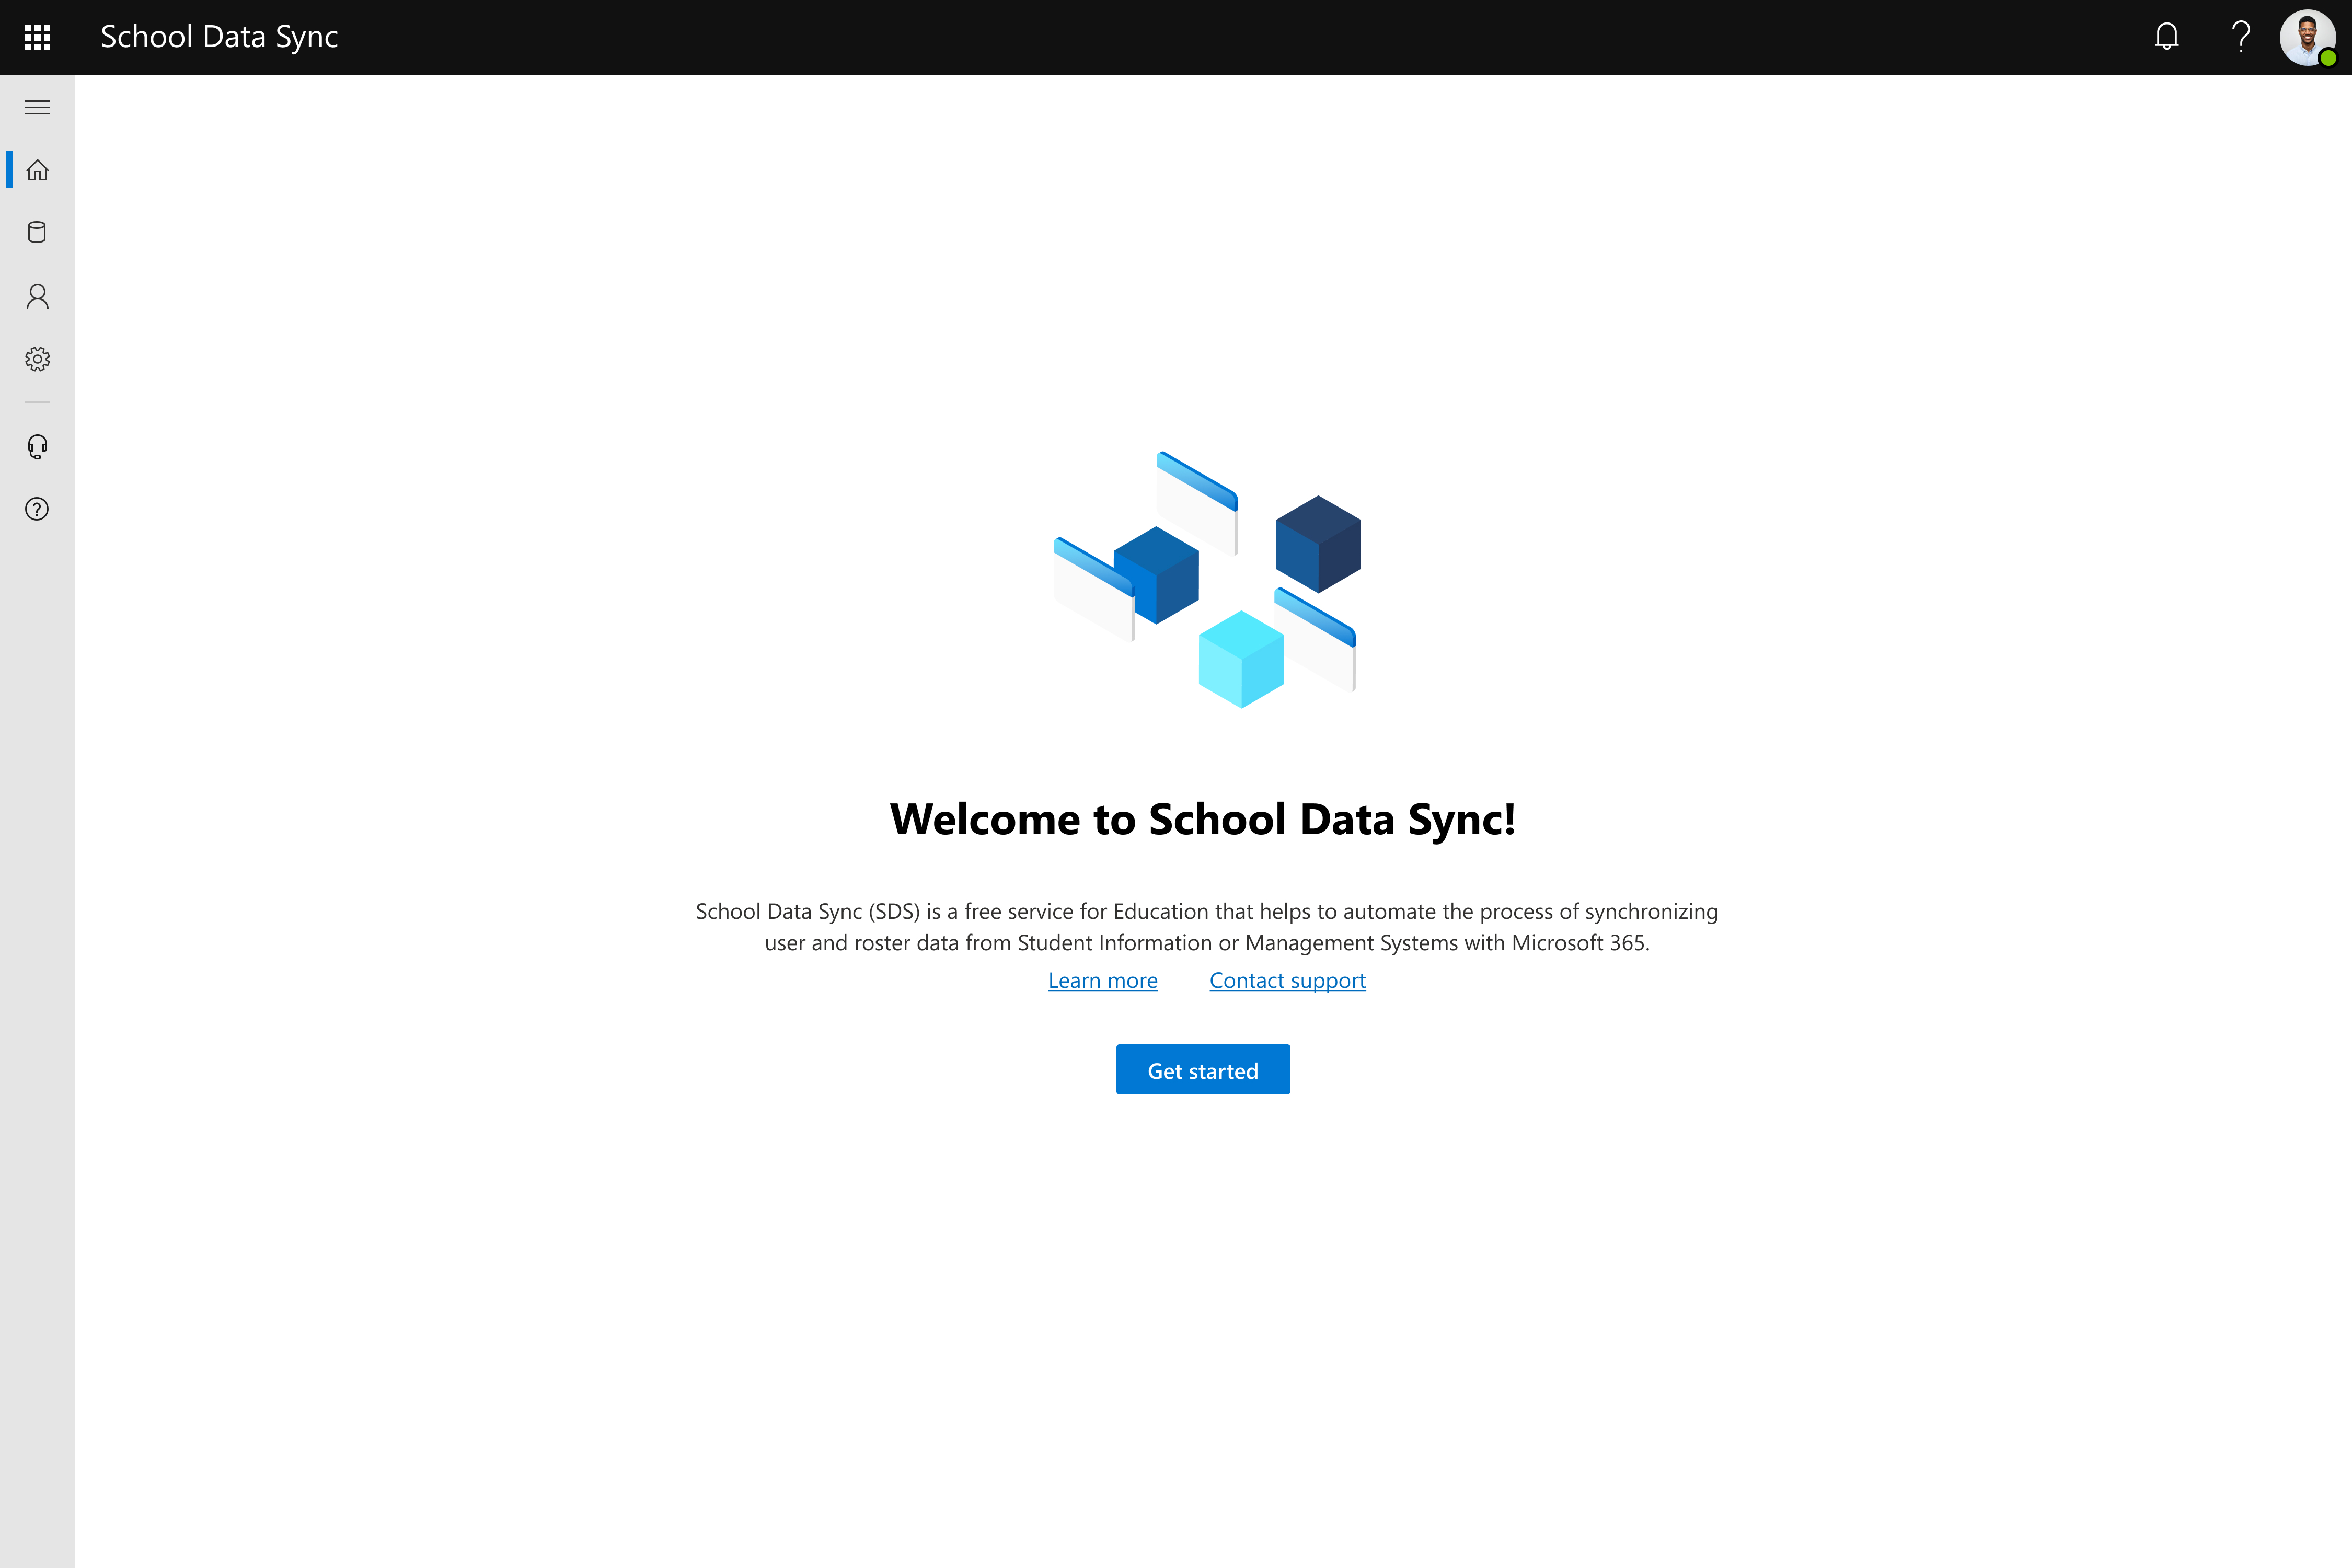
Select Get started.
Select Continue.

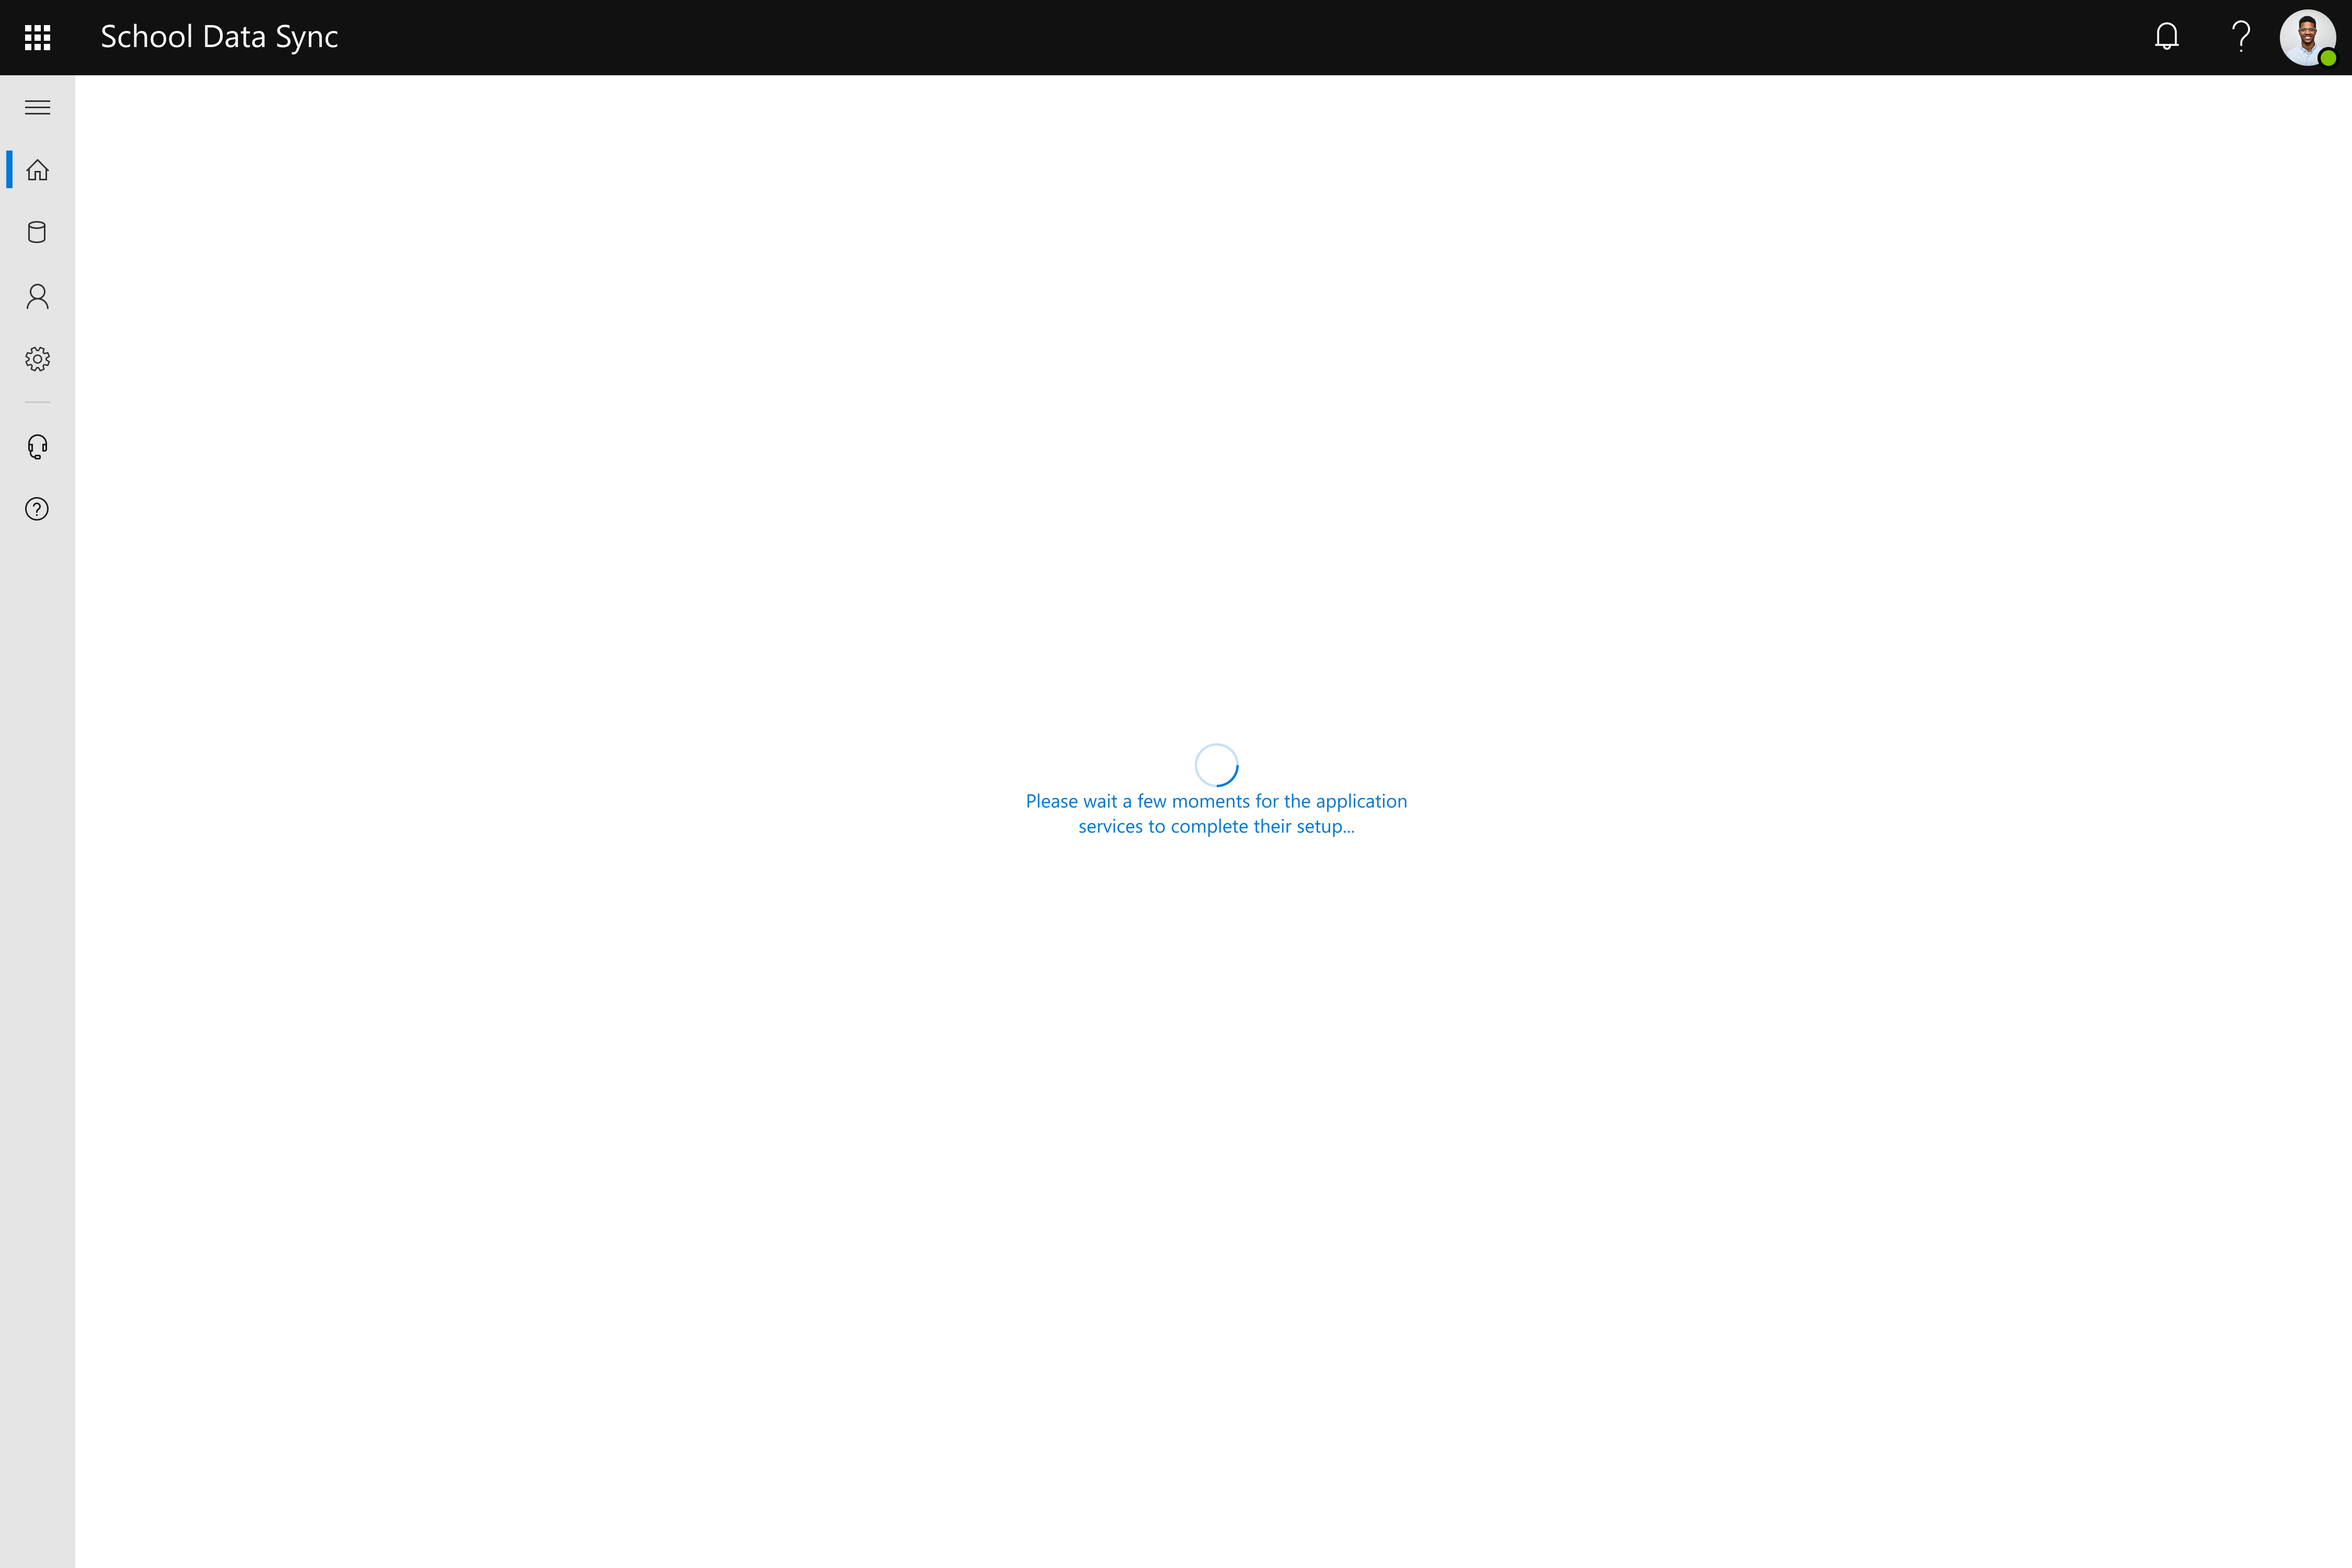
Allow a few moments for services to provision to tenant before next step.
Select Create new inbound flow, then Next to continue.

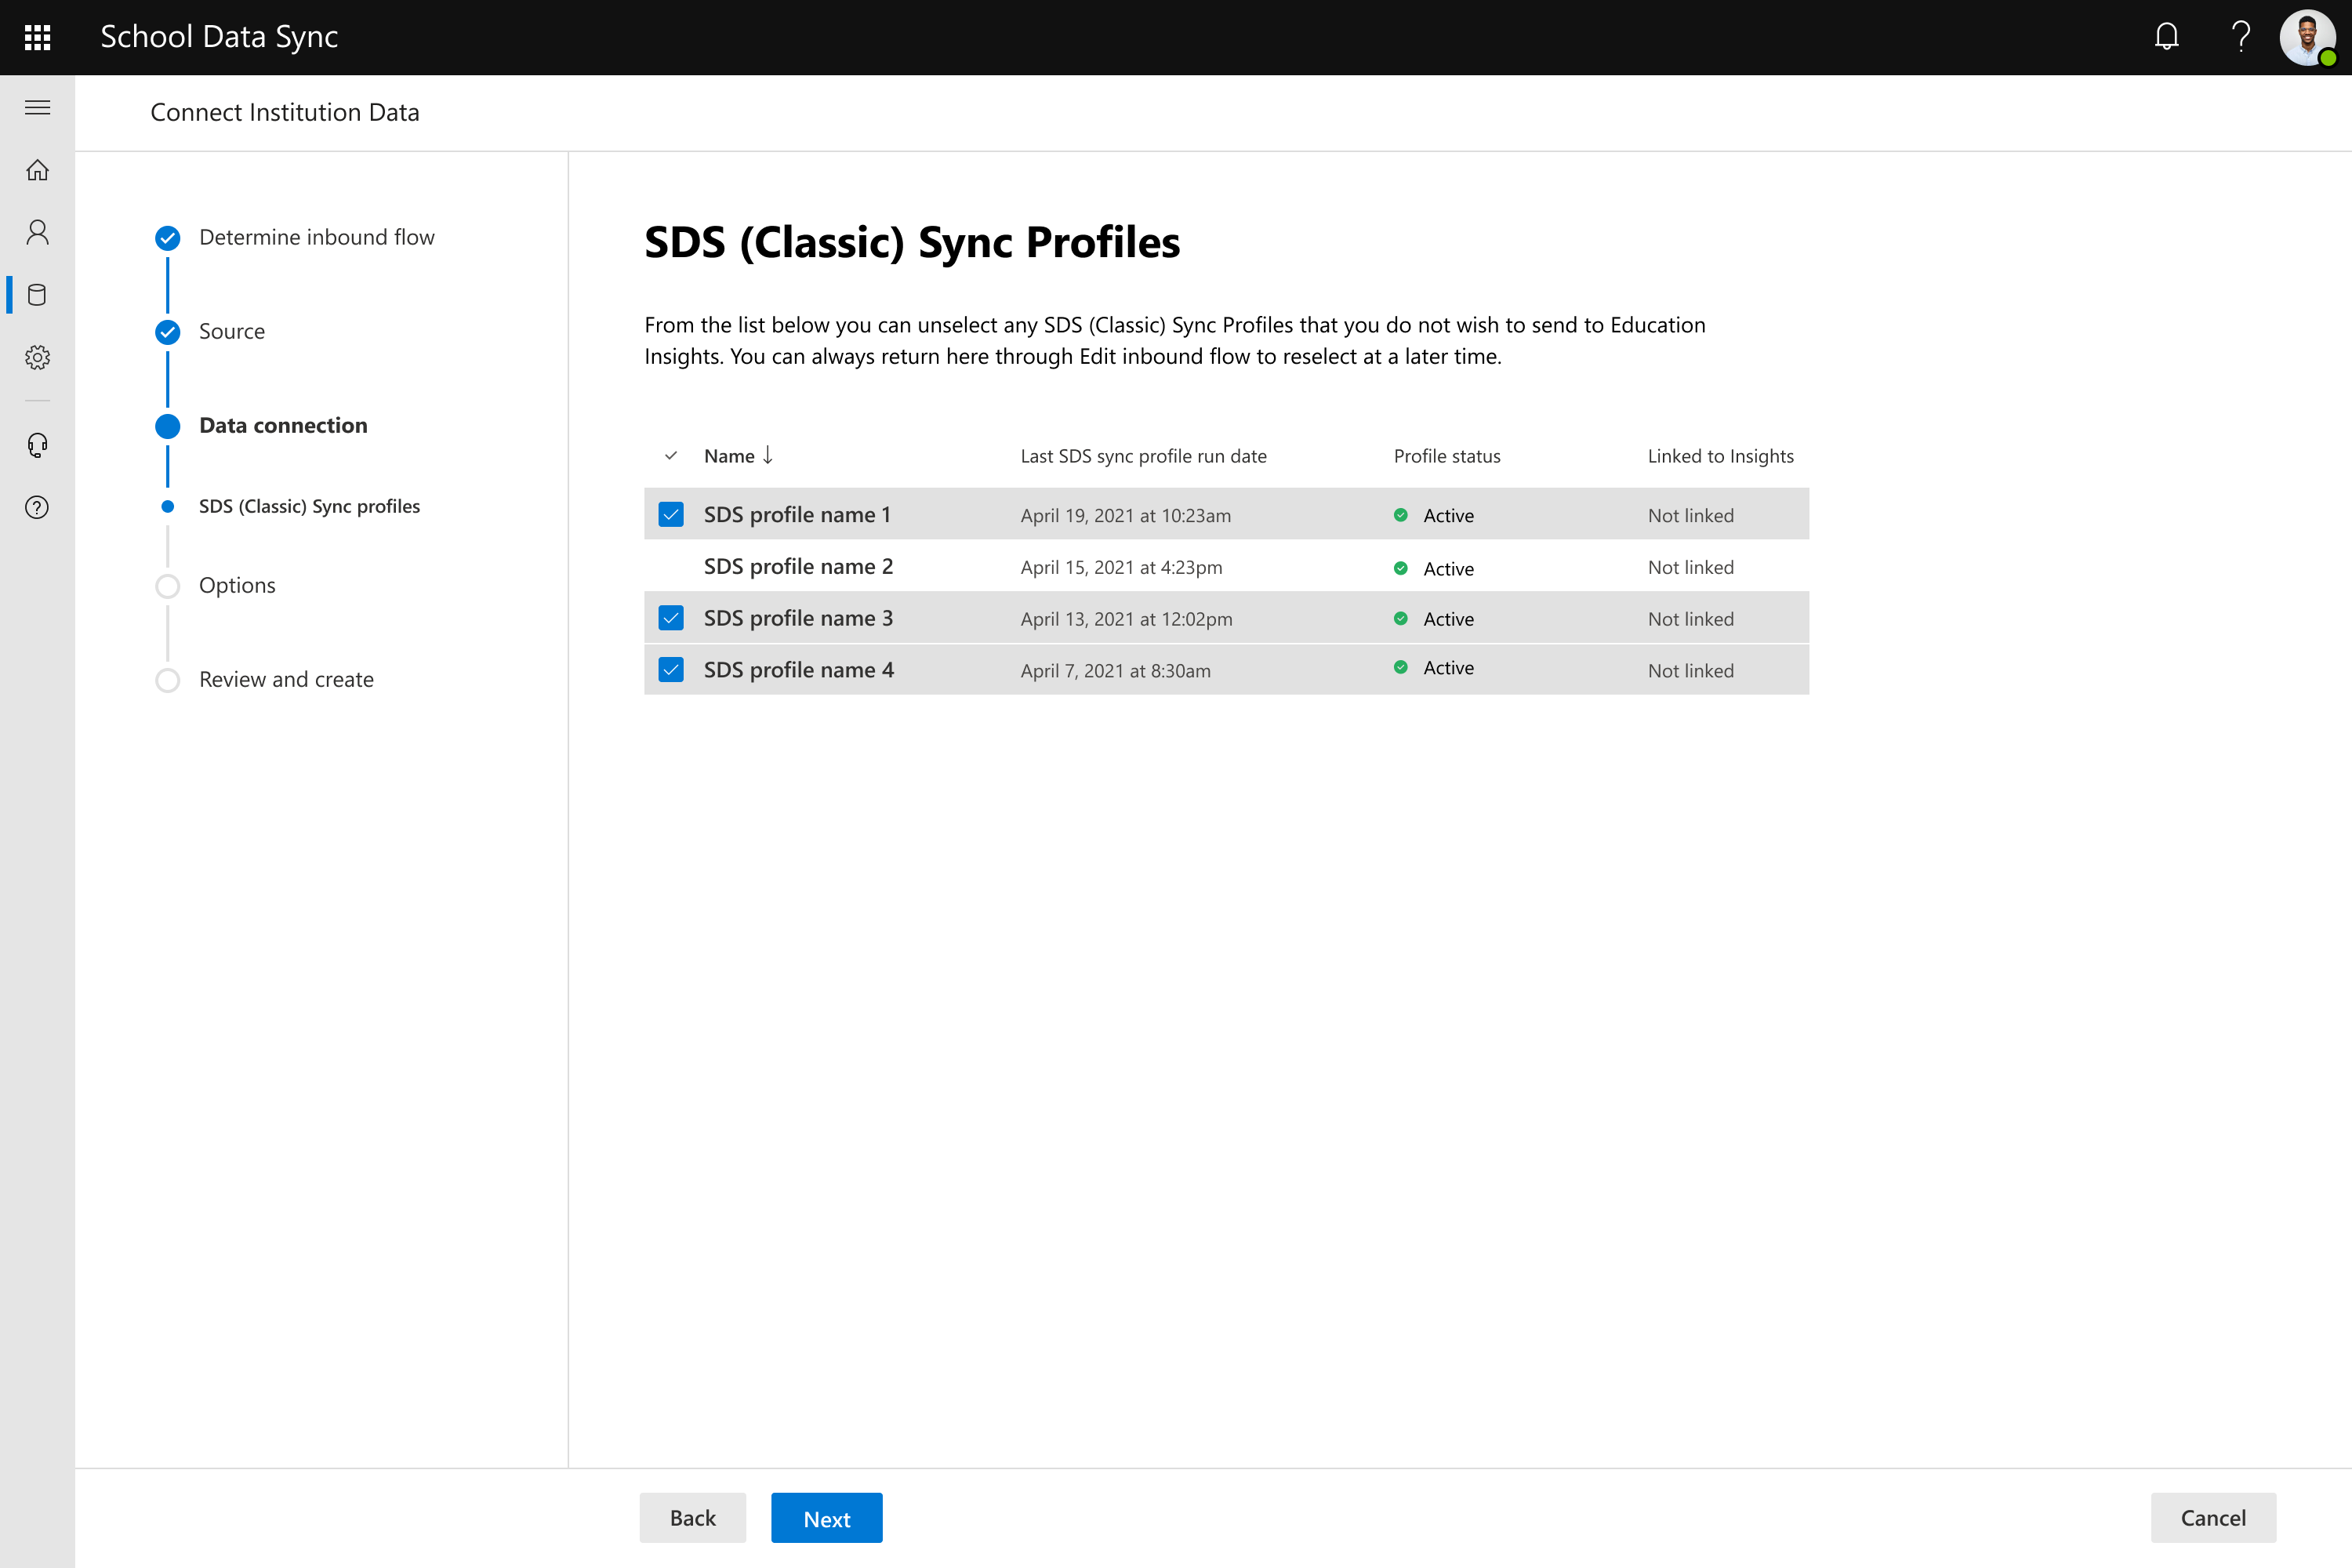
Next you need to choose your data source. For SDS (Classic) sync profiles, you select the option Ingest from my SDS (Classic) sync profiles.

Review the list of SDS (Classic) sync profiles presented. By default, all active and available sync profiles are listed, and selected, shown with a blue check mark. Select Next to proceed.
If you have more than one active SDS (Classic) sync profile but don't want it to be included in the data, unselect the row. If you change your mind, you can edit your data flow later.
If you don't see an active SDS (Classic) sync profile listed, then it hasn't completed its first sync. Therefore, it isn't offered to select because the data isn't yet available. Select Cancel to exit and review your sync profile. Return by starting with Step 3 to begin again.
Choose your current academic year and provide a friendly name, such as 2023 or 2022 – 2023. (Characters must be utf8 or will be automatically stripped out).
Important
Academic year is used to associate incoming data to help build year over year historical data. The approach is aligned to an academic year versus calendar year. If your academic year spans across a calendar year, for example, start 8/15/2022 and ends 6/15/2023, the academic year value to be selected is the ending year, 2023. For more information, see Academic Year handling
Enter the dates for when your academic year starts and ends.
Enter the date when SDS should stop syncing data based on the defined academic year for this source. It's most common to stop syncing data on the academic year end date you just entered.
Select Next to continue.

Review information presented on Review and create. If everything looks correct, select Create button. If not, you're able to navigate back to correct.
![Screenshot of Review and create.]](images/data-ingestion-with-sds-classic-9.png)
![Screenshot of processing after selecting create.]](images/data-ingestion-with-sds-classic-10.png)
Your inbound data flow has been created and the first run is pending. Check back to see the status of your first run.
![Screenshot that the inbound flow has been created.]](images/data-ingestion-with-sds-classic-11.png)
![Screenshot noting that the first run is pending.]](images/data-ingestion-with-sds-classic-12.png)
![Screenshot noting that the run is in progress.]](images/data-ingestion-with-sds-classic-13.png)
After allowing time for the first run to complete, navigate back to the home page.
If there are no issues with your data, you see No Data Errors or Warnings Found. You're able to proceed with setting up your outbound flows. See the top actions for available options to select.
If there are issues found with your data, you see ‘We found some issues with your data.’ For more information, select Investigate run health You can proceed with setting up your outbound flows. See the top actions for available options to select. However, we suggest you correct any errors before proceeding. For more information, see Investigate run health.


![Screenshot of Review and create.]](images/data-ingestion-with-sds-classic-9.png#lightbox)
![Screenshot of processing after selecting create.]](images/data-ingestion-with-sds-classic-10.png#lightbox)
![Screenshot that the inbound flow has been created.]](images/data-ingestion-with-sds-classic-11.png#lightbox)
![Screenshot noting that the first run is pending.]](images/data-ingestion-with-sds-classic-12.png#lightbox)
![Screenshot noting that the run is in progress.]](images/data-ingestion-with-sds-classic-13.png#lightbox)