Note
Access to this page requires authorization. You can try signing in or changing directories.
Access to this page requires authorization. You can try changing directories.
Background
Services Hub workspaces can be configured to allow authentication using Microsoft accounts (MSA). A Microsoft account (MSA) is a personal account. The use of unmanaged identities isn't aligned with Microsoft focus on security. For more information about account types, see What's the difference between a Microsoft account and a work or school account?.
As part of the Secure Futures Initiative (SFI), the Services Hub team is providing best practices guidance on how to remove the ability for an MSA user to sign in to Services Hub and to turn off the ability to invite a new user using MSA.
Remove MSA from Services Hub
Follow the steps to identify and turn off MSA on your workspaces.
For each workspace, follow the steps to identify and remove MSA users within your workspace.
Disabling MSA on all your workspaces and removing all individual users from workspaces effectively turns off MSA access to Services Hub.
Identify and turn off MSA on your workspaces
Note
The MSA exception can't be turned off on a workspace associated with a Premier agreement.
You can perform the following steps only if you're a CSAM or a customer with the Services Hub Global Administrator role in Services Hub. For more information, see Services Hub roles and permissions.
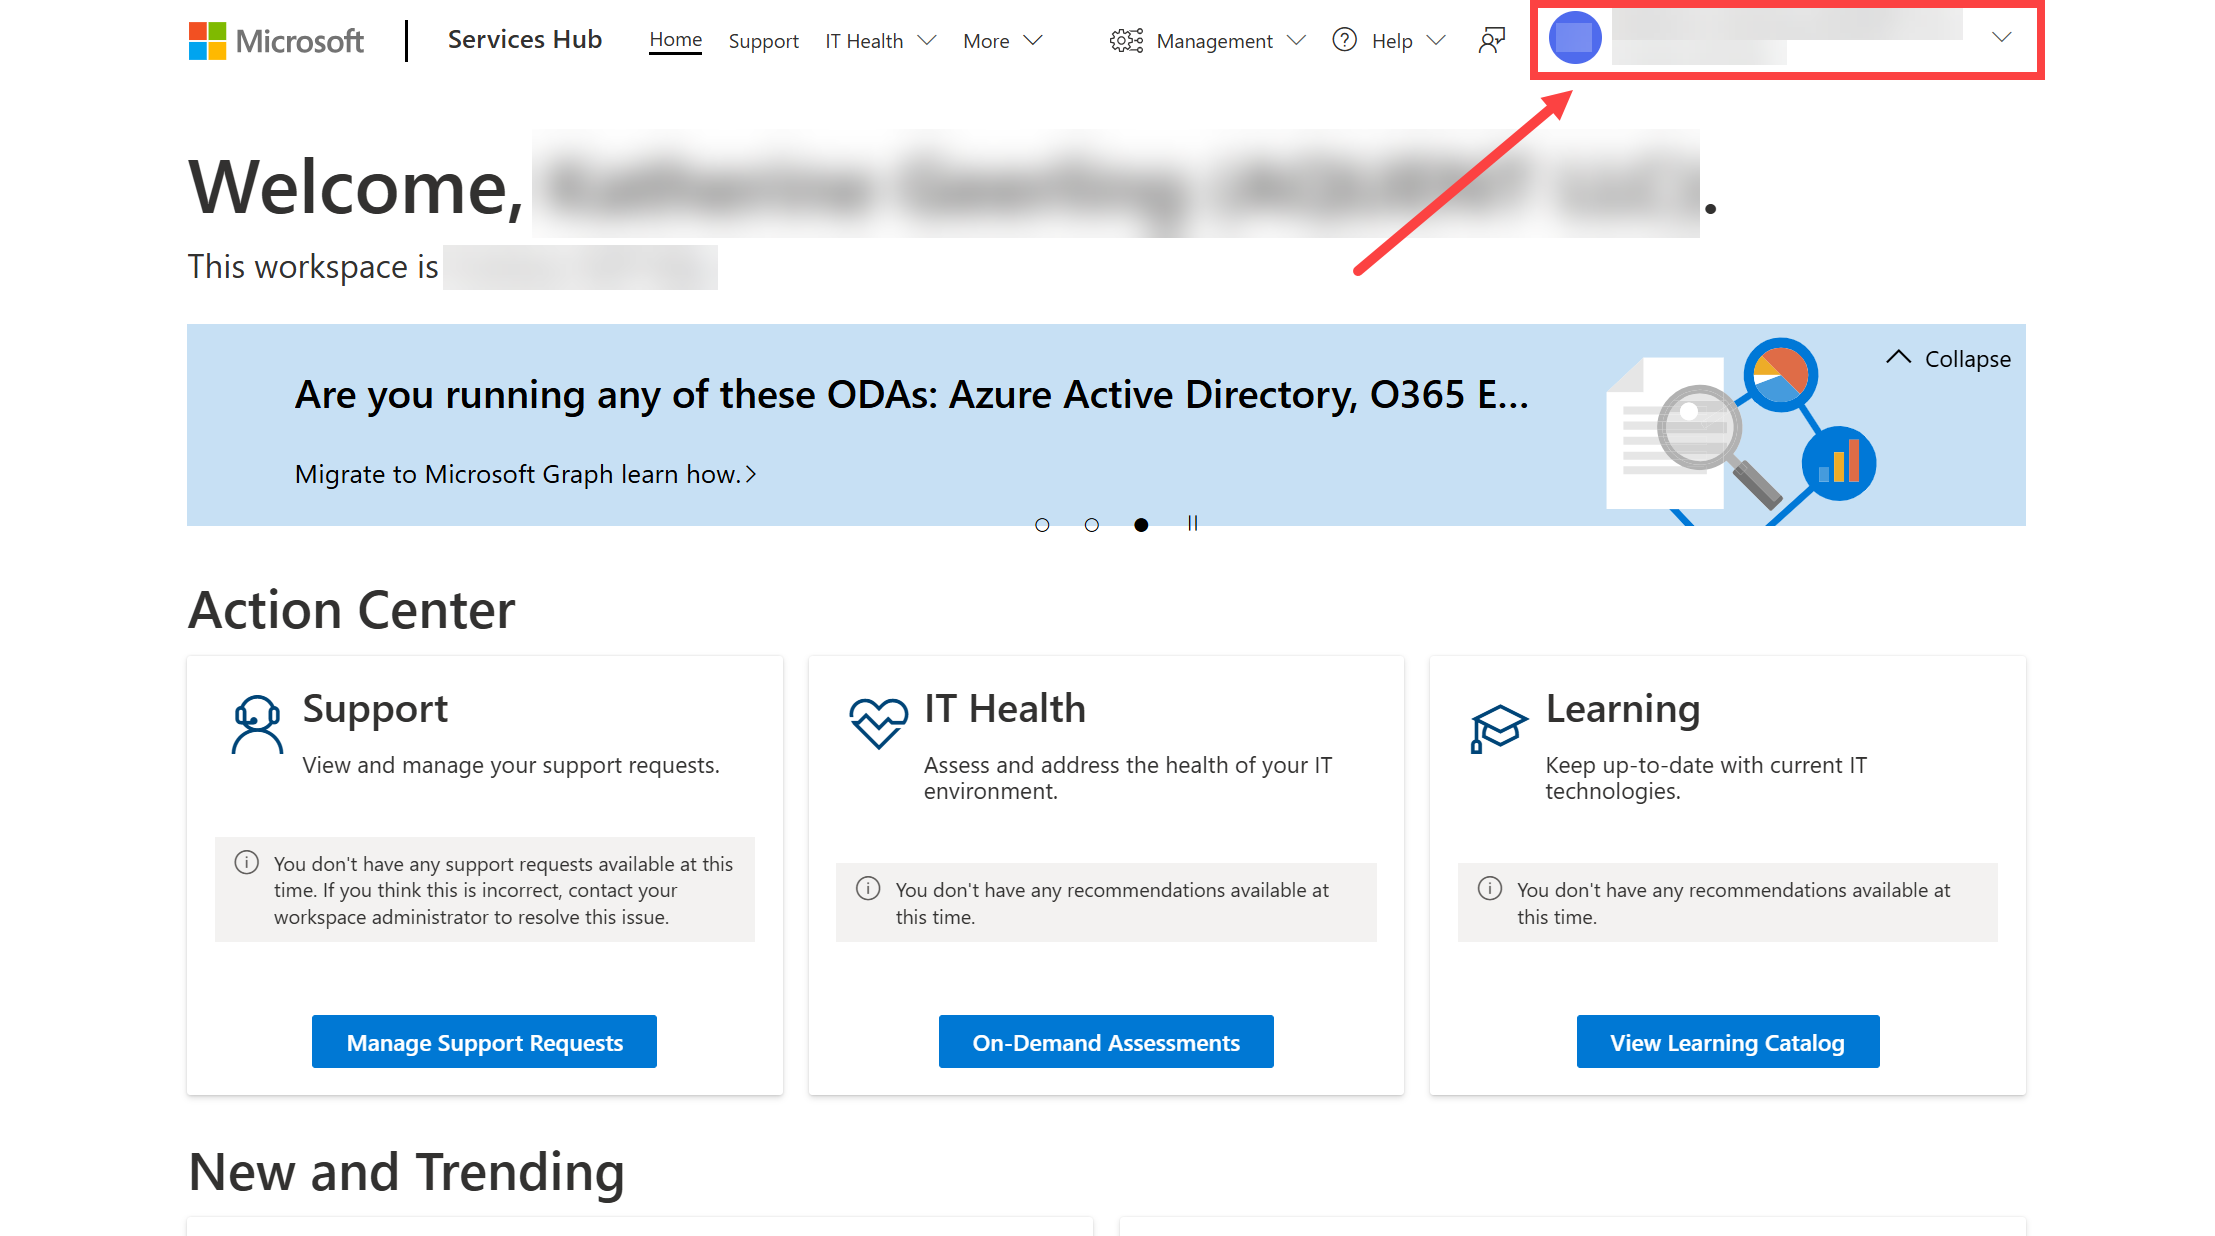
Select your user profile.
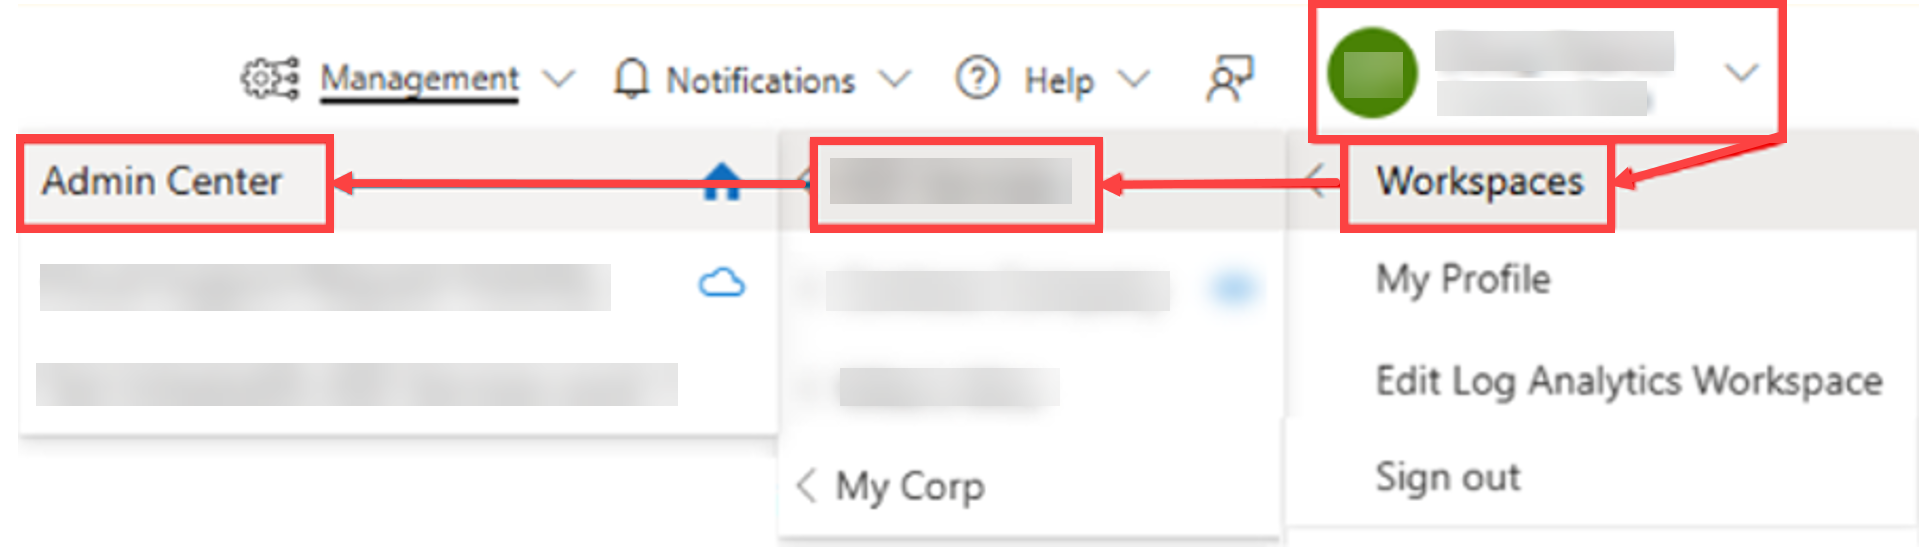
Select "Workspaces", select your organization, then select "Admin Center."
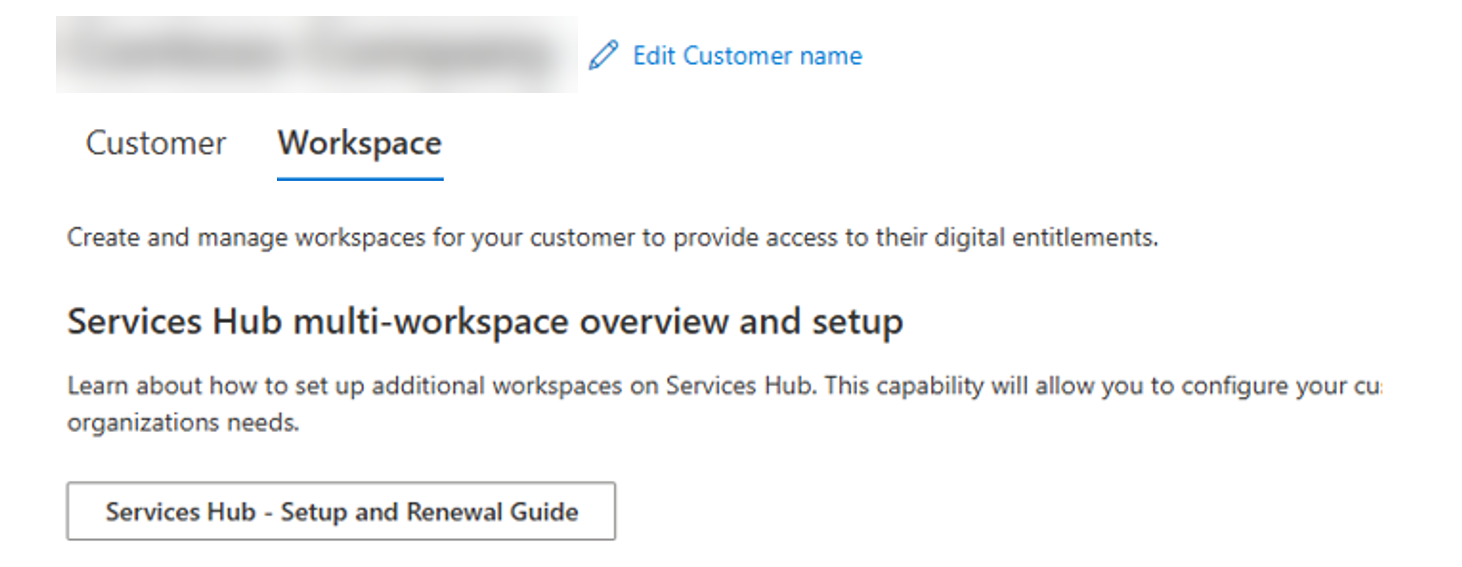
Select the "Workspace" section.
You can see the MSA exception toggle command next to your workspace name. If the slider is active, the MSA exception is turned on for that workspace.
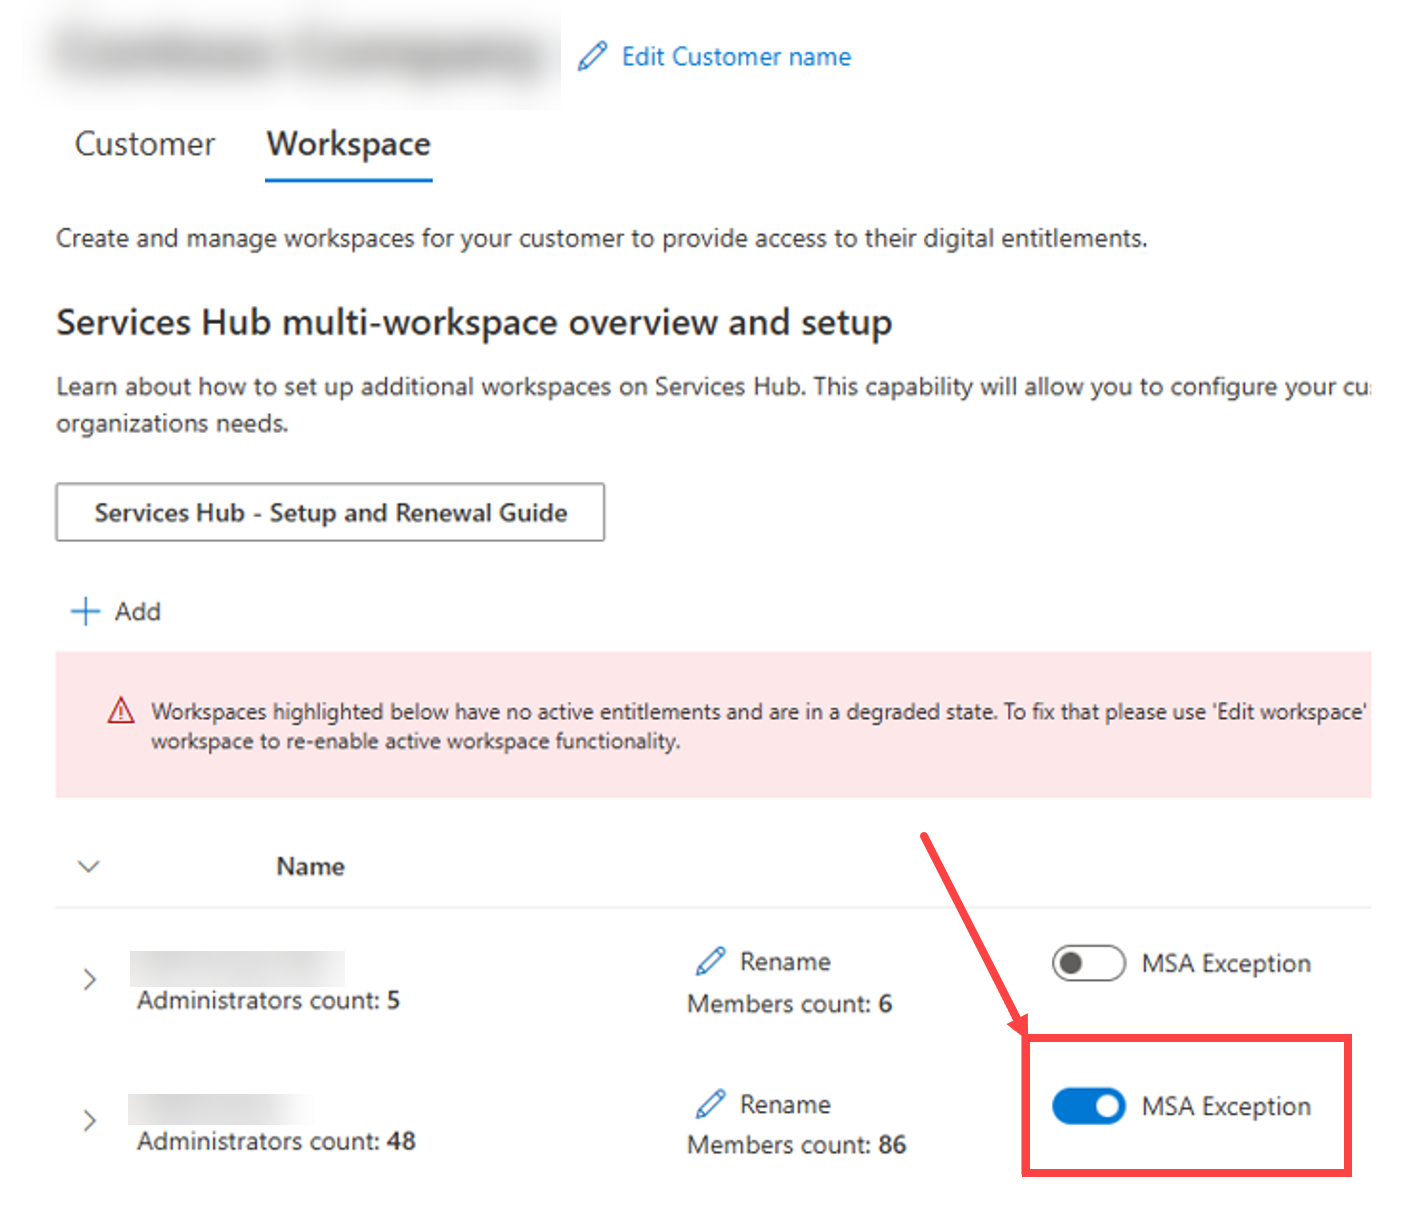
If the MSA Exception toggle is currently on, select it so the toggle turns off.
When a dialog appears on the screen, Select "Continue" to finish disabling the MSA exception for your workspace.


Note
Disabling the MSA exception doesn't block registered MSA users from accessing Services Hub. It only blocks new users from registering.
Identify and remove MSA users within a workspace
You can perform the following steps if you're a CSAM or a workspace administrator.
If you have multiple workspaces, make sure you repeat the steps for each workspace you manage.
Select your user profile.
Make sure you're in the workspace you want to edit.
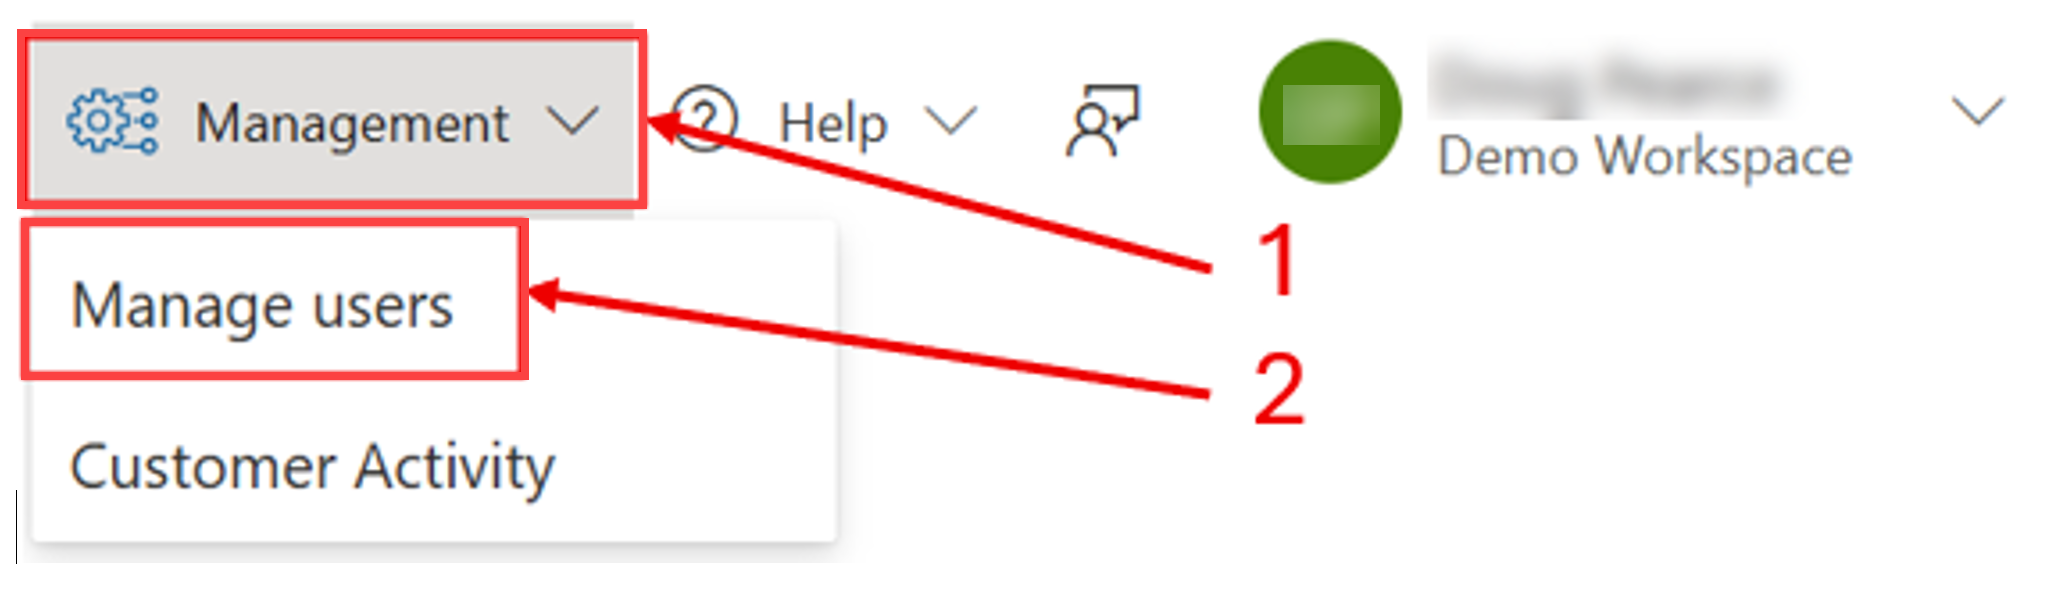
Select "Management," then select "Manage users."
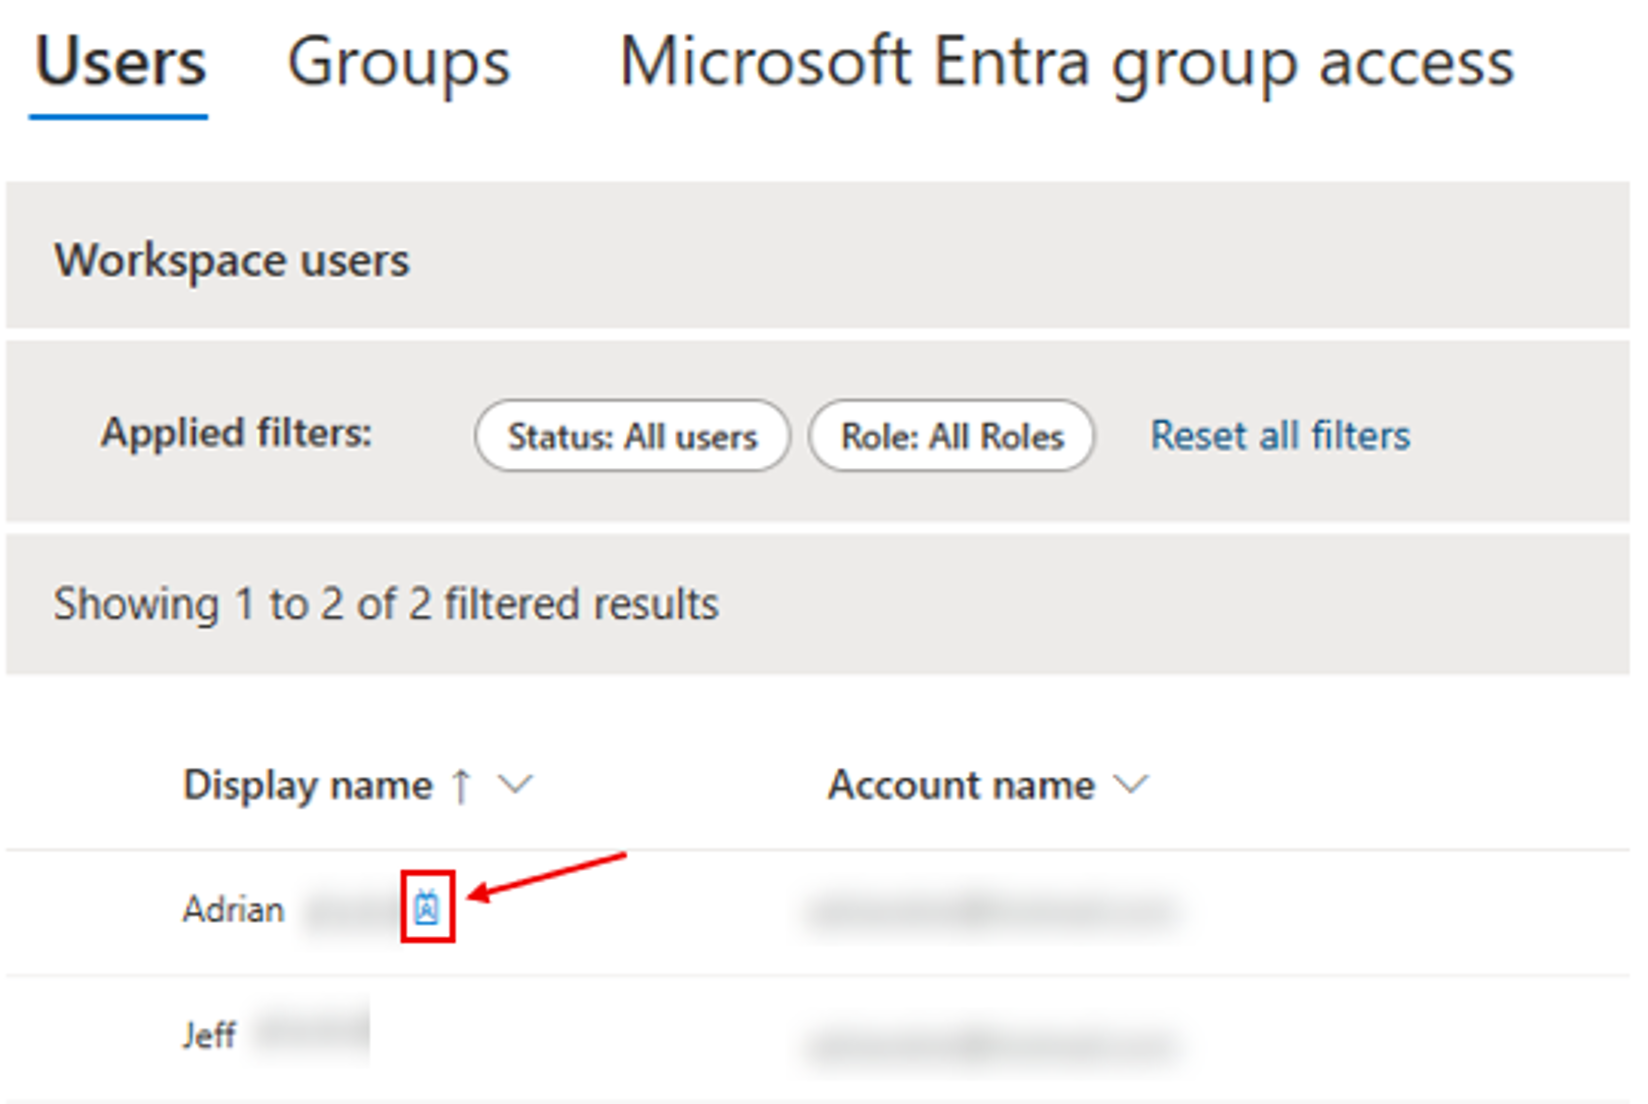
In the "Manage users" section, look for a blue graphic next to user display names in the "Users" list. That blue graphic identifies an individual user as an MSA user.
Select a blue graphic user's name.
Select "Remove users."

When a warning dialog appears, select "Delete."
Once the user is deleted, a success message appears. You can now delete another user if you need to.


