Note
Access to this page requires authorization. You can try signing in or changing directories.
Access to this page requires authorization. You can try changing directories.
Using Power Apps, you can easily customize a form for a SharePoint list that works best for your team or organization.
In this tutorial, you will create a custom form with a user profile photo, a read-only field, and a conditionally-visible field.
Required setup
Before starting, make sure your SharePoint site is set up with the required lists and libraries.
Create a custom form
In your SharePoint site, browse to the Projects list.
To create and manage flows for a list or a library, from the command bar, on the list or library page, select Integrate > Power Apps. More options appear:
- Create an app
- See all apps
- Customize forms
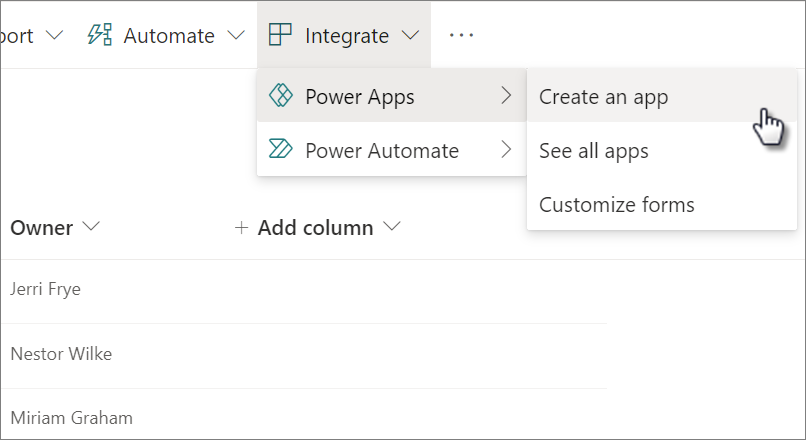
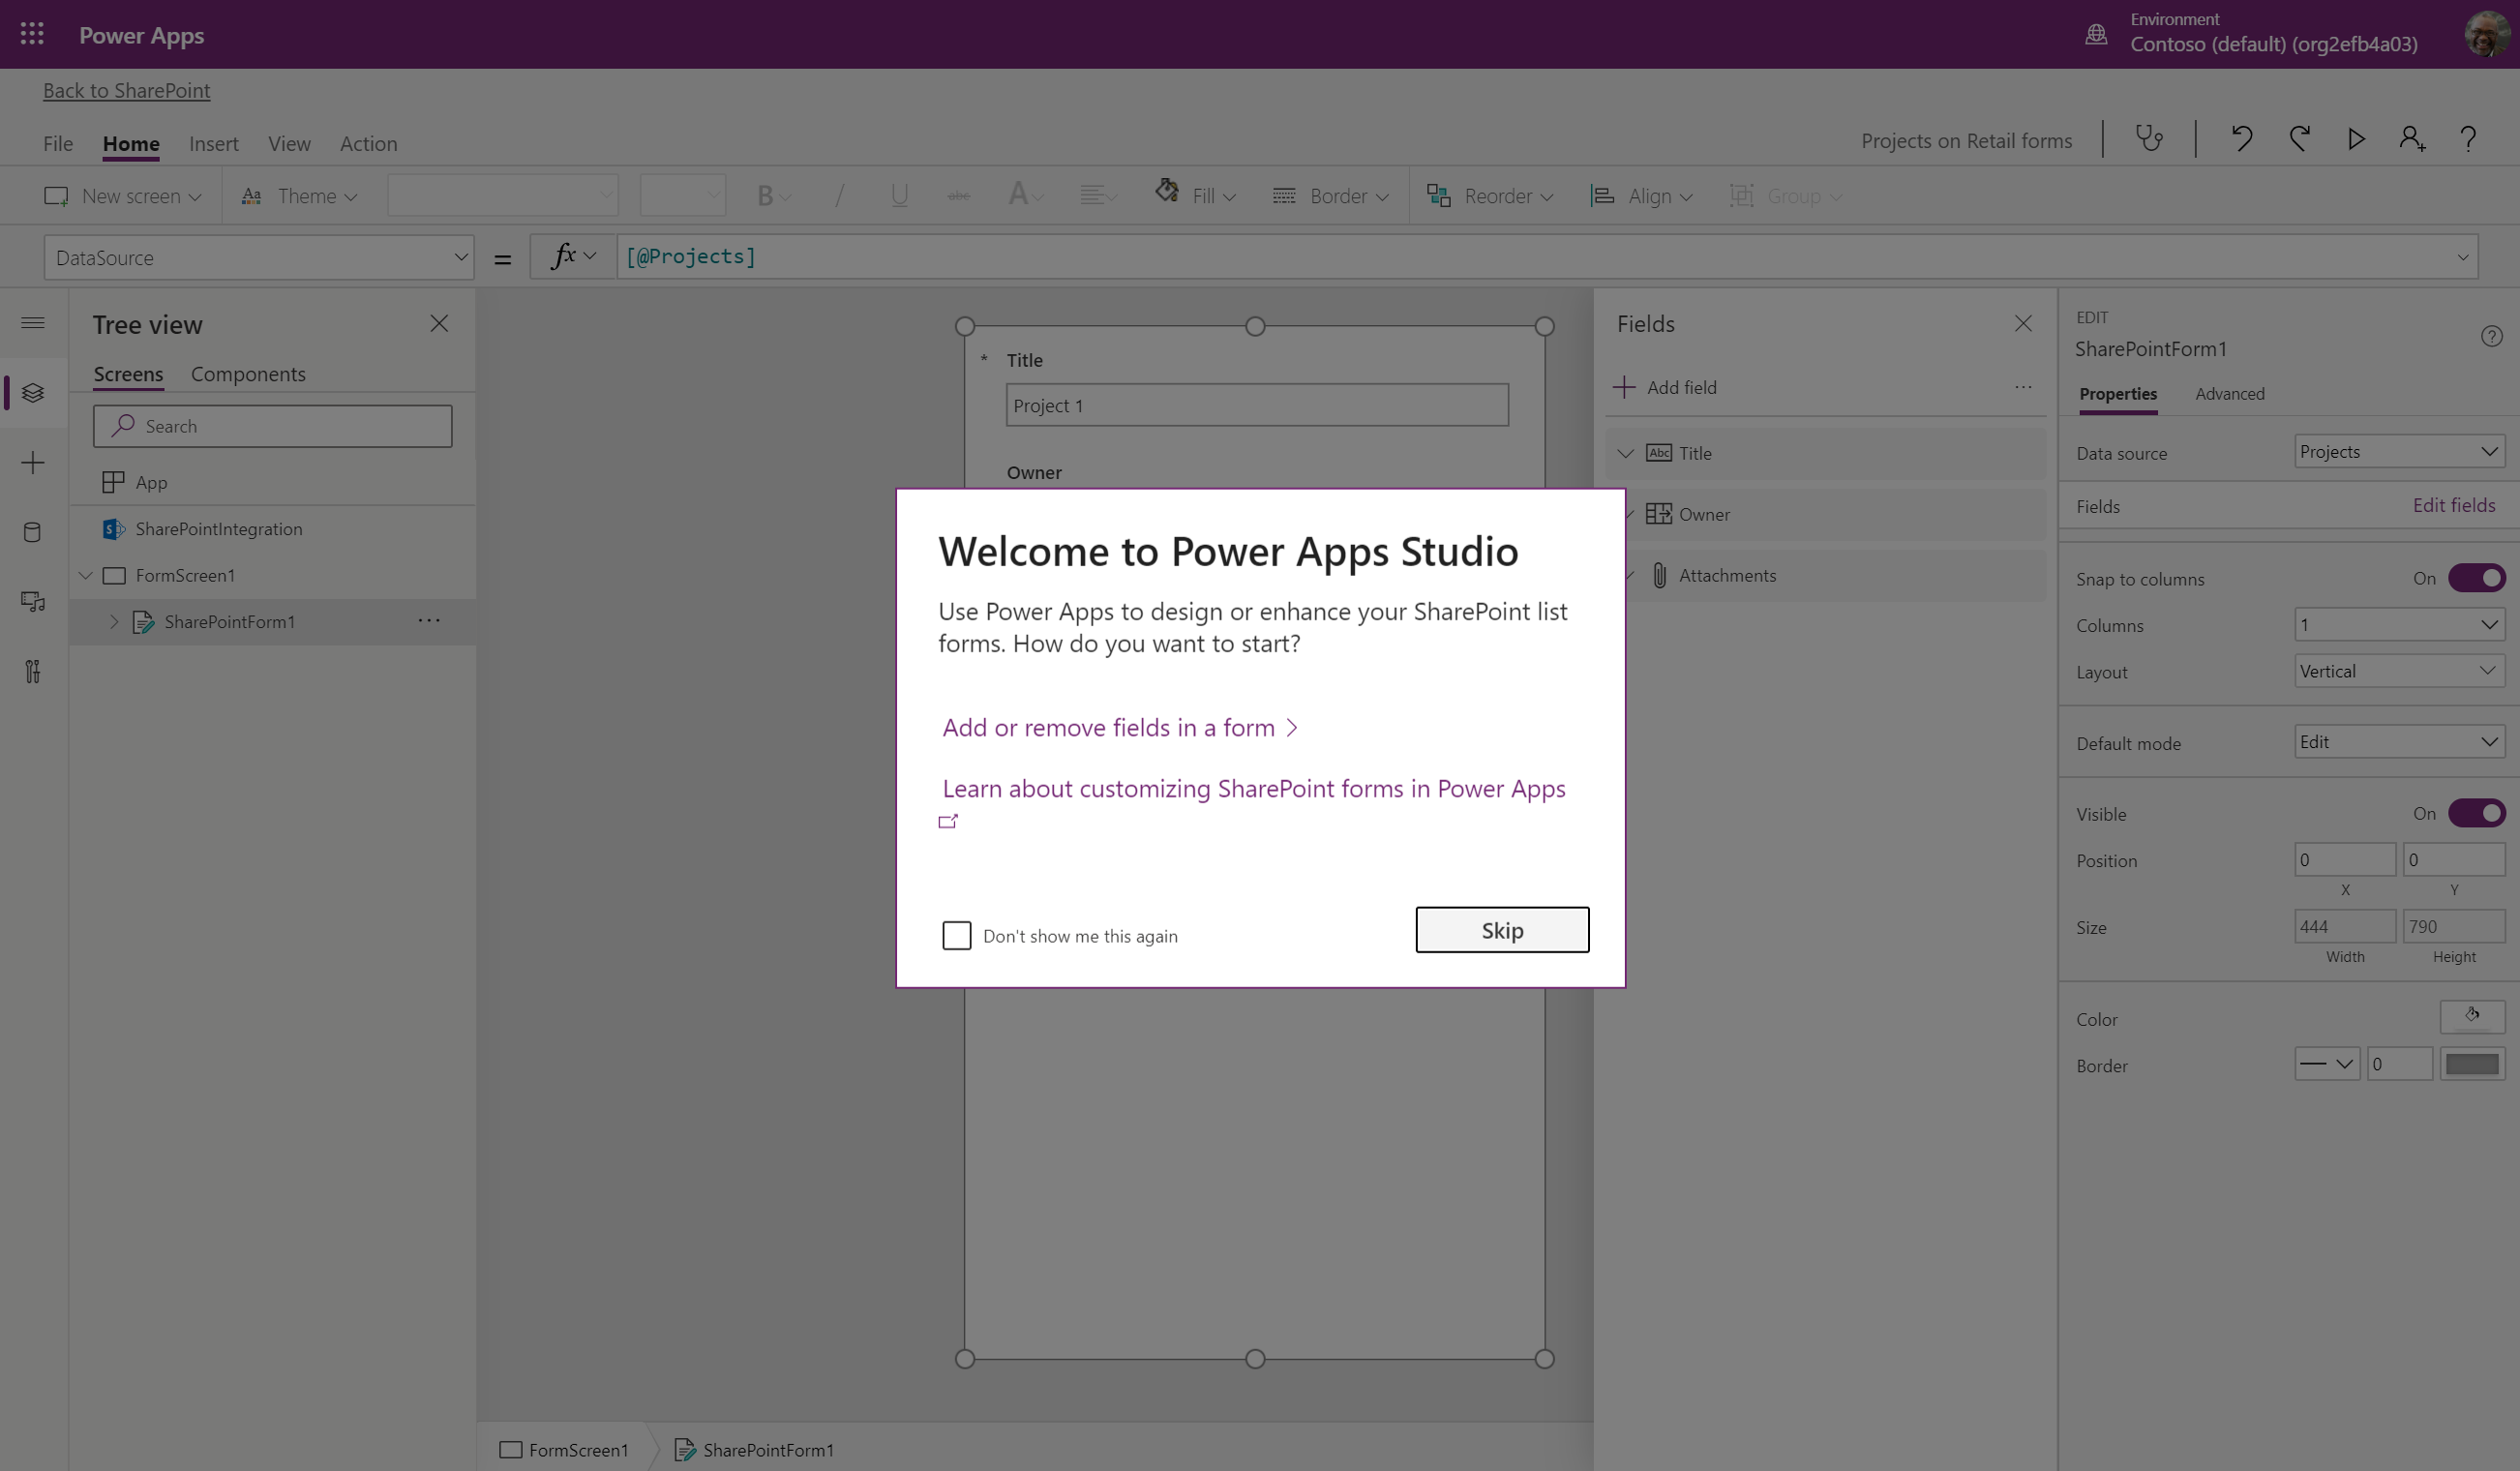
Select Customize forms. The Power Apps studio appears and loads your form onto the canvas. If the Welcome to Power Apps Studio dialog box opens, select Skip.
Add a user profile photo
On the Insert tab, select Media > Image. An Image control named Image1 is added to the canvas and to the Tree view on the left-hand panel.
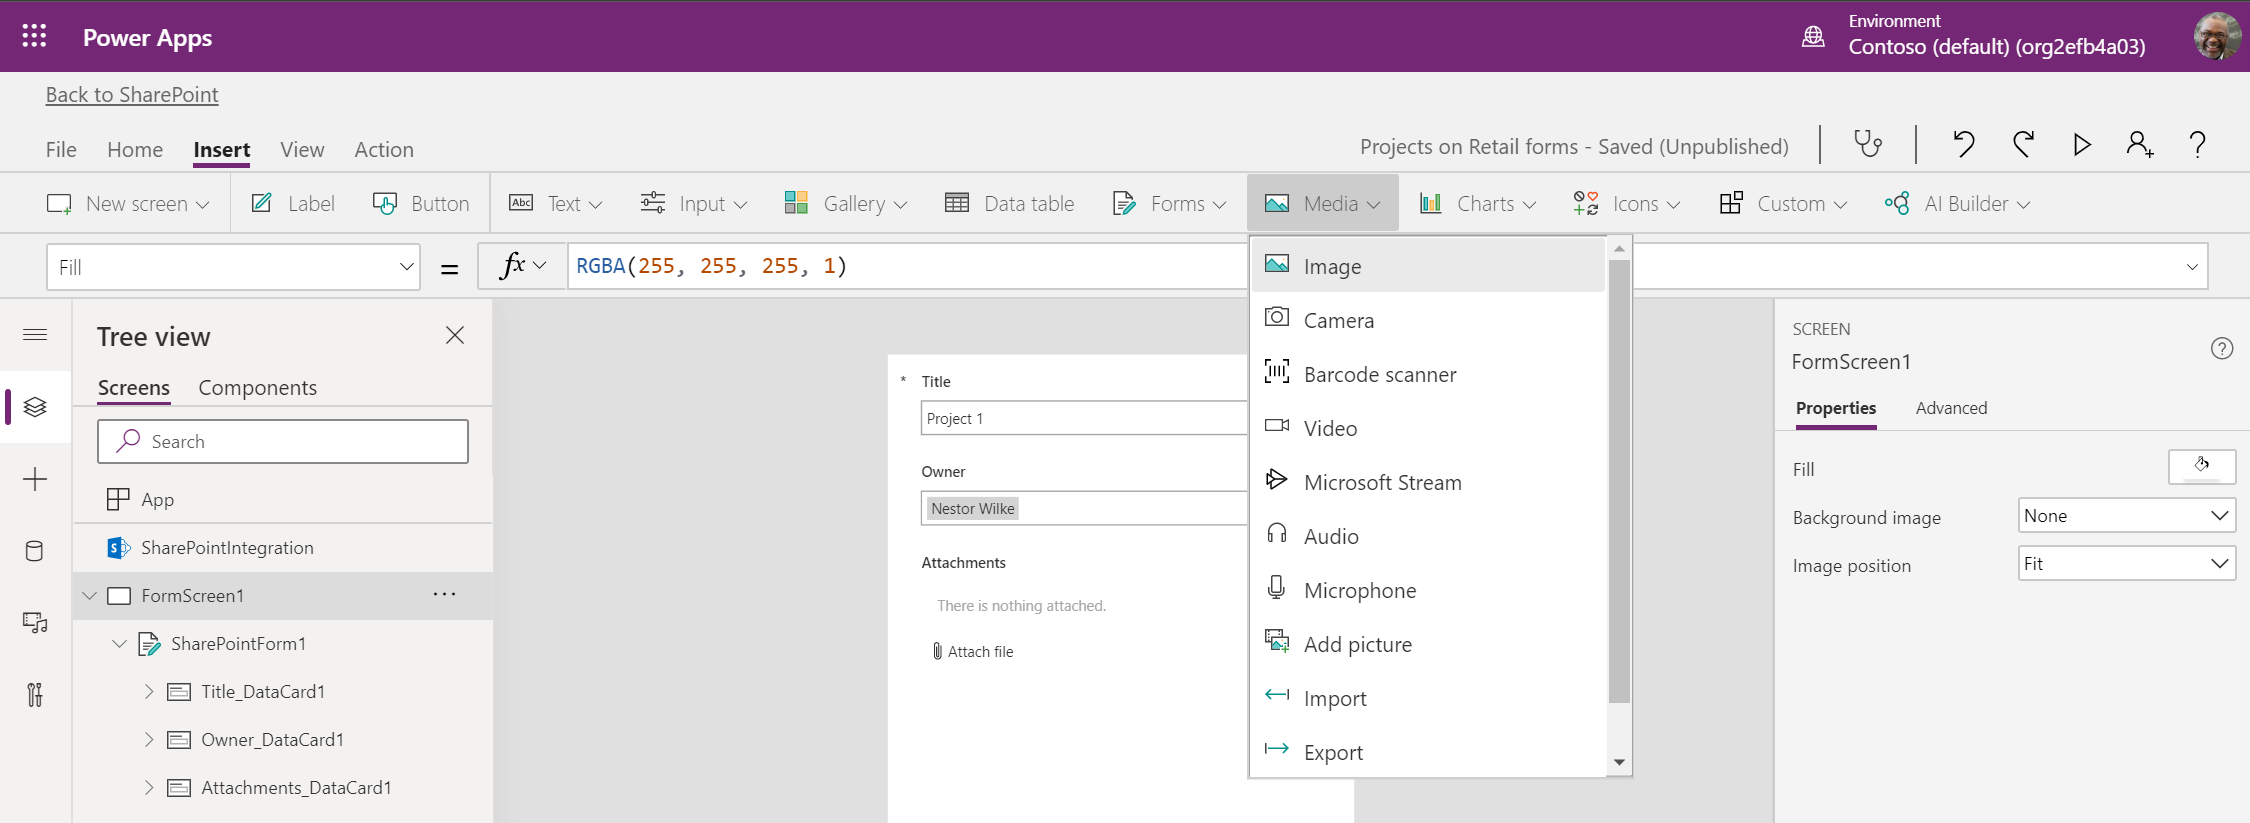
To customize the appearance of the image, you can set its properties.
- When you select a control on the canvas, on the right-hand panel, the Properties pane associated with the control appears.
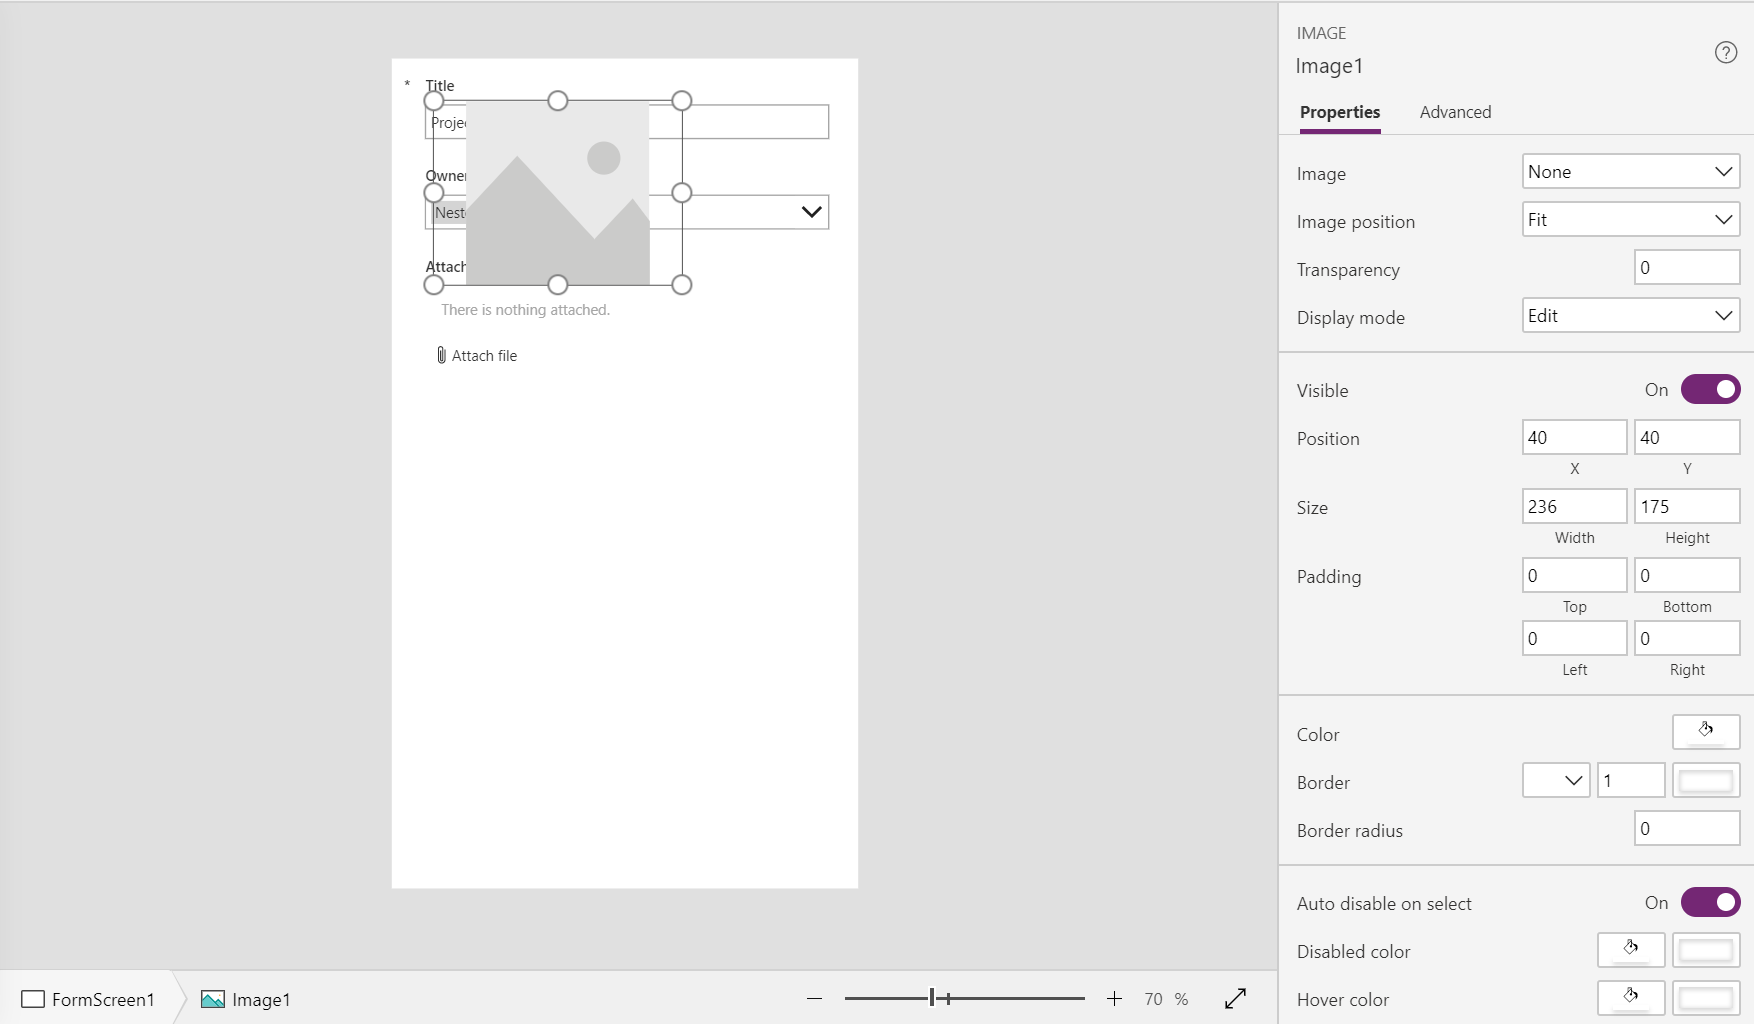
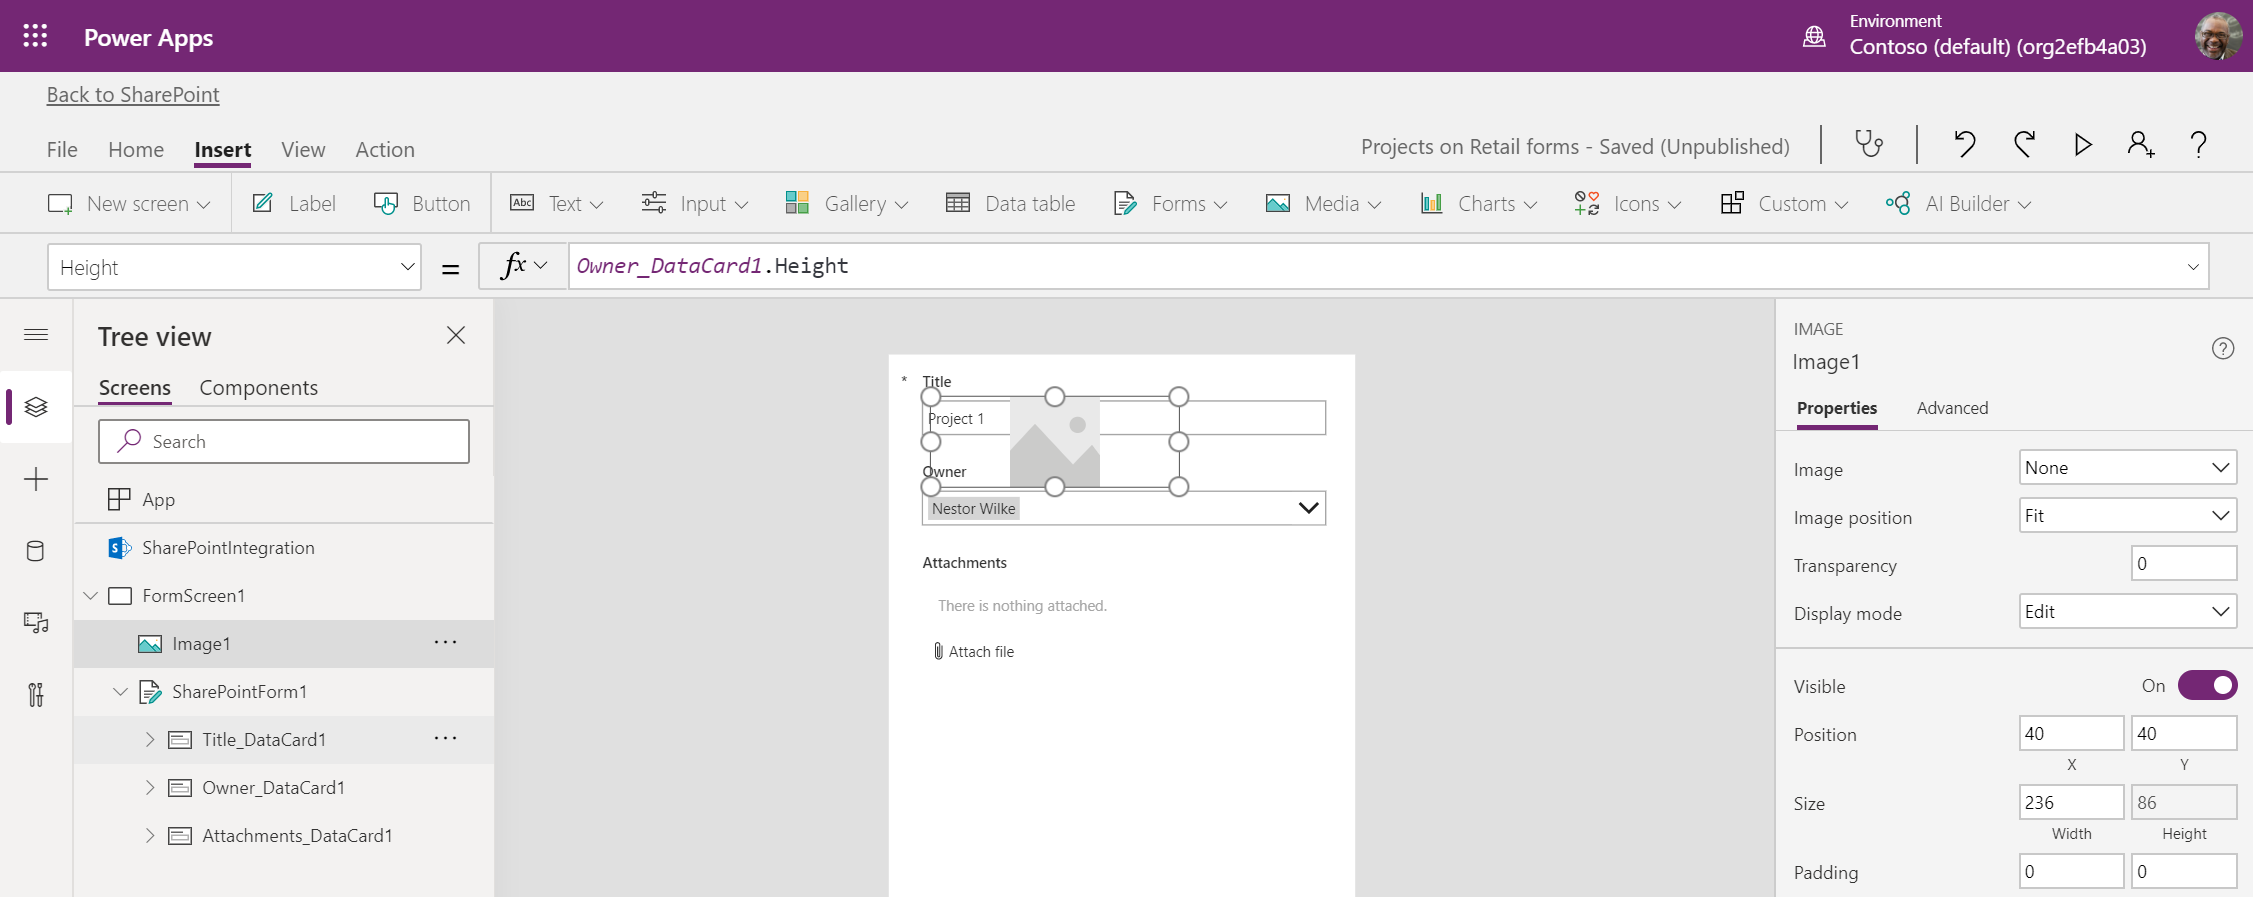
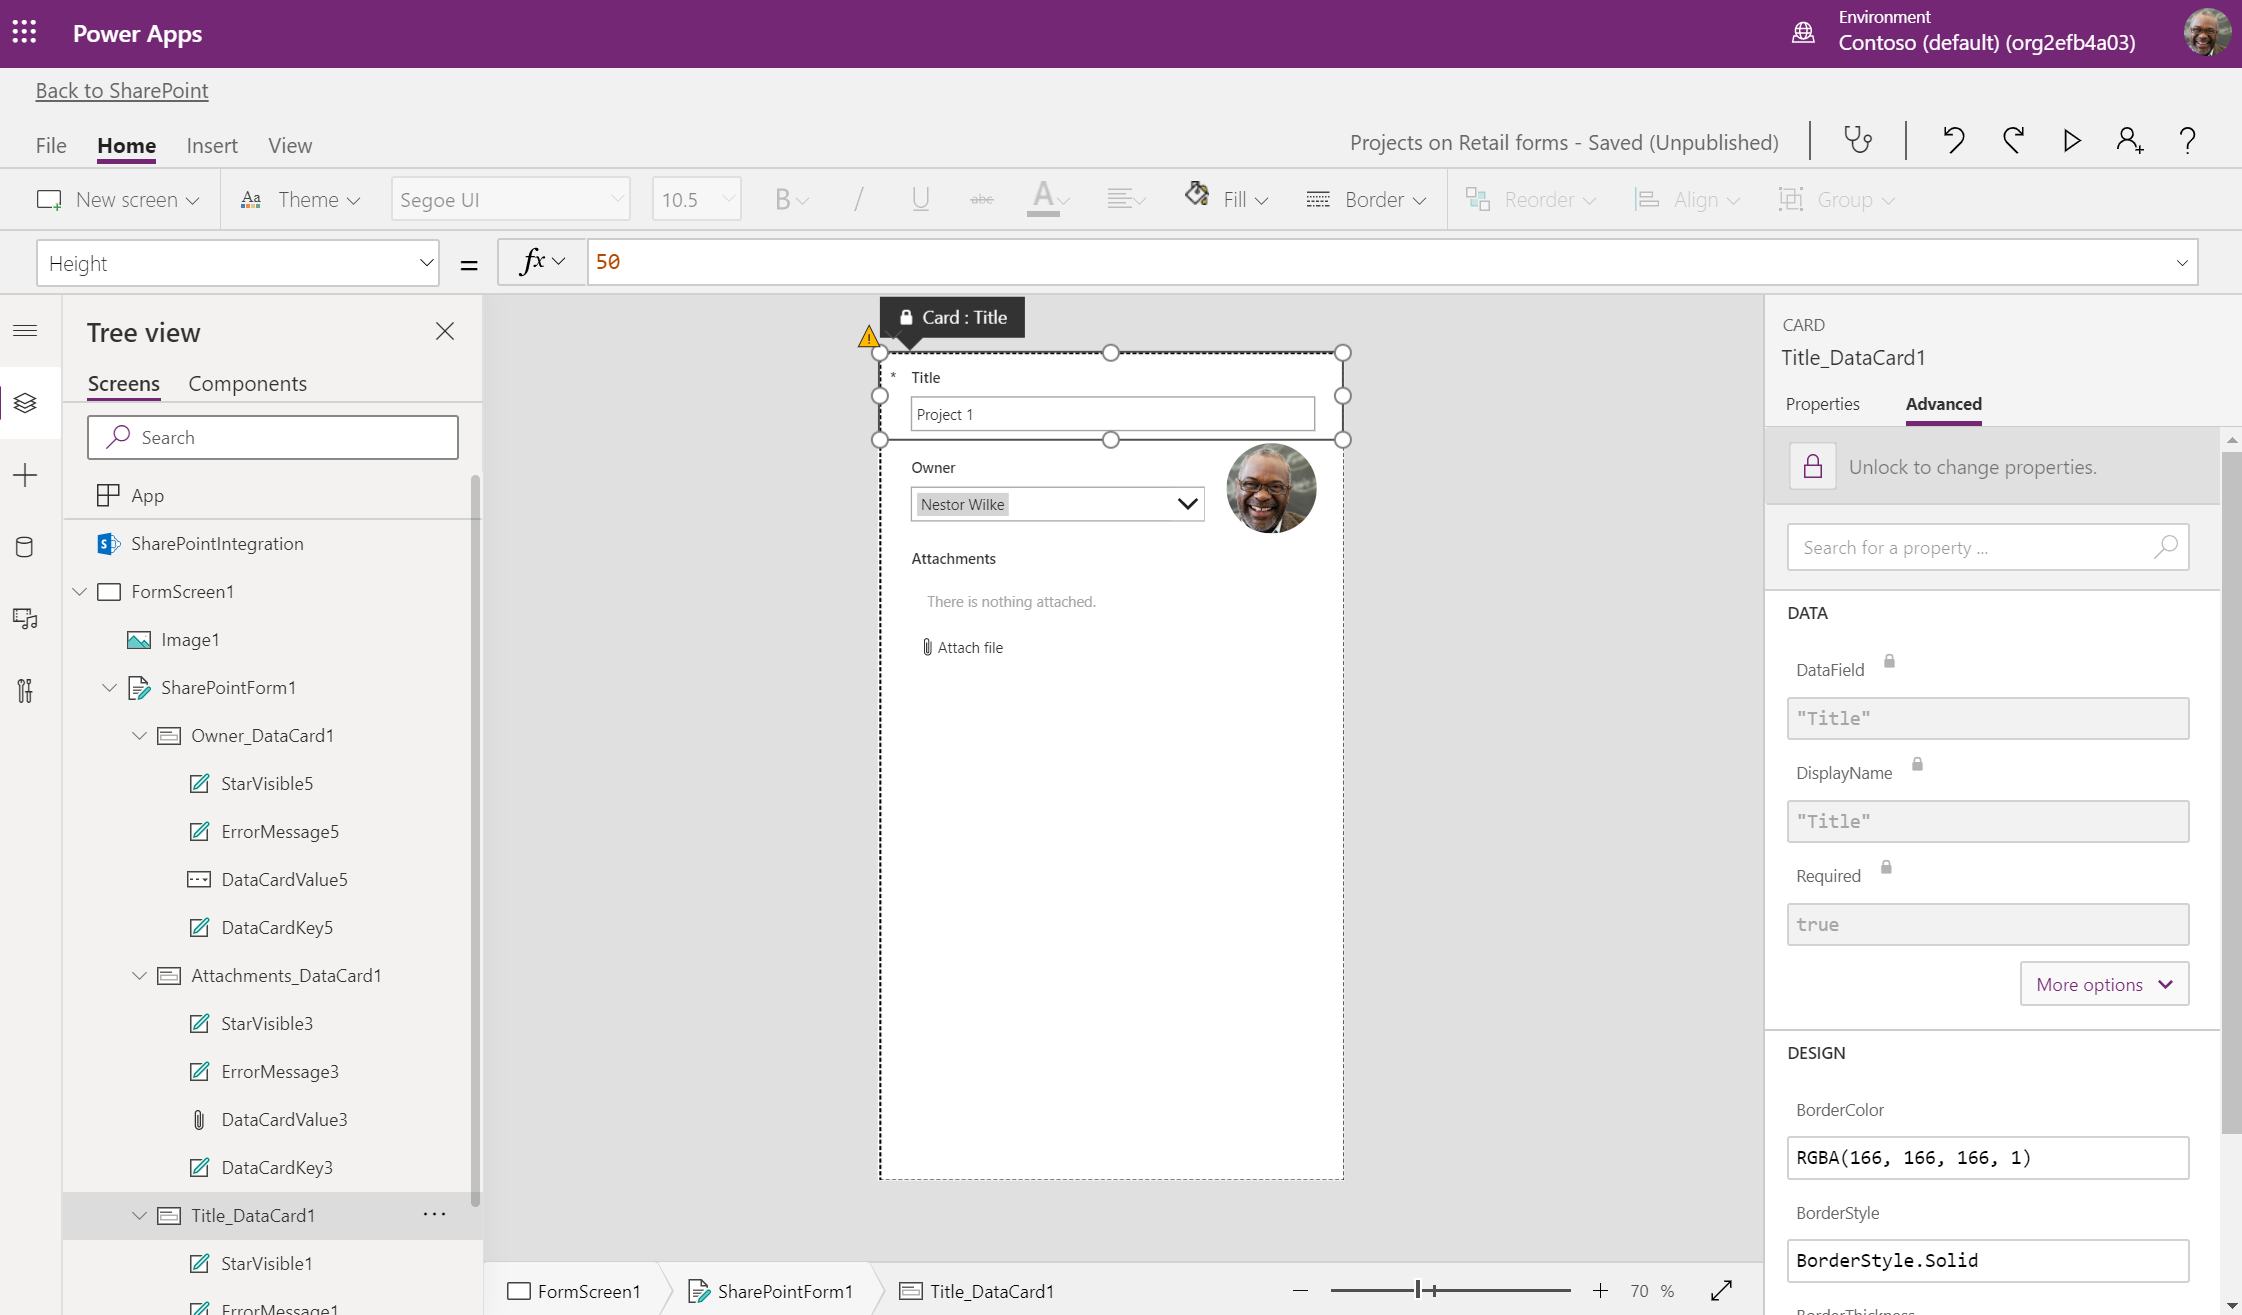
Because the image is the profile photo of the owner of the selected item, we recommend you make it the same height as the Owner_DataCard1 data card.
With Image1 selected, in the formula bar, change the property to Height, and enter
Owner_DataCard1.Heightas the formula. Image1 now has the same height as Owner_DataCard1.
Set the width of Image1 to be the same as its height. In the formula bar, change the property to Width, and enter
Self.Heightas the formula.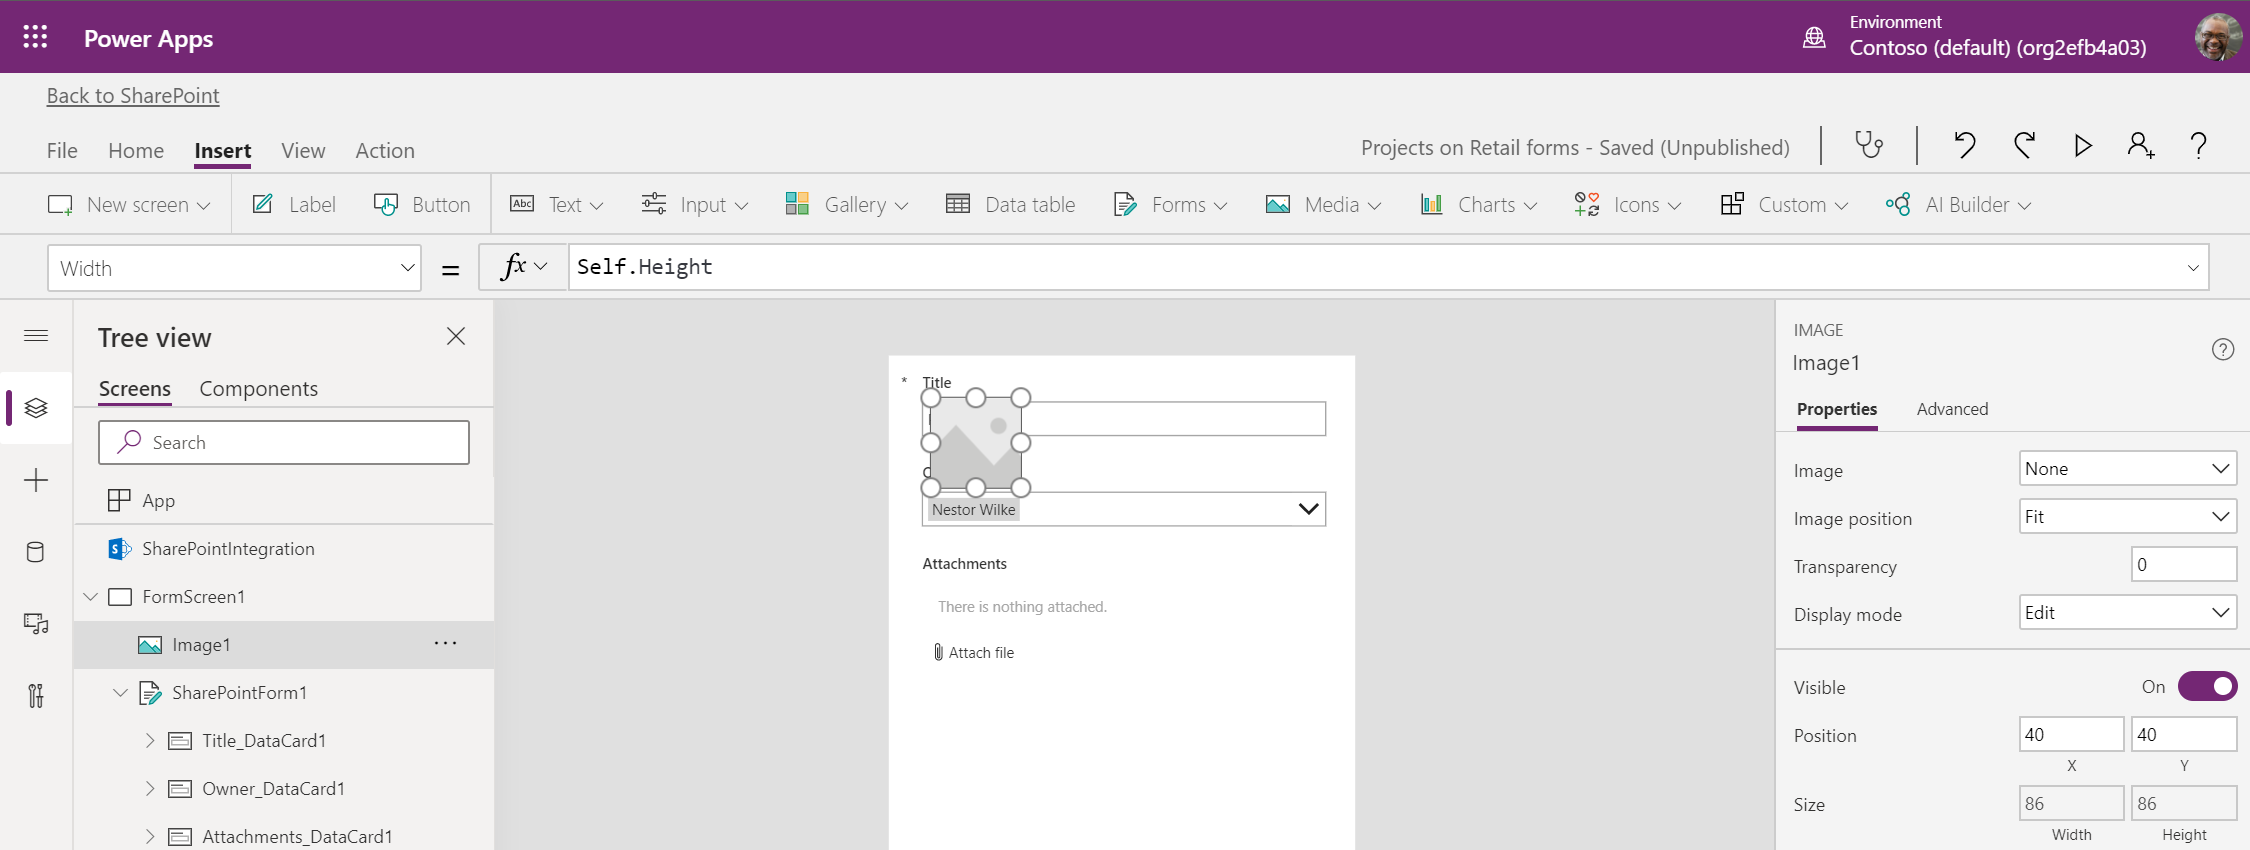
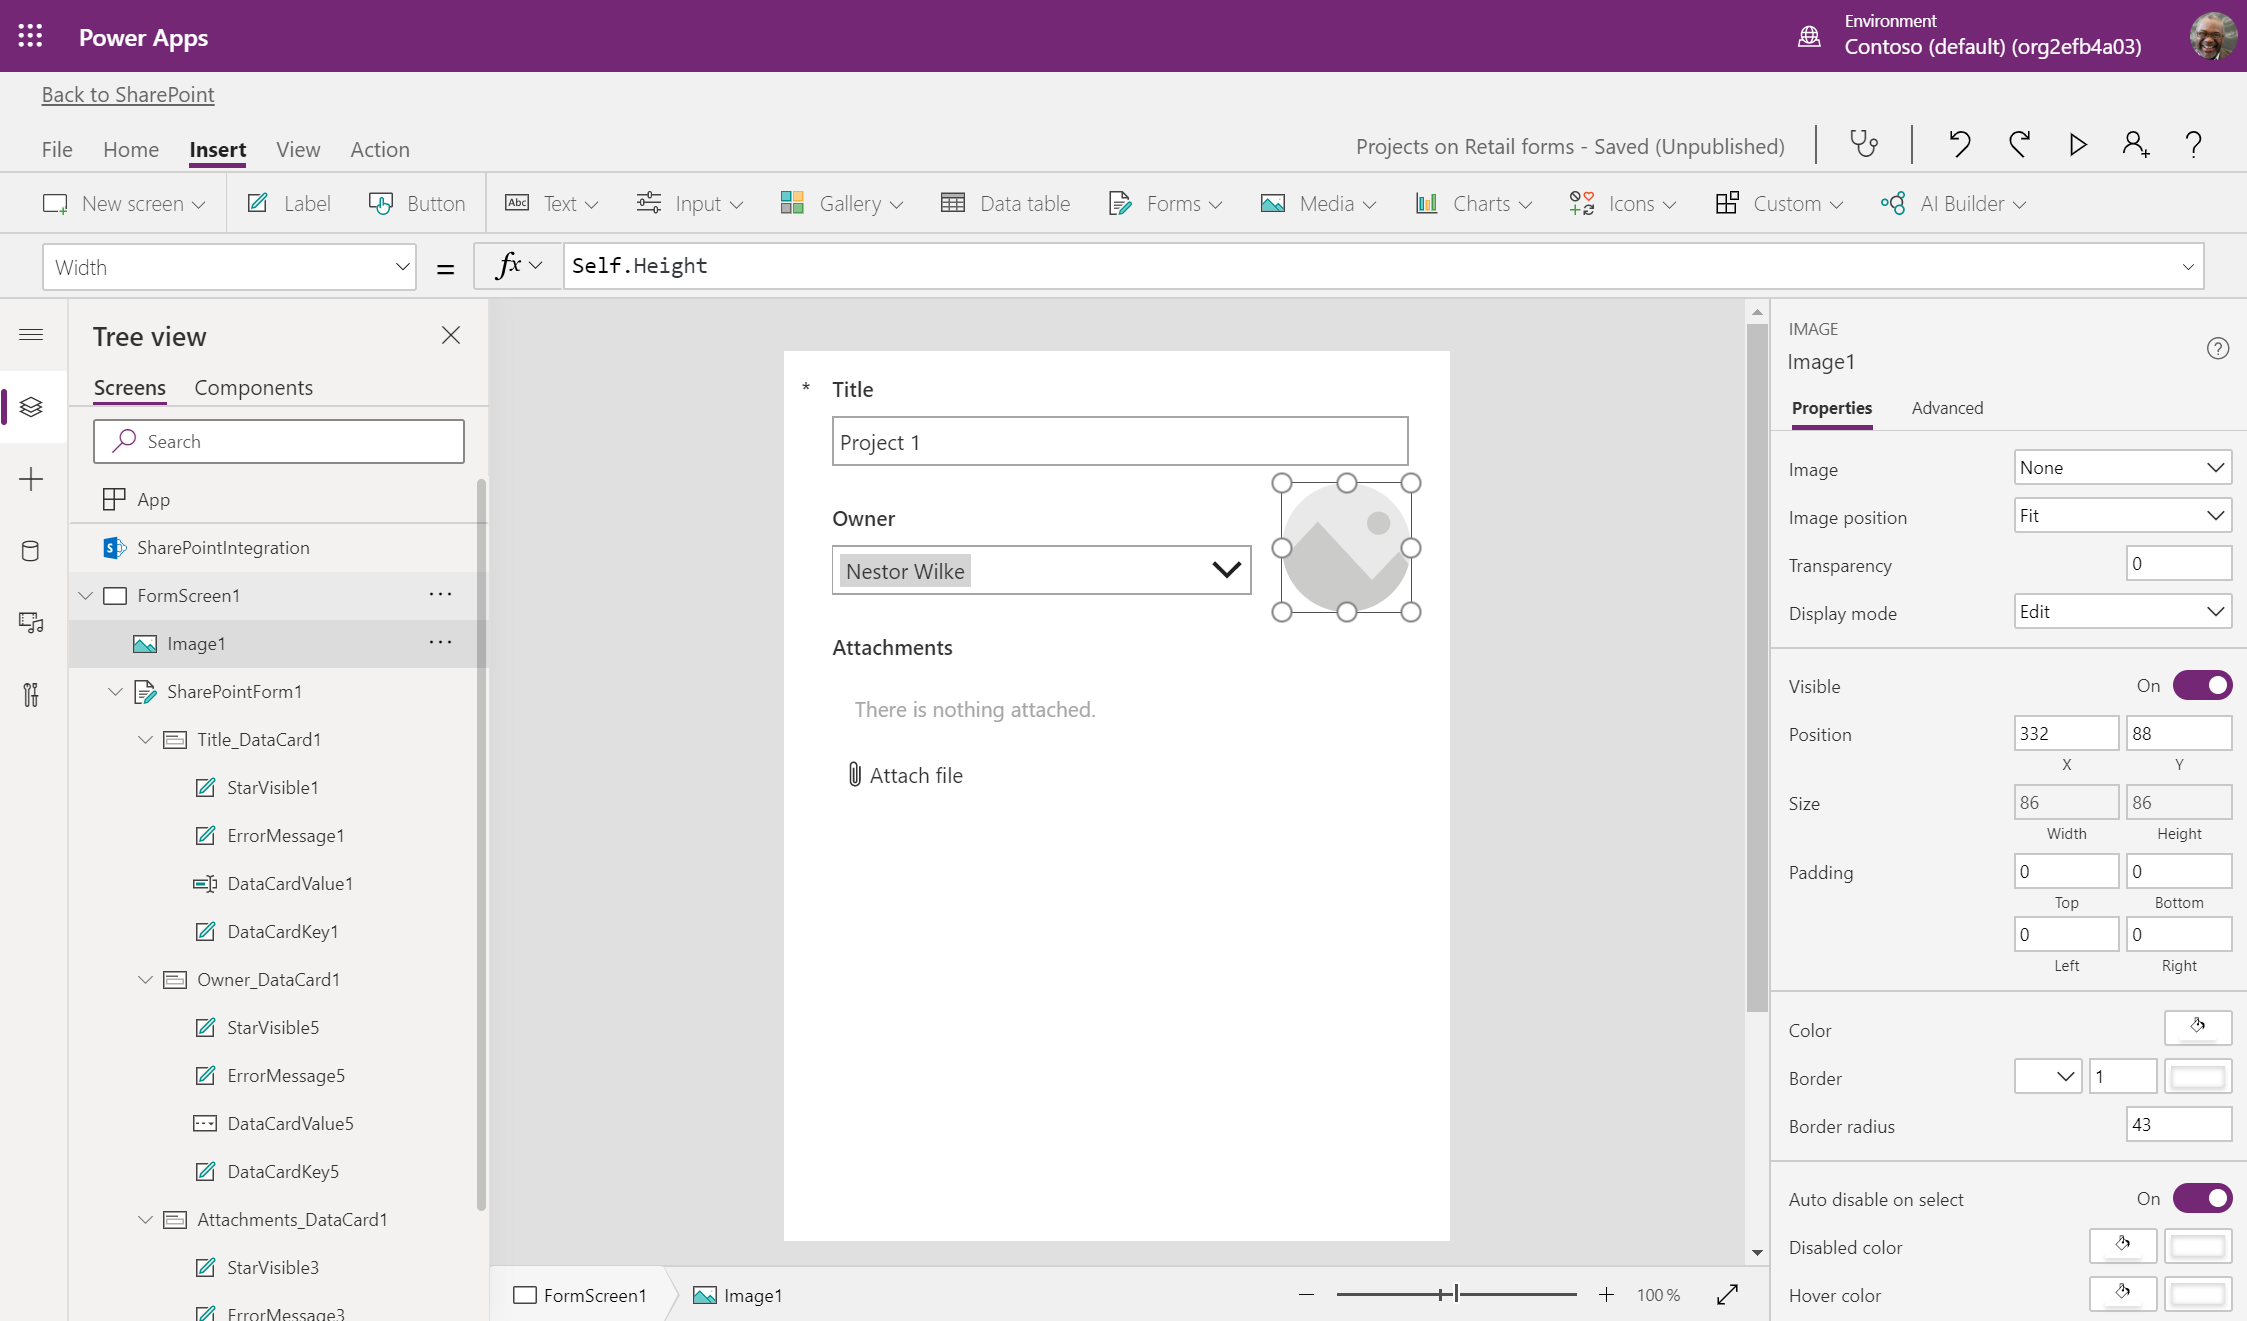
Make Image1 into a circle. In the Properties pane, enter a value that is half the height value in the Border radius property.
Place Image1 on the canvas in your desired location. Adjust the widths and heights of other controls or data cards so they do not overlap with Image1.
To change the image of Image1 from the sample image to the project owner's profile photo, you can use the Office 365 Users connector to retrieve the photo by the owner's email. First, connect your custom form to the Office 365 Users connector.
To retrieve the project owner's profile photo by email, in the formula bar, change the property to Image, and enter
Office365Users.UserPhoto(DataCardValue5.Selected.Email)as the formula. The user photo from the owner's Office 365 user profile appears in Image1.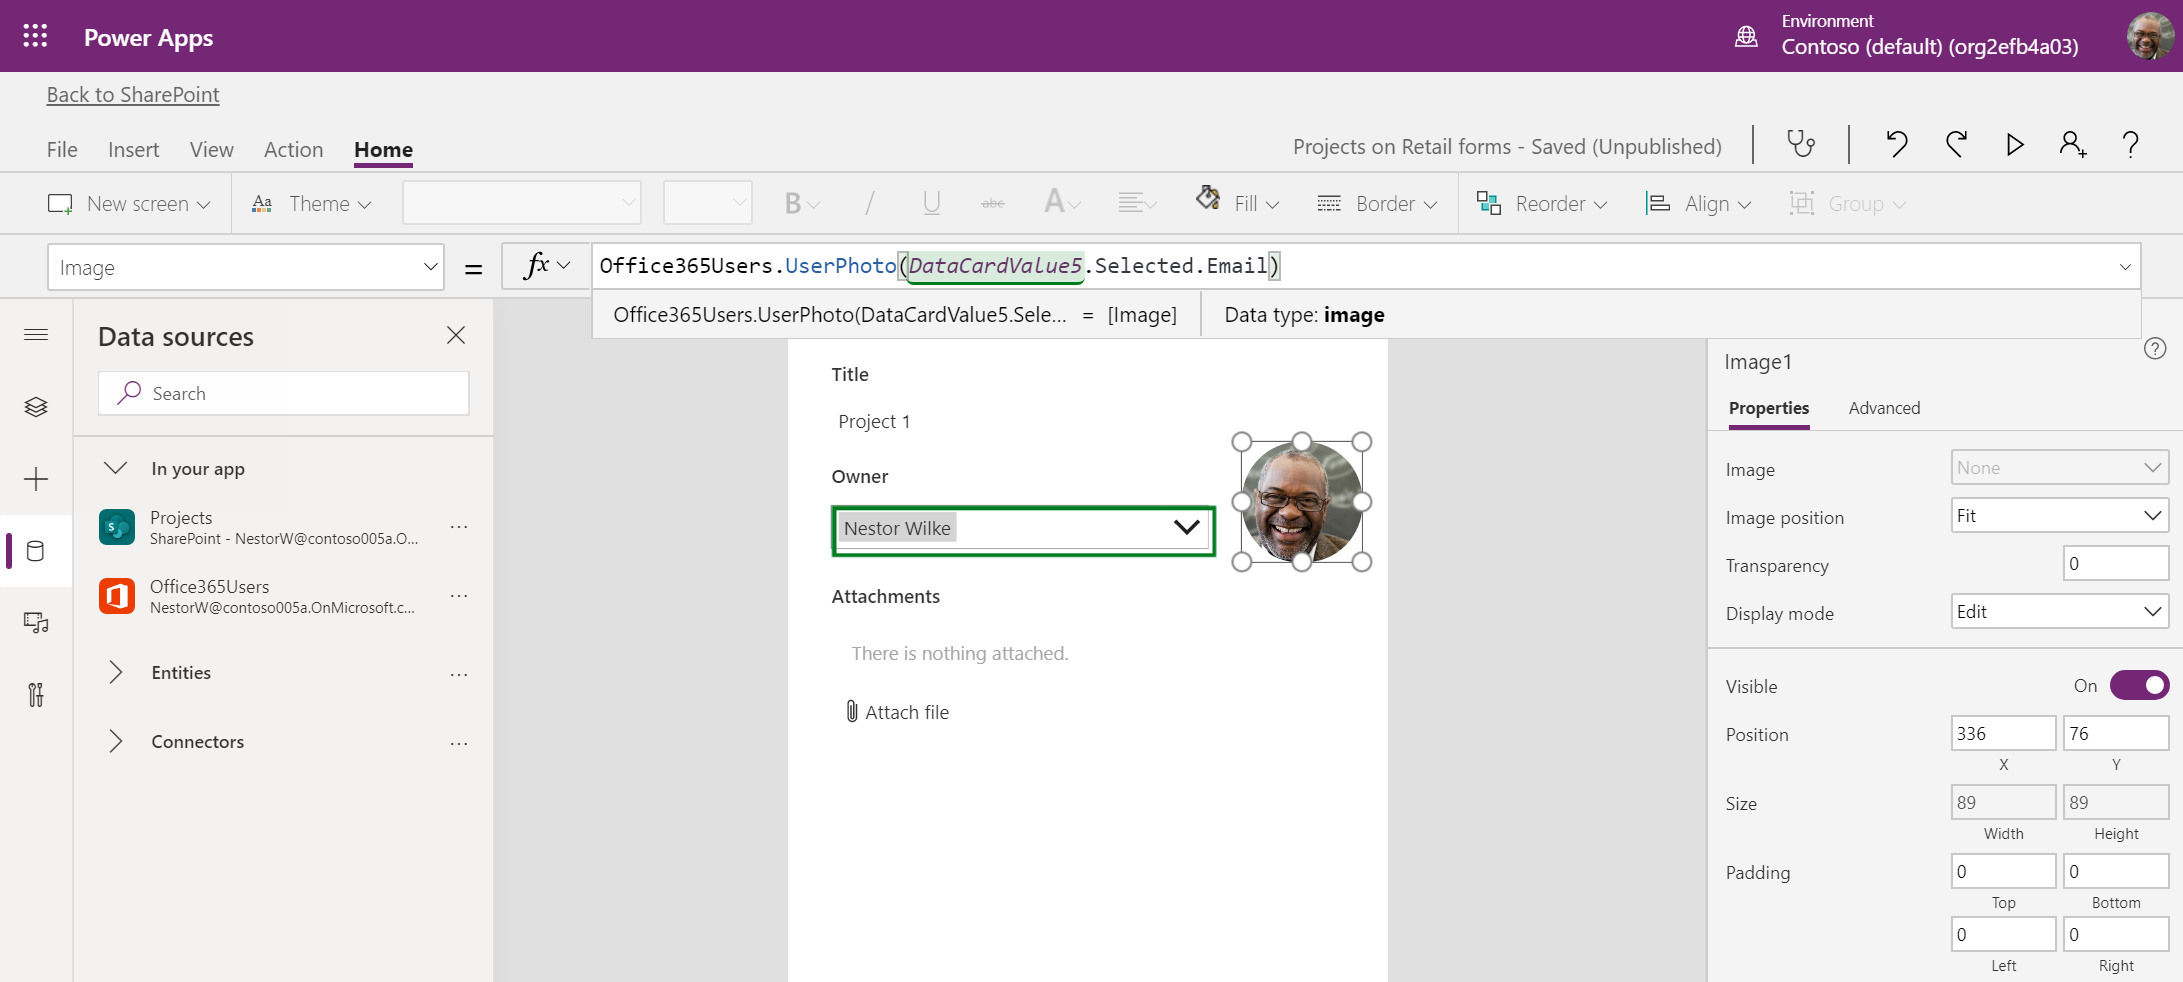
When you change the project owner, Image1 will update to the user photo of the new owner.
Set a field to be view-only
To make the Title field view-only, follow these steps.
Note
Title is a predefined card, so it is locked by default, and needs to be unlocked.
Select Title_DataCard1, toggle the Properties pane to the Advanced pane, and select Unlock to manage properties.
Alternatively, in the Tree view, right-click Title_DataCard1, and select Unlock.
Toggle back to the Properties pane, and select the Display mode field. The formula bar updates to display this property.
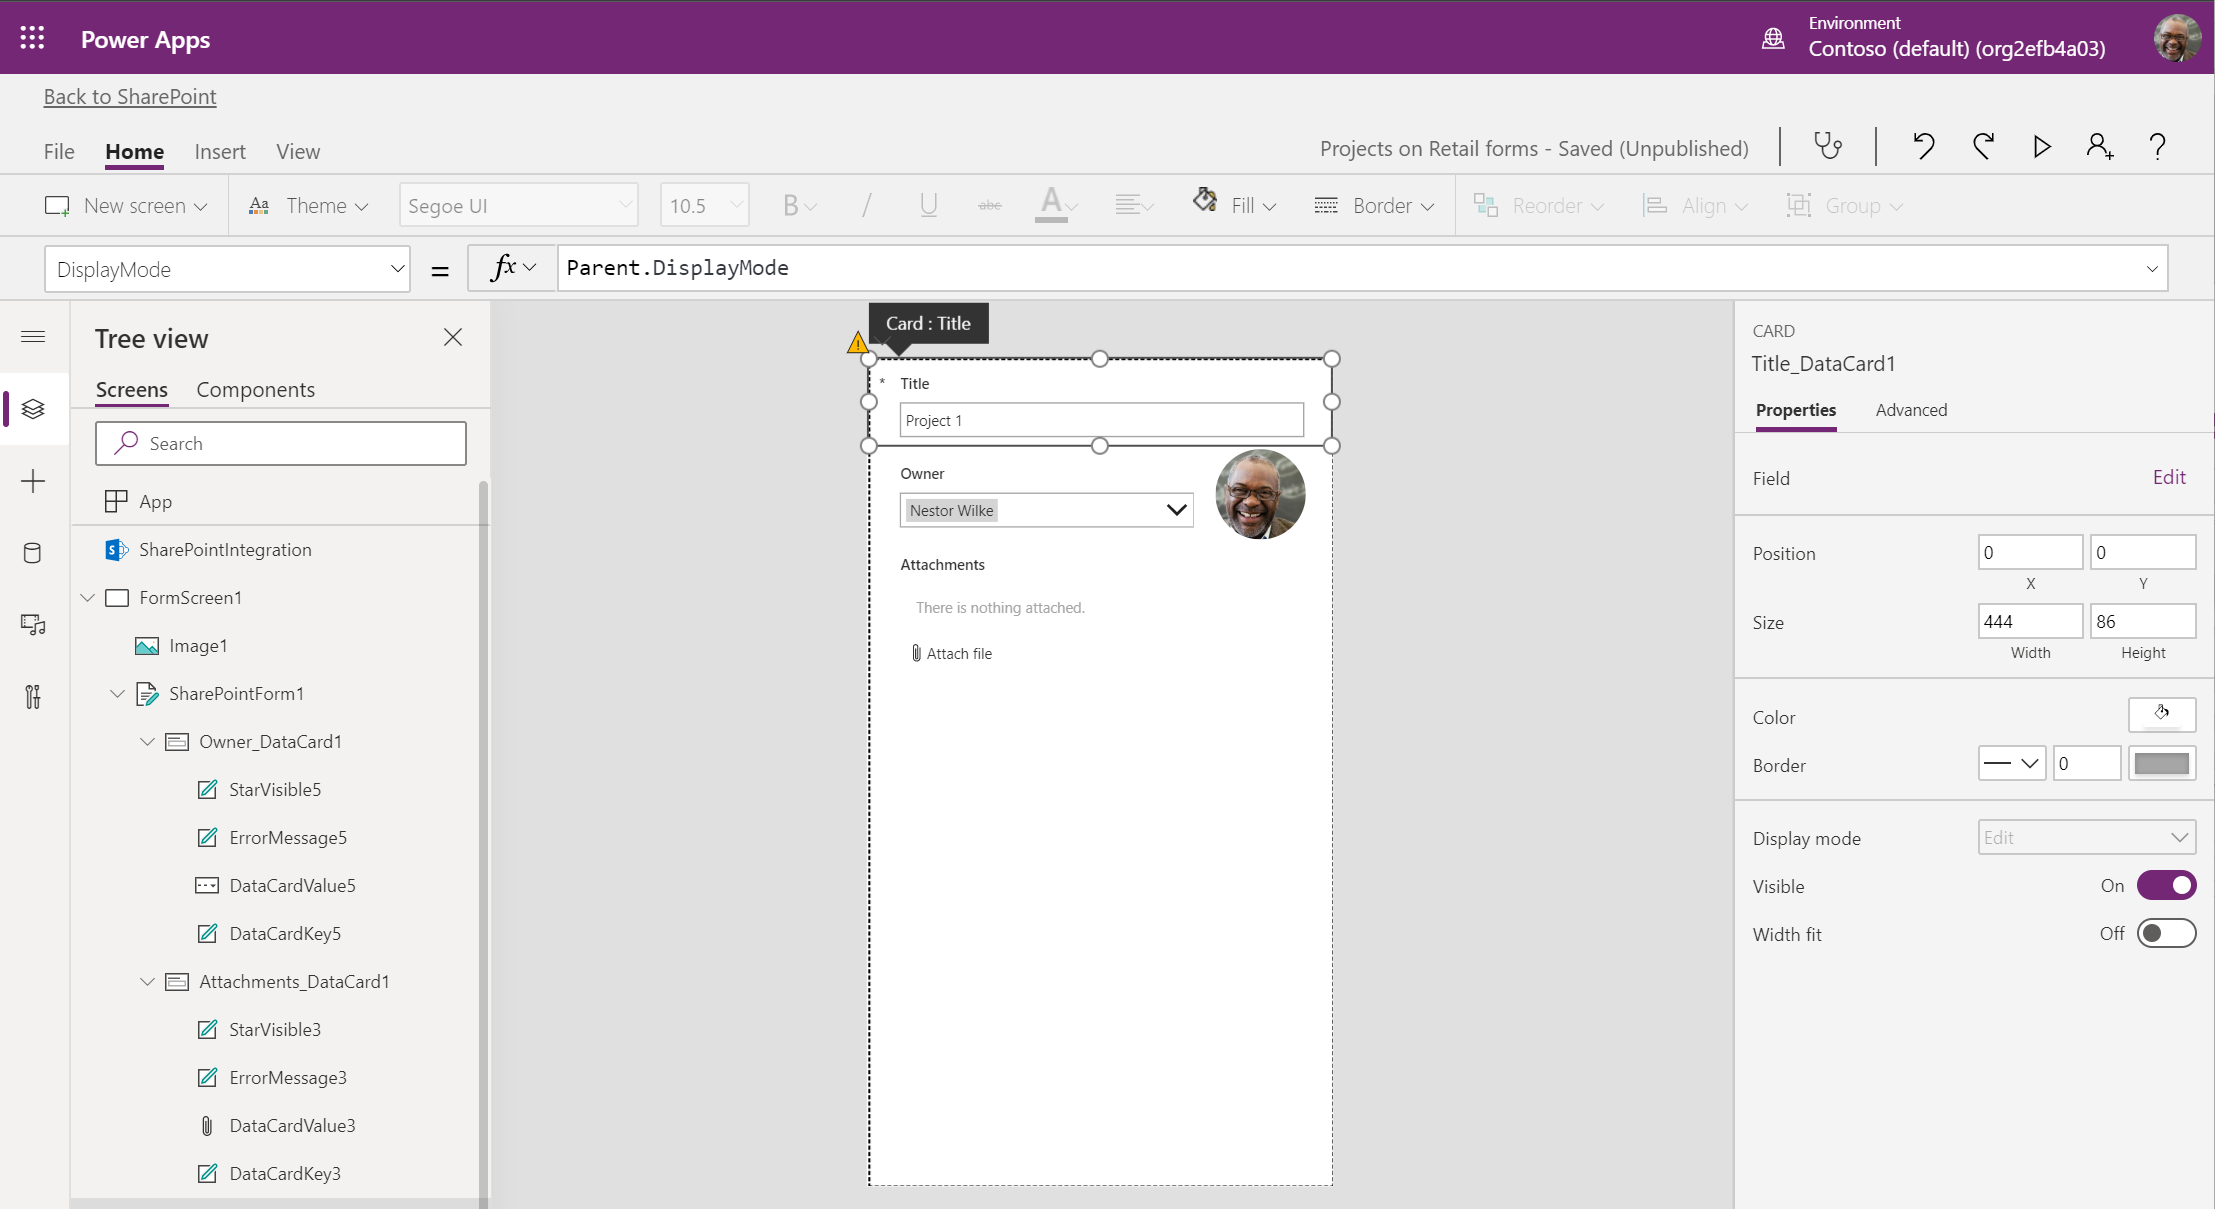
In the formula bar, enter
DisplayMode.Viewas the formula.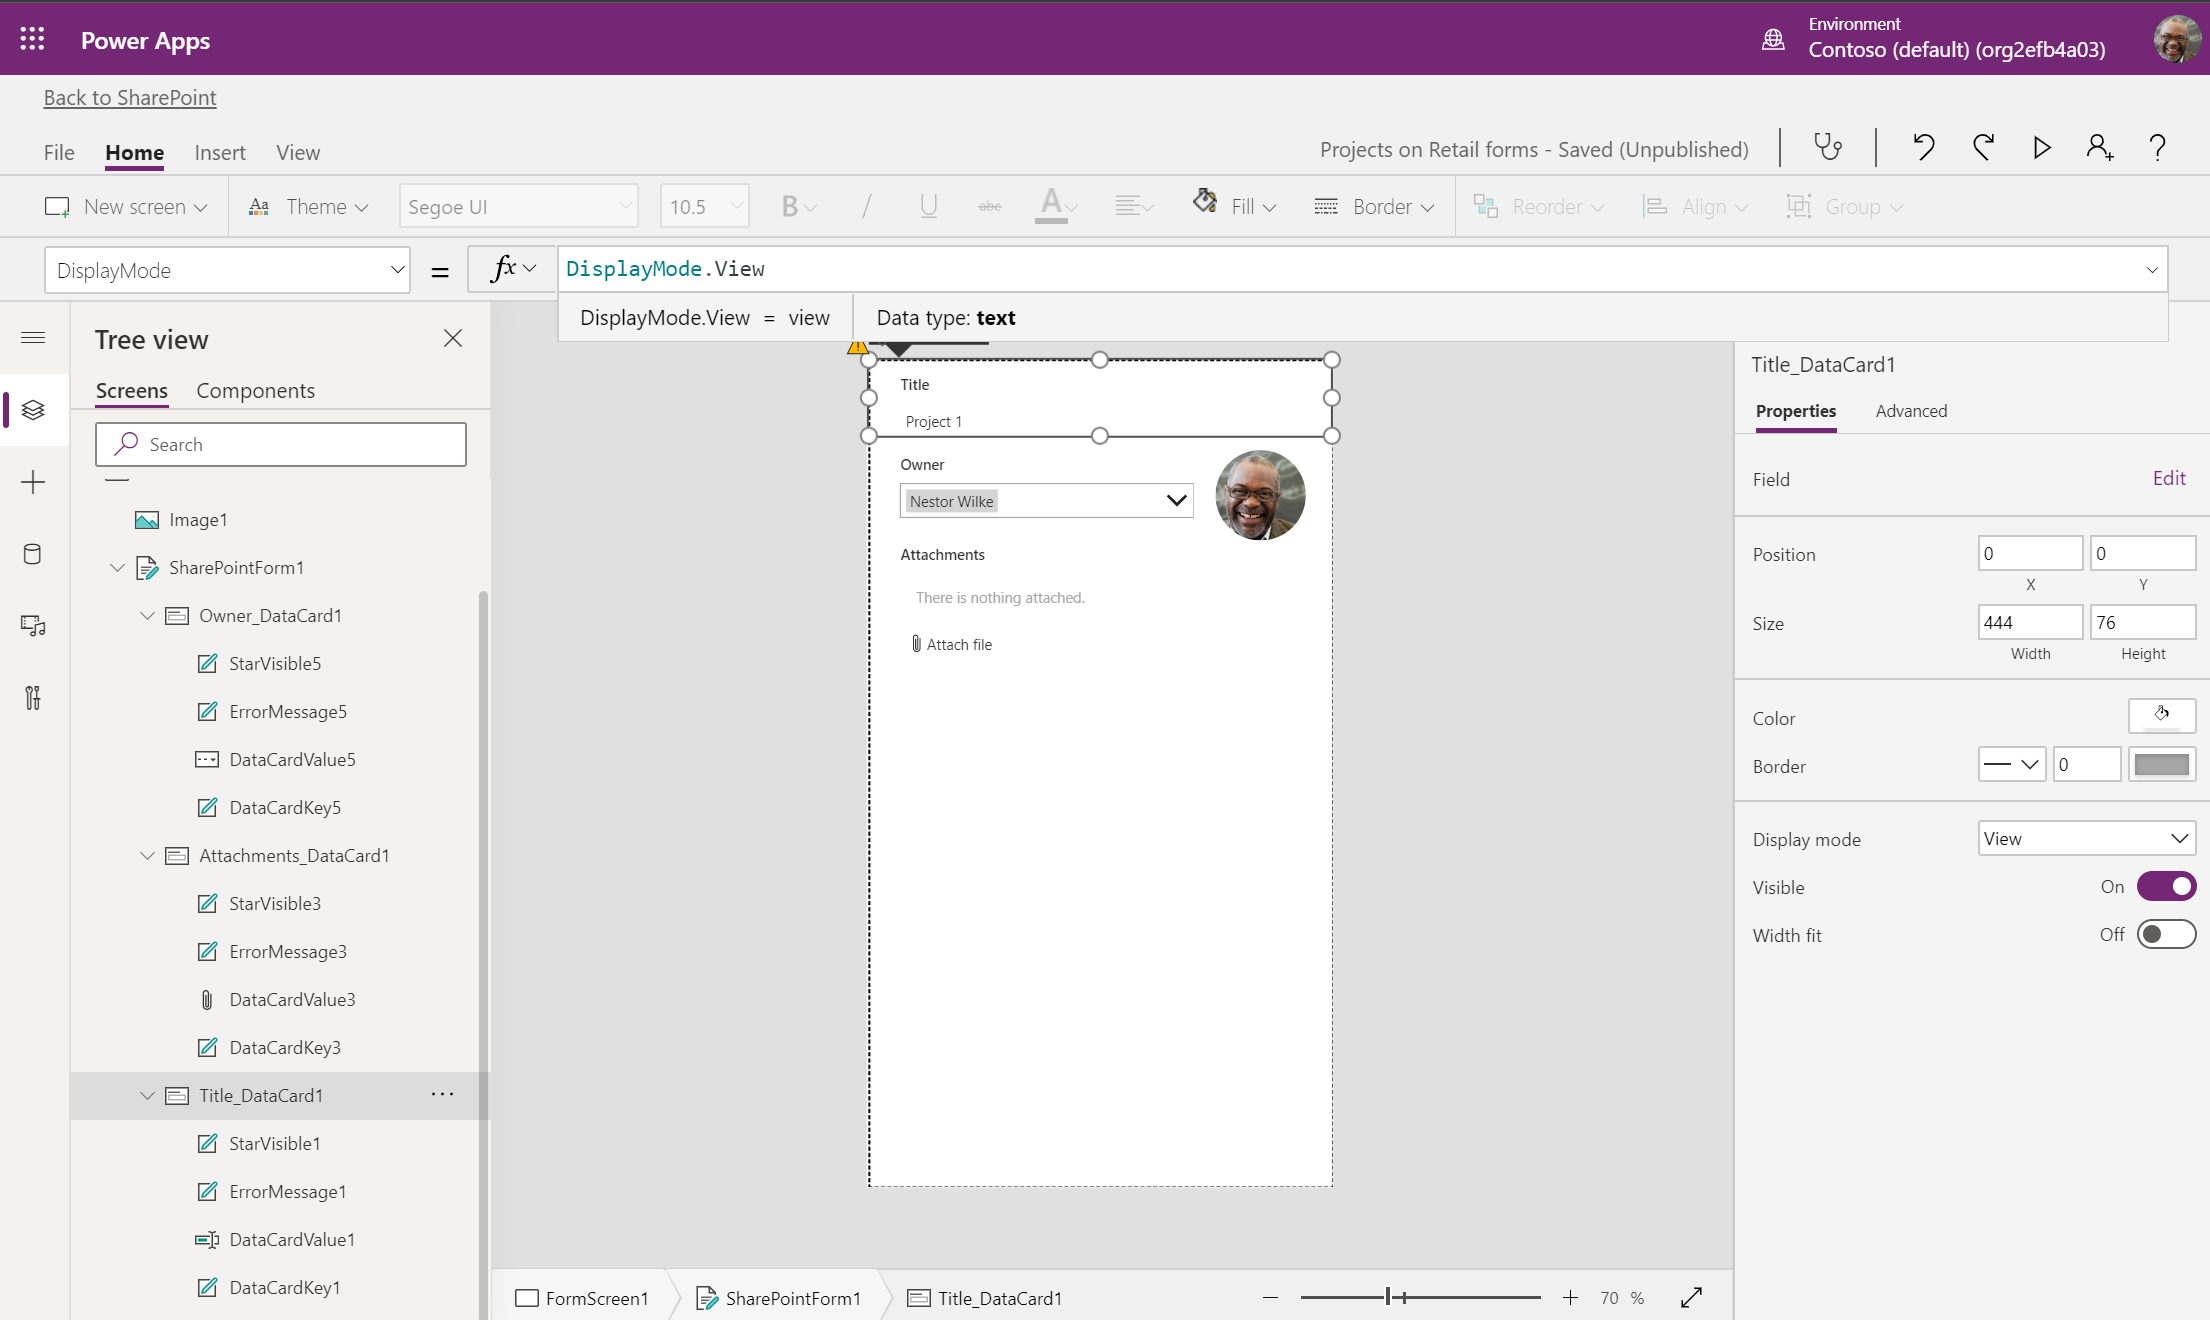
Alternatively, in the Properties pane, set the value of Display mode to View.
DataCardValue1 is now a view-only field.
Set the visibility of a field based on a condition
To hide the Attachments field if the project owner is Nestor Wilke, follow these steps.
Note
Attachments is a predefined card, so it is locked by default, and needs to be unlocked.
Select Attachments, toggle the Properties pane to the Advanced pane, and select Unlock to manage properties.
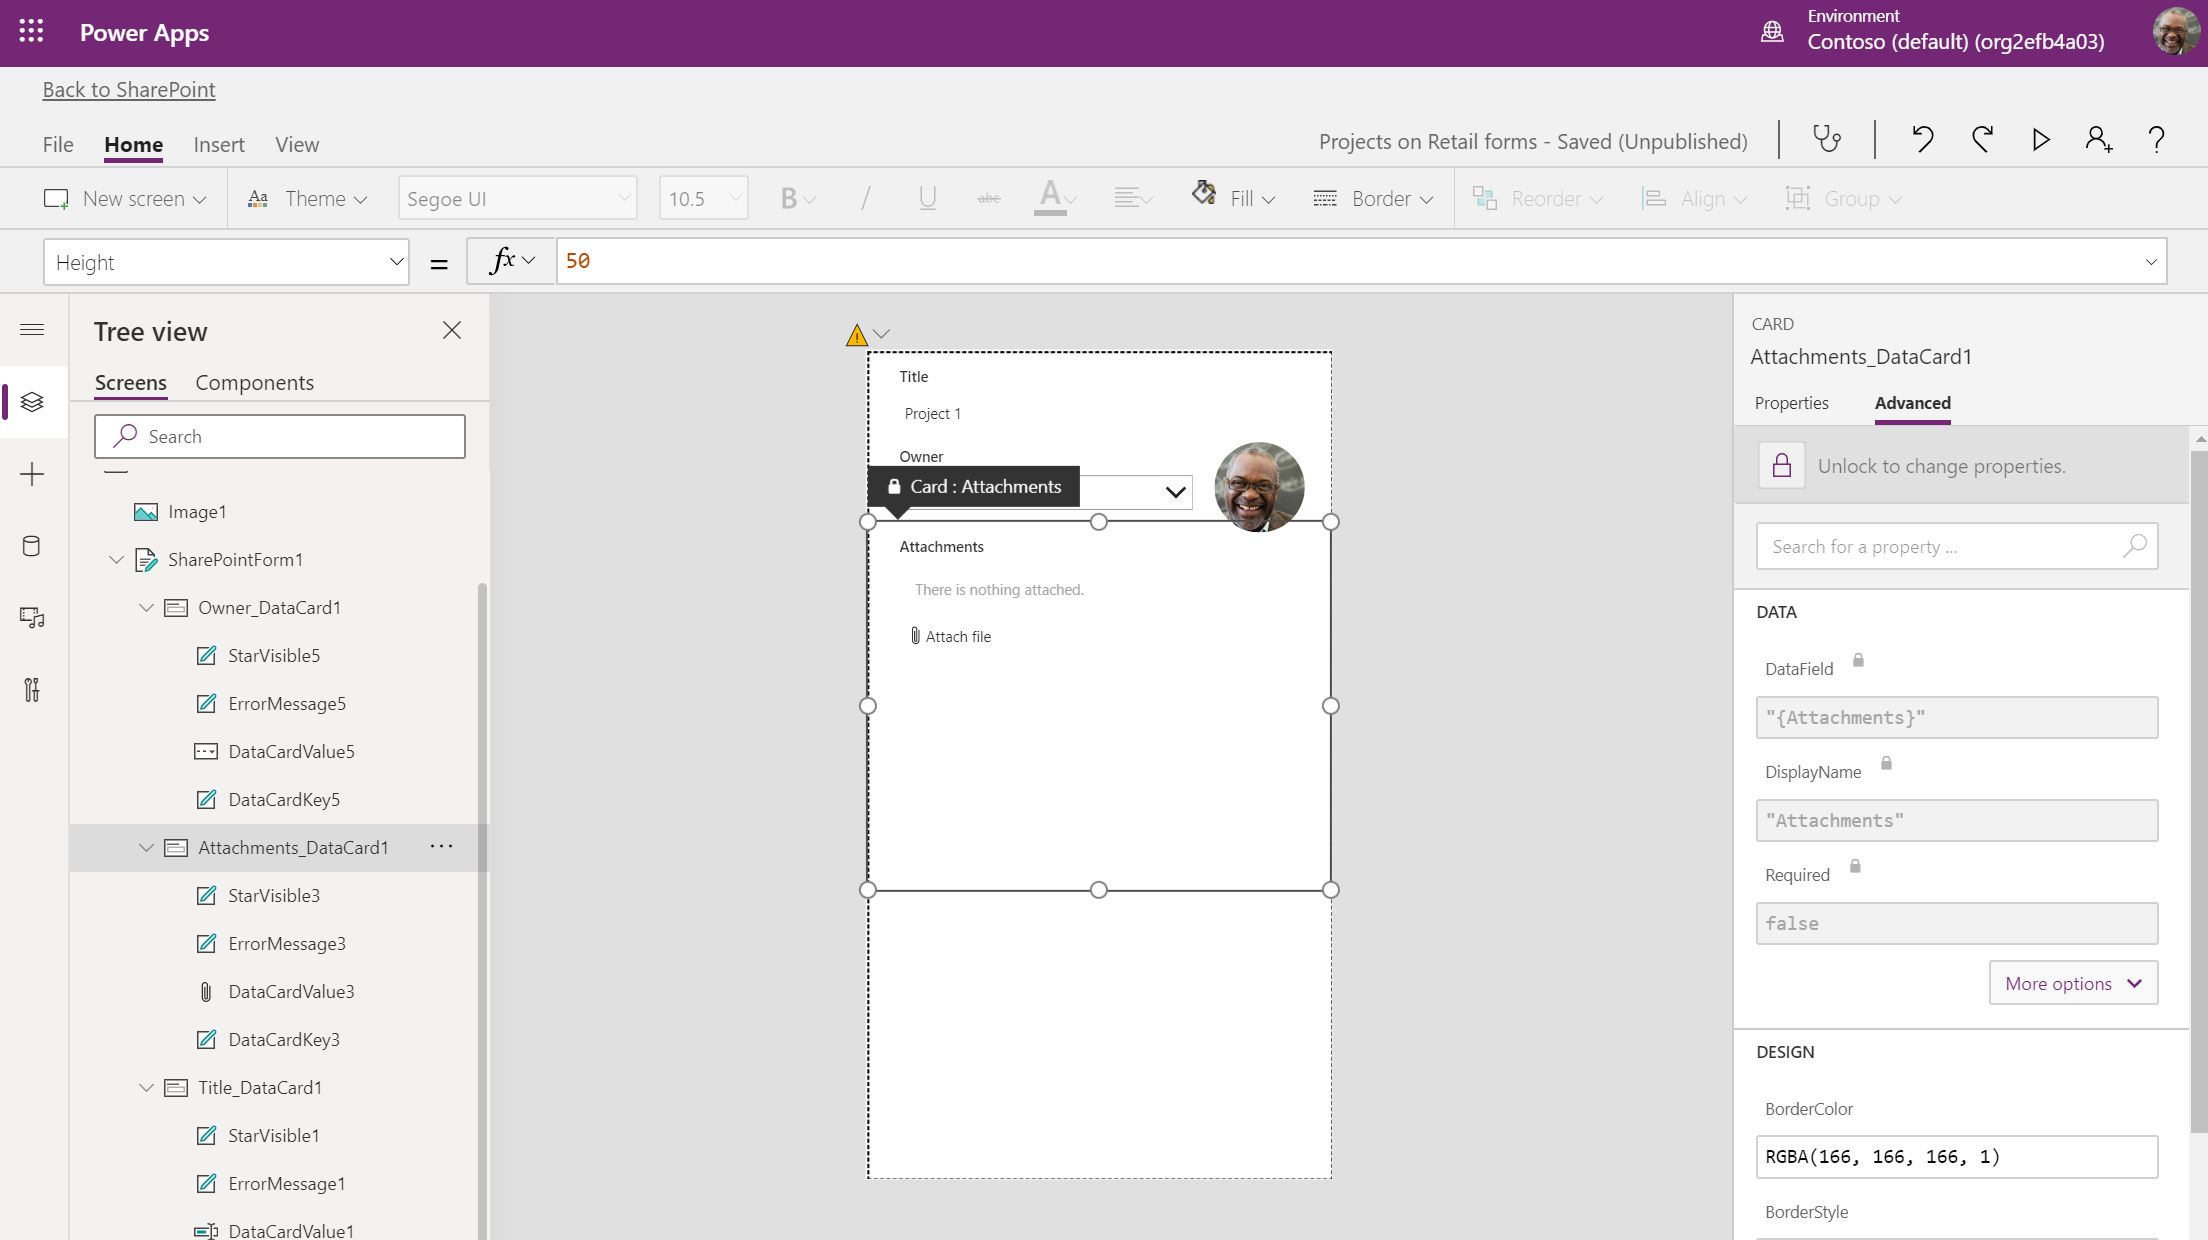
Alternatively, in the Tree view, right-click Attachments_DataCard1, and select Unlock.
Toggle back to the Properties pane, and select the Visible field. The formula bar updates to display this property.

In the formula bar, enter the following formula:
If(SharePointIntegration.Selected.Owner.DisplayName = "Nestor Wilke", false, true)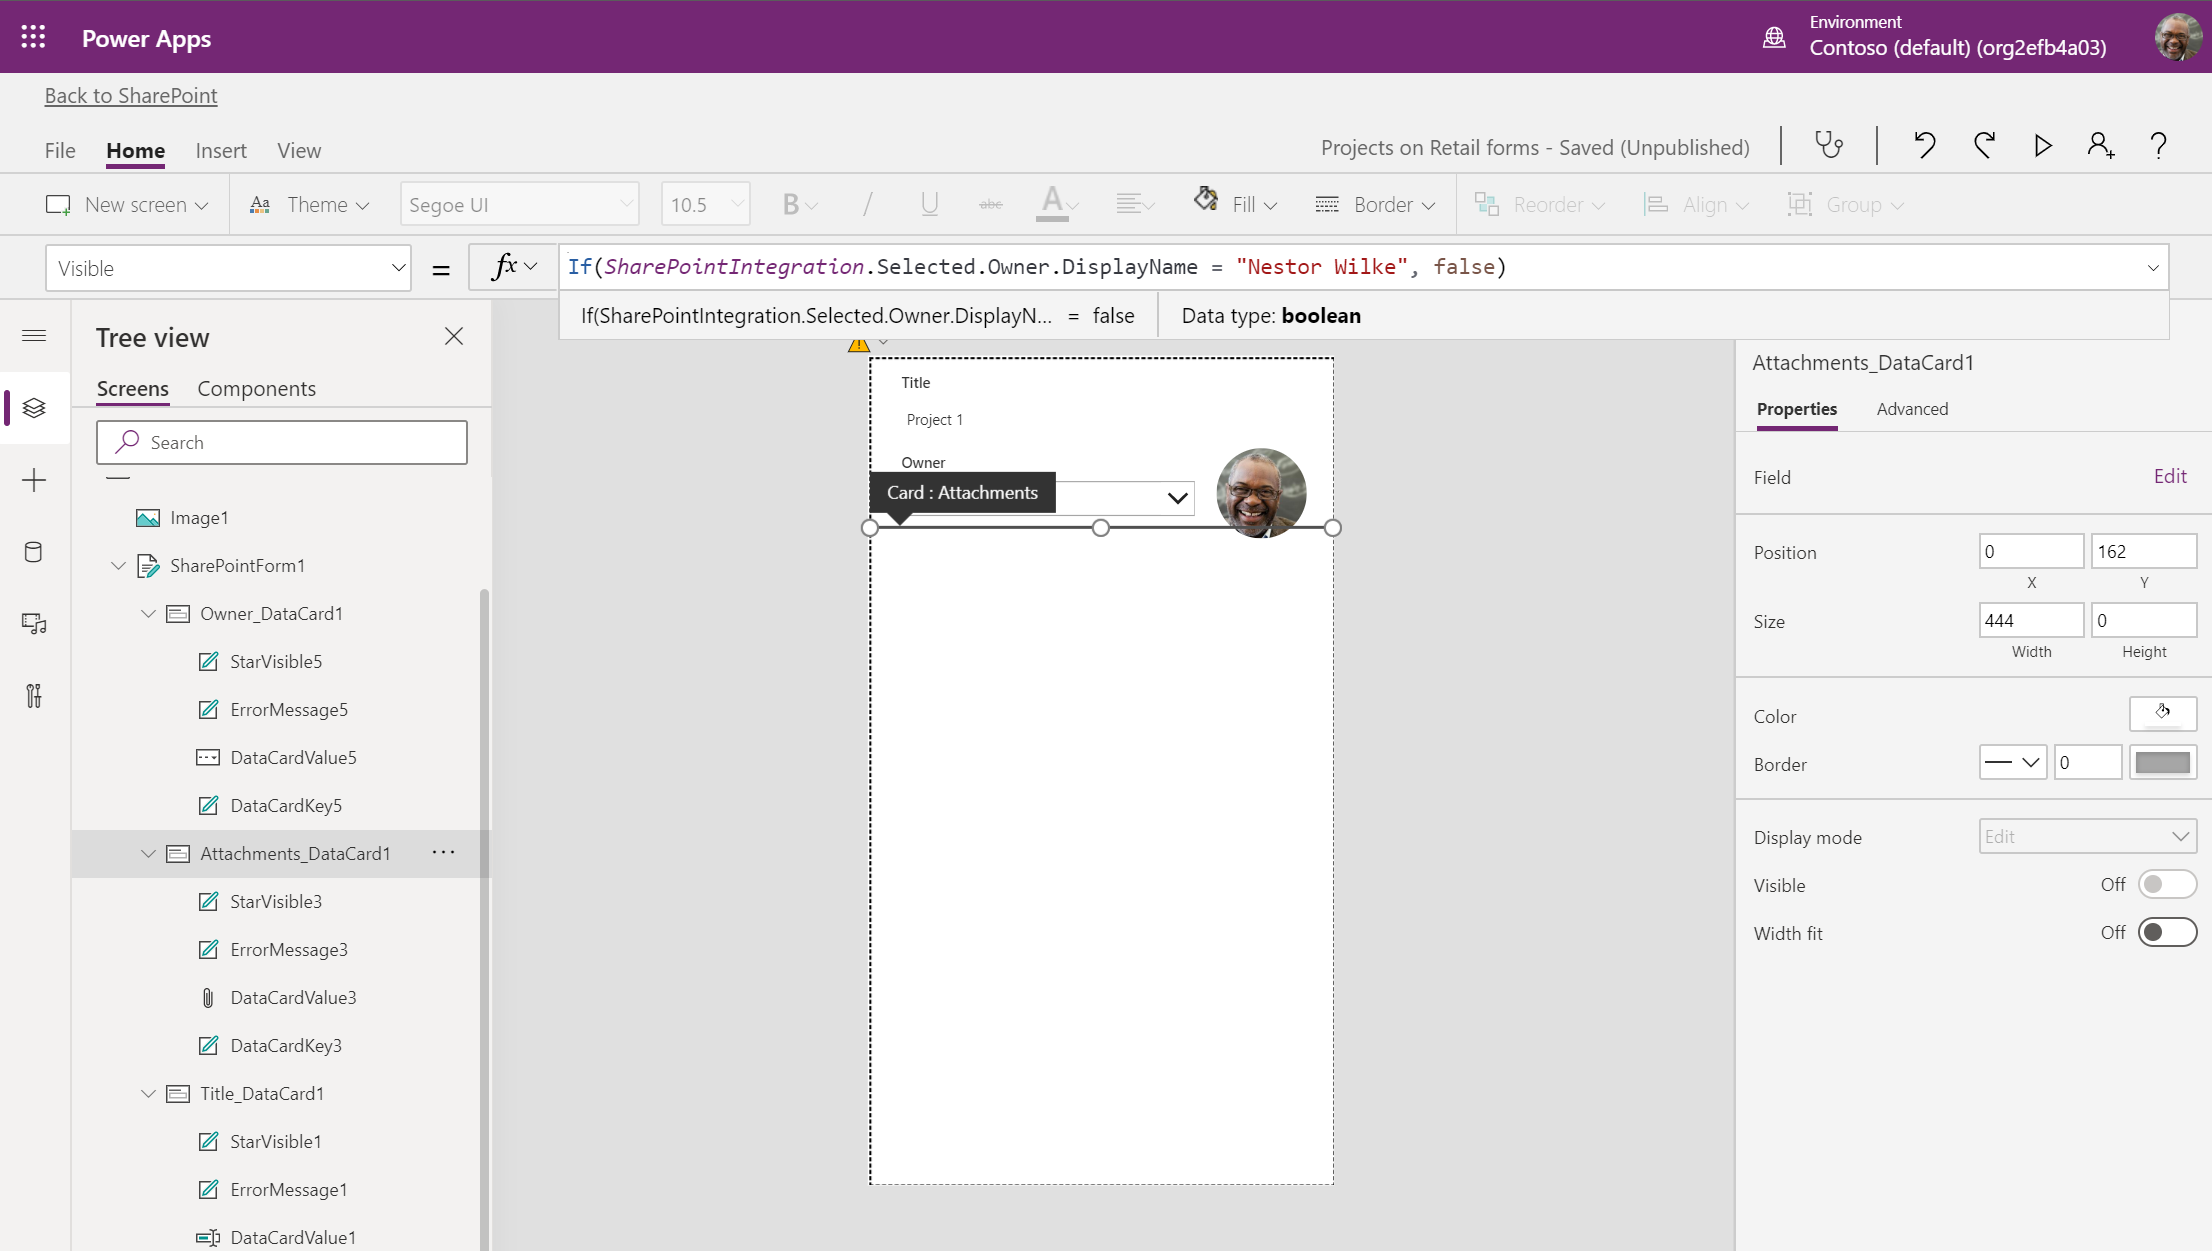
If the project owner is Nestor Wilke, then the Attachments data card is hidden. Otherwise, it is visible.
You can write the same conditional logic in multiple ways. For more info, see Operators and Identifiers in Power Apps.
Publish your custom form
On the File tab, select the Save tab, and then select Save.
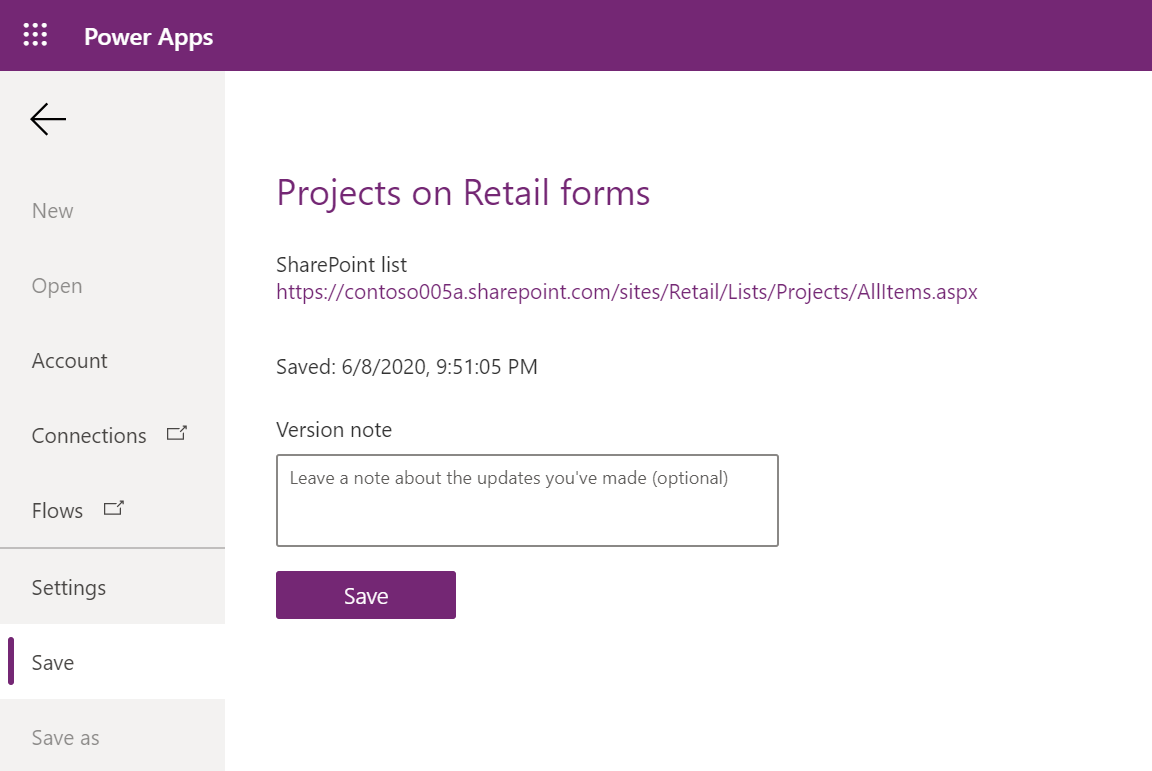
Alternatively, to save your app, press Ctrl+S while the canvas is visible.
After you save the app, select Publish to SharePoint.
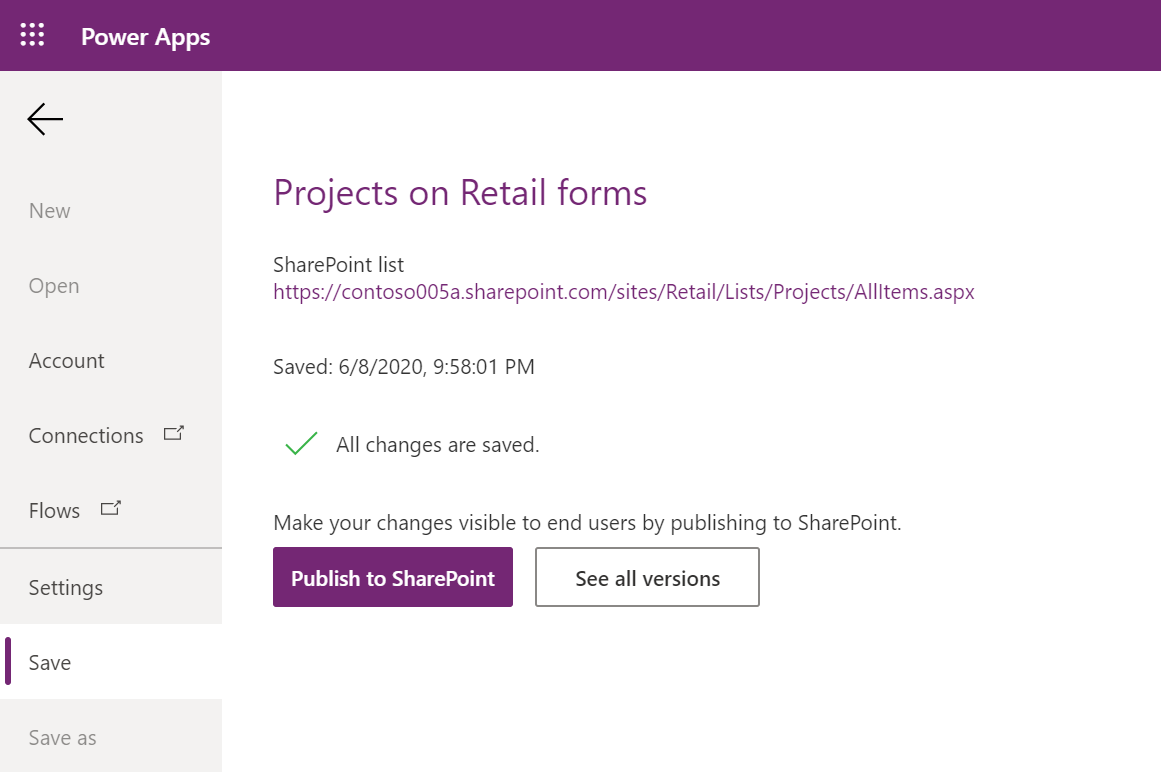
In the dialog box that appears, to confirm, select Publish to SharePoint.
The version of the custom form that appears in SharePoint is the most recently published version.
In SharePoint, verify the intended functionality of your app.