Note
Access to this page requires authorization. You can try signing in or changing directories.
Access to this page requires authorization. You can try changing directories.
This article describes how to deploy your SharePoint Framework Application Customizer to be hosted from a Microsoft 365 CDN and how to deploy that to SharePoint for end users.
Be sure you've completed the procedures in the following articles before you begin:
- Build your first SharePoint Framework Extension (Hello World part 1)
- Use page placeholders from Application Customizer (Hello World part 2)
- Deploy your extension to SharePoint (Hello World part 3)
You can also follow these steps by watching the video on the Microsoft 365 Platform Communtiy (PnP) YouTube Channel:
Enable the CDN in your Microsoft 365 tenant
Microsoft 365 CDN is the easiest way to host SharePoint Framework solutions directly from your tenant while still taking advantage of the Content Delivery Network (CDN) service for faster load times of your assets.
Follow the steps outlined in the following document to ensure the Microsoft 365 CDN is enabled in your tenant: Enable the Microsoft 365 CDN.
Update your solution project for the CDN URLs
Return to the previously created solution and open the ./config/package-solution.json file. Notice that the
includeClientSideAssetsattribute has to be set totruefor automatic asset hosting through Microsoft 365 CDN. This controls if the JavaScript assets and related files are included in the *.sppkg file* when solution is packaged for shipping.{ "$schema": "https://developer.microsoft.com/json-schemas/spfx-build/package-solution.schema.json", "solution": { "name": "app-extension-client-side-solution", "id": "831b6fac-7668-46b4-96c6-e2ee35559287", "version": "1.0.0.0", "includeClientSideAssets": true, ... } }Open ./config/write-manifests.json file.
This file should be updated only when you're using external CDN, such as Microsoft Azure. Ensure that the
cdnBasePathattribute is exactly as shown below. If it has any other entry, automatic hosting with Microsoft 365 Public CDN won't work.{ "cdnBasePath": "<!-- PATH TO CDN -->" }Execute the following tasks to bundle your solution. This executes a release build of your project.
gulp bundle --shipExecute the following task to package your solution. This command creates the ./sharepoint/solution/app-extension.sppkg package:
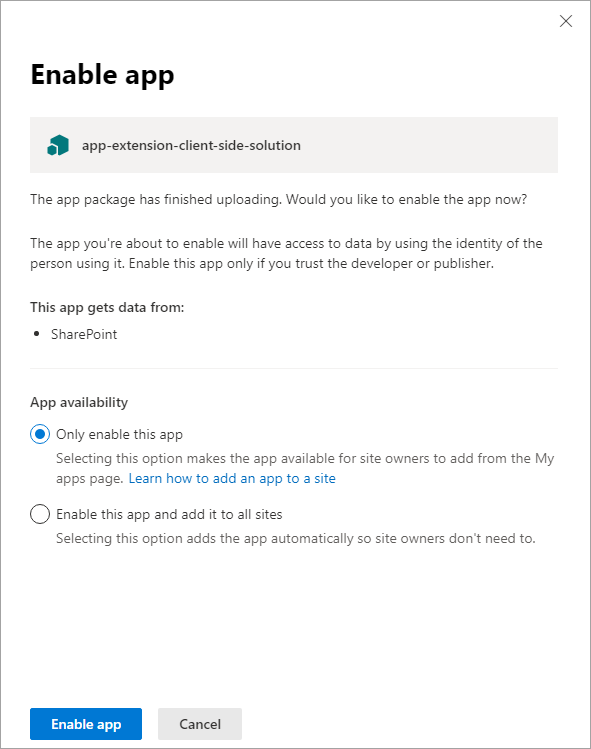
gulp package-solution --shipUpload or drag-and-drop the newly created client-side solution package to the tenant app catalog. When prompted, select the Only enable this app radio button and then select the Enable app button. Notice the domain definition is updated as SharePoint Online as your assets will be now automatically hosted with Microsoft 365 CDN:
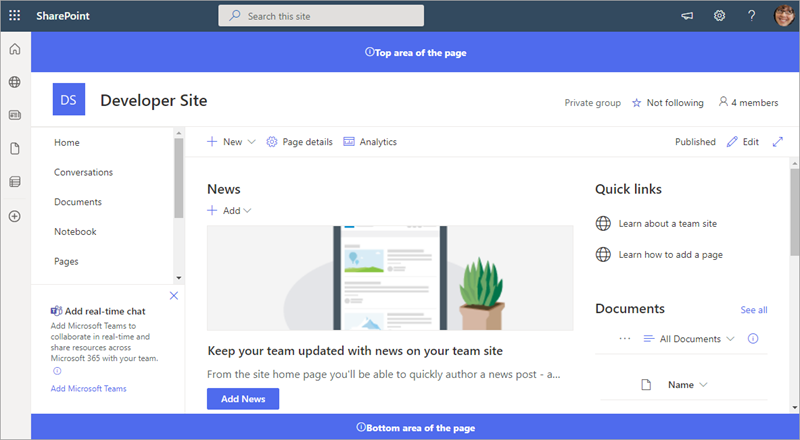
Install the new version of the solution to your site, and ensure that it's working properly. Notice that if you didn't remove the package with https://localhost installation before updating it in the app catalog, your site is automatically running the updated version and placeholders are rendered from the CDN.
Congratulations, you've enabled a public CDN in your Microsoft 365 tenant and taken advantage of it from your solution!