Create a separate subnet in a virtual network for Azure Monitor SCOM Managed Instance
This article describes how to create a separate subnet in a virtual network for a managed instance of Azure Monitor SCOM Managed Instance and enable Azure NAT Gateway on a SCOM Managed Instance subnet.
Note
To learn about the SCOM Managed Instance architecture, see Azure Monitor SCOM Managed Instance.
Create a separate subnet in a virtual network
For more information on how to create a virtual network, see Quickstart: Use the Azure portal to create a virtual network.
After a SCOM Managed Instance subnet is created, we need a NAT gateway for outbound internet access from the SCOM Managed Instance subnet. Edit the subnet to add a NAT gateway. In Azure, add a NAT gateway to the subnet where the SCOM managed instance is created. A NAT gateway is needed for outbound internet access from the SCOM Managed Instance subnet. For more information, see What is Virtual Network NAT?.
Note
The SCOM Managed Instance requires outbound Internet access for communication with dependent endpoints. We recommend to use a NAT Gateway for this purpose. However, if there is an already established outbound internet access through a firewall, you can skip the creation of a NAT Gateway.
To create a NAT gateway for a SCOM Managed Instance subnet, follow these steps:
Create a NAT gateway in the same region where the virtual network is present.
Create a NAT gateway in the same subscription that you use for SCOM Managed Instance.
Create a public IP.
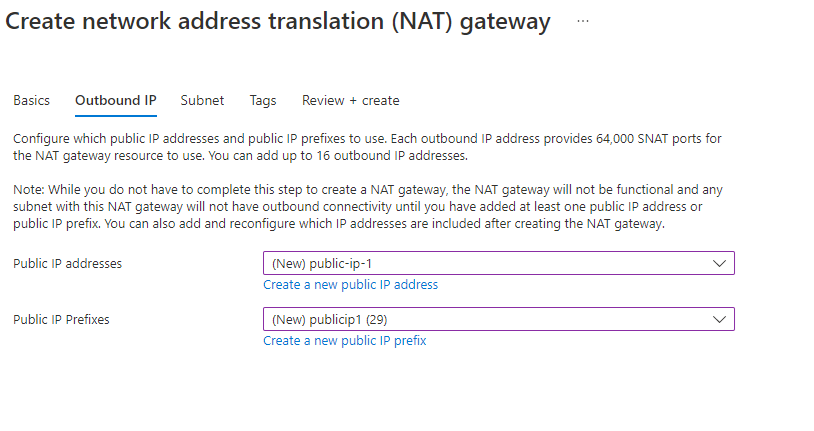
In the subnet section, select a virtual network and subnet for SCOM Managed Instance.

Next steps
Feedback
Coming soon: Throughout 2024 we will be phasing out GitHub Issues as the feedback mechanism for content and replacing it with a new feedback system. For more information see: https://aka.ms/ContentUserFeedback.
Submit and view feedback for