Exercise - Deploy an Altair web terminal
In this exercise, you'll deploy a static web app for the Altair web terminal.
Step 1: Create the AltairWebTerminal repo
Create the AltairWebTerminal repo from the AzureSphereAltair8800.terminal GitHub template.
From your web browser, open the AzureSphereAltair8800.terminal repo.
Select Use this template.
Name your repo AltairWebTerminal.
Select Private.
Select Create repo from template.
Leave the copied repo open in the web browser.
Step 2: Clone the AltairWebTerminal repo
Clone the AltairWebTerminal repo from your GitHub account to your computer.
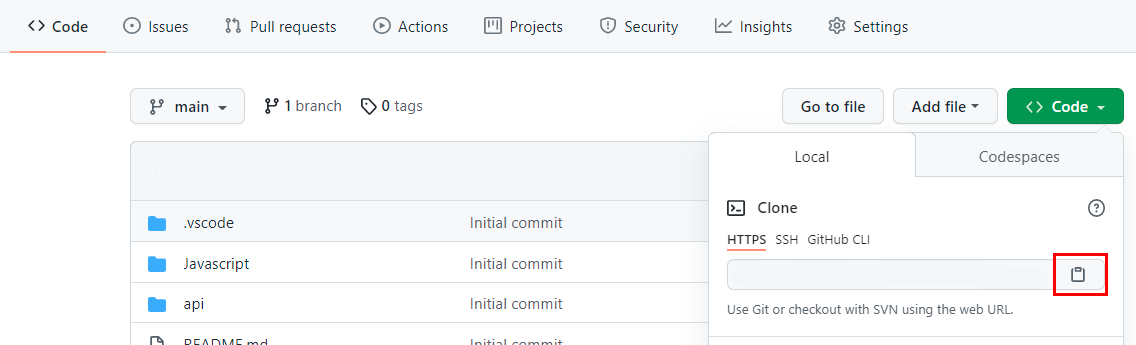
Copy the AltairWebTerminal repo address by selecting Code and then selecting the Clipboard icon for the AltairWebTerminal repo.
In a command prompt window, clone the AltairWebTerminal repo to your computer by running the following command:
git clone <AltairWebTerminal_Repository_Address>Remember, you can paste the AltairWebTerminal repo address from the clipboard.
Step 3: Open the Altair web terminal project
- Open Visual Studio Code.
- Select File > Open folder.
- Open the AltairWebTerminal folder that you cloned to your computer.
Step 4: Install the Azure Static Web Apps extension
In Visual Studio Code, install the Azure Static Web Apps extension from either of the following places:
- Go to the Extension Marketplace.
- In Visual Studio Code, search for Azure Static Web Apps in the Extension Marketplace.
Step 5: Deploy the Altair web terminal
Now that the extension is installed, in Visual Studio Code, select the F1 key.
Enter create static web app, and select Azure Static Web Apps: Create Static Web App...(Advanced).
Select your subscription.
If necessary, at the prompt, sign in with your GitHub account.
Select Create a new resource group.
Name the resource group AltairWebTerminal.
For the name of the static web app, enter AltairWebTerminal.
For the SKU, select Free.
Choose the Custom build preset.
For the location of your application code, enter a slash character (/).
For the build output location, leave the value blank.
For the location of the new resource, select your preferred location for the static web app.
Step 6: View the GitHub action
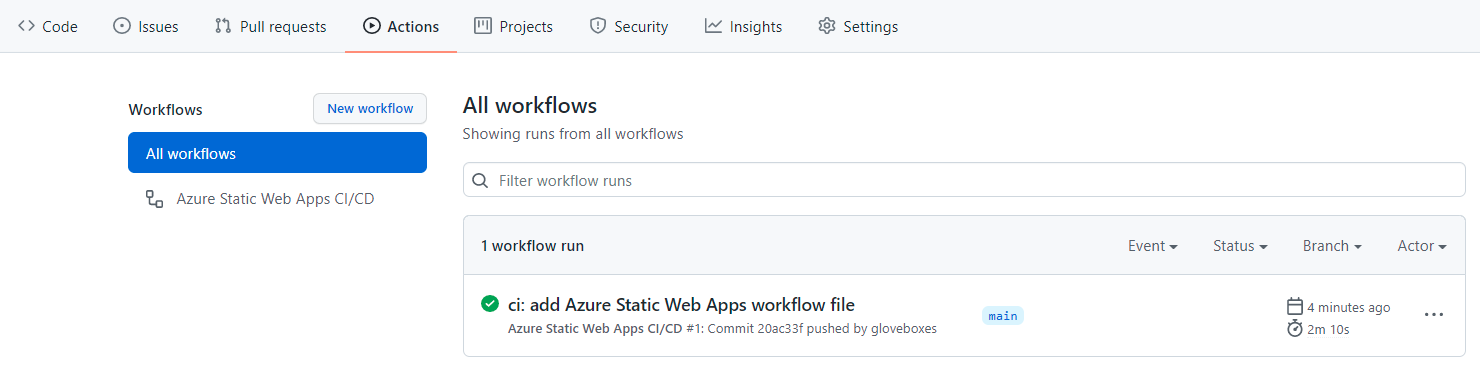
In the Visual Studio Code popup window, select Open Actions in GitHub.
The action takes about two minutes to run. When the GitHub action has finished running, the status indicator changes to green.
Step 7: Create the Altair web terminal settings
To clear the GitHub action status, close and reopen Visual Studio Code.
Select File > Open folder.
Open the AltairWebTerminal folder, which you've already cloned to your computer, and then open the Altair web terminal api folder.
Rename the local.settings.sample.json file to local.settings.json.
Open the local.settings.json file.
The MQTT broker configuration is prepopulated for the test.mosquitto.org public MQTT broker.
Configure the Azure IoT Central settings by using the Azure IoT Central API token and URL that you saved earlier.
Update the following properties values:
- IOT_CENTRAL_API_TOKEN
- IOT_CENTRAL_URL
When you've finished, the contents of your local.settings.json file should look similar to the following:

Step 8: Upload the Altair web terminal local settings
Still in Visual Studio Code, select the F1 key.
Type static local, and then select Azure Static Web Apps: Upload Local Settings.
Select your subscription.
For Static Web App, enter the name you created, AltairWebTerminal.
For environment, enter Production.
The Altair web terminal setting is uploaded.
Step 9: Invite users to the Altair web terminal
To keep its security protected, the Altair web terminal requires authenticated users. This means that you'll need to invite users, including yourself, to the static web app for the Altair web terminal.
Sign in to the Azure portal.
On the left pane, select All resources.
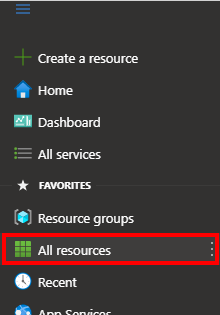
In the resource filter box at the top left, type altairwebterminal.
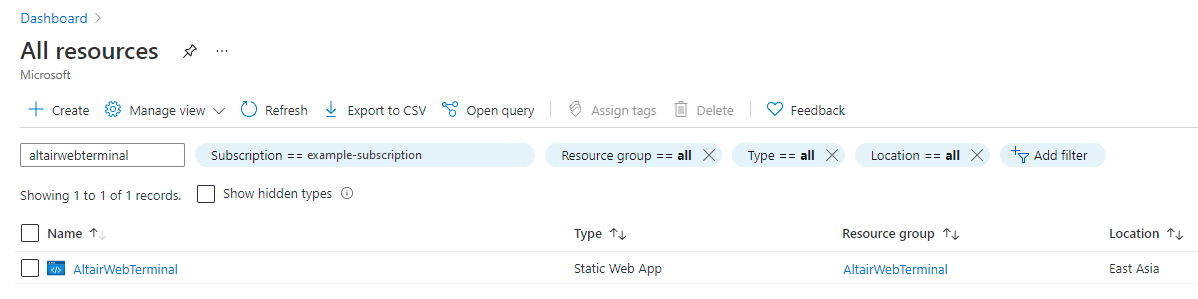
In the filter results list, under Name, select AltairWebTerminal.
On the left pane, select Role management, and then select Invite.
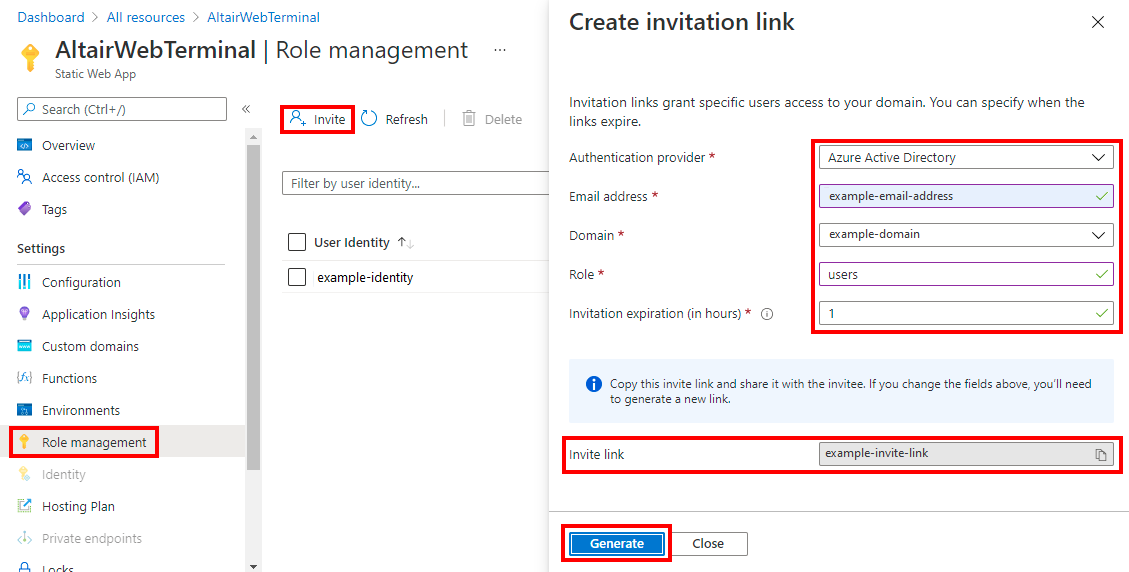
On the Create invitation link pane, do the following:
a. For Authentication provider, select your provider.
b. For Email address, enter your email address or user handle.
c. For Role, enter users.
d. Select Generate.
e. Next to Invite link, copy the link to use in the next step.
Step 10: Activate the invitation link
Do either of the following:
If the invitation link is for you:
a. Paste the link into your browser address bar.
b. Authenticate by using your email address or user handle.
c. Grant consent.If the invitation link is for someone else, send that person the link to authenticate and grant consent.
Step 11: Connect the Altair web terminal to your Azure Sphere device
When you're authenticated, connect to the Altair emulator. You first need to obtain the name of your device in Azure IoT Central:
- In your browser, go to Azure IoT Central.
- Select the Devices tab, select the Altair on Azure Sphere template, and then select your Azure Sphere device.
- Copy the device name.
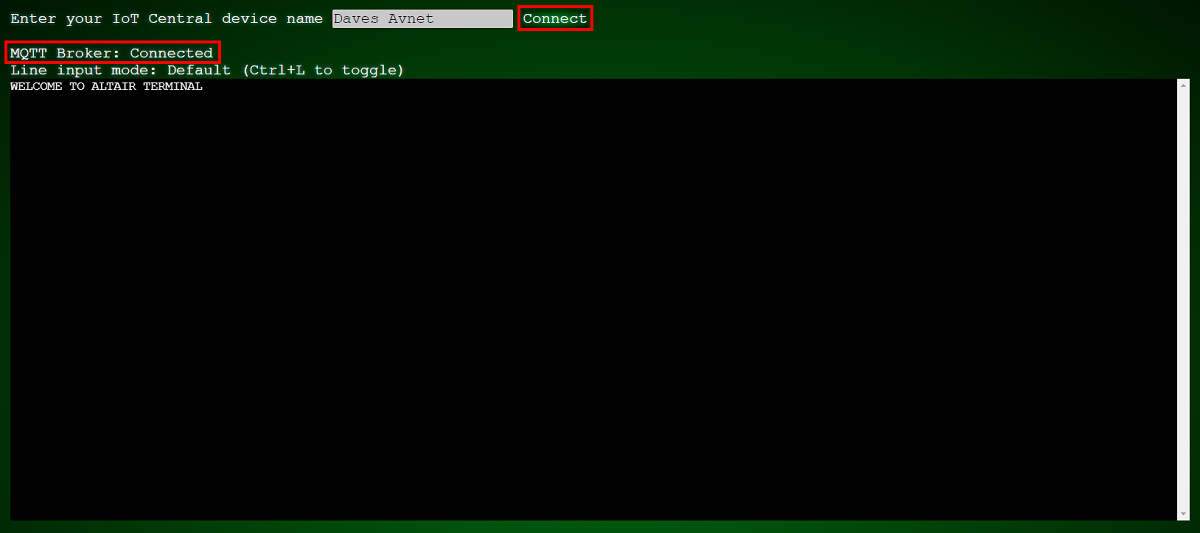
- On the Web Terminal tab in the browser, paste the device name, and then select Connect.
- Add the Altair Web Terminal page to your browser favorites.
The MQTT broker status message changes to Connecting. When the web terminal has connected successfully, the status changes to Connected.