Exercise - Set up an application and deploy Azure resources
This module requires a sandbox to complete. A sandbox gives you access to free resources. Your personal subscription will not be charged. The sandbox may only be used to complete training on Microsoft Learn. Use for any other reason is prohibited, and may result in permanent loss of access to the sandbox.
Microsoft provides this lab experience and related content for educational purposes. All presented information is owned by Microsoft and intended solely for learning about the covered products and services in this Microsoft Learn module.
The example web app in this module is based on part of an e-commerce system. The app enables a warehouse employee to update the details of products sold by the system and maintain the current stock levels.
In this unit, you download and test the app locally. Then, you create the resources that are needed to deploy the app to Azure. Later in the module, you configure the app.
Download and test the sample web app locally
In Windows Explorer, create a folder named MigrationWorkshop in a convenient place on your computer.
Open a command prompt window, and go to the MigrationWorkshop folder.
Download the sample app from the Microsoft repository on GitHub by running the following command:
Bashgit clone https://github.com/dotnet-architecture/eShopModernizing.gitStart Visual Studio 2019.
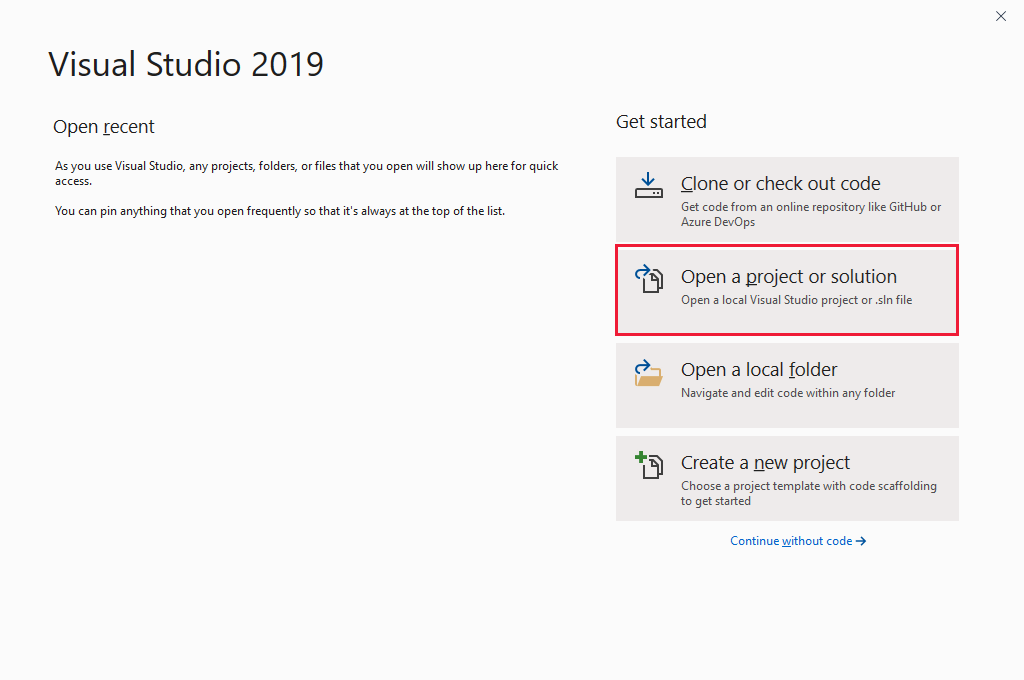
Select Open a project or solution.
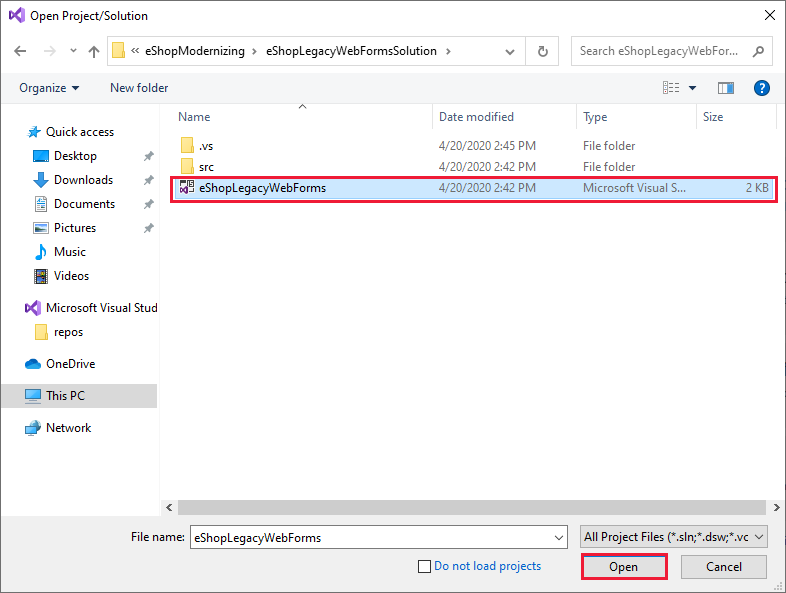
Go to the MigrationWorkshop folder, select the eShopModernizing folder, select the eShopLegacyWebFormsSolution folder, select the eShopLegacyWebForms solution, and then select Open.
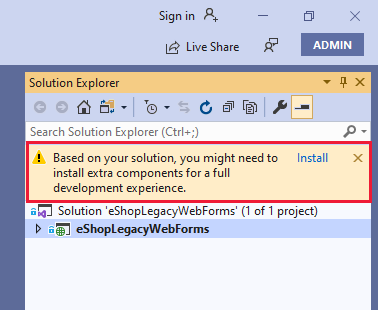
The Solution Explorer window opens. If you're prompted to install extra components, select Install, as shown here:
This project currently uses v2.0.1 of the Microsoft.CodeDom.Providers.DotNetCompilerPlatform assembly, which has an issue that requires restarting Visual Studio to refresh a cached value. So, do the following steps:
a. Restart Visual Studio.
b. Open the eShopLegacyWebForms solution and then, in the Build list, select Rebuild Solution.In the Solution Explorer window, expand the eShopLegacyWebForms project, and select Web.config.
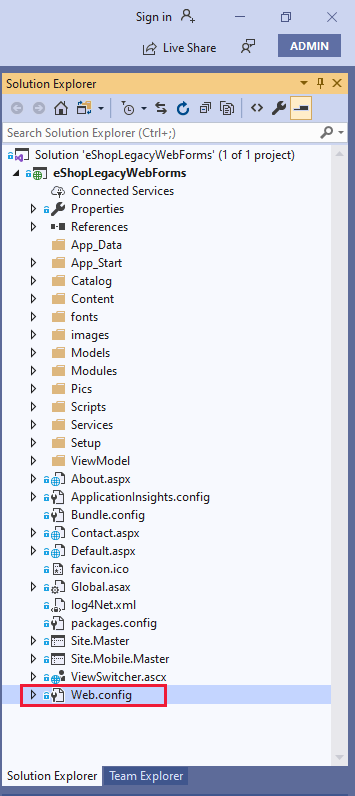 .
.In the Web.config file, in the <appSettings> section, set the value of the UseMockData key to false. This setting causes the app to use the data stored in a local SQL Server database:
XML... <appSettings> <add key="UseMockData" value="false" /> <add key="UseCustomizationData" value="false" /> </appSettings> ...To build and run the app, select F5. The app opens a web browser and displays the Catalog manager page for the web app.
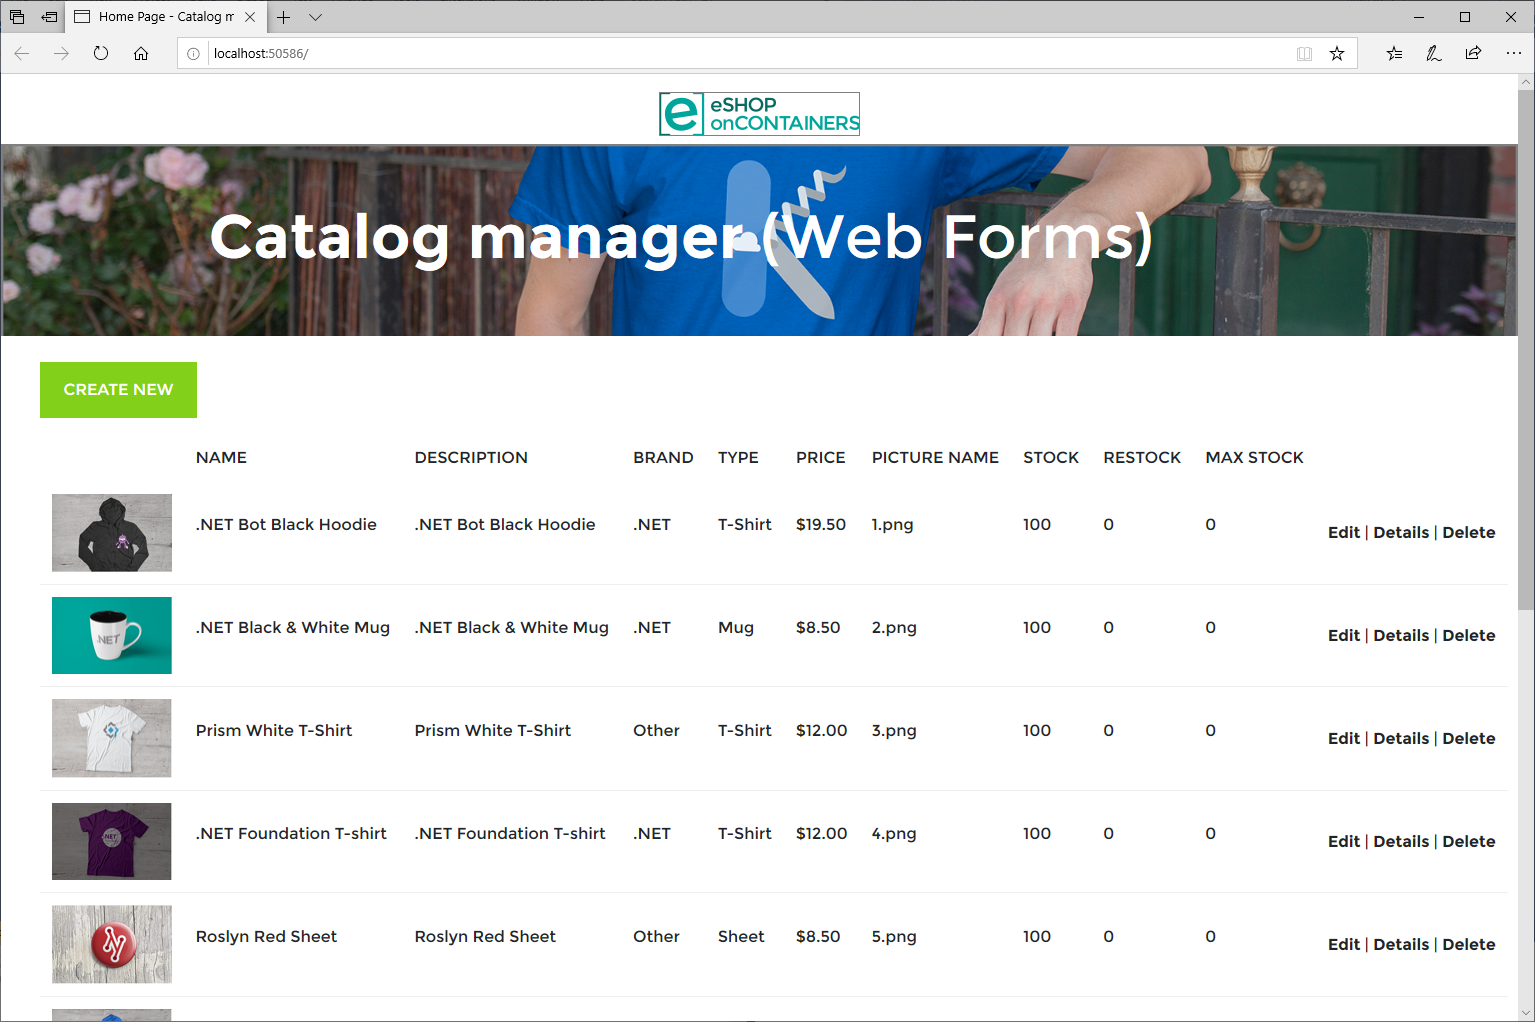
With Catalog manager, you can view the products sold by the organization, add new products, modify the details of existing products, and delete products.
Experiment with the app. Try adding, editing, and removing products.
When you're done, close the browser. This action closes the app and returns you to Visual Studio.
Create Azure resources for running the app as an Azure web app
In the Azure Cloud Shell window on the right, run the following commands to define the following PowerShell variables.
The commands that create the Azure resources in subsequent steps use these variables to name the resources.
Replace
<your-initials-with-suffix>with your own initials and a numeric suffix of your choice. The purpose of the numeric suffix is to prevent two students with the same initials from using the same alias.Replace
<your-password>with a password of your choosing. This password is used by the instance of Azure SQL Database that the app connects to.Note
The resource group
[sandbox resource group name]has been created automatically. Use this as your resource group name. You won't have permission to create additional resource groups in the sandbox.PowerShell$useralias = "<your-initials-with-suffix>"PowerShell$serveradminpassword = "<your-password>"PowerShell$resourcegroupname = "[sandbox resource group name]"To define more variables to be used to create the resources in this module, run the following commands:
PowerShell$location = "eastus" $webappplanname = (-join($useralias,"-webappplan")) $webappname = (-join($useralias,"-webapp")) $serveradminname = "ServerAdmin" $servername = (-join($useralias, "-workshop-server")) $dbname = "eShop"To create a new Azure App Service plan for hosting the web app, run the following PowerShell command:
PowerShellNew-AzAppServicePlan ` -Name $webappplanname ` -ResourceGroup $resourcegroupname ` -Location $locationTo create a web app by using the App Service plan, run the following PowerShell command:
PowerShellNew-AzWebApp ` -Name $webappname ` -AppServicePlan $webappplanname ` -ResourceGroup $resourcegroupname ` -Location $locationRun the following PowerShell command to assign a managed identity to the web app. This identity is required later in the module.
PowerShellSet-AzWebApp ` -AssignIdentity $true ` -Name $webappname ` -ResourceGroupName $resourcegroupnameTo create a new Azure SQL Database instance, run the following PowerShell command:
PowerShellNew-AzSqlServer ` -ServerName $servername ` -ResourceGroupName $resourcegroupname ` -Location $location ` -SqlAdministratorCredentials $(New-Object ` -TypeName System.Management.Automation.PSCredential ` -ArgumentList $serveradminname, ` $(ConvertTo-SecureString ` -String $serveradminpassword ` -AsPlainText -Force))To open the SQL Database instance firewall to allow access to services hosted in Azure, run the following PowerShell command:
PowerShellNew-AzSqlServerFirewallRule ` -ResourceGroupName $resourcegroupname ` -ServerName $servername ` -FirewallRuleName "AllowedIPs" ` -StartIpAddress "0.0.0.0" ` -EndIpAddress "0.0.0.0"To create a database in SQL Database, run the following PowerShell command. The database is populated later, when you migrate the web app.
PowerShellNew-AzSqlDatabase ` -ResourceGroupName $resourcegroupname ` -ServerName $servername ` -DatabaseName $dbName ` -RequestedServiceObjectiveName "S0"
Next unit: Use the ConfigurationBuilder type
Having an issue? We can help!
- For issues related to this module, explore existing questions using the #azure training tag or Ask a question on Microsoft Q&A.
- For issues related to Certifications and Exams, post on Certifications Support Forums or visit our Credentials Help.